Our Staircase Renovation

 
IMG_6063.JPG

Our staircase remodel is probably one of the most asked about renovations that we’ve completed in our home, so today I thought I’d share some details about this renovation along with all of the sources we used. Overall, this was one of the more expensive renovations we’ve done in our home, mainly due to the cost of the supplies that are required for this type of project. But another big factor is that we hired a contractor to do most of the renovation, since some of the materials used are custom made and expensive, and the cost of mistakes made would be high.

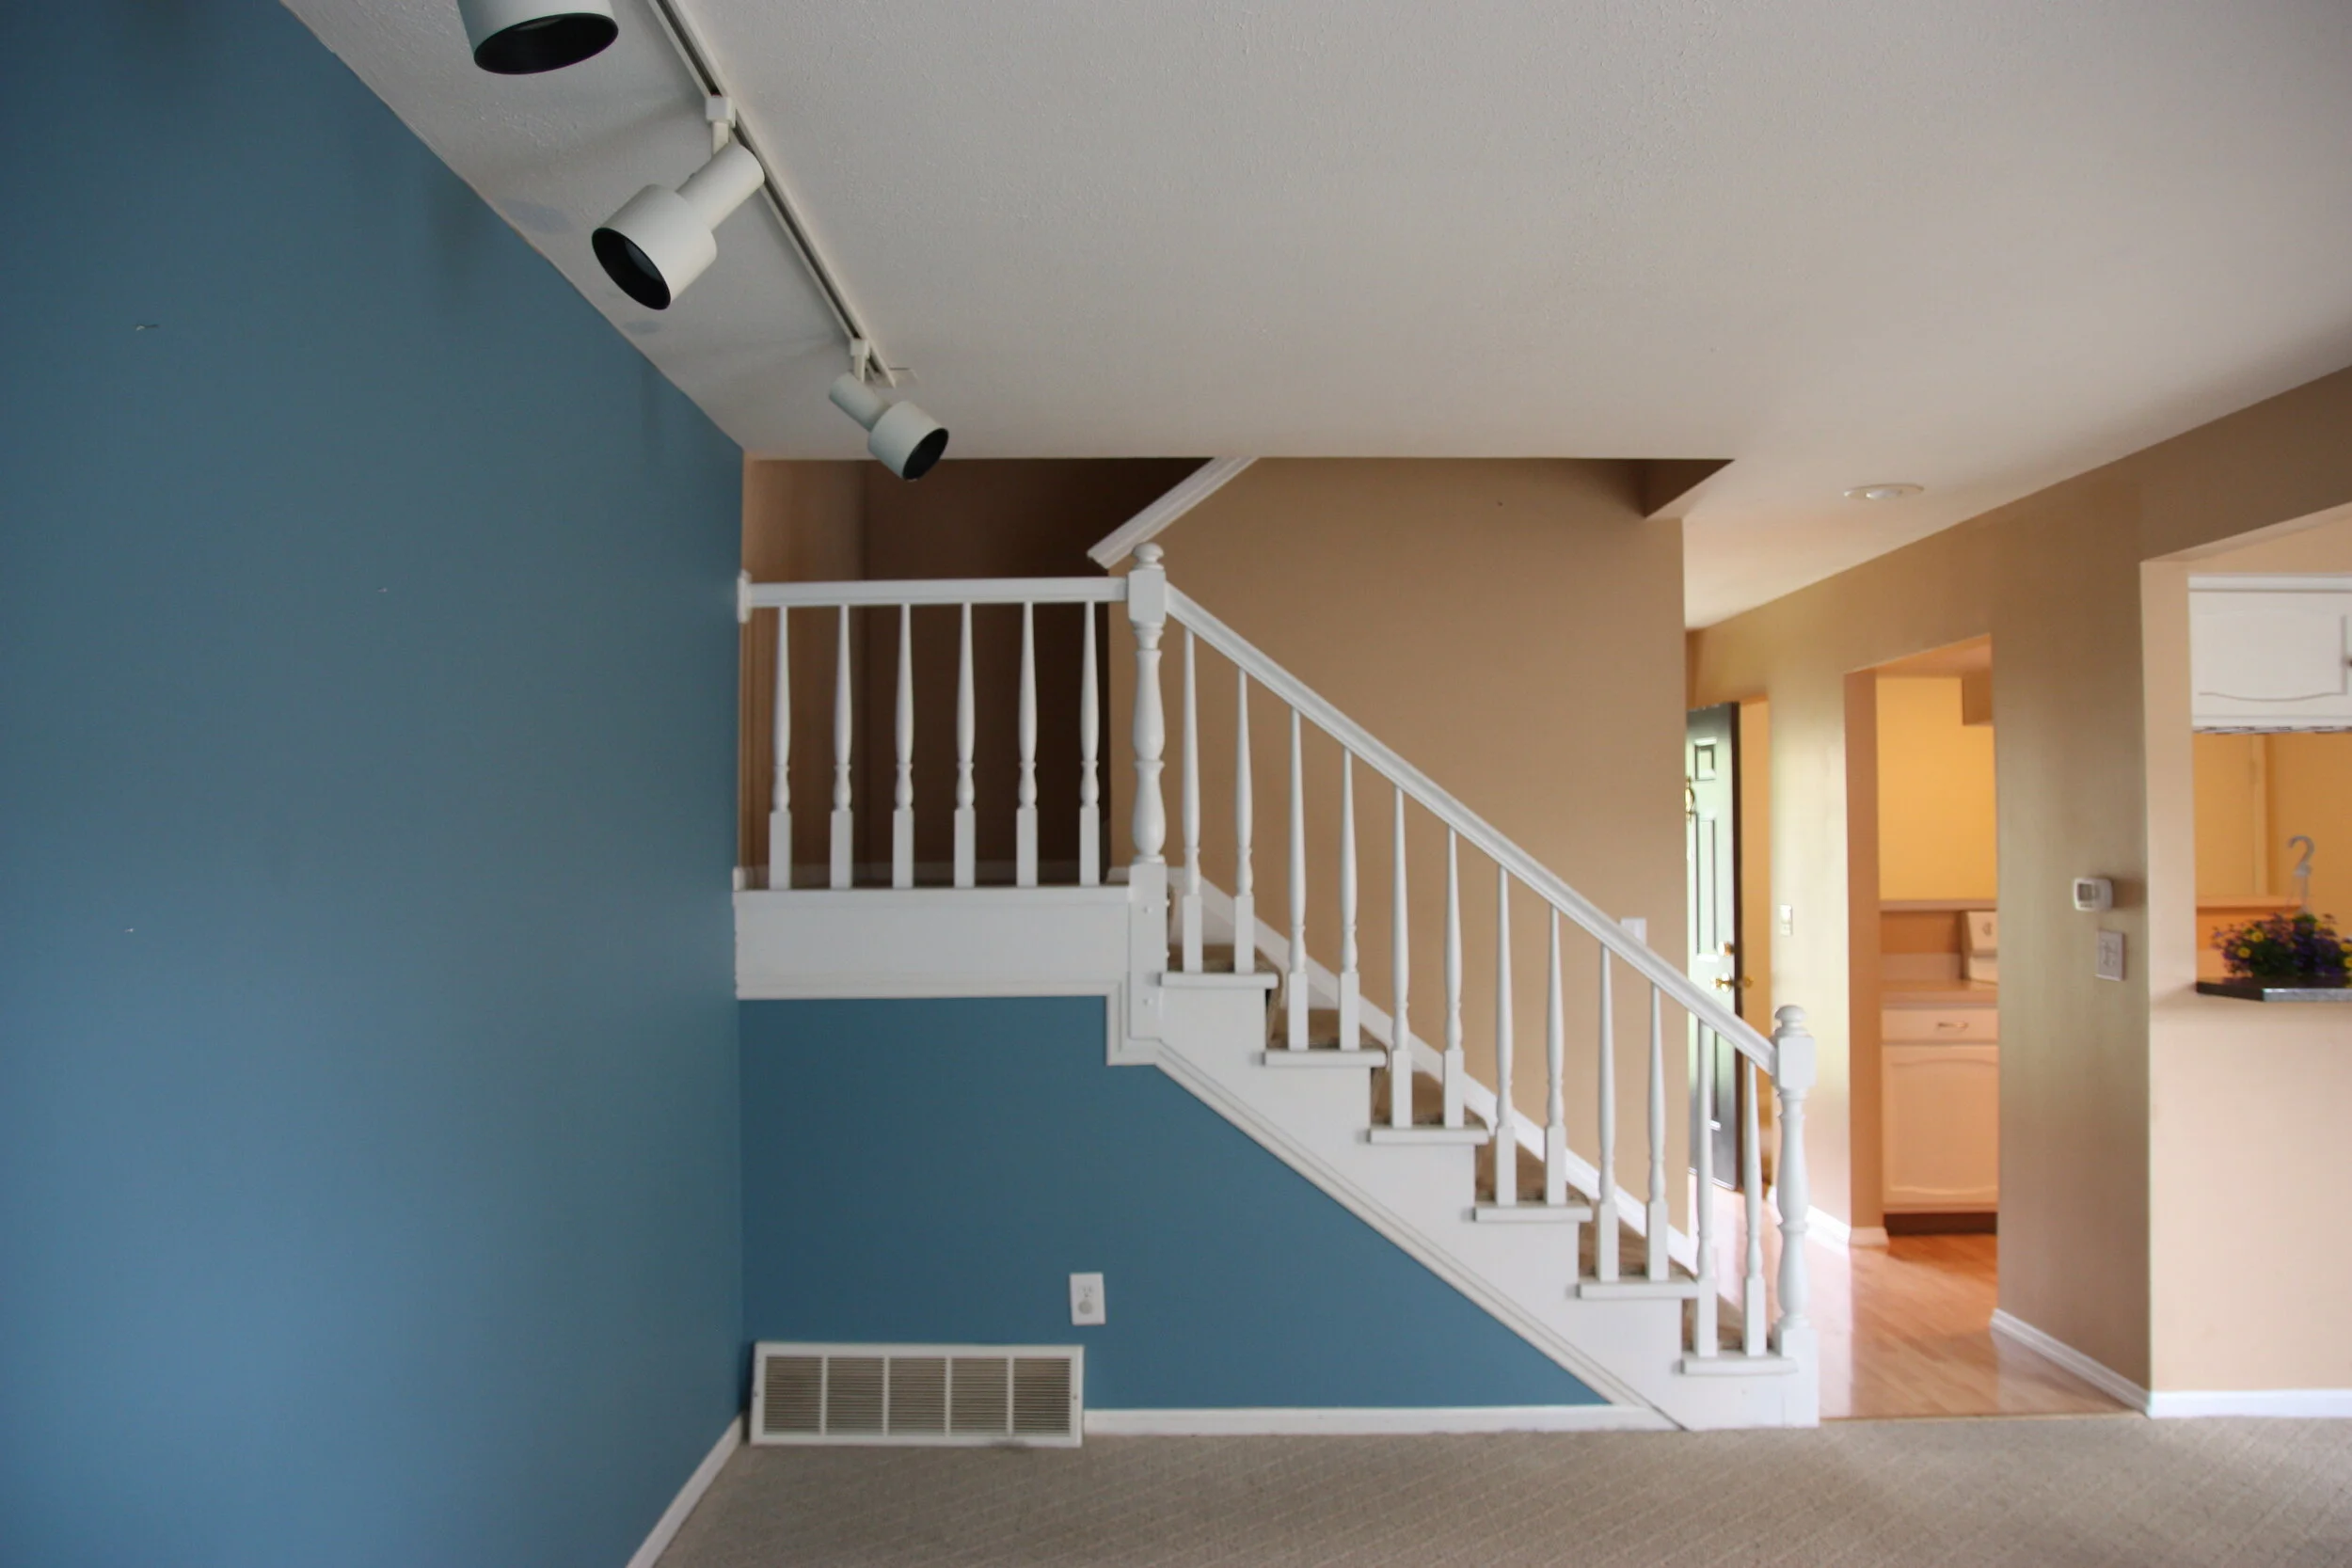
Here are a few before images of the space.
IMG_1648.JPG

As you can see, we only had railings on the first half of the staircase, and the second half was just drywall. This made the space very dark and the half wall wasn’t doing justice to the layout of the stairs. I knew this could be a wonderful focal point since it’s in the center of our home, so I felt that the investment in the renovation would really make an impact and would be more in line with the rest of the renovations we had planned.

We had our contractor take out the half wall, and we carried our flooring, Johnson Hardwood British Isles Series in Essex, all the way up the treads. We purchased our flooring from our local Pro Source, and they were able to order custom coordinating stair noses from a third party they worked with. These were one of the materials that were very expensive, so we didn’t want to risk making any wrong cuts and having to waste material. Our carpenter took off all of the original stair treads and cut the old noses off, and then reinstalled with liquid nails and brads to keep them from squeaking. Then he added the new stair nose and our wood flooring on top. He used poplar to cover the areas where they took the half wall down.

Since I knew some of the materials would be costly for this project, I tried to source affordable balusters, hand rails, and newel posts. I will link what I chose below. Everything was very affordable, but again if we ended up making any wrong cut these could add up and be costly.

We opted to do the painting/staining ourselves to save a bit on the budget. I painted all the newel posts and risers white. For now I’ve left the poplar handrails unstained since they tie into our flooring pretty well in person, but I may be look into doing a slight gray wash now since the poplar has yellowed a bit over the last few years.

I hope this was helpful to anyone who is considering a staircase remodel! I think this could be a diy project for someone who has a lot of project experience, but if not it’s still definitely a project that is worth the investment! This staircase is one of my favorite renovation projects we’ve done to date, and makes a huge impact in our home.

IMG_5899.JPG
 

IKEA Pax Hack: Linen Closet Tutorial


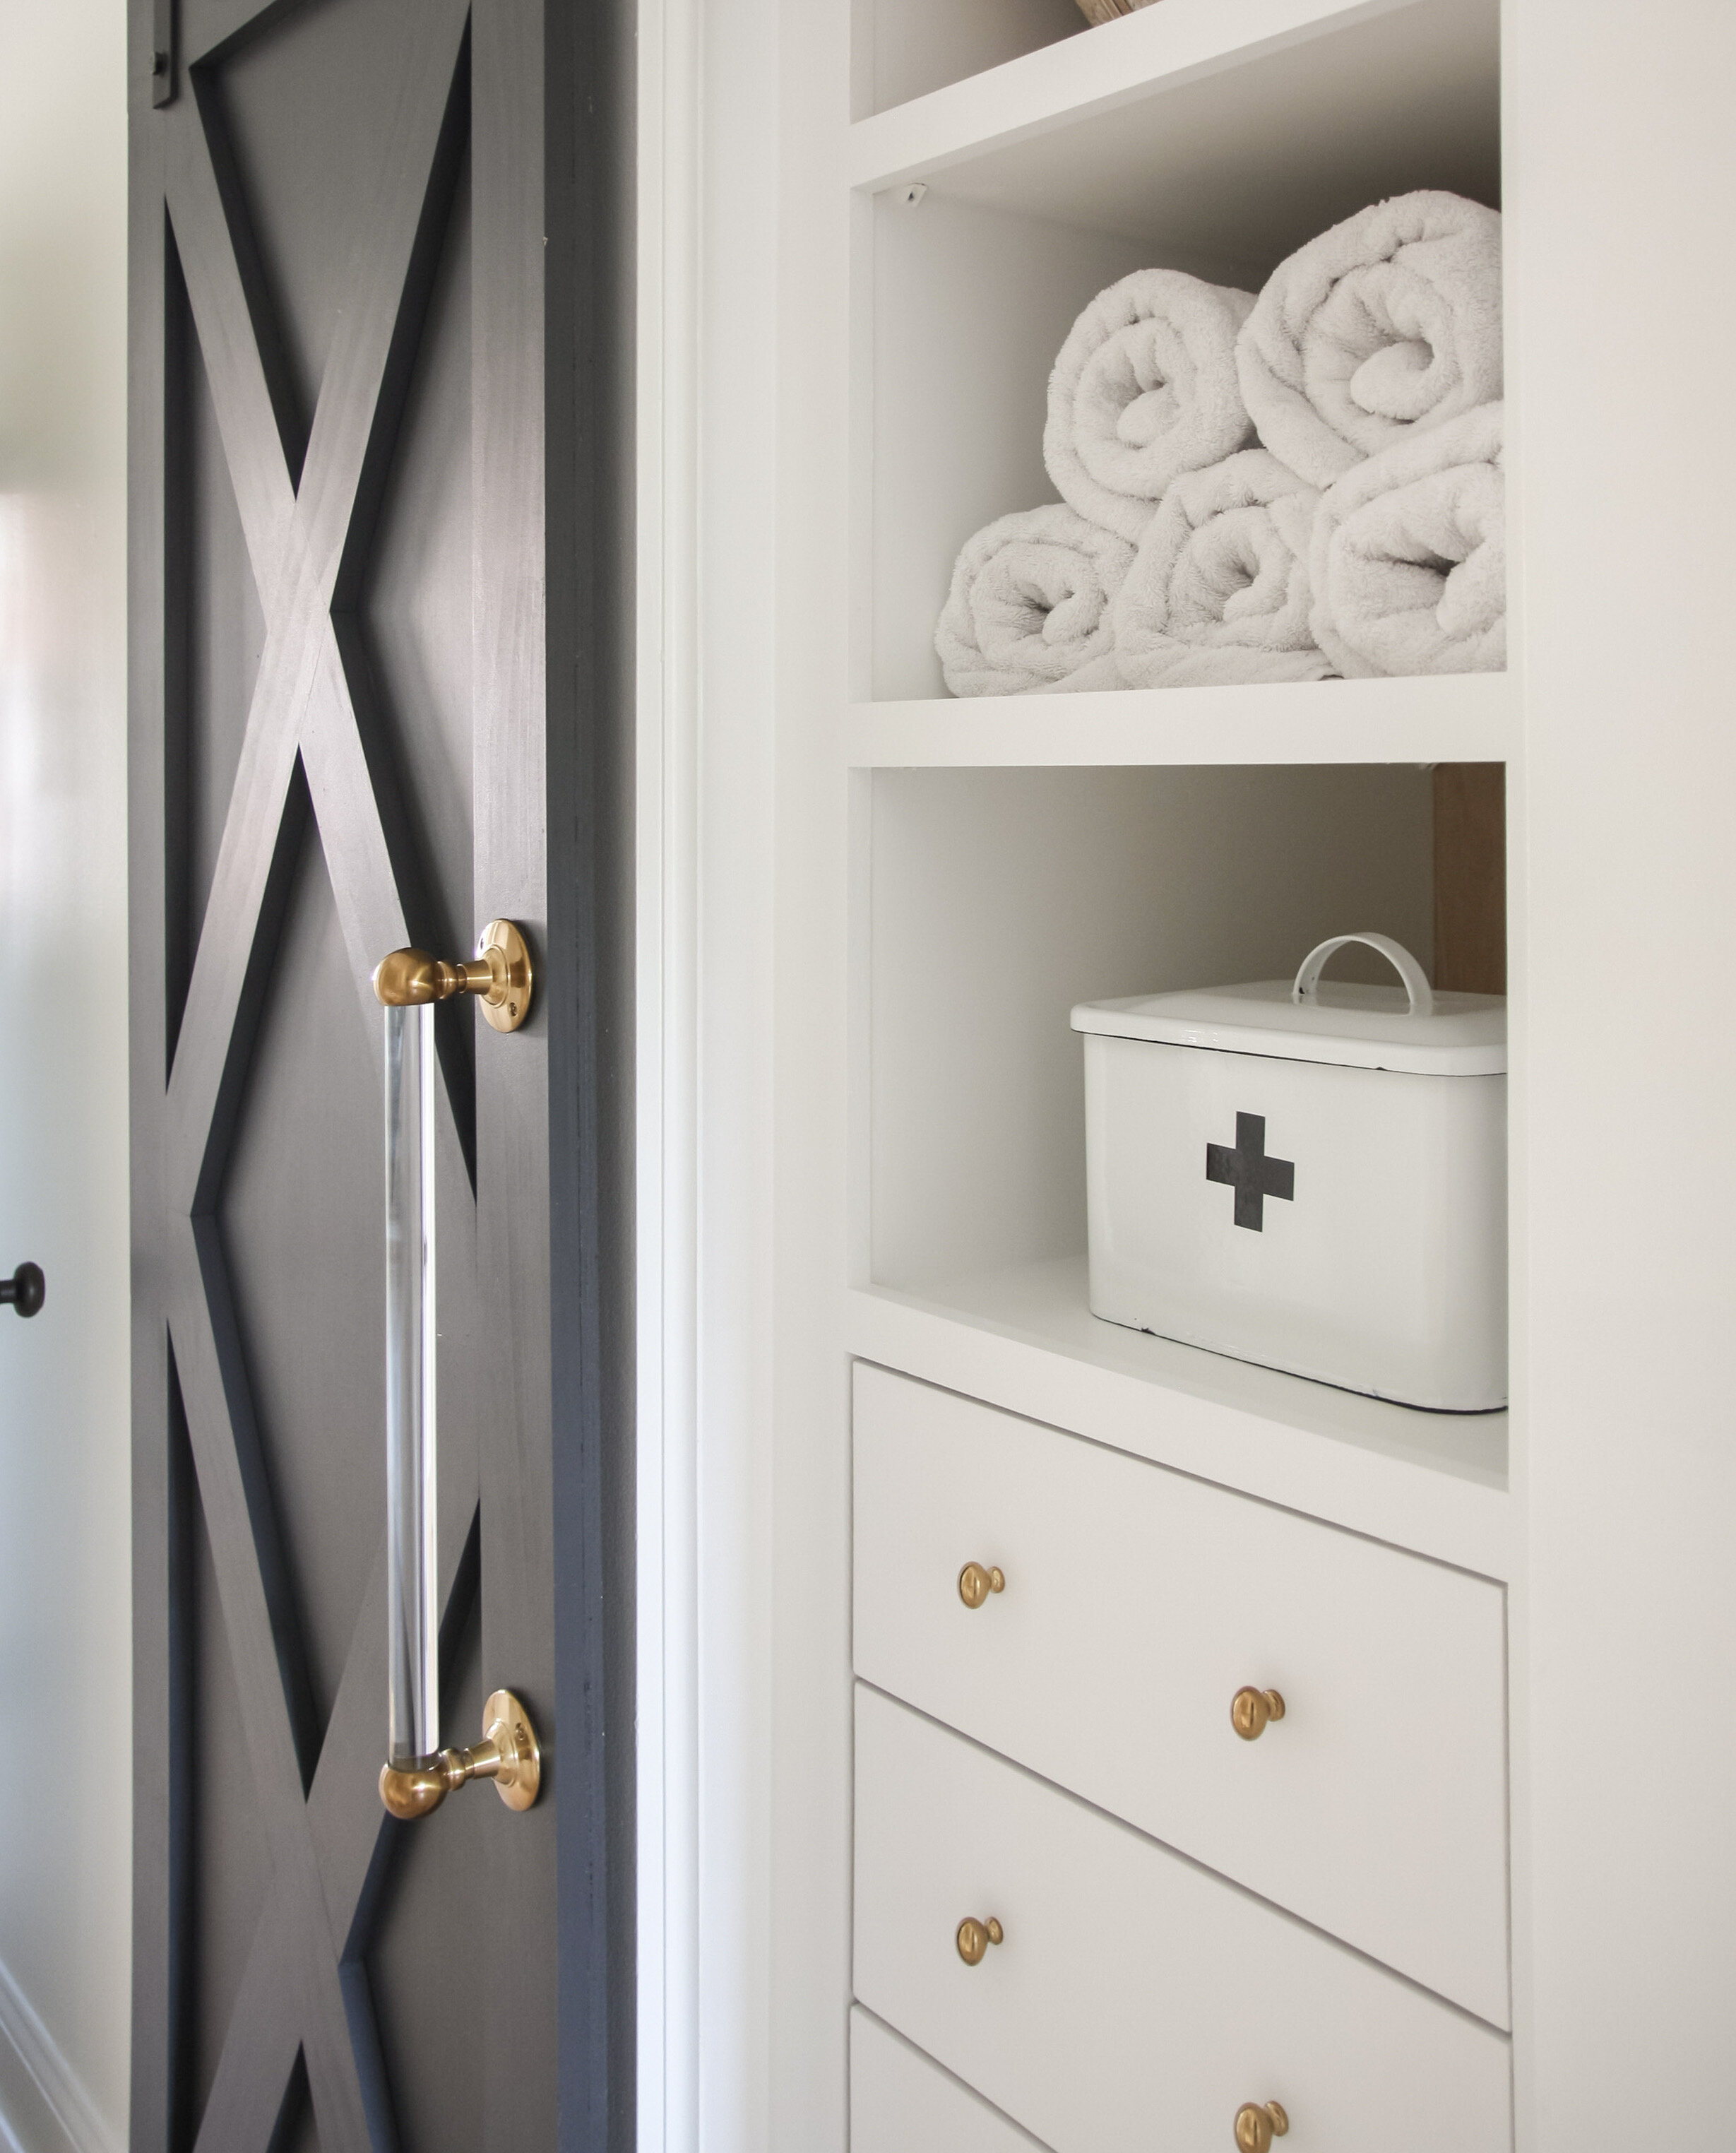
Today on the blog I’m going to share the full tutorial for our new linen closet! I used an IKEA Pax unit for the base of the closet, and added some additional trim and hardware to the piece to make it completely built in and custom.

A44AC305-C07B-442D-86C5-1C854399C419.JPEG

What you’ll need for the project:

Skill Level: Intermediate

I started the project by clearing out the closet to make space for the pax unit. We have a small closet (about 24”w x 26” d x 8ft h) so I was hoping to be able to build the pax outside of the closet and slide it in. Unfortunately that didn’t work, but I was able to build the unit inside the closet—so if you have a small closet like mine, know that is it is difficult, but possible!

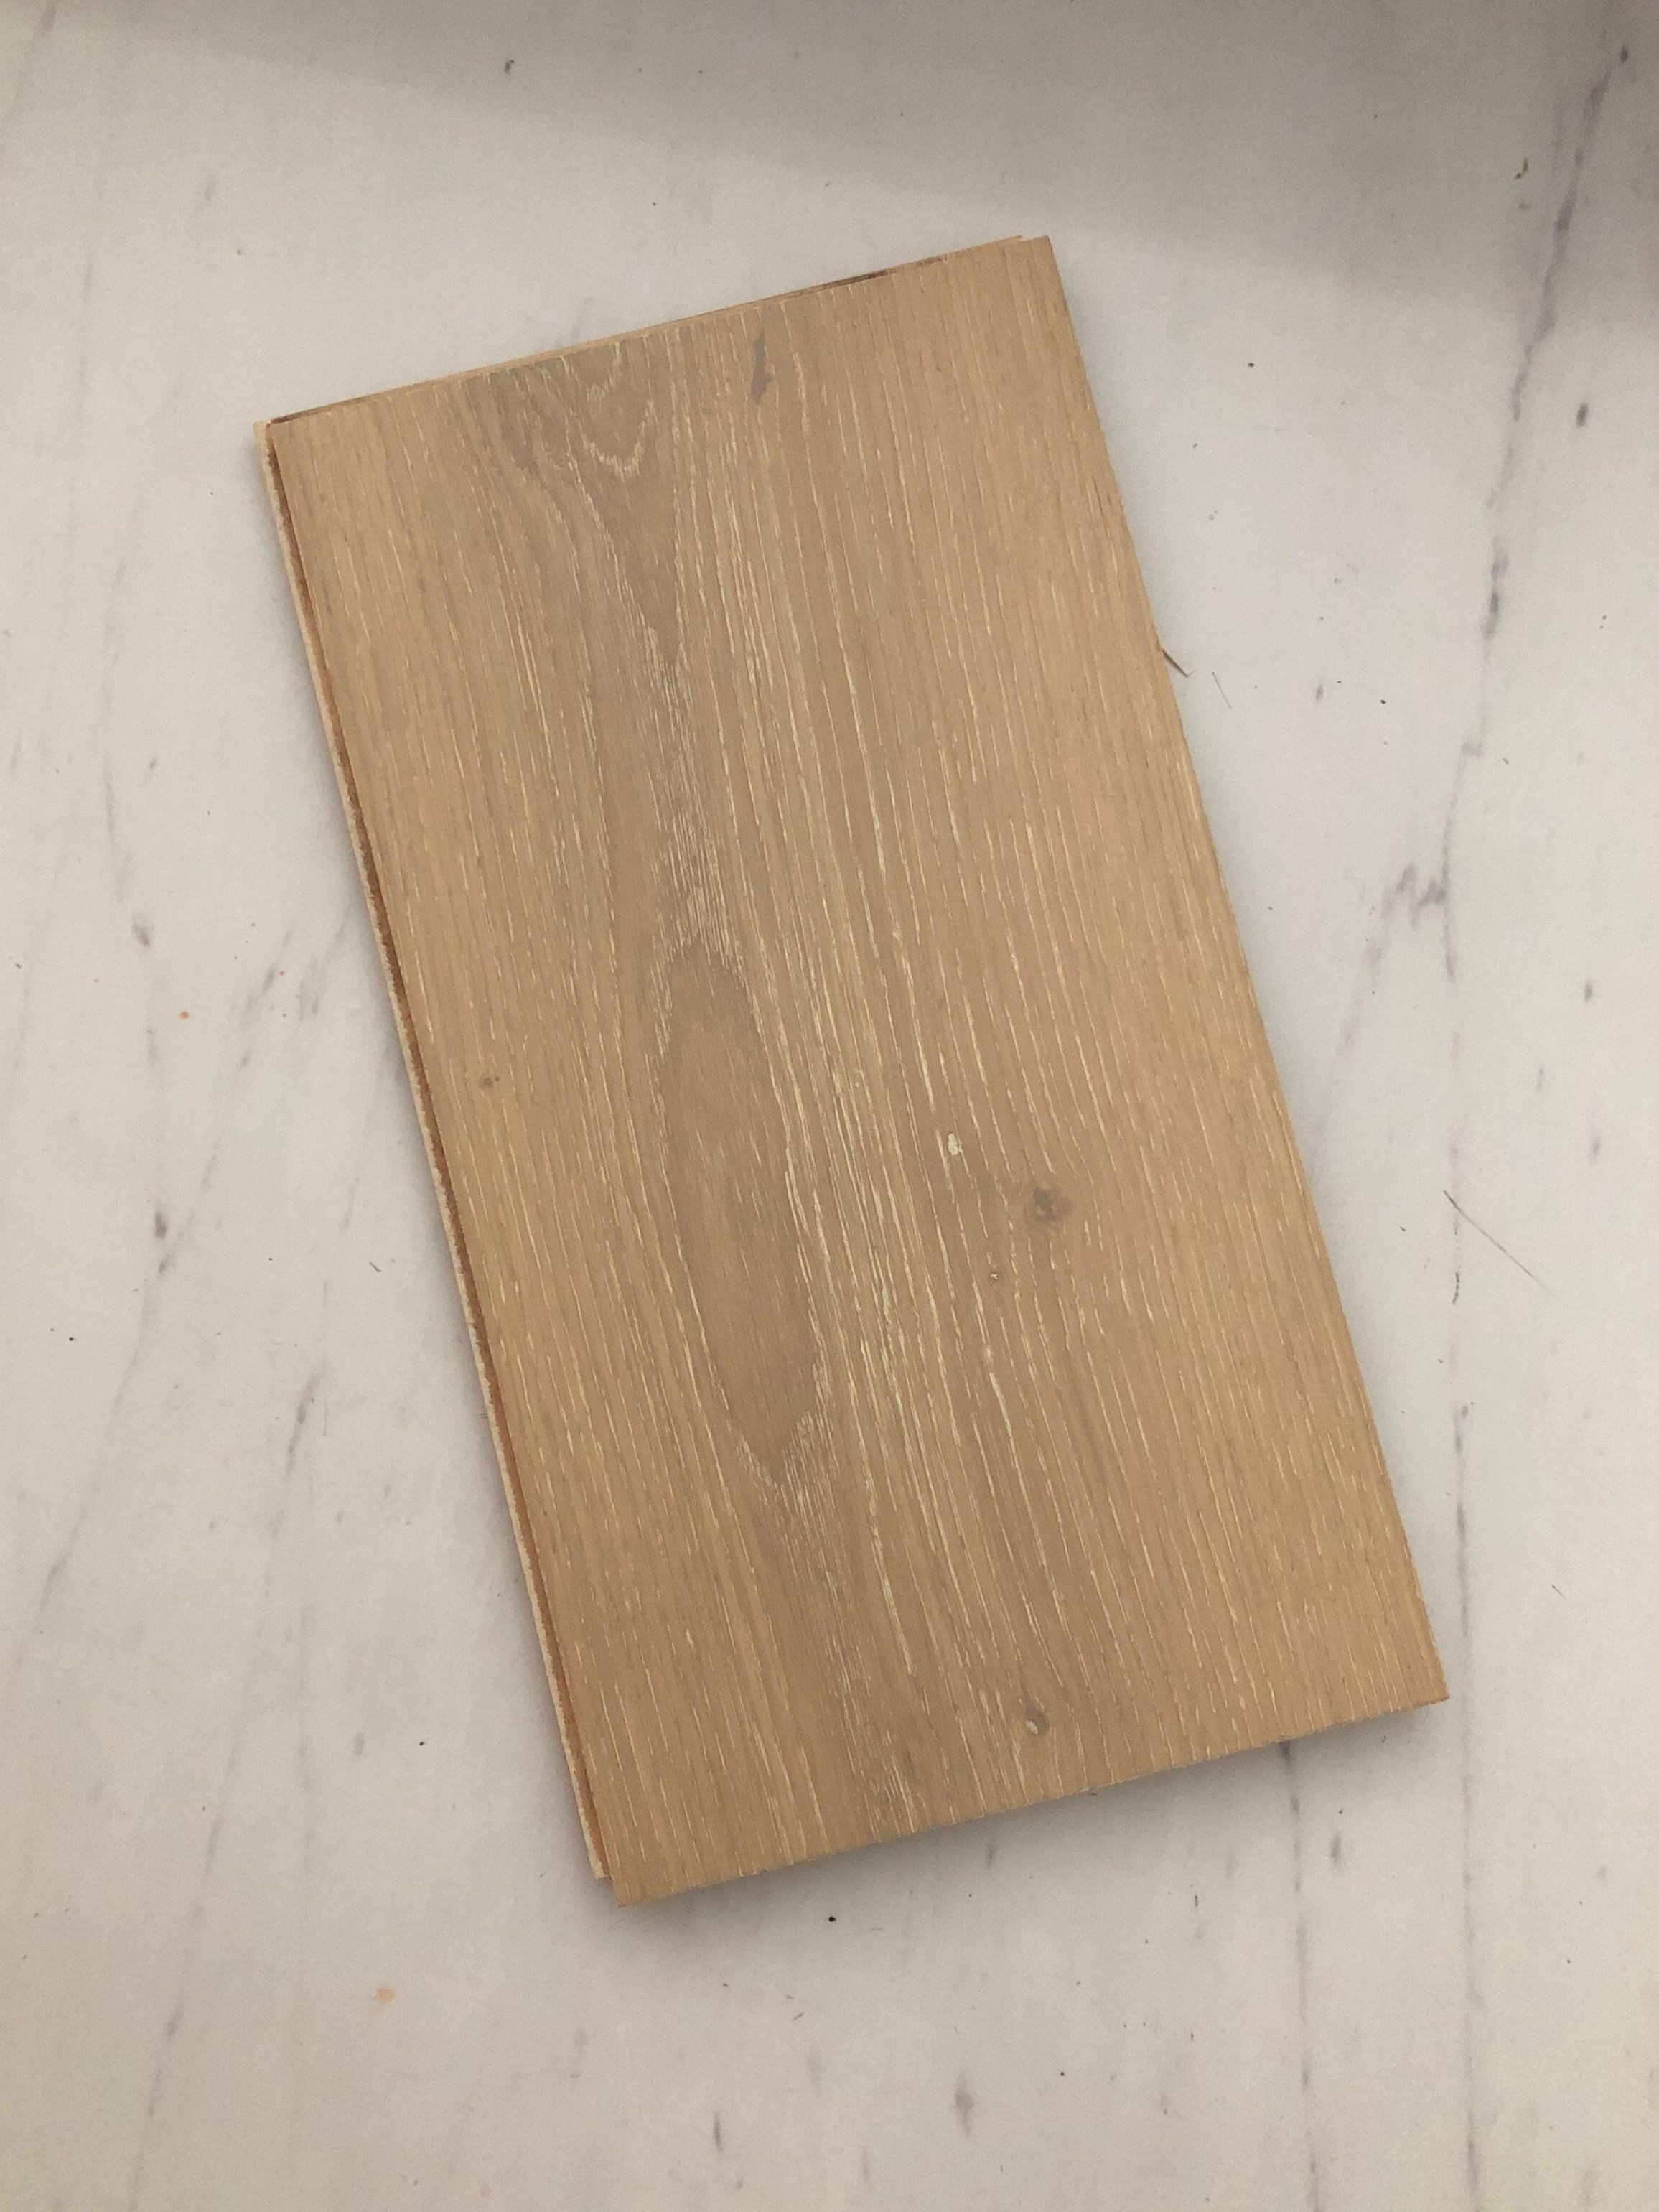
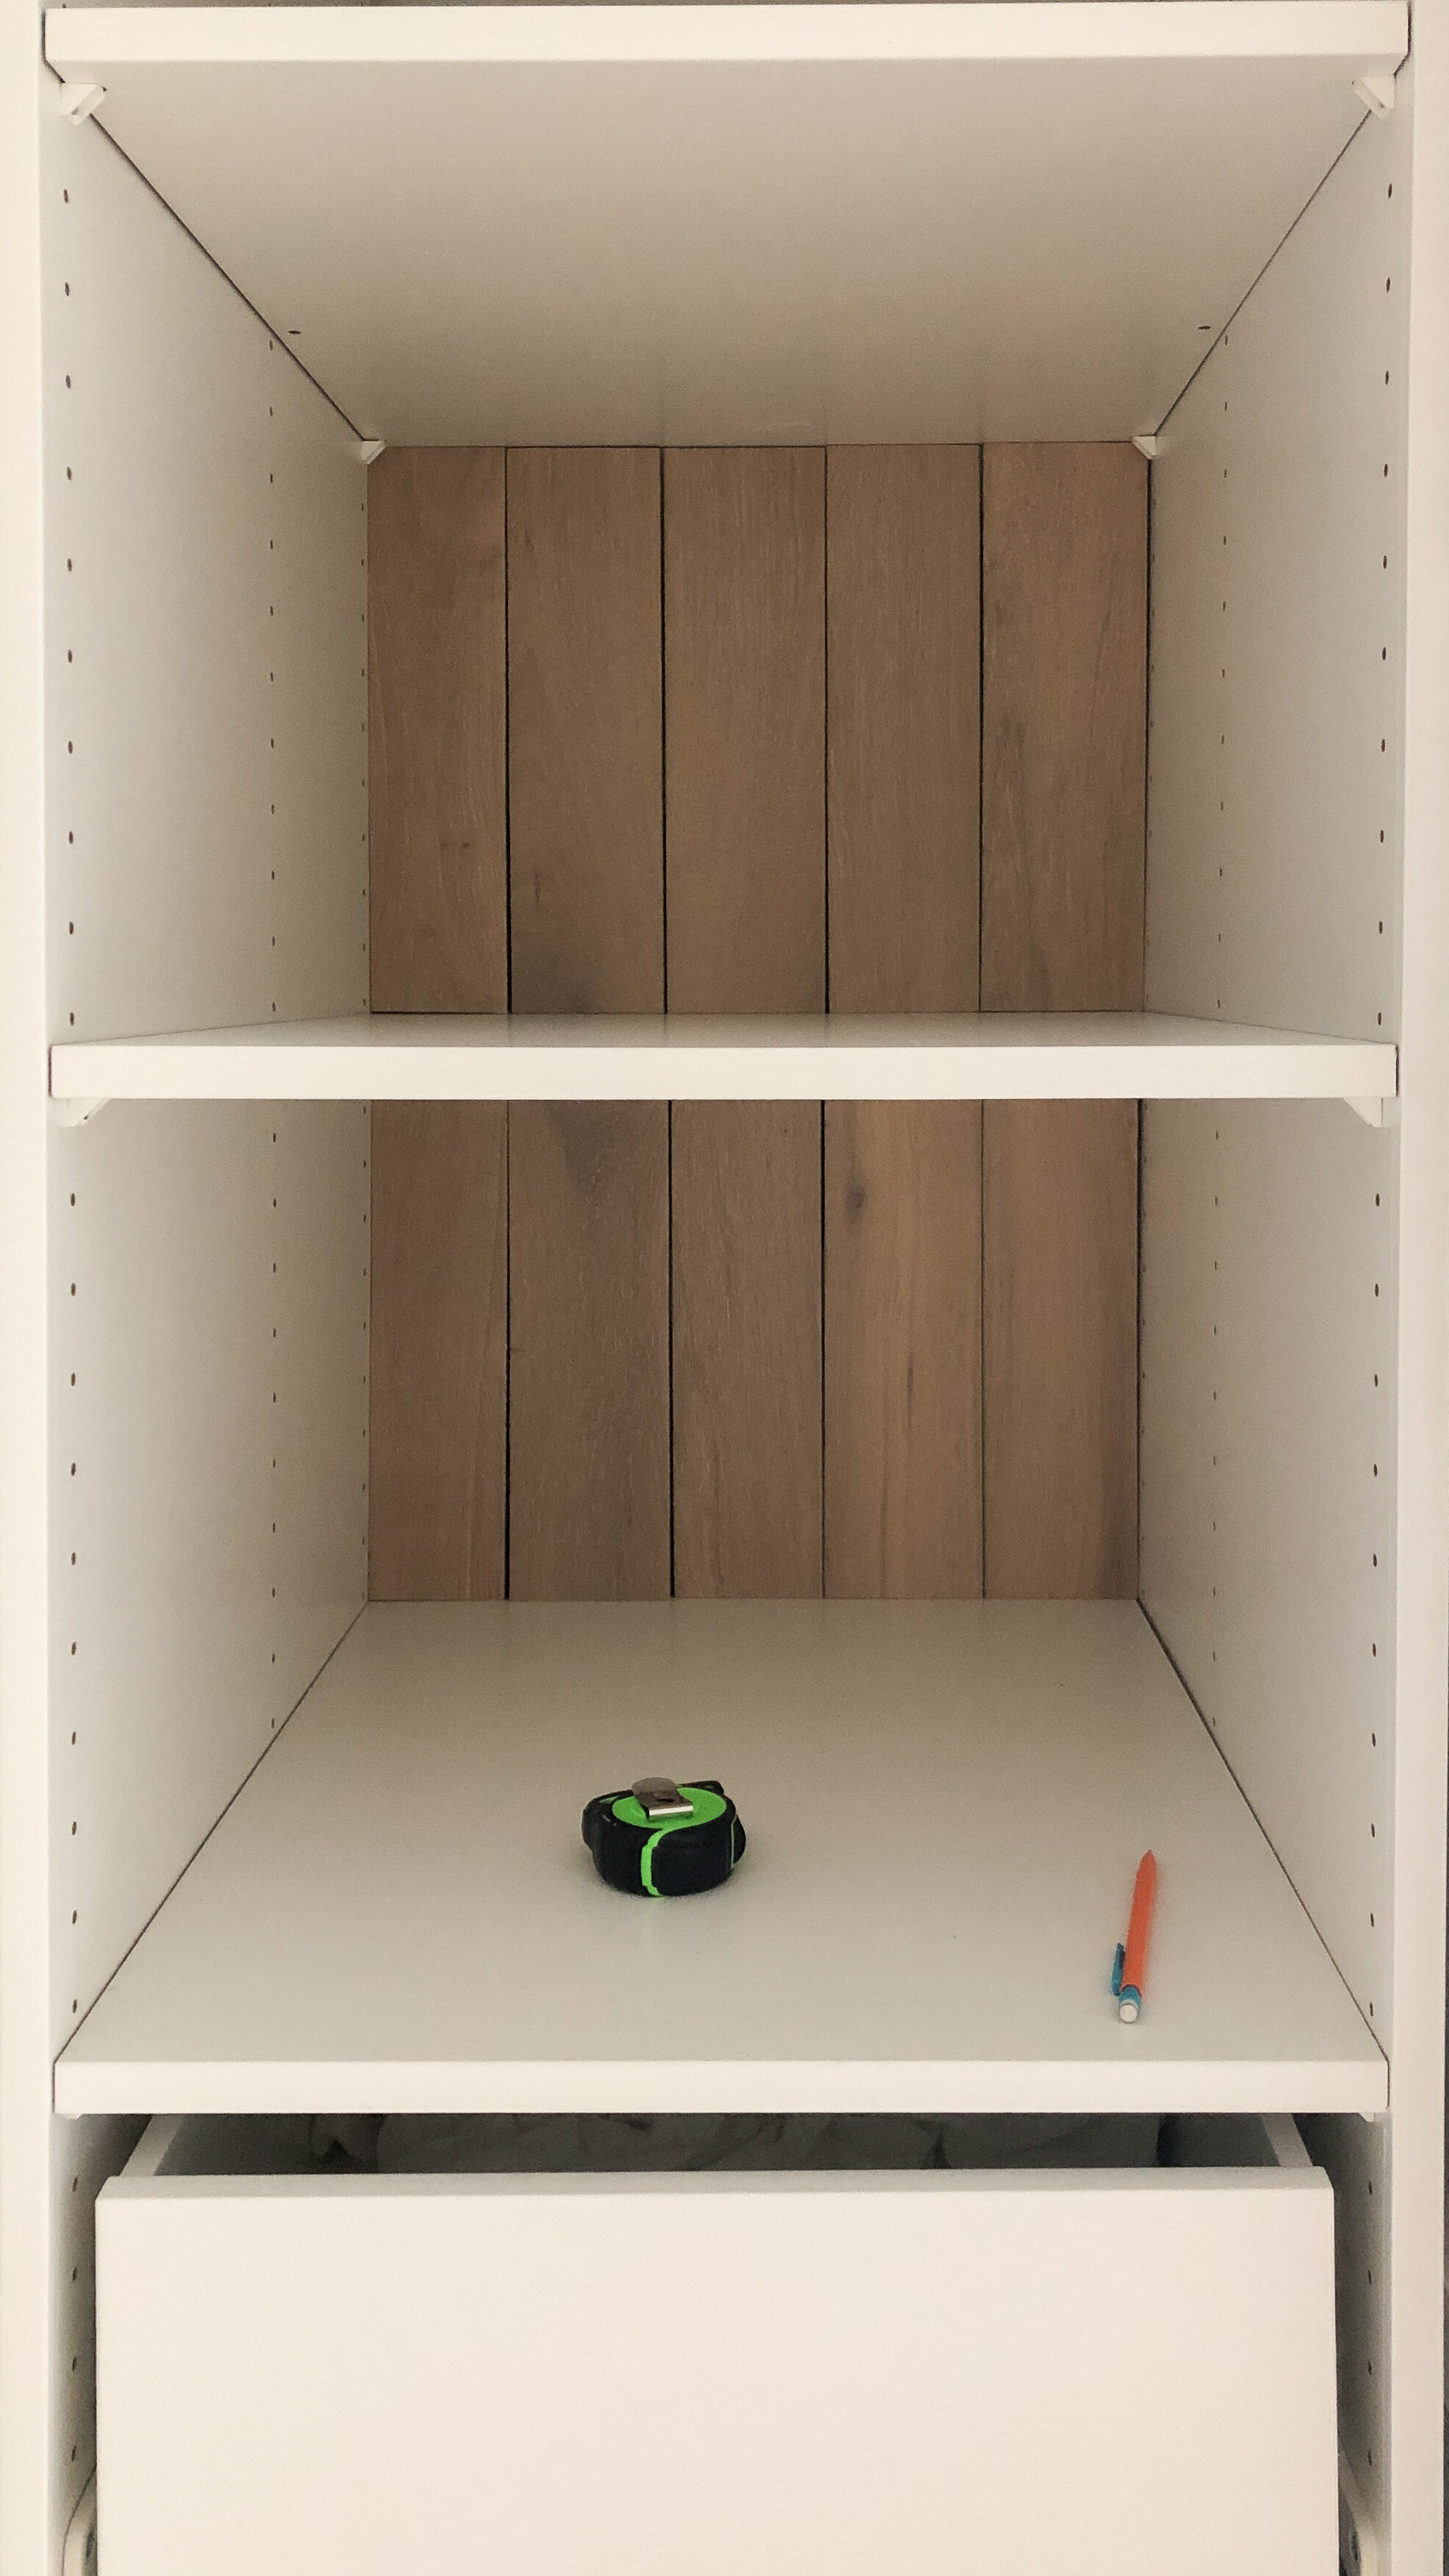
Once I had the unit and the accessories installed, I started to work on the trim for the front of the unit and selected the material to cover the back of the unit. The unit comes with a white plywood backing, which would have worked fine, but I wanted to do something a bit more interesting and textural. I decided to repurpose some extra wood flooring we had on hand, to create a white oak shiplap look. I ripped the 7.5” flooring boards in half and used a nickel to create even gaps between boards. I love that it coordinates with our flooring perfectly, but doesn’t look like I just used our same flooring material in the unit.

Then I used poplar to add a face frame to the front of the unit. I used a 1x2” for the shelves, and ripped down a 1x6” to cover the sides of the unit.

85874349-93F5-4F27-BB98-8E1CA34BA468.JPEG

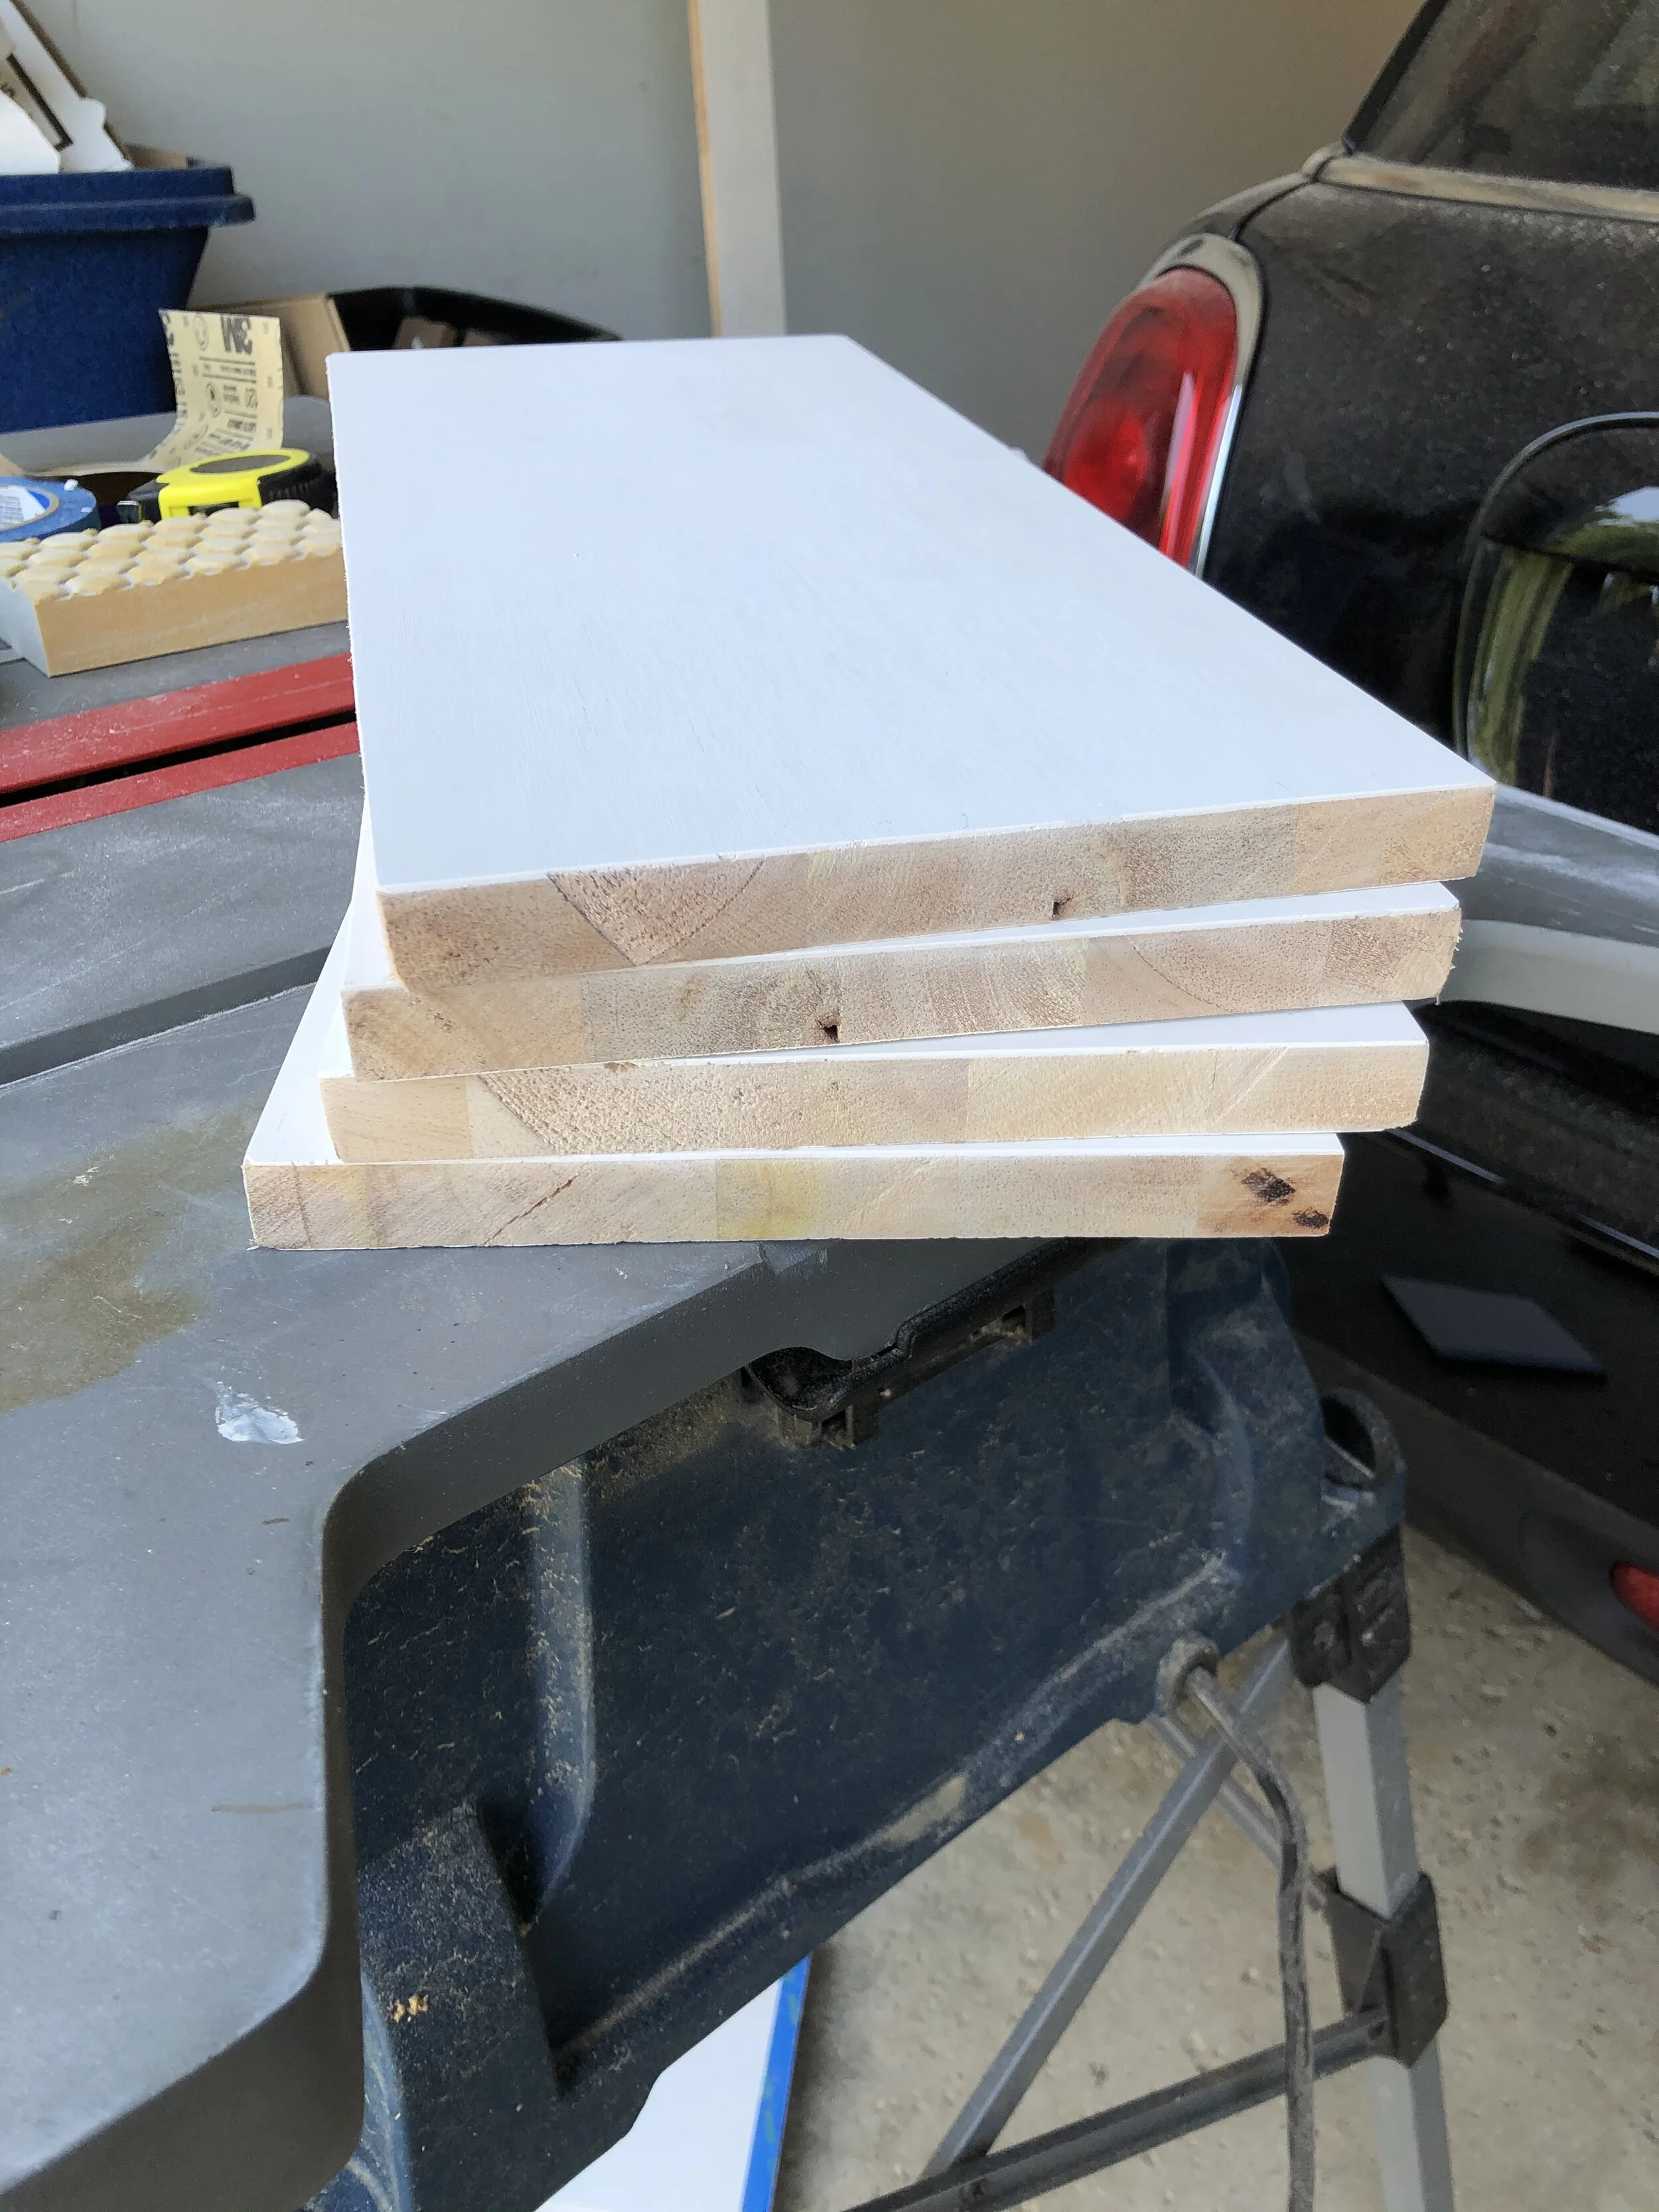
After that I started on the drawer fronts. I decided to do an inset solid slab drawer front with a 3/16” gap all around. I started by making a few spacers to help me position the drawer fronts before installing. Then I cut my primed pine drawer fronts to size with my table saw and circular saw. I decided to make the top four drawers the same size, and the bottom drawer just a 1/4” taller just so that my measurements were easier to work with. In the end you can’t tell there’s a size difference at all! I sanded the fronts with 220 grit sandpaper and rounded the front edges just slightly to give them a more finished look, but was careful not to sand the corners much so that the 3/16” gap remained even all the way around.

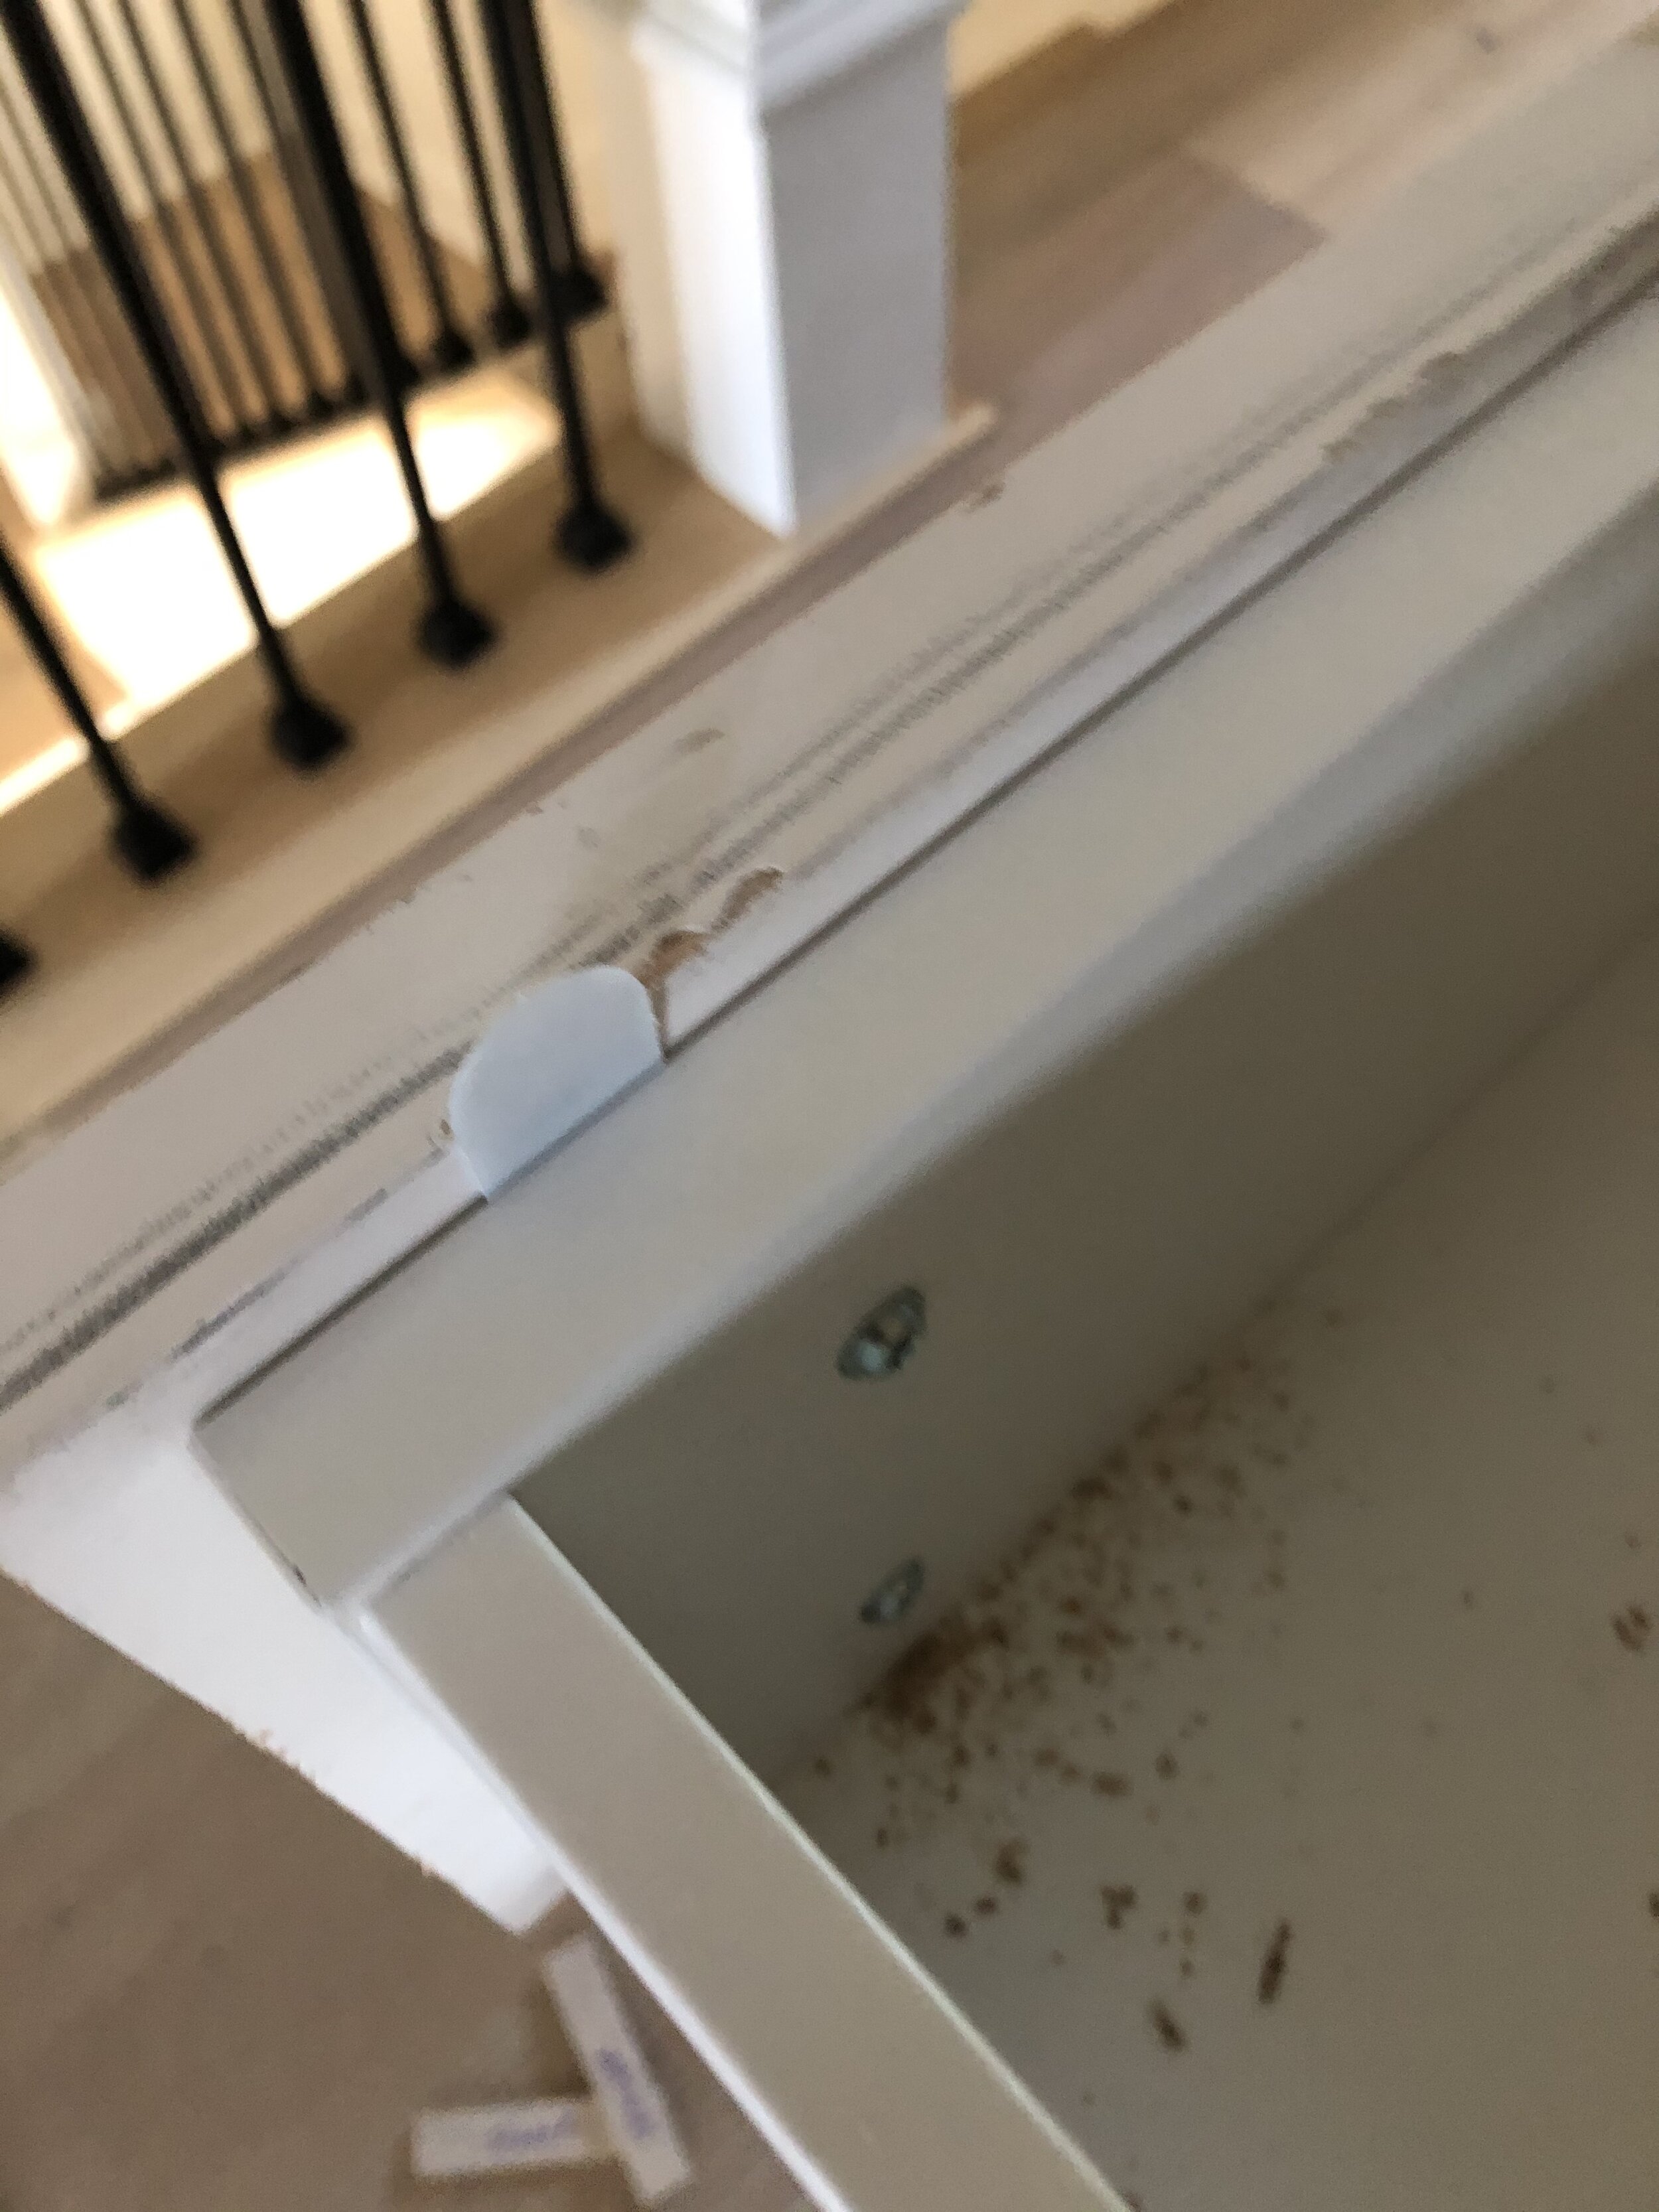
I used command strips on the drawer fronts so that I could get the placement right before attaching them, and then I didn’t have to worry about the drawer slipping as much when I screwed them in place. I used four 1 1/4” screws to attach all the drawers. Be careful with your screw placement at this step, as you don’t want them to conflict with the placement of you drawer pulls. I made sure I kept the pull tab exposed so that once the drawer fronts were attached I could easily pull the command strip out.

IMG_4477.jpeg
EA69A1B1-7E88-4295-AD6B-C879B197DEE2.JPEG

I used painters tape to create a pull on each drawer so that I could still open then before I attached the drawer pulls.

Once the drawer fronts were done, I caulked and wood filled all the extra holes and gaps, and painted the entire piece in extra white by Sherwin Williams. Then I installed these knobs on the drawers, and called the project complete!


A Before and After Tour of Our Home (Part 2)


Today I’m sharing part two of our before and after home tour—this time, we’re heading upstairs! Our second floor has some of my favorite renovations, and honestly it’s probably the floor we’ve done the most work to so far!

We’ll begin with the rest of the stairwell and hallway, along with my most recent renovation—the linen closet!

D3C2441B-8A14-463A-8967-31B768D8CD17.JPEG
IMG_1679.JPG
IMG_1697.JPG

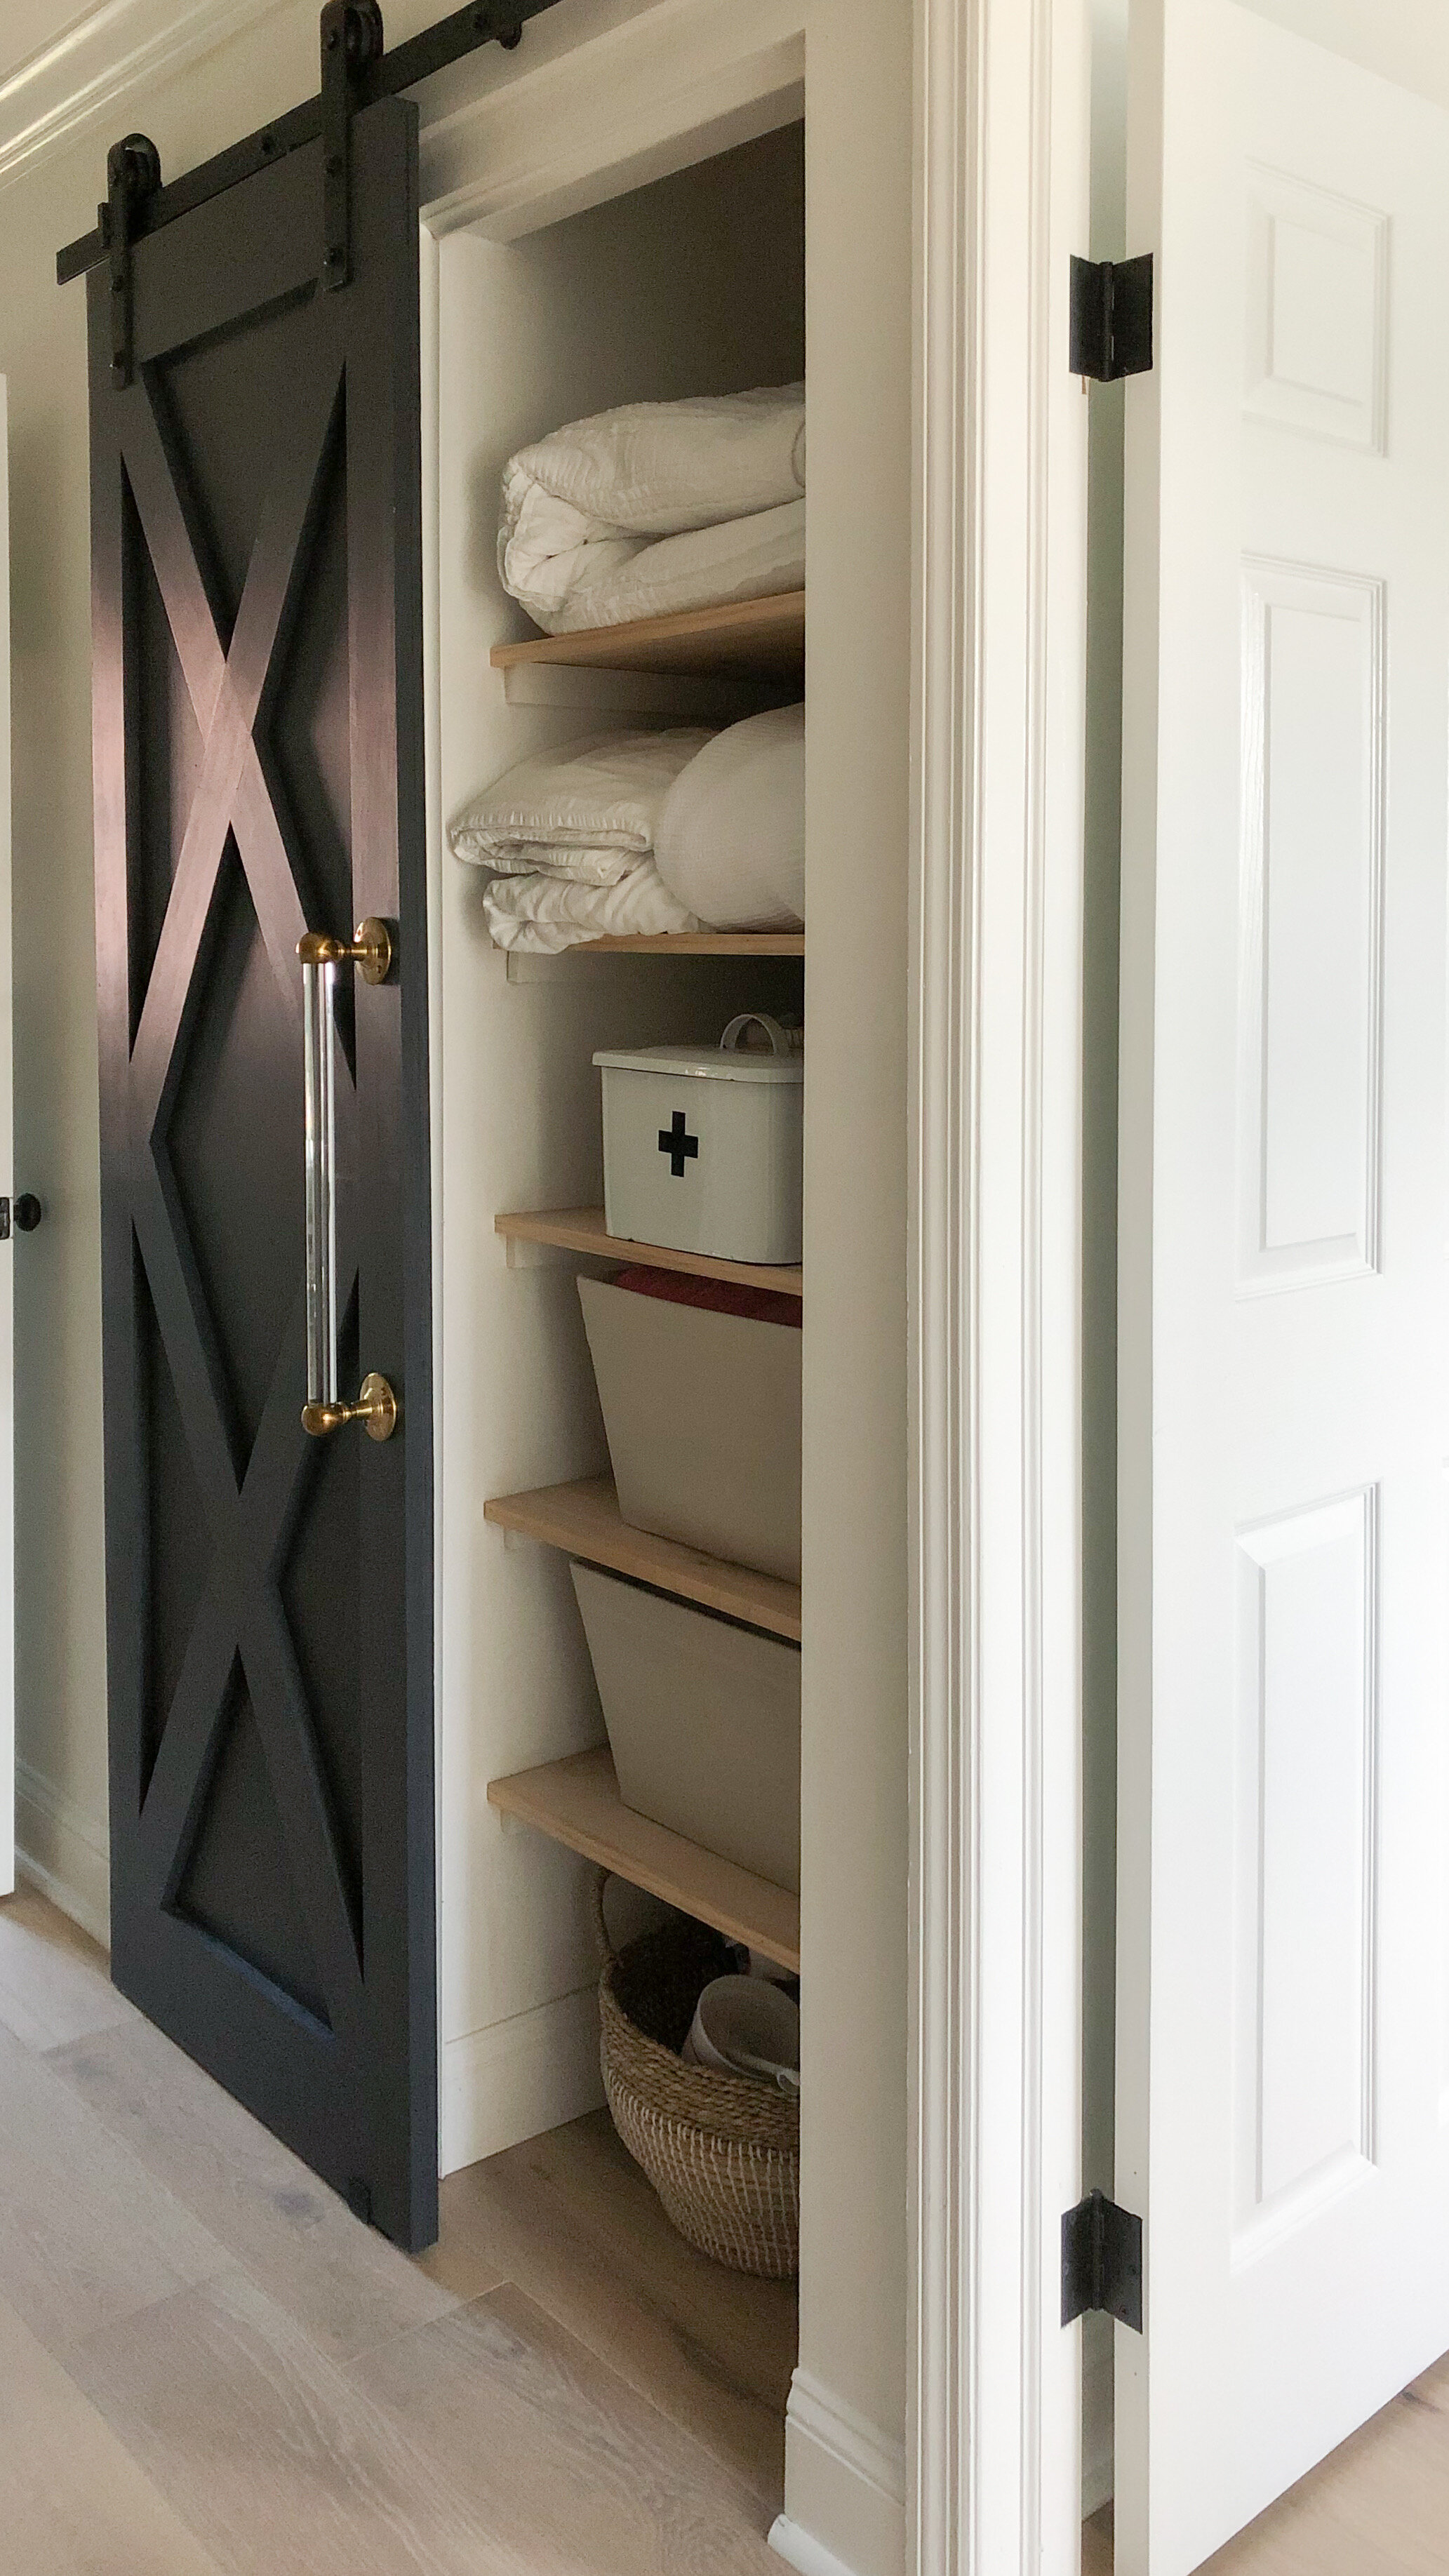
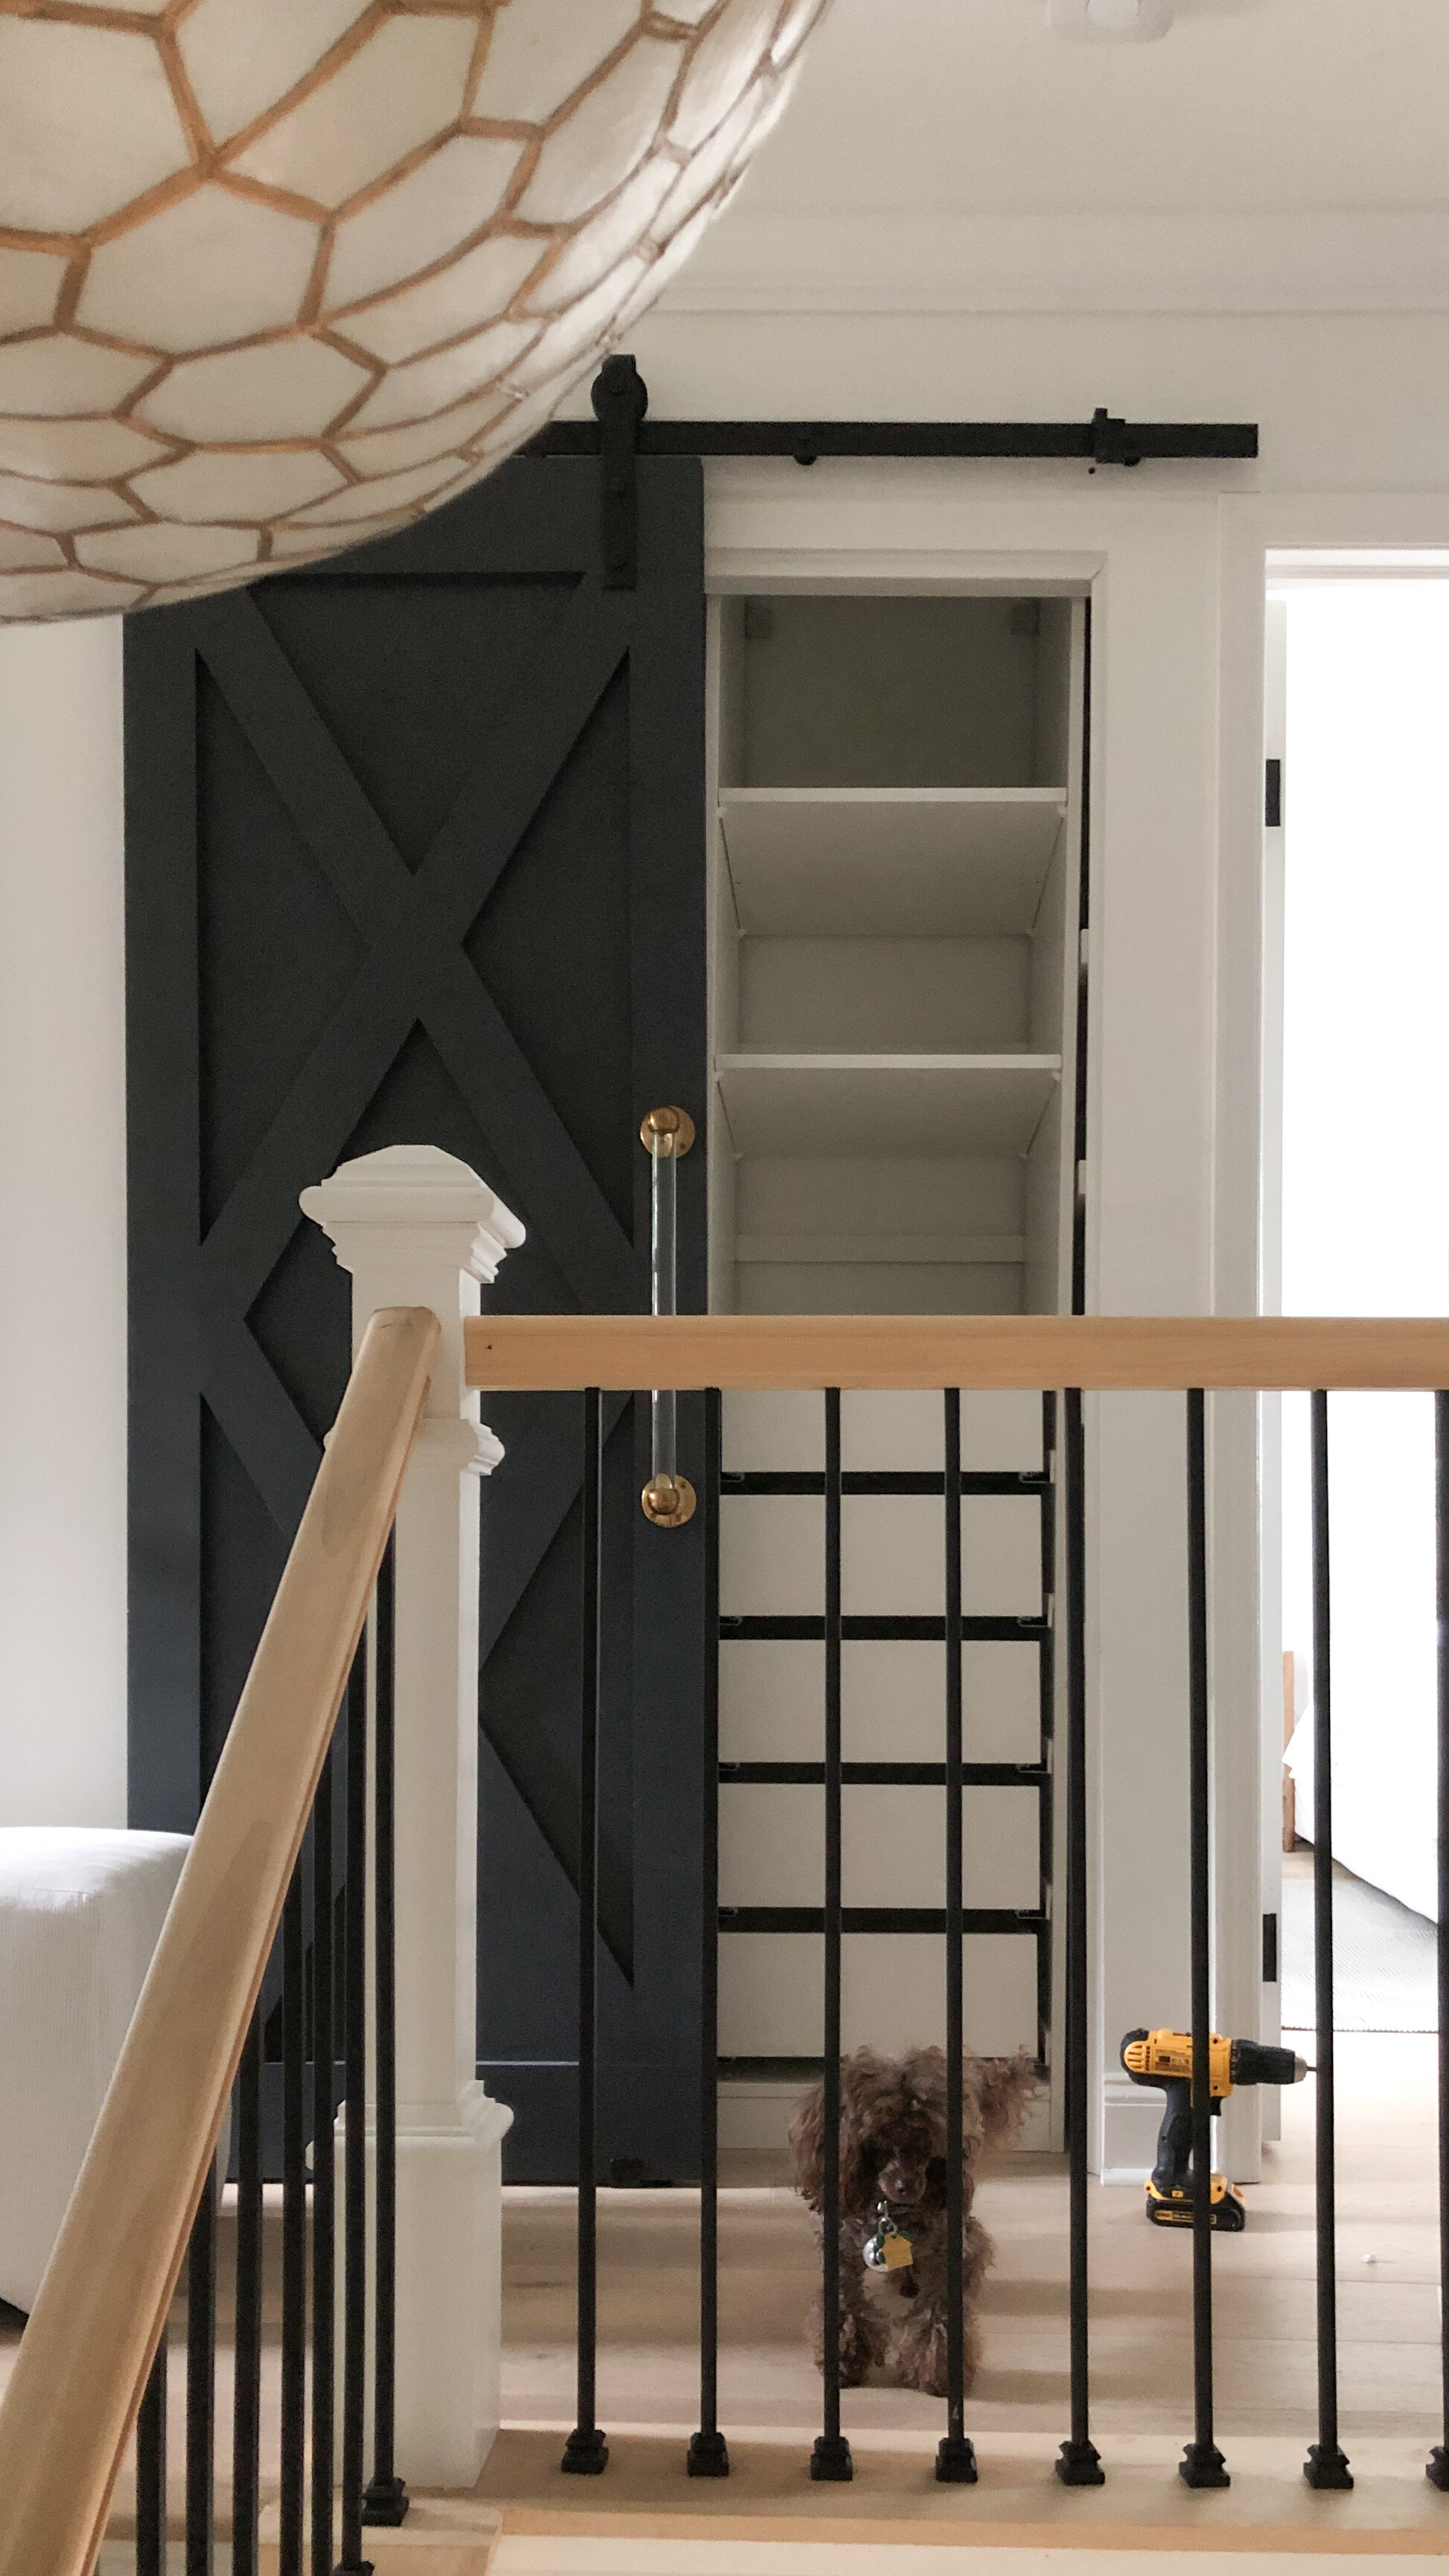
In the stairwell we took out the half wall and continued the railings all the way up to the second floor. It made the stairwell so much brighter and gave it a more open and spacious feeling. We removed the accordion door to the linen closet, and I made a bar door and just last week, I made a custom built in inside the closet.

B3652F13-8FF5-400B-B70A-5BA86C9BBE7E.JPEG

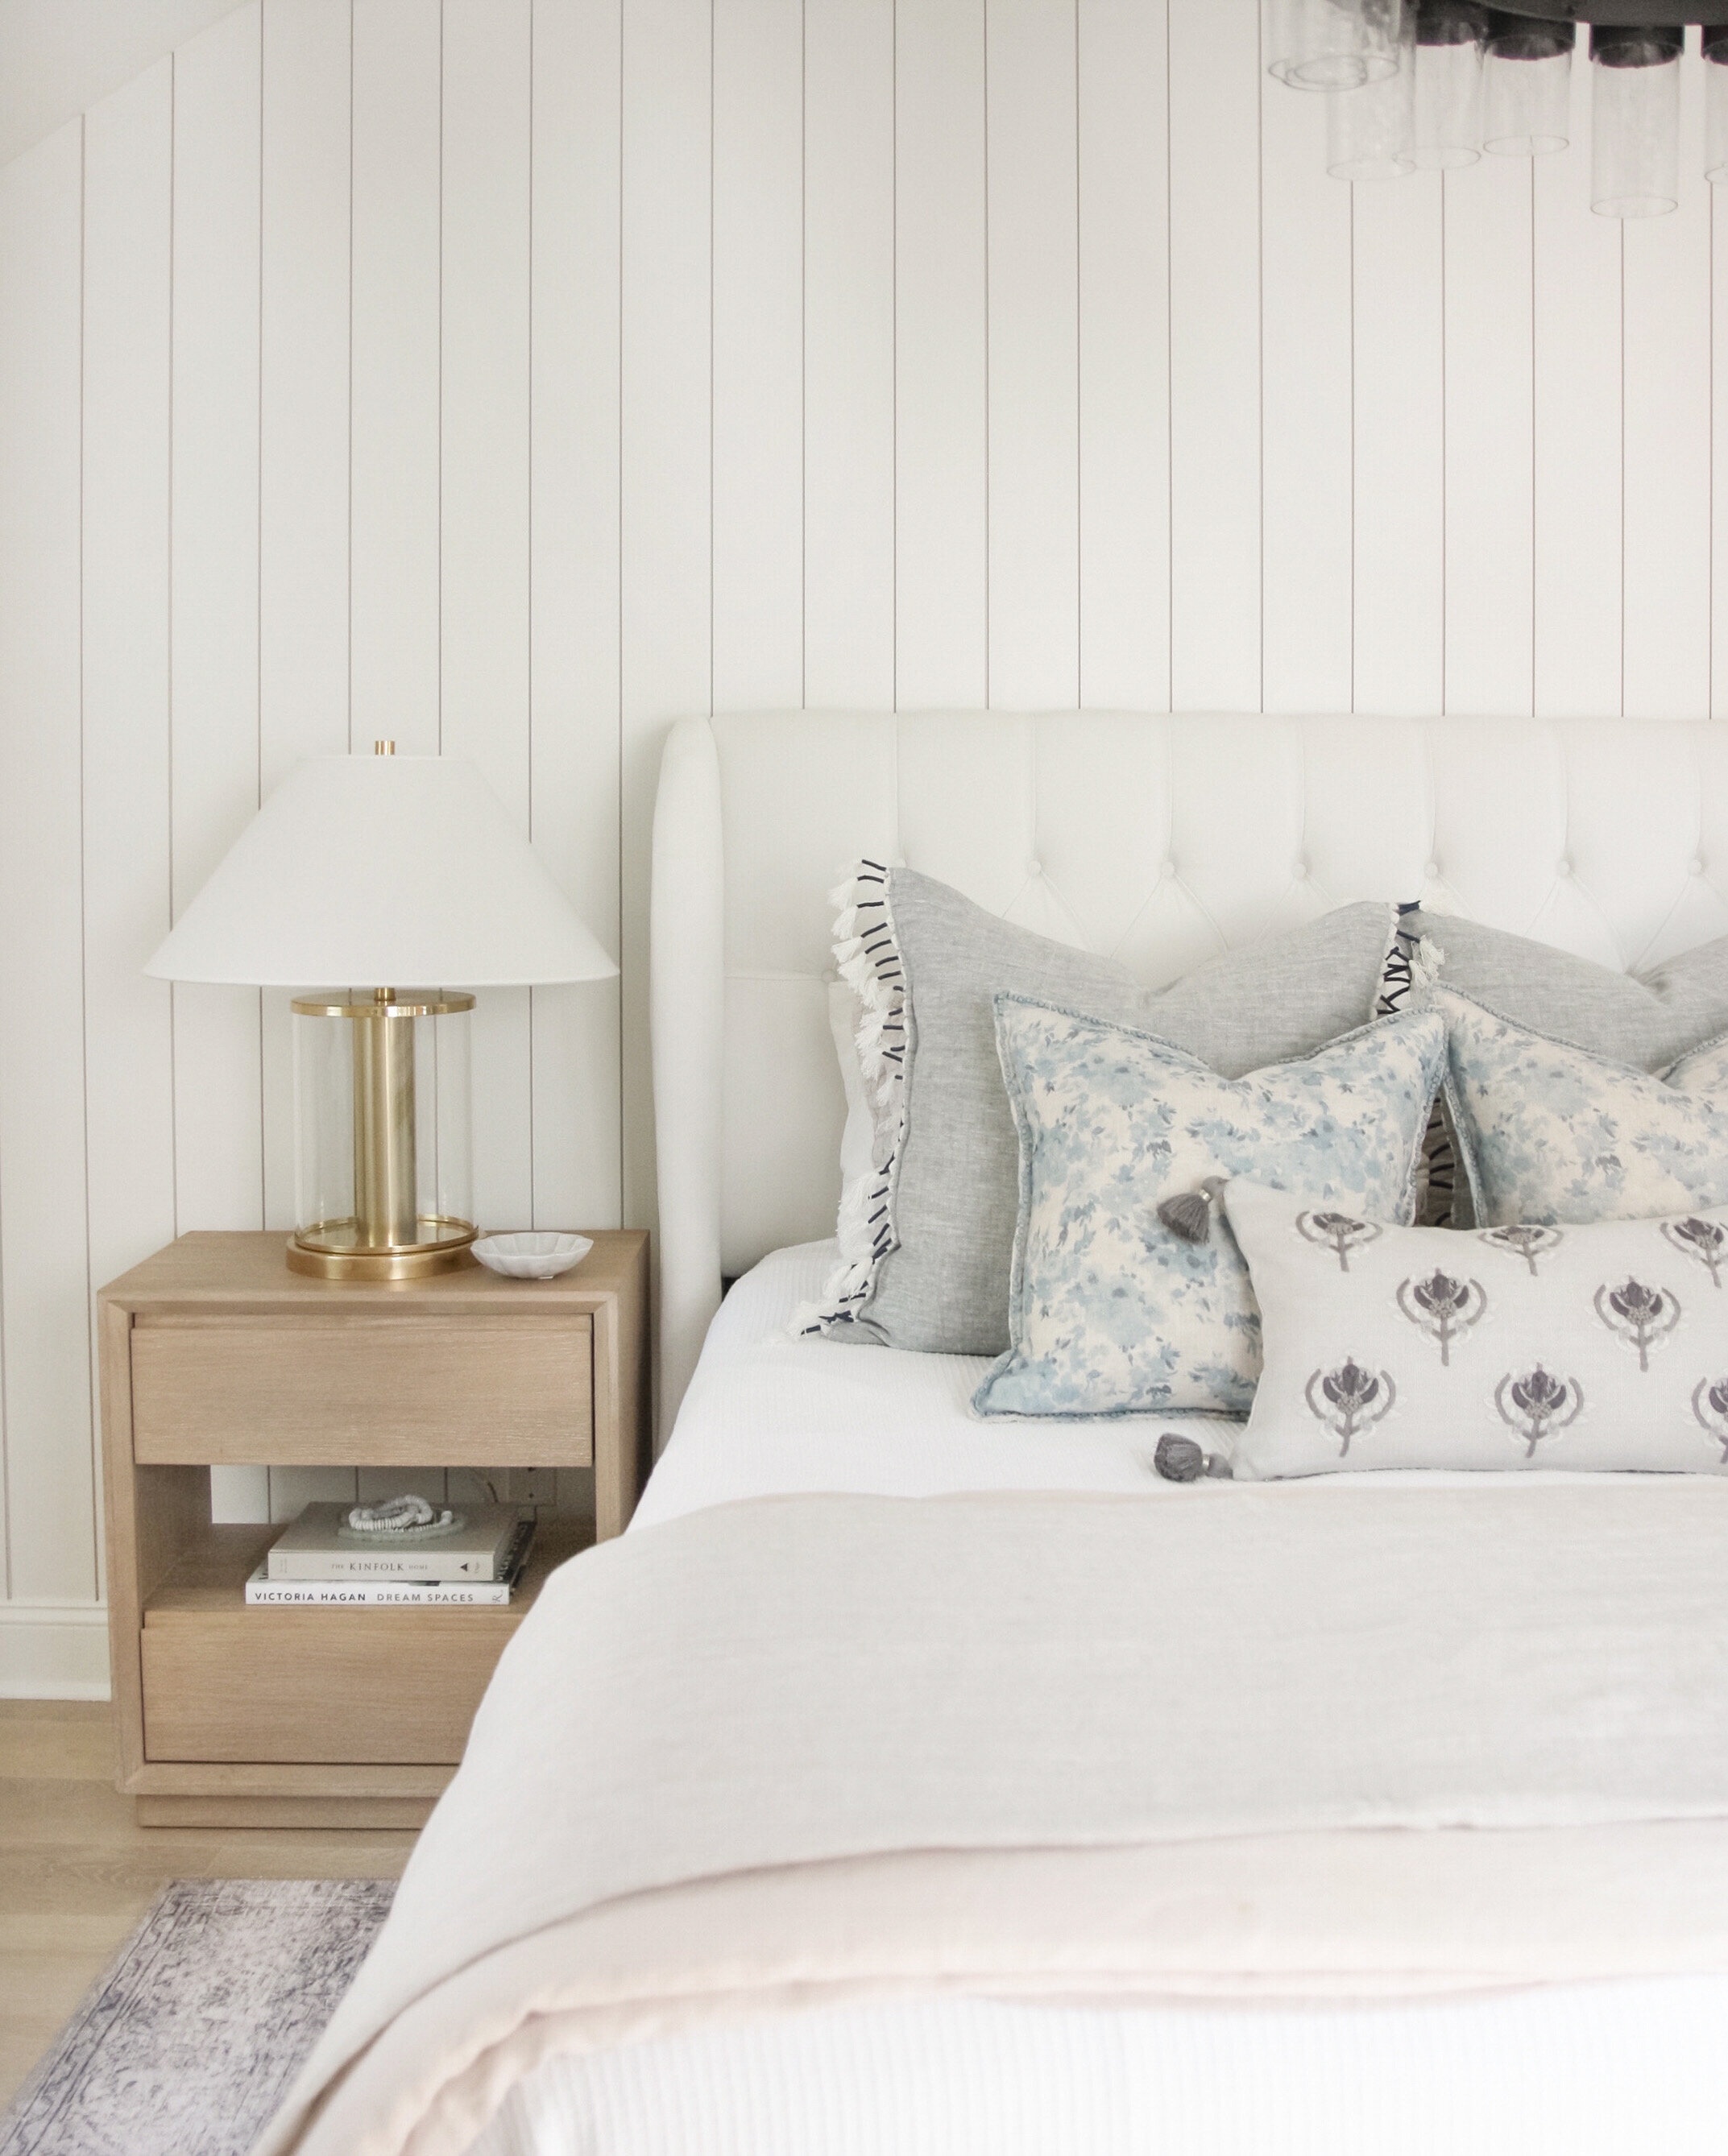
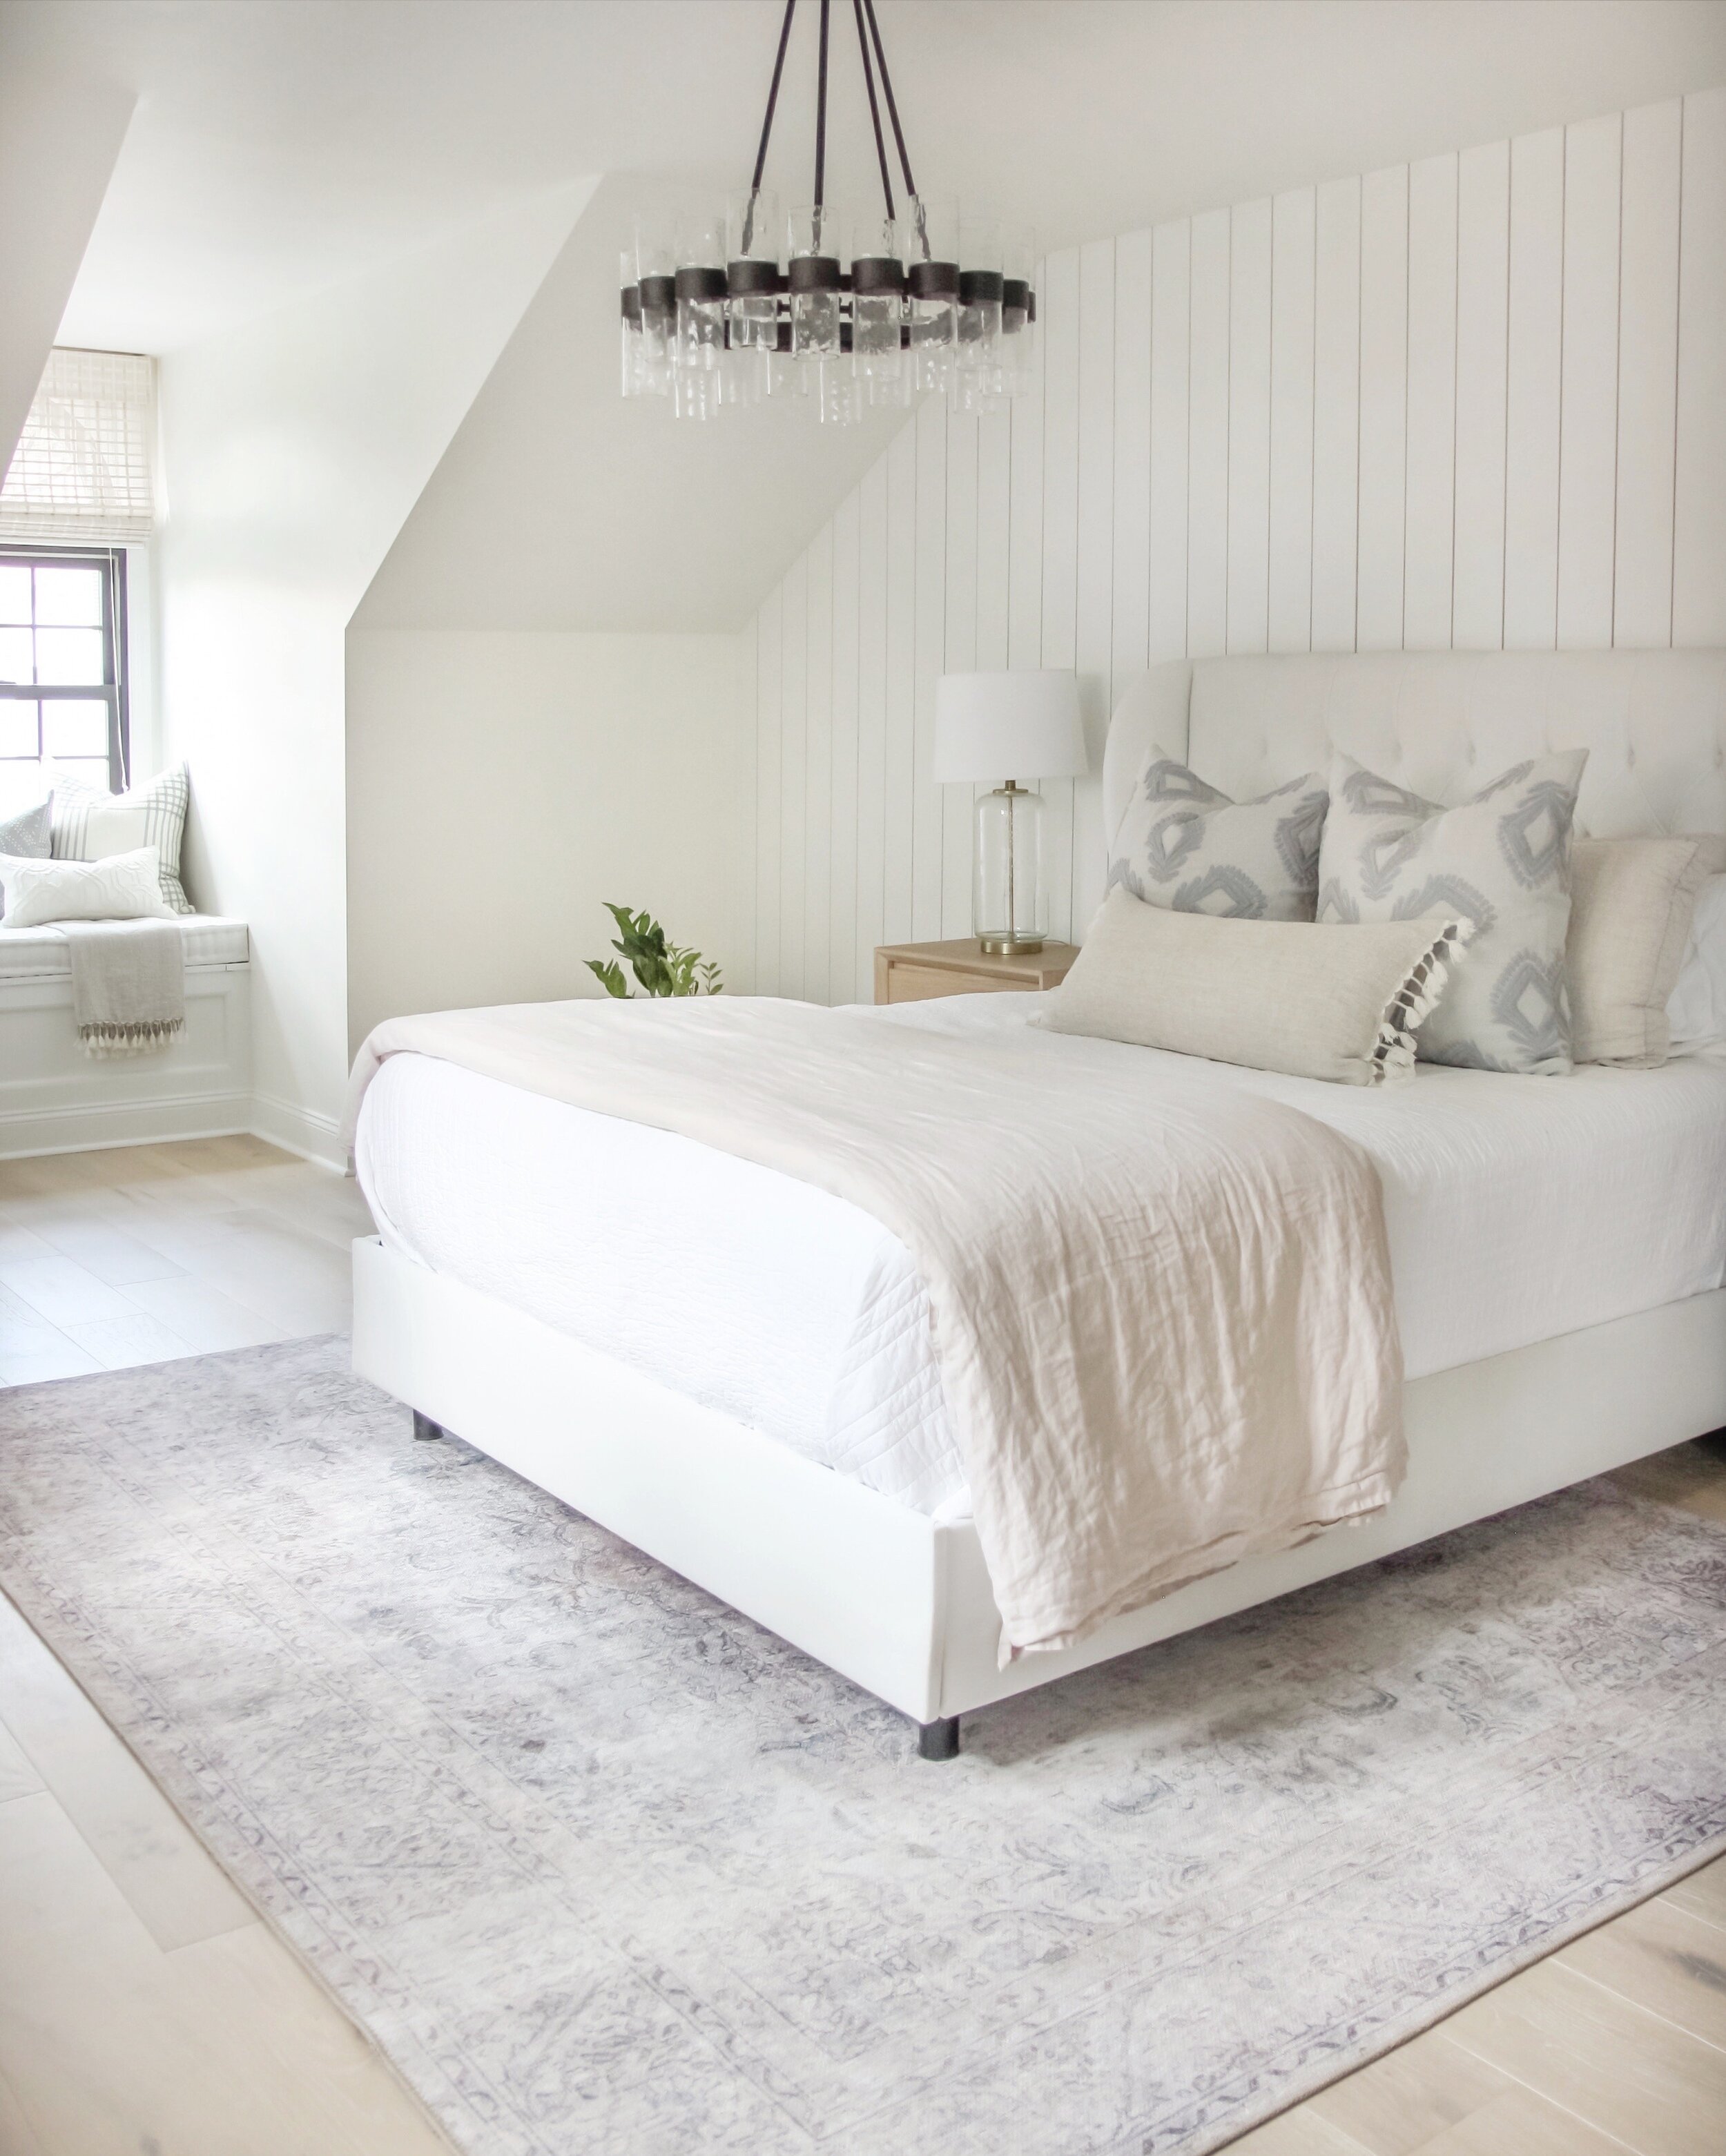
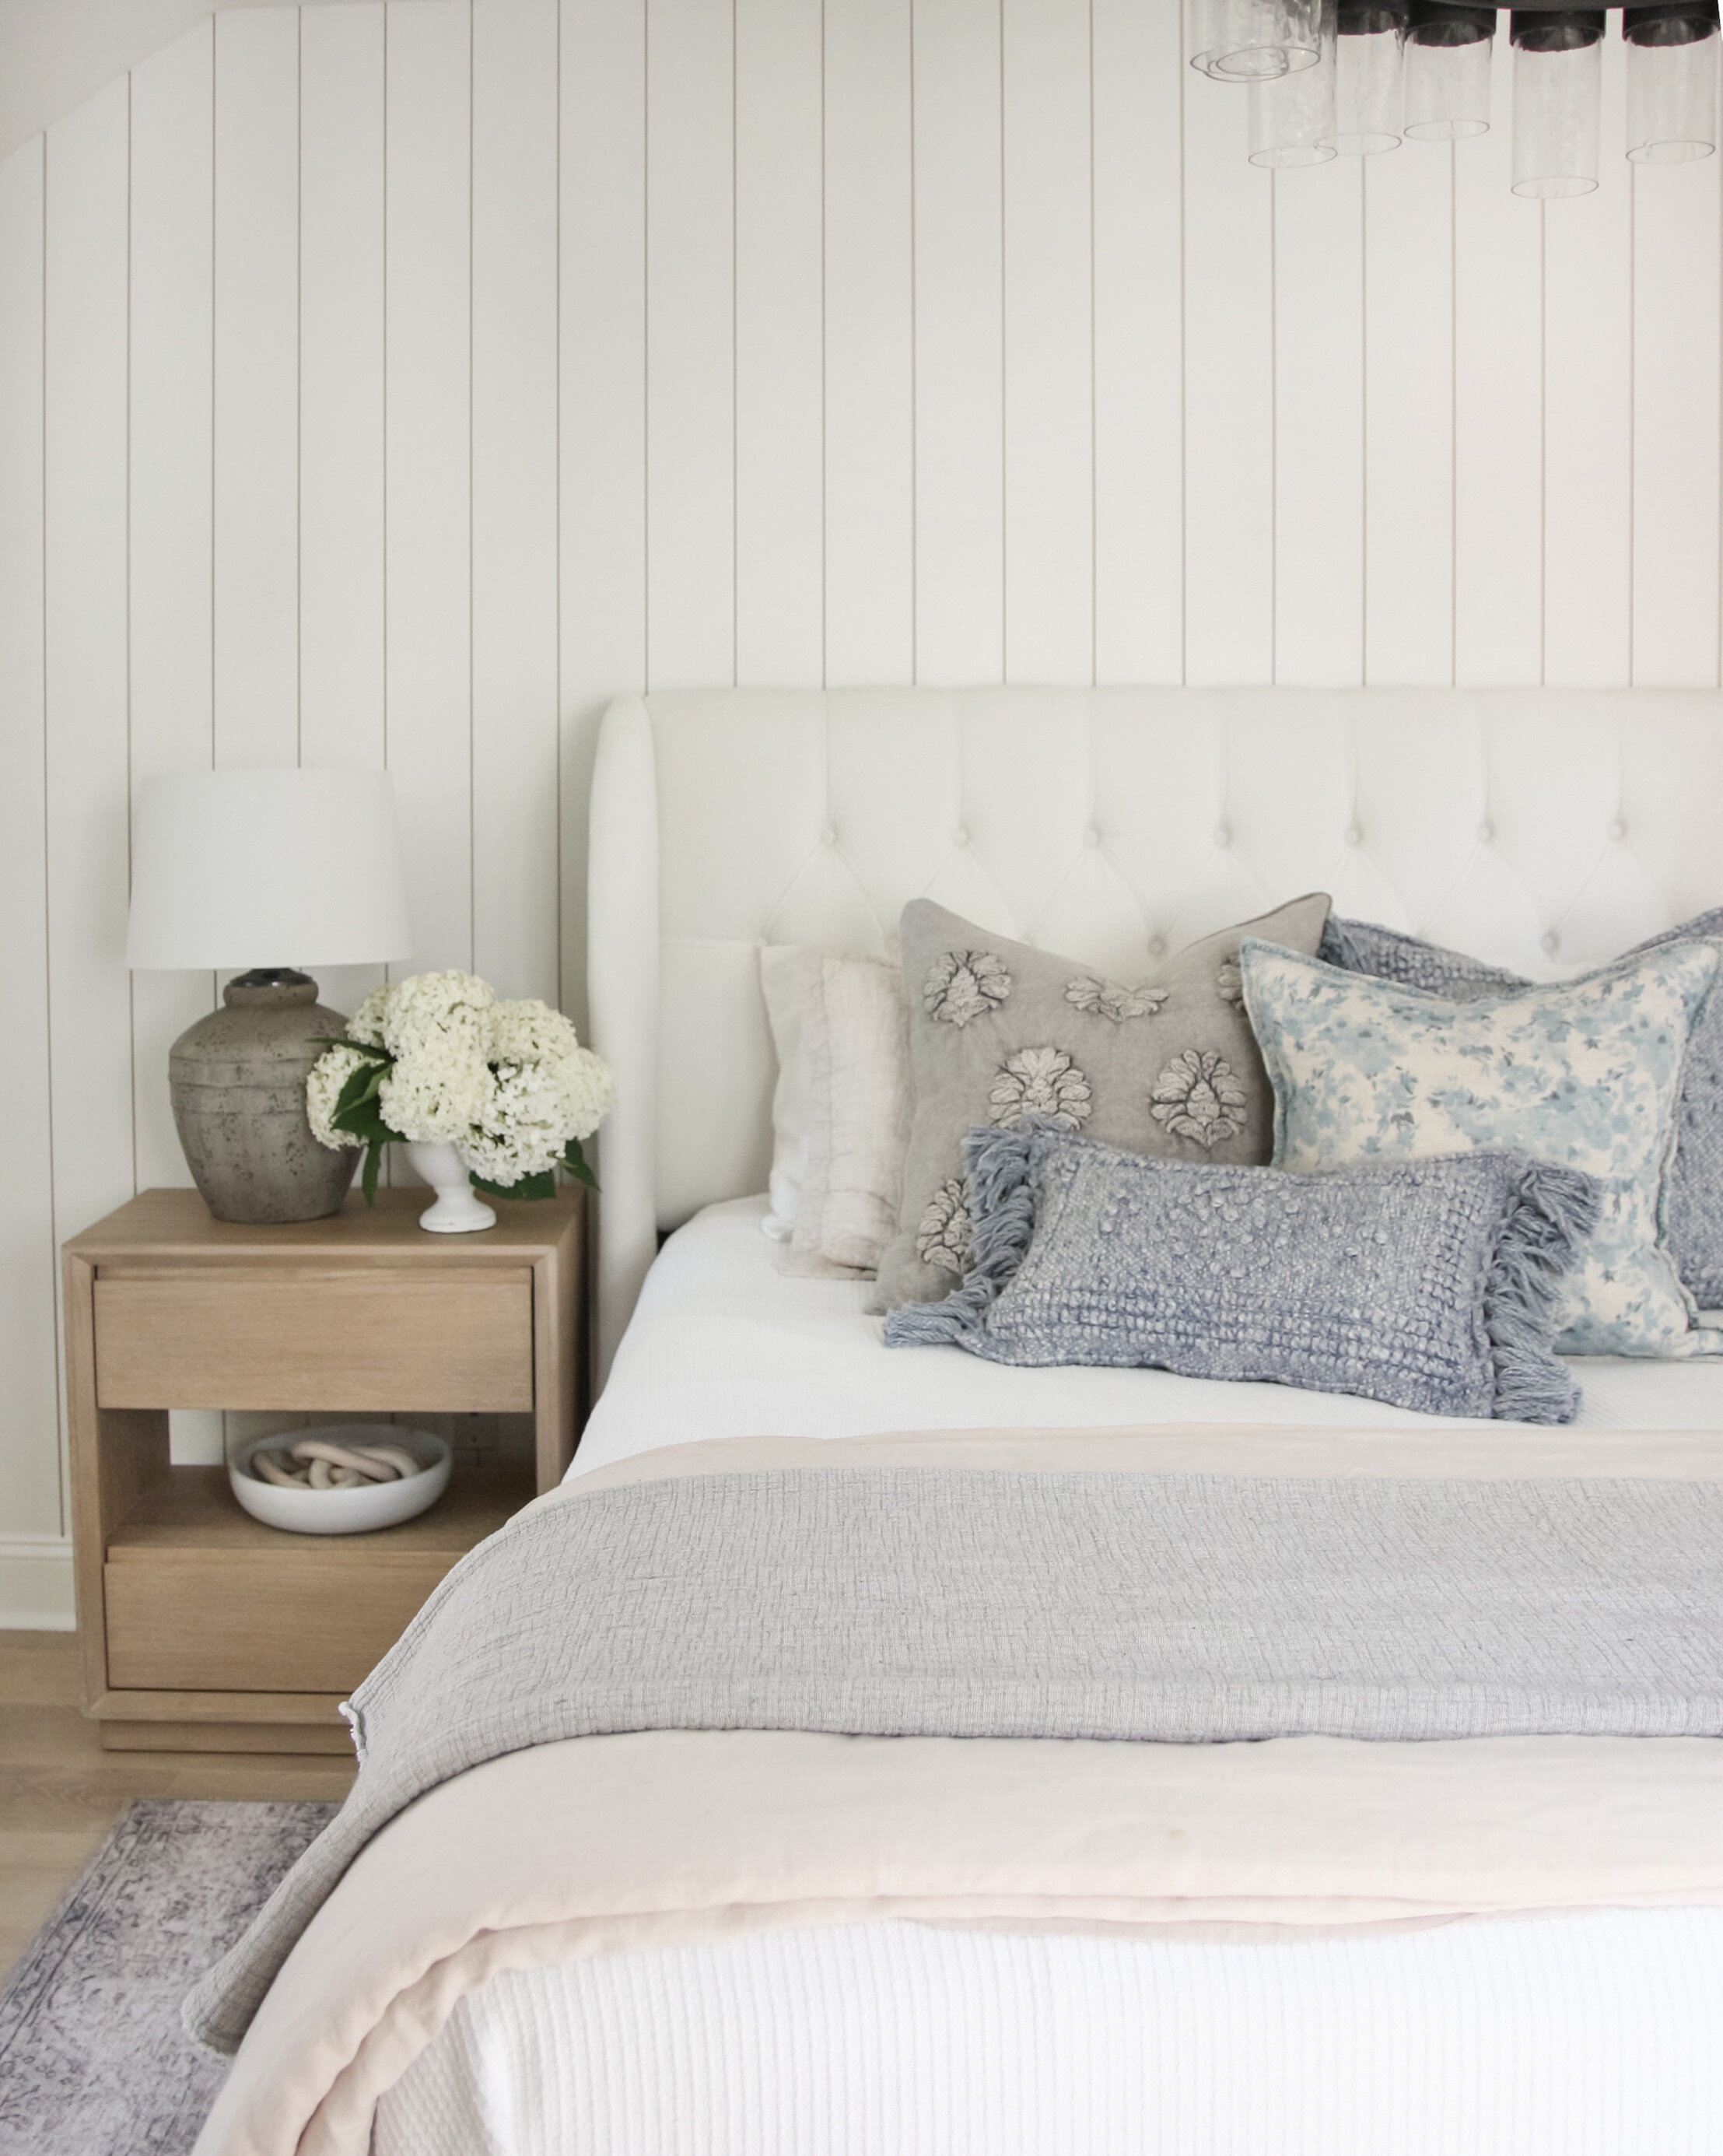
To the left of the staircase is our bedroom, and one of my most favorite spaces in our home. The transformation in this room is definitely at the top of my list. We continued the same wood flooring throughout the entire second floor, along with the SW Extra White paint color. The transformation in this room with paint alone was incredible, but the shiplap wall and window seat also helped this space to feel more architecturally interesting.

IMG_2721.JPG
IMG_3404.jpg
IMG_1670.JPG
IMG_1757.JPG

Our bathroom was the only space in the home that the previous homeowners had renovated. Though it wasn’t done terribly, it wasn’t my style, and had functionality issues. They did a neutral gray tile throughout the entire space, which we decided to keep for the time being since it was brand new and would still work with my design plan. The double sinks I did not care for, so instead of getting rid of them altogether, I simply gave each a makeover and used them in our other two bathrooms. I replaced them with a double vanity and two arched mirrors, along with a shiplap accent wall to give the space more dimension. I also swapped the single light fixture for three sconces on dimmers to give the space more versatility.

IMG_1657.JPG
IMG_9579.JPG
IMG_9460.JPG

Walking back into the hallway, you see our home office at the end of the hall, along with our guest bedroom and bathroom.

IMG_6708.JPG
IMG_0169.JPG

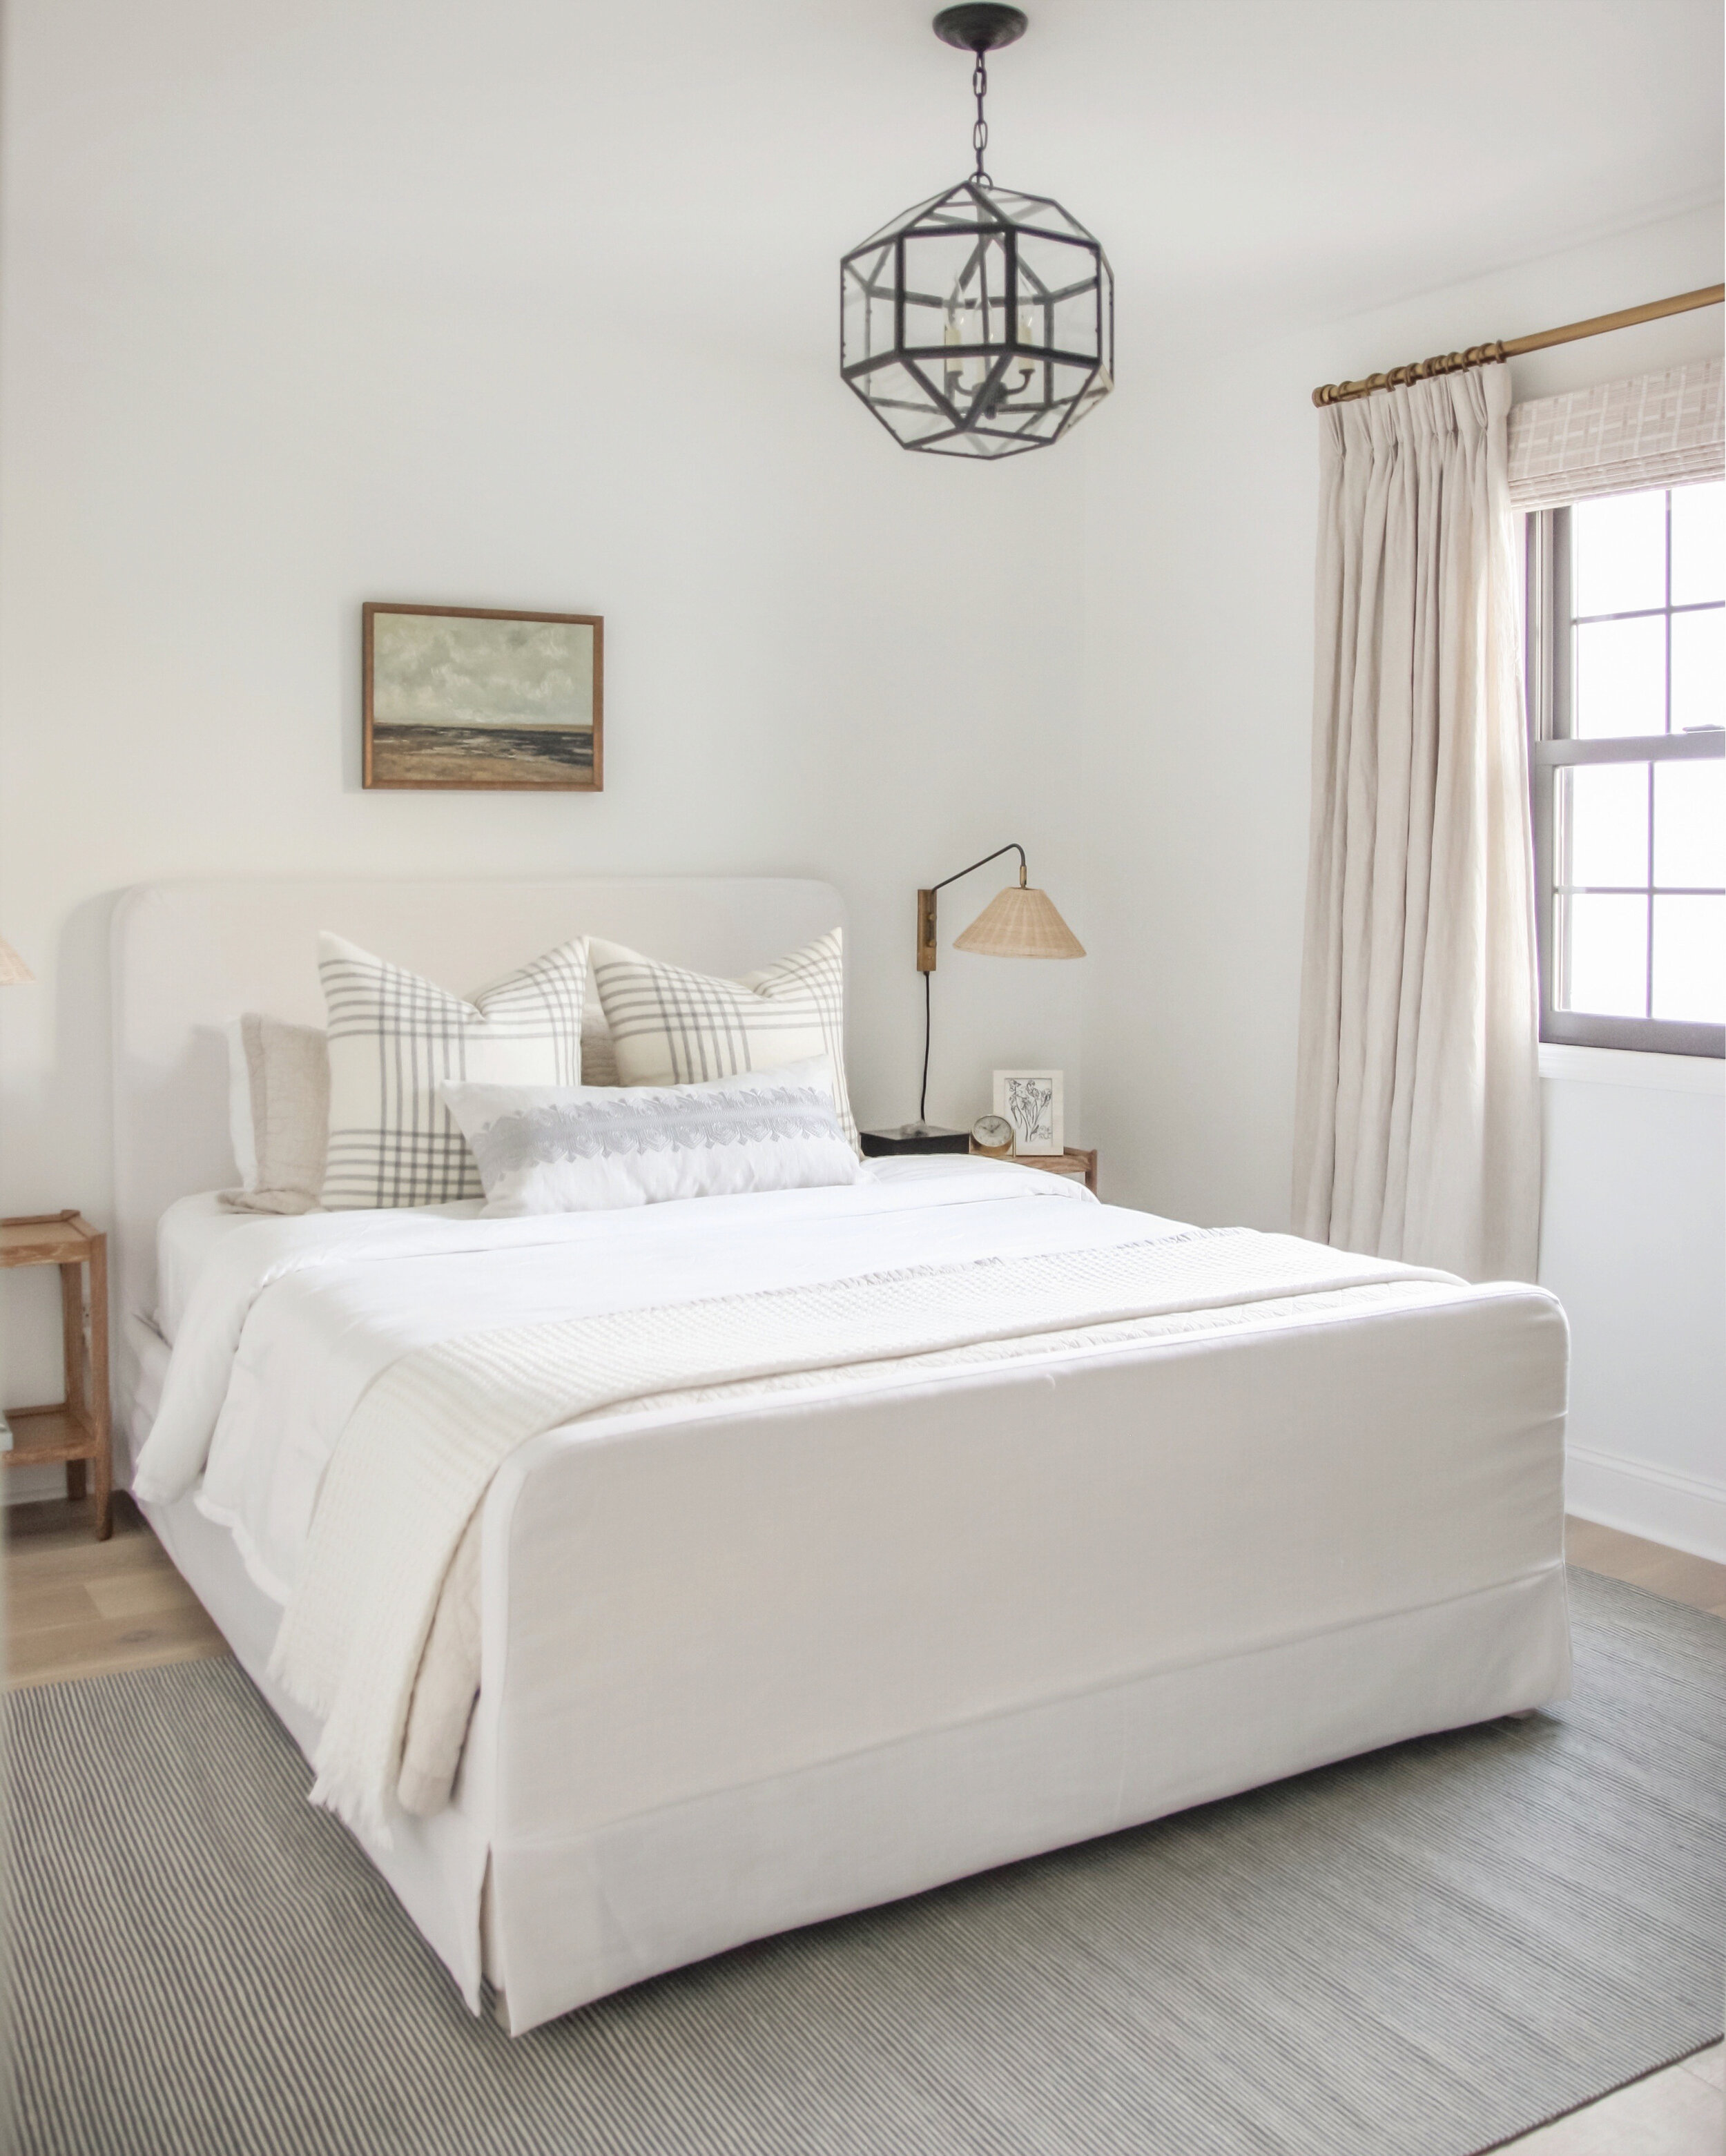
Our guest bedroom hasn’t gotten much more than new flooring, paint, and an overhead light fixture, but they’ve made a big change in the space. The previous homeowners had a king sized bed in the room, but I chose a queen size to accommodate more proportional nightstands and better room to navigate the space. It’s the perfect size for our guests, and we love having this additional room!

20D14ABA-EB37-48D3-8A70-AF297A0097DF.JPEG
IMG_0170.JPG
IMG_3957.JPG

Across the hall is our guest bathroom. This was another space that just needed some cosmetic updates to make it more my style, and cohesive with the rest of the home. We took out the old vanity and tile, and added in a new herringbone subway tile floor and a shiplap wainscoting, plus floral wallpaper to bring in more personality. You can see one of the old master bathroom vanities in the space that I painted SW Attitude Gray and brought in new knobs and a bronze faucet to give it a new look. We kept the tub and I added in an extra tall shower curtain to conceal it and create the illusion of taller ceilings.

IMG_1677.JPG
IMG_4100.JPG
IMG_6325.JPG

Finally, at the end of the hallway is our office. Again, we didn’t do much to this space other than paint, flooring, and a light fixture. A couple years ago I added in the board and batten accent wall and think it helps give this all white space a bit more dimension, along with the oversized woven light fixture.

IMG_0173.JPG
D73098BC-8CF8-4766-867D-0FD4F639D37A.JPEG
IMG_2808.JPG

I hope you enjoyed our before and after home tour! I will continue to share more progress as we keep renovating and updating this home, but I wanted to share how far we’ve come in the last three years. Renovations take a lot of planning, hard work, and patience, but are worth it when the final result is a space that is not only a reflection of your personality, but makes you feel safe and relaxed. I hope this tour inspires those of you who are going through, or planning to go through a renovation!


IKEA Pax Hack: Linen Closet Reveal


The linen closet is done! I’m so glad I was finally able to get all the materials I needed from IKEA and check this project off my list. It was one of the most fun projects I’ve done in a while, and it challenged me to broaden my diy skill set a bit.

573130B3-06A0-4A17-836F-B509355A0EC7 2.JPEG
B3652F13-8FF5-400B-B70A-5BA86C9BBE7E.JPEG

There are two reasons I wanted to make over this space in our home. First, was functionality. The shelf configuration we previously had in this closet was original to the home. When we moved in three years ago, I took off the accordion door and made the barn door, and made some new shelves since the old ones were in bad shape. The closet is fairly deep, and with just those shelves things were always getting lost in the back of the closet, or folded items would get messed up when I’d reach for something in the back. I thought adding in some drawers would be a great way to fully utilize the depth of the closet, and keep things a bit more organized.

Before photo from when we bought the home.

Before photo from when we bought the home.

D3C2441B-8A14-463A-8967-31B768D8CD17.JPEG

Second, I’d really like to do the IKEA pax hack in our walk in closet, but I wanted to test out the pax system before we made the investment in the entire closet. I also wanted to be sure that my carpentry skills were good enough to complete the project with the quality level I was hoping for. The inset drawers were very daunting to me since my measurements and cuts would have to be very precise. I’m happy to say that the linen closet project turned out better than I expected, so the walk in closet is definitely on the list!

image copy 2.JPG

I’m going to stick to before/after photos for the reveal post, but I will definitely go into more detail soon about how I completed this project, along with my tips and tricks, and what tools and materials you’ll need if you’re interested in tackling it yourself!


A Before and After Tour of Our Home (Part 1) + Exciting News!


Today I’m sharing part one of a long overdue before and after tour of our home, plus some very exciting news! I’m going to share before and after photos of all the spaces in our home along with my thought process on the renovations we’ve completed in the past three years.

But first for my exciting news—I’m so happy to announce that starting today I’ll be offering E-Design services! I’ve been an E-Designer for many years, and have been wanting to start offering this service to you all for a long time, so I’m thrilled to be able to do so now! If you’re looking for more information on the services I offer and would like to know a little more about what to expect from the design process, please head to the E-Design Services tab, and check out the packages and the FAQ page. I look forward to working with those of you who are interested!

IMG_2912.JPG

Now, onto the before and after tour! We purchased this home three years ago, and it was a total cosmetic fixer upper. It was built in 1981, and was in good shape structurally, but cosmetically it was in need of a lot attention, which was exactly what we were looking for!

We took out all the existing flooring in the home and replaced it with Johnson Hardwood British Isles Series in Essex, and painted the entire house in Sherwin Williams Extra White. You can see the difference the brighter and softer color palette makes in our entryway.

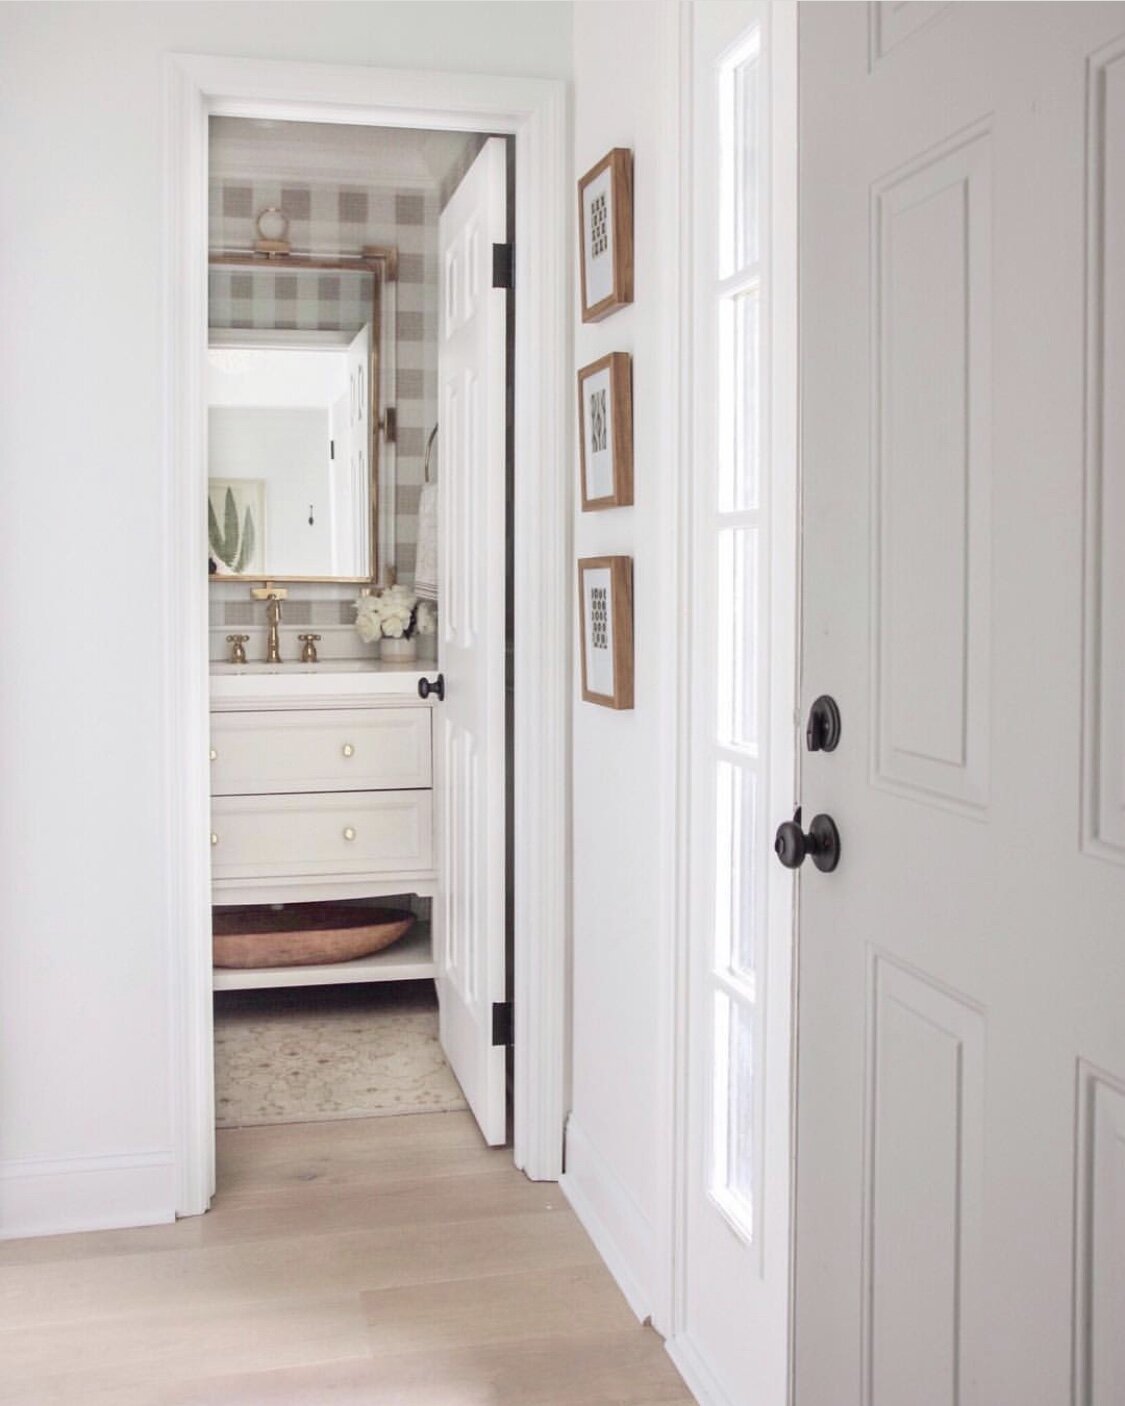
We made some more major changes to our powder room, moving the toilet from an awkward spot next to the door to the back wall. We also added in some wainscoting and wallpaper to add more architectural interest to the space.

IMG_8893.jpg

Next up is our kitchen, which we have only made small changes to until we could afford to do a complete renovation. We were planning to do the full renovation this year, but we had to put that on hold for now. Since I knew we’d be keeping this kitchen for a while longer I did add in some floating shelves which we’ve been enjoying a lot! Before we moved in we gave all the cabinets a fresh coat of white paint and new hardware. We also put in new appliances, a farm sink and faucet, and covered the existing laminate countertops with a faux marble countertop film to make it more cohesive with the other renovations in our home.

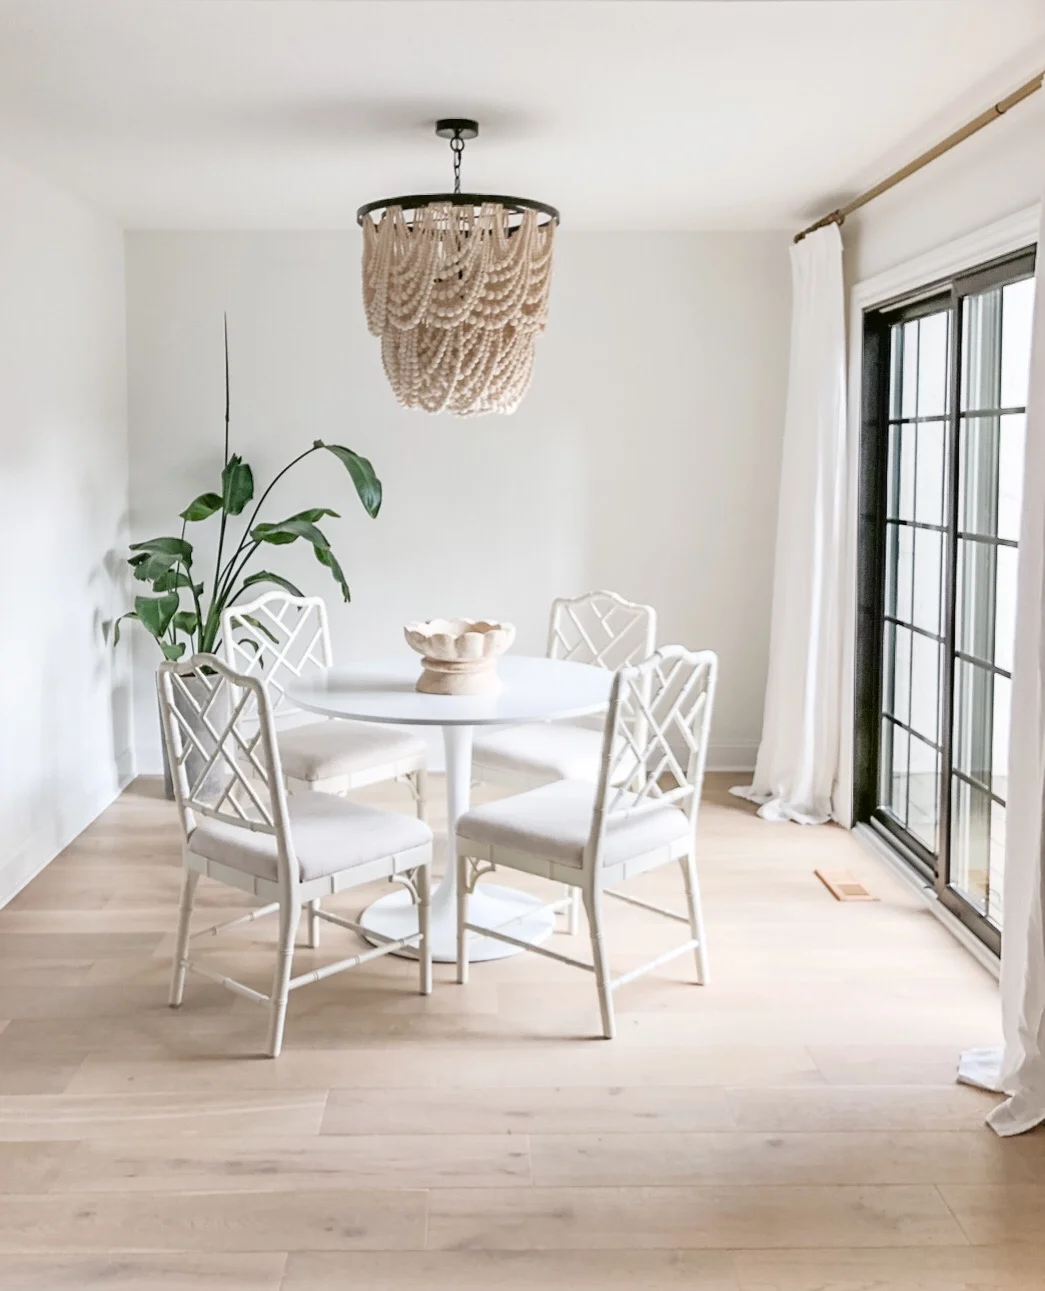
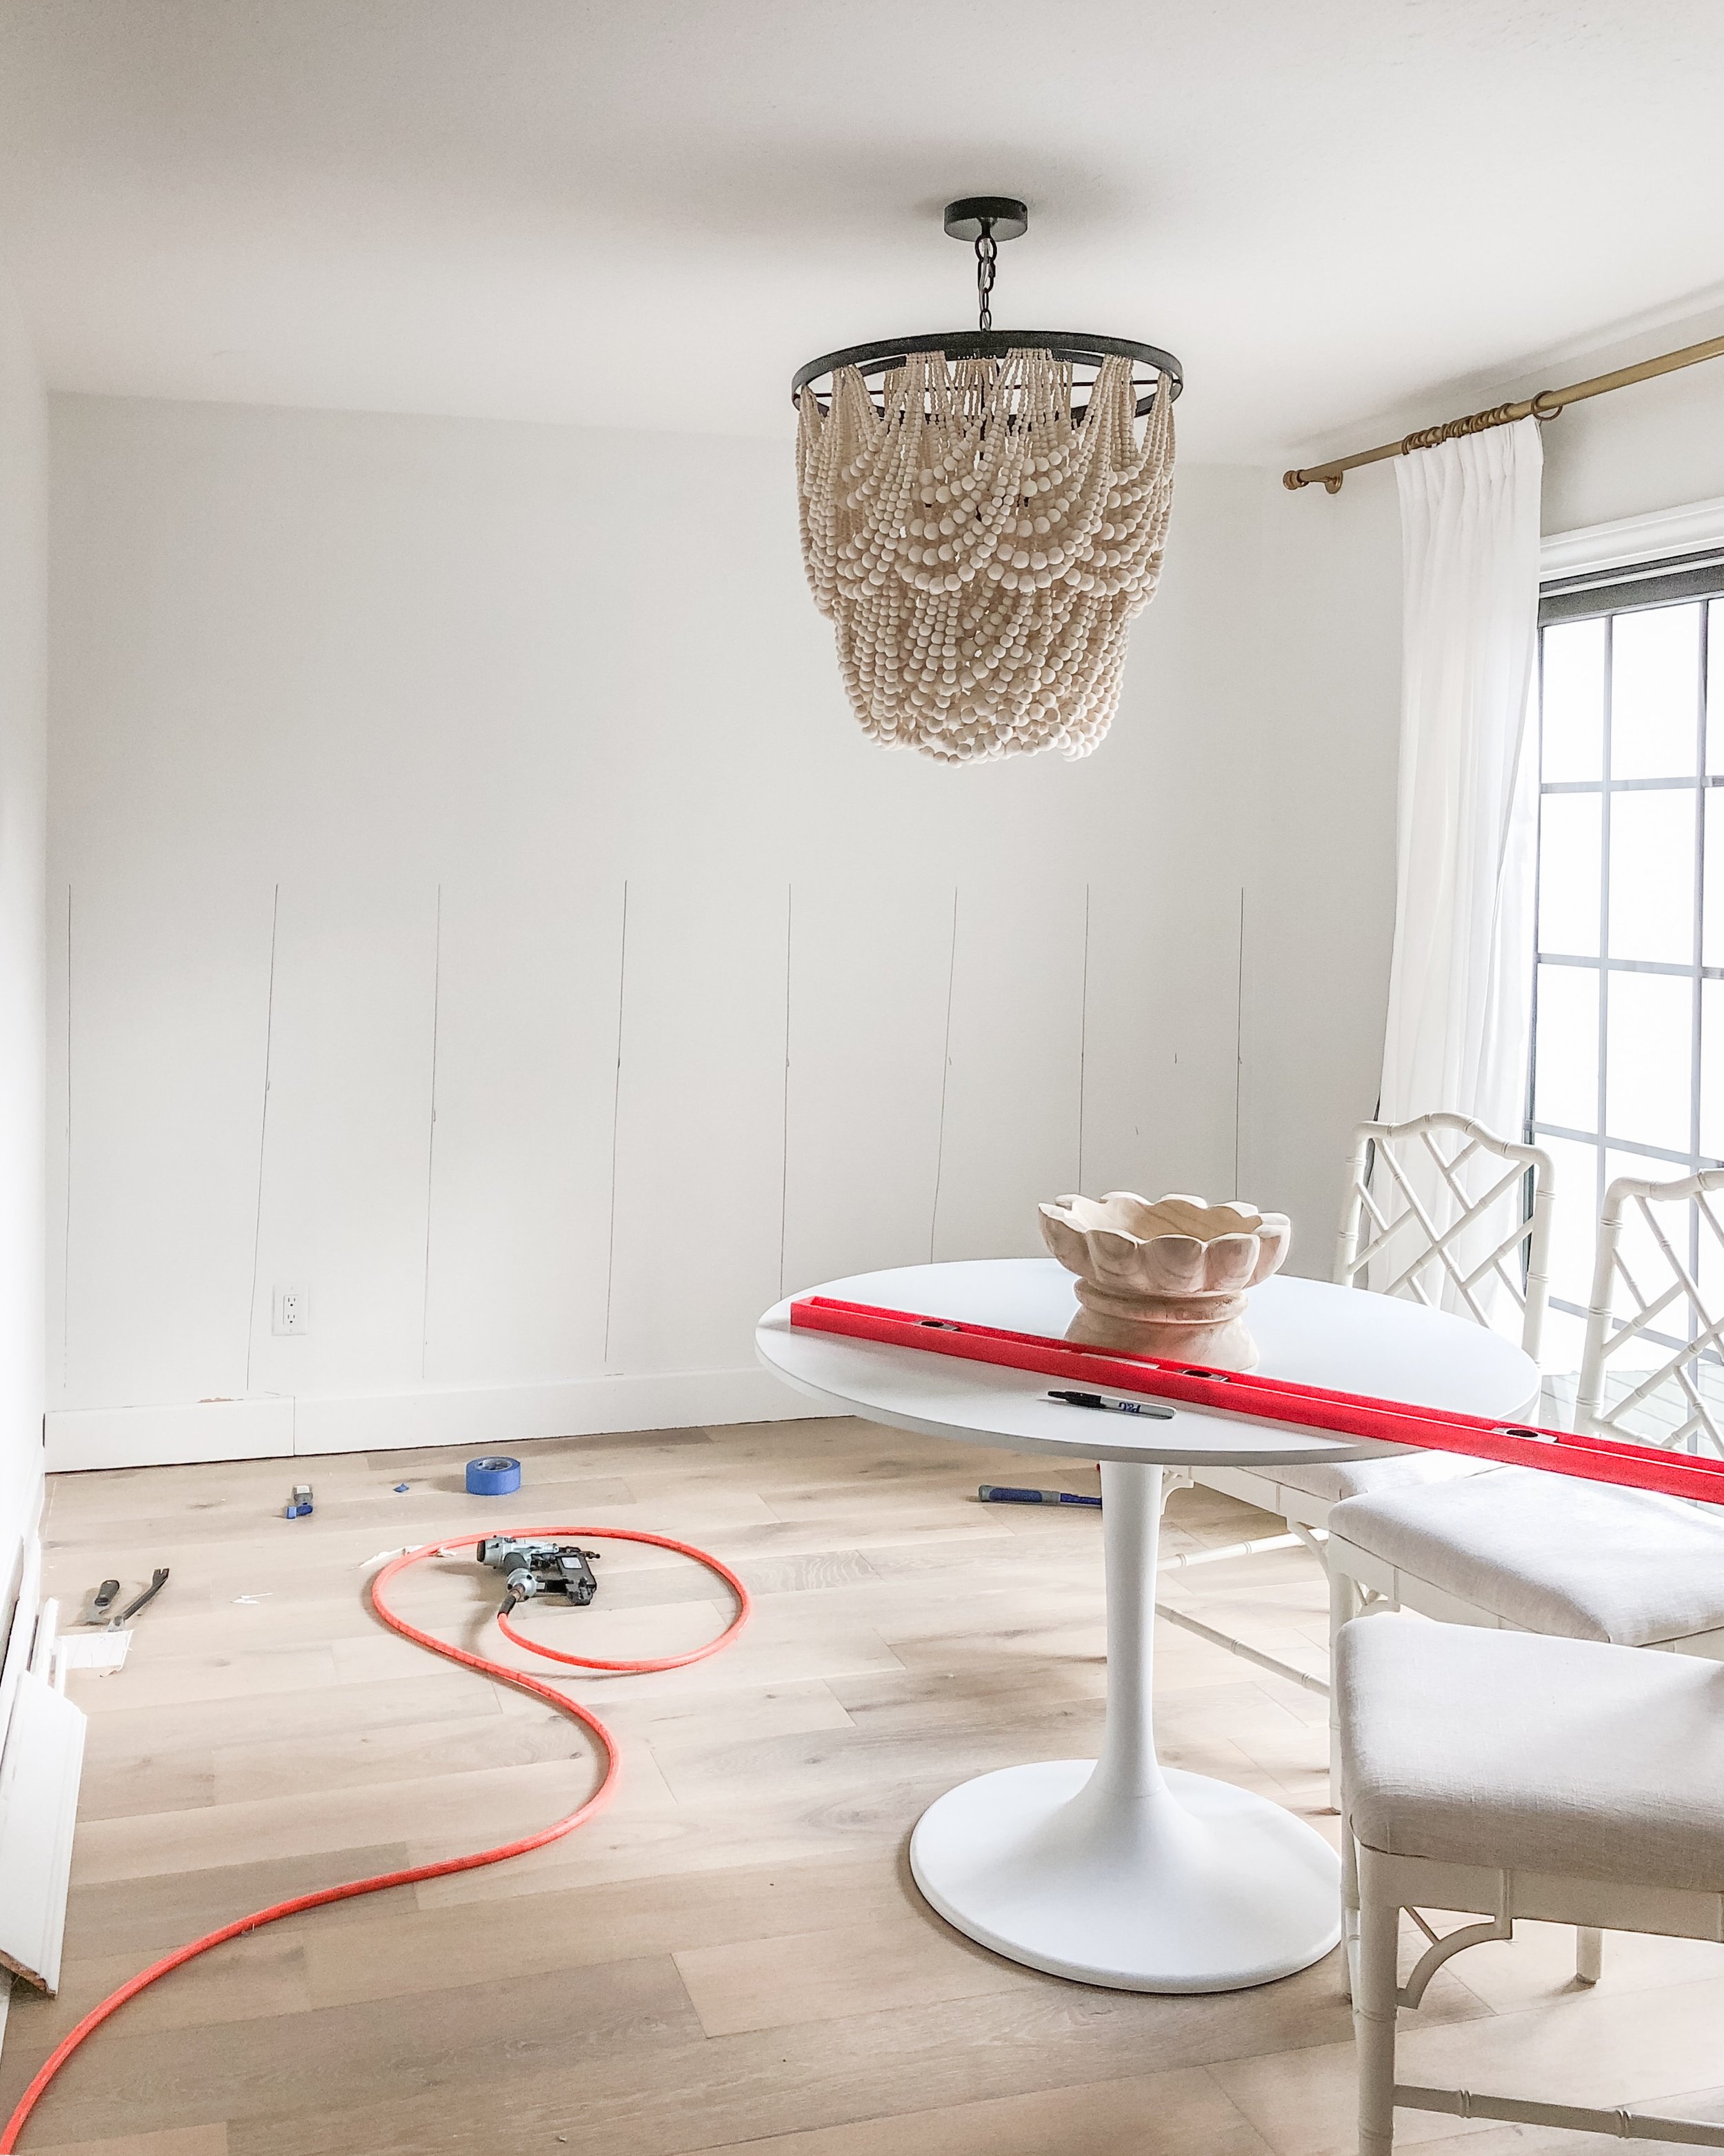
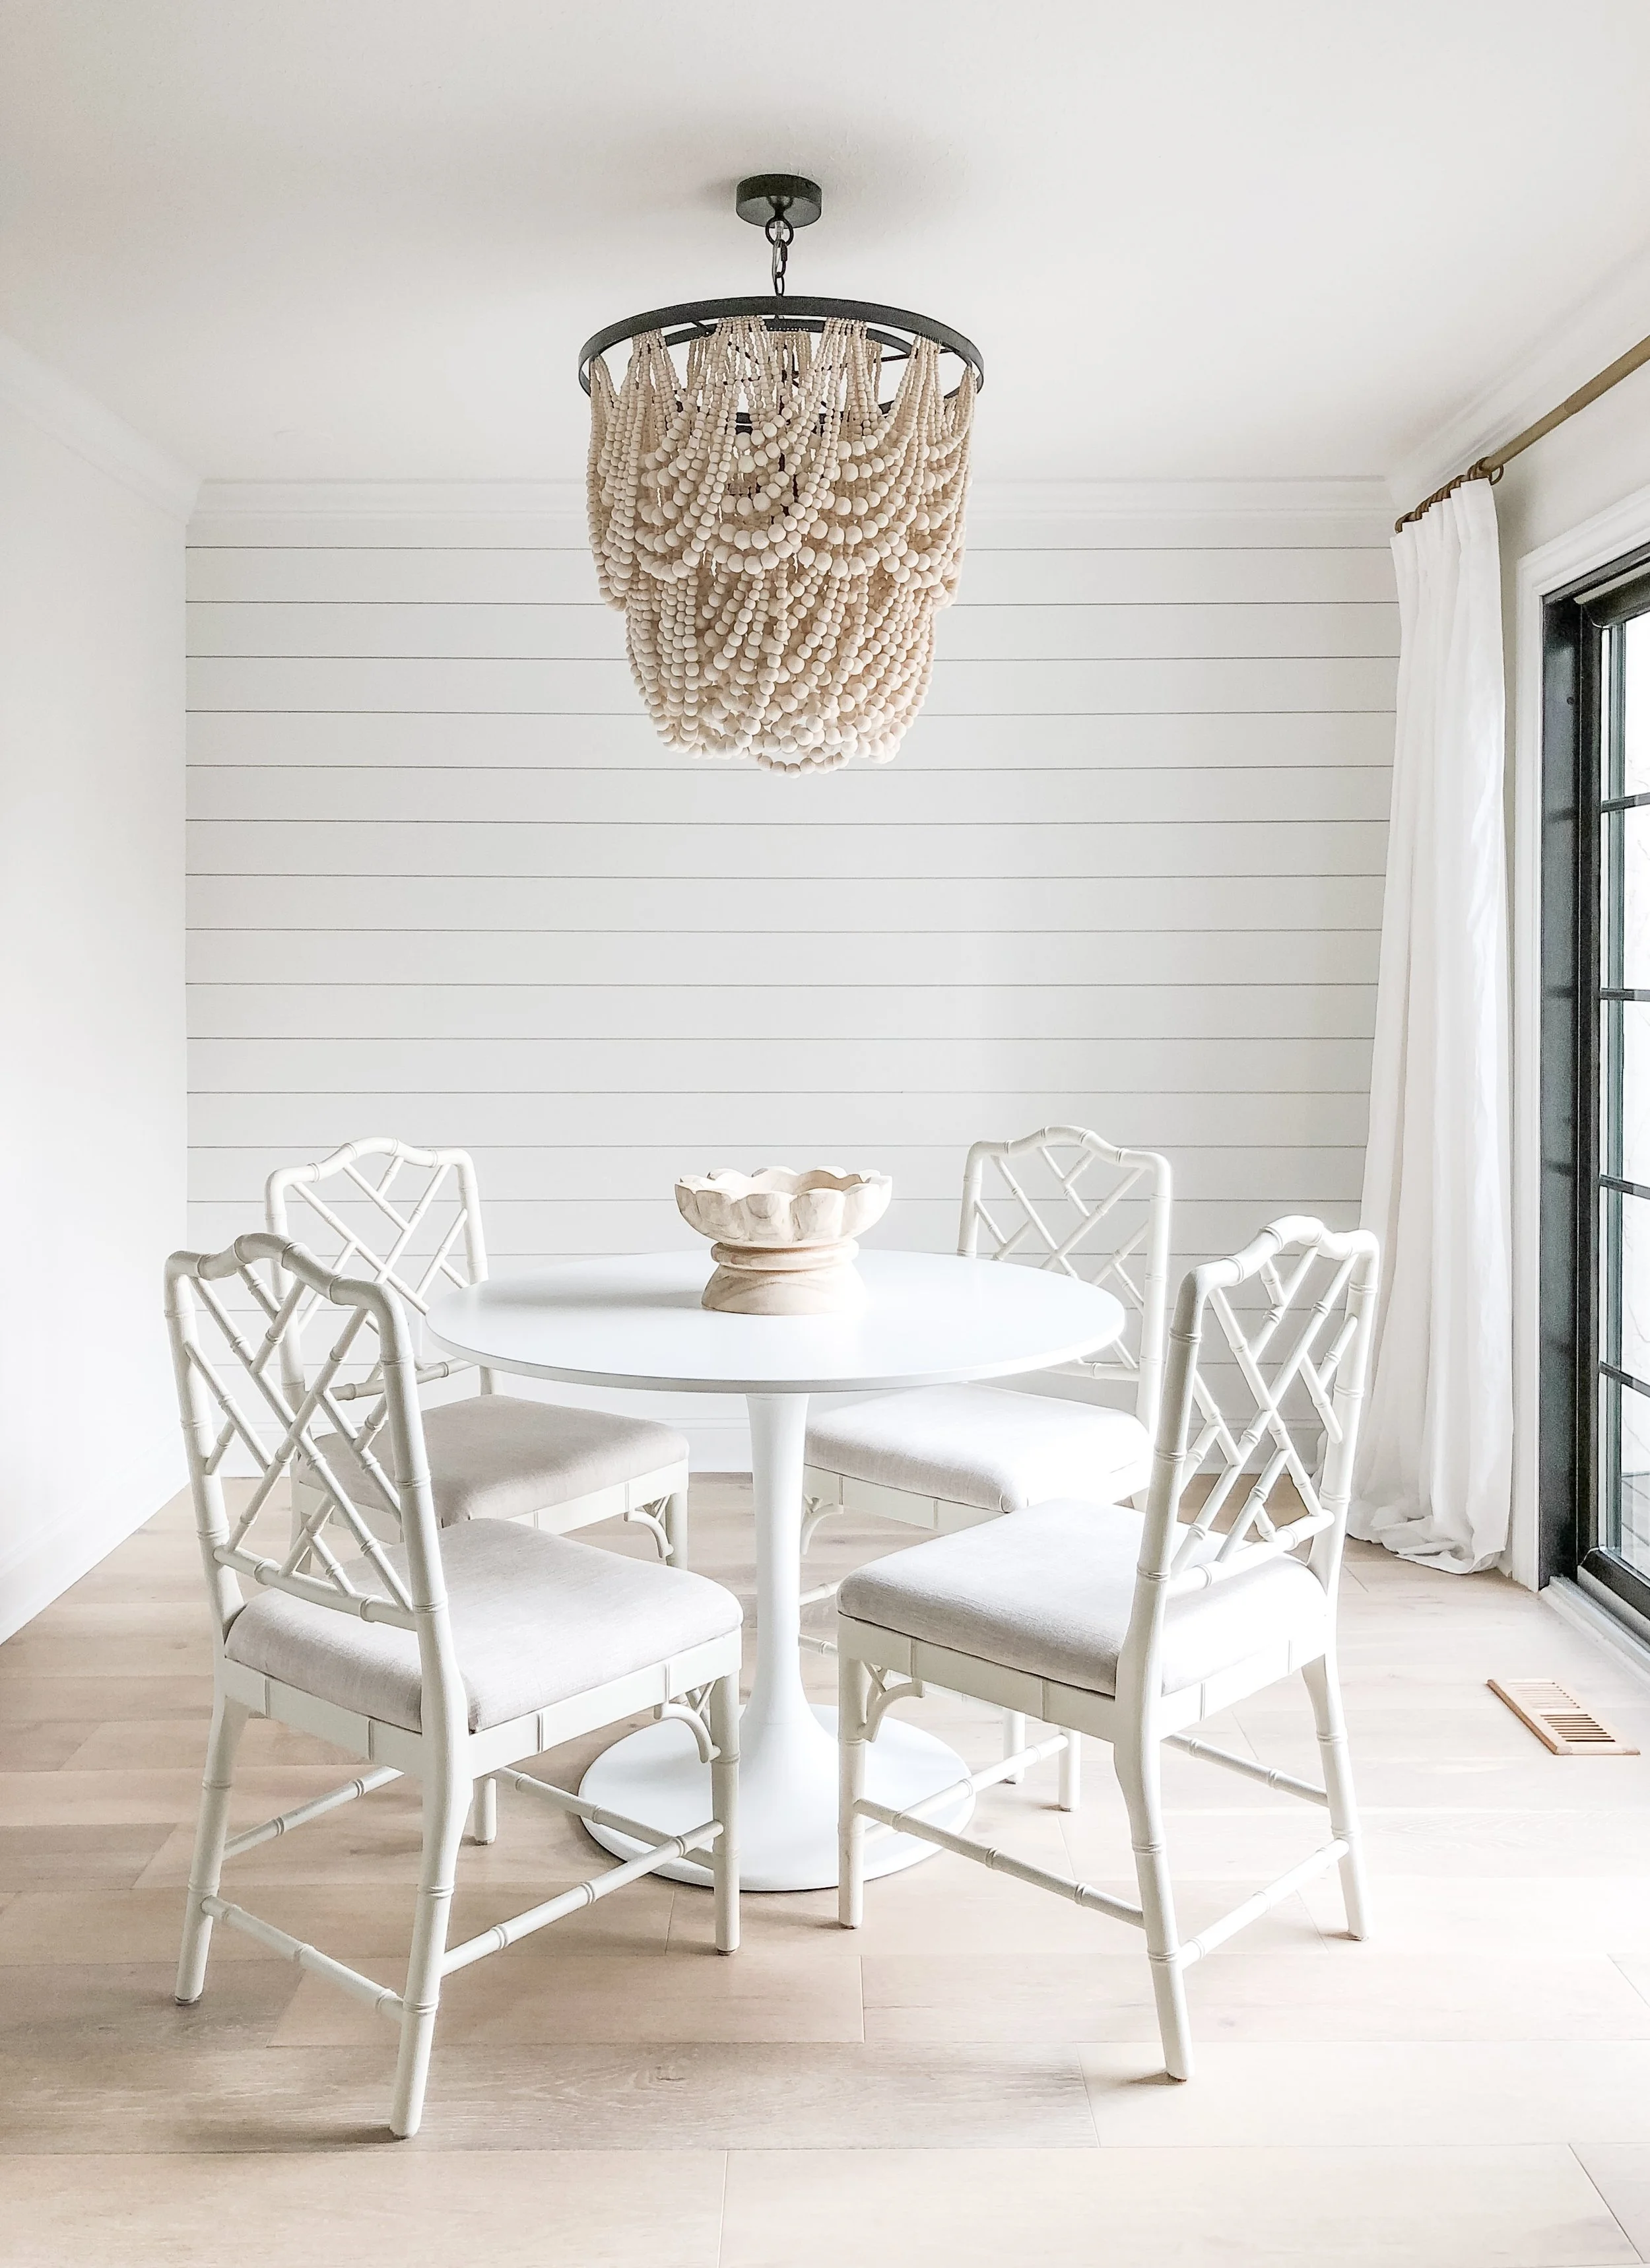
In our dining room we added a shiplap accent wall to pull in some dimension to the space, and replaced the track lighting with a beaded chandelier. Another huge change we made to the home was to replace all the windows and patio door to black Anderson Windows with grilles. The old windows were original to the home, and were very leaky. The slider door was not the right size, and we battled a waterfall inside every time it rained for almost a year after we bought the home!

Our living room was another big transformation in the home, as we updated the fireplace with a shiplap wall treatment and a marble surround. We also remodeled the staircase by carrying our wood flooring through on the treads, adding wrought iron spindles, and removing the half wall on the upper portion of the staircase. The white paint was a welcomed change from the dark paint colors that were there before.

IMG_8870 copy.jpg
IMG_3419.JPG

Lastly, we head to the backyard. We’ve kept the deck for now, but added in some additional landscaping and created a seating area on the upper level and a small dining area on the lower level. We love spending time in this space, and try to work at the dining table in the mornings as much as possible!

IMG_1943.JPG

I hope you all enjoyed part one of the tour! Stay tuned for the second floor of our home in part two!


DIY Vertical Shiplap Tutorial + How To Make Your DIY Projects Look More Professional

 
IMG_2721.JPG

I love the texture and dimension that shiplap adds to a space, and have added it to many rooms in our home over the past three years. Today, I’m sharing a tutorial of how I installed this vertical shiplap accent wall in our bedroom, along with my tips and tricks to make sure your diy projects have a more professional looking finished result. I am by no means a carpenter, but I can easily spot bad craftsmanship and finish work when I see it, and I feel that it actually takes away from the space and can unfortunately cheapen the overall look.

AADBA534-4135-440B-AEAC-01E9B05898D1.JPEG

In my opinion, the goal of diying something is to achieve a professional (or near professional) looking result that guests and potential future buyers in your home will not immediately assume was diyed by a non-professional. In each step of this tutorial, I’m going to share just a few simple tips on how to achieve better results for your projects, that make a huge difference in the finished product.

1F5E450C-B15A-4BC2-94CC-2944761136C2.JPEG

Materials you’ll need:

Shiplap

1/4” Plywood

Miter Saw

Table Saw

Jig Saw

Brad Nailer

Air Compressor

Stud Finder

Level

Wood Filler

Caulk

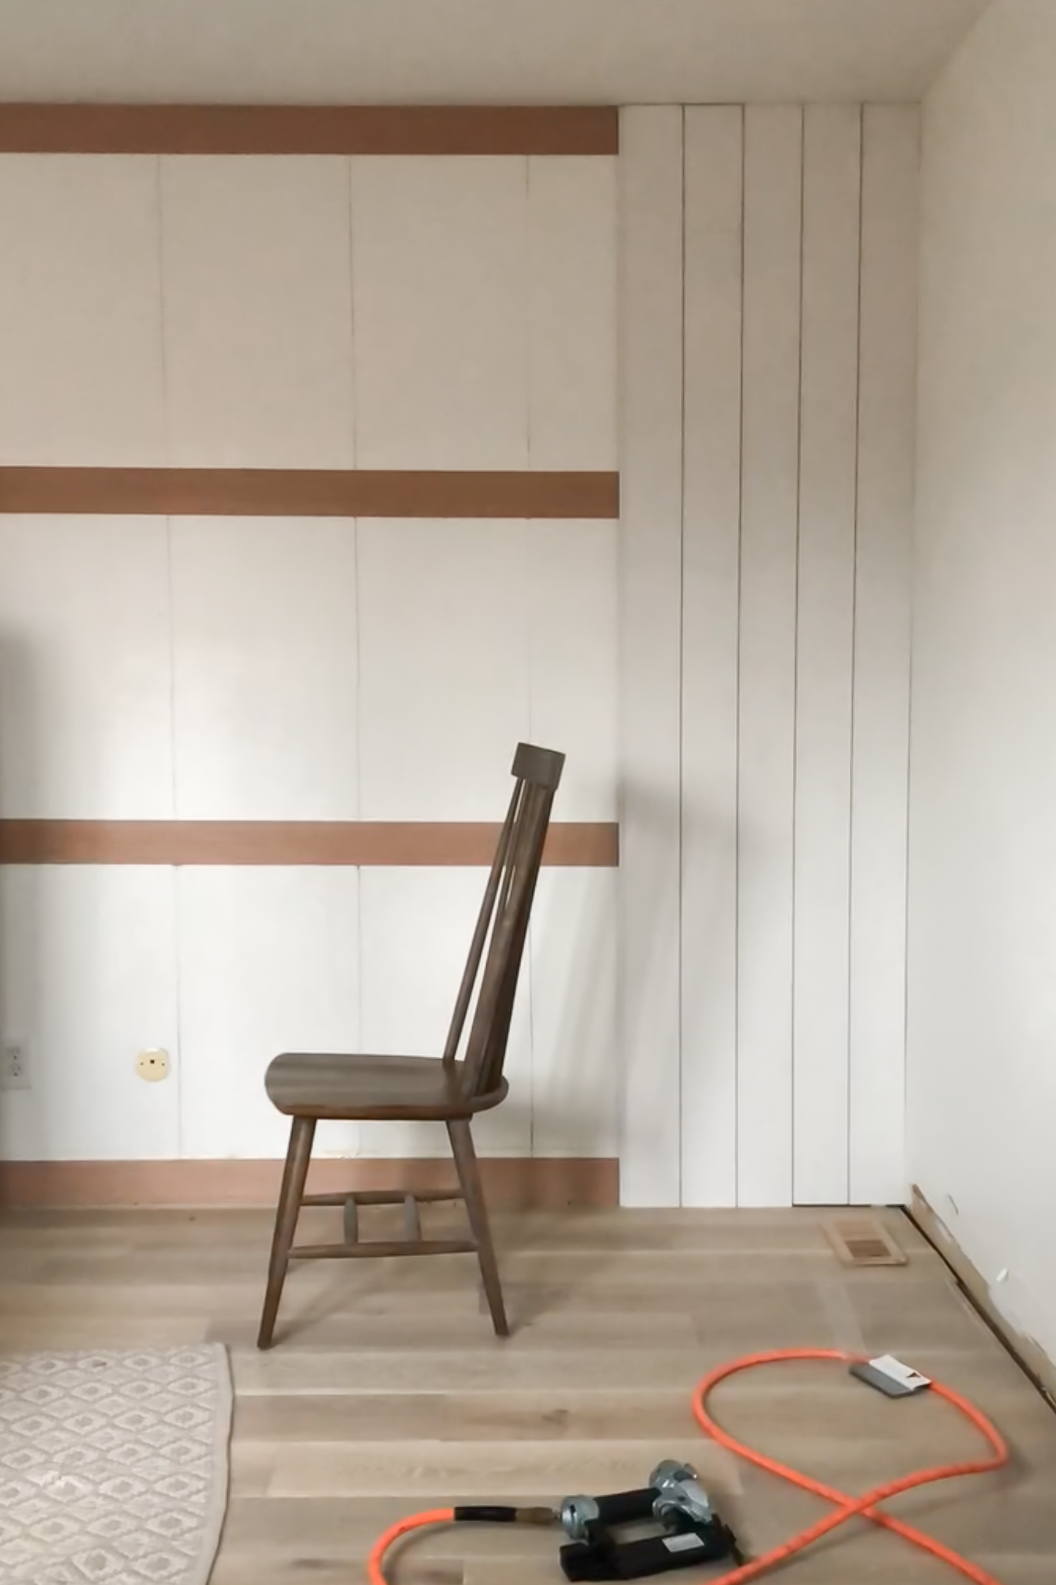
Installing vertical shiplap is slightly trickier than installing horizontal shiplap, because you’ll need to accommodate for the fact that many of your shiplap boards will need to be anchored to the wall between studs. Many people choose to use liquid nails and glue them to the wall, which is a perfectly fine solution. Since I was working with a very long wall I wanted to come up with a solution that was structurally sound, but would not destroy the drywall if anyone decided to remove the wall treatment in the future.

I decided to purchase a 4x8’ sheet of 1/4” plywood, and have the hardware store rip it down into 4” strips. That way, I could use them to create a structure behind the shiplap that was mounted to all of the studs and would minimize the damage to the wall. I will share more details and images of how I did this below.

Step 1:

I removed all the baseboards on the wall first. This is my first tip to a professional looking result! DO NOT leave on your baseboards or crown moulding and install your wall treatment over top, or try to miter the boards to tie them in. This never leads to a professional result, and is an immediate indicator that your project was not done by a professional. Always remove all baseboards and mouldings before installing a wall treatment. It is an easy (and free) additional step you can take that does not require any additional skills. After I removed all the mouldings, I used my stud finder to find where all the studs were, and used my level and a sharpie to make sure I marked them from the floor to ceiling.

IMG_8783.jpeg

Step 2:

This is where my 1/4” plywood structure comes into play. I made a plan in photoshop before heading to the hardware store to make sure I knew how much wood I needed, and what size strips I should have them ripped to. I figured out that one 4x8’ sheet of plywood ripped into 4” strips would provide enough materials to complete my structure. I also calculated how much shiplap I’d need for the project.

Another tip for professional looking shiplap—use products that are actual shiplap, or tongue and groove. Do not rip down plywood, as it is very prone to splintering on the edges, and has knots and texture in the finish of the wood, which will all lead to a very unprofessional looking paint job. I know it’s tempting to use these materials since they are very cost effective, but it’s not too much more to use higher quality materials like real shiplap, and they give you a significantly better finished product.

I attached the 1/4” plywood strips to the wall horizontally in four places so that I could nail the vertical shiplap boards over top and they would be secure enough to hang artwork on if I chose to do so. Every board would be anchored securely, and I was not damaging my drywall as much as if I were using liquid nails.

Step 3:

I then started attaching the vertical shiplap boards to my 1/4” plywood structure. I knew the cuts didn’t need to be exact since the baseboard would be covering up the bottom, so I cut them all at once and then installed them making sure I got the top of the board as flush to the ceiling as possible to minimize caulking later. Tip—make sure to place nail holes in spots on the boards that will be covered with baseboard or crown moulding wherever possible. This way you can minimize wood filling and reduce the amount of finish work you need to do, which will create less imperfections in the visible portions of the wall treatment.

Step 4:

Once you have all the vertical shiplap installed, reinstall the baseboard and crown (if applicable) and fill in all the nail holes, and caulk all the edges. Tip—make sure you do not skip this step! This is the key to a professional result. Gaps, cracks, and nails holes will detract from the wall treatment, and cheapen the overall look. The more seamlessly your new wall treatment blends into the wall, the more professional it makes the space look, and the more elevated it will make any furniture and decor you add appear. Make sure you caulk along top and bottom edges of the shiplap to seamlessly blend the ends of the boards into the ceiling (or crown moulding) and baseboard. I use a q tip or screwdriver to remove excess caulk from the grooves of the shiplap. This step is time consuming, but well worth it, and can make or break the project if you choose to skip it.

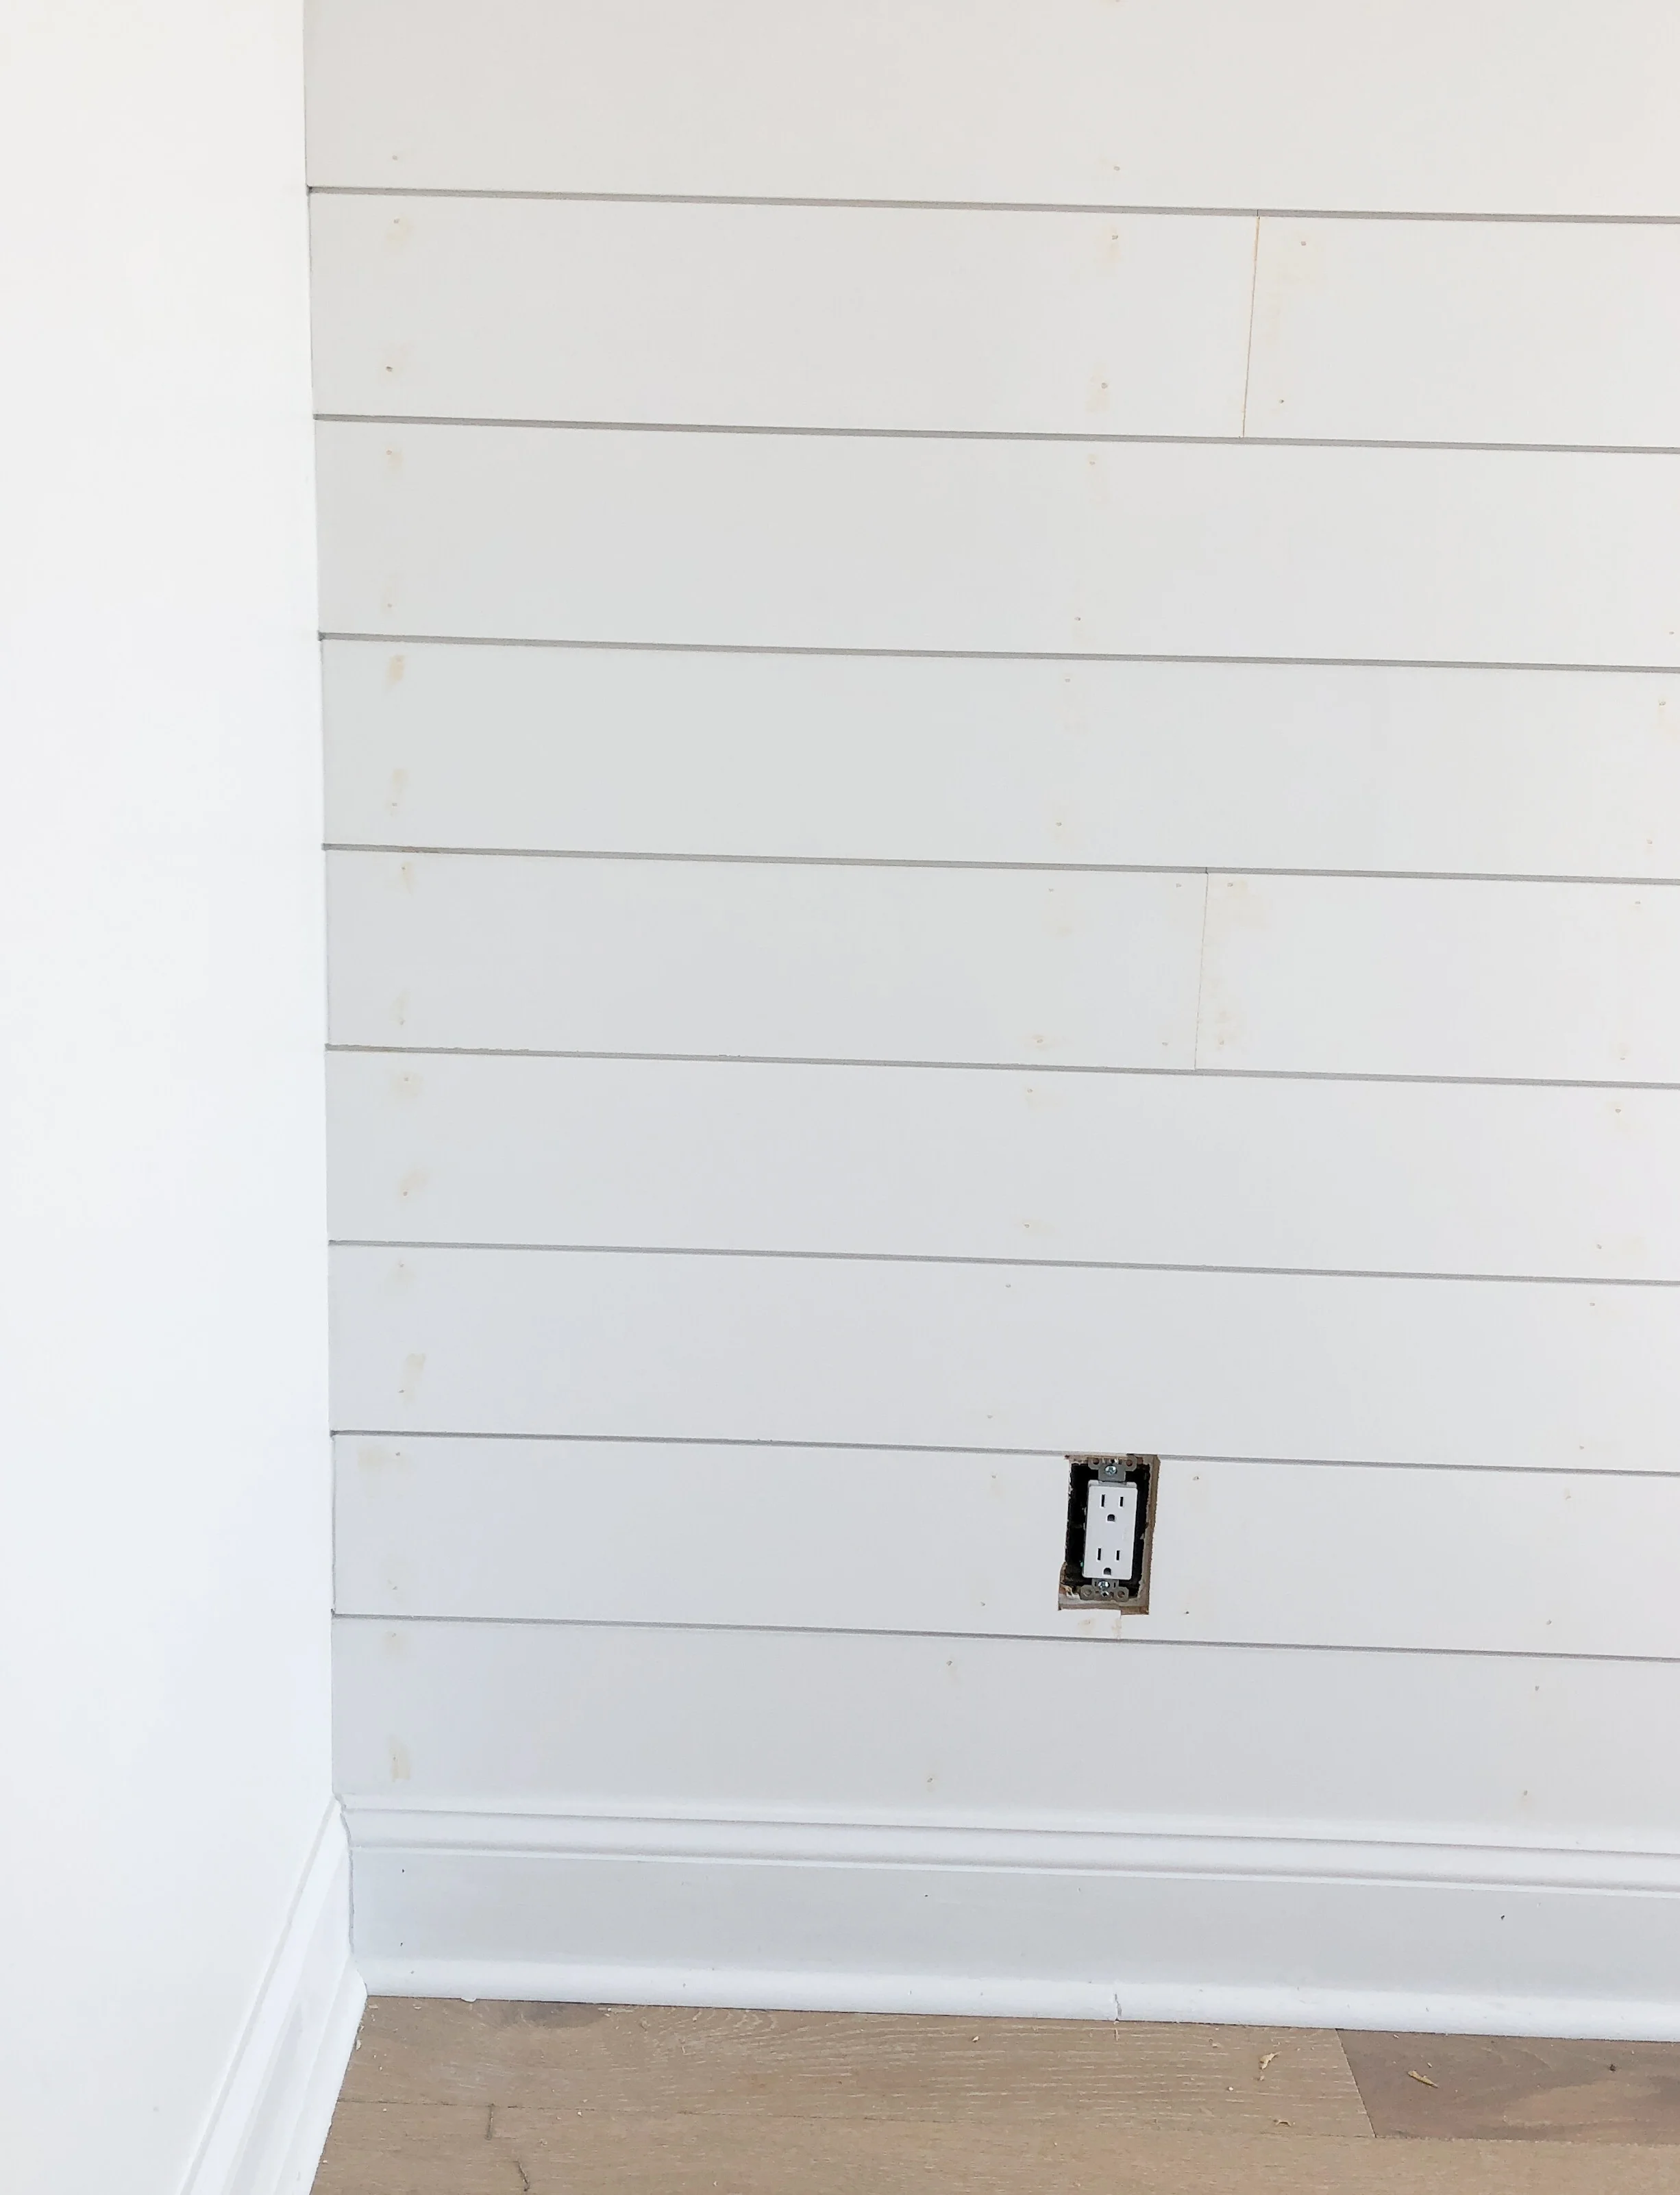
Tip—when cutting around outlets make sure to allow room for the outlet to be extended out flush with the new wall treatment. We like to use these outlet extenders to do so. DO NOT cut the shiplap around the existing outlet and cover and leave inset as the original depth of the wall. This is another opportunity to attract unwanted attention and leave your project looking unprofessional.

Step 5:

Sand all the wood filler, and paint the shiplap and mouldings in your desired color.

96B0840D-D906-44C9-B8F3-41D3A17999EB.JPEG

That’s it! Shiplap is one of the easiest diy projects I’ve completed, and can really transform your space to give you a more elevated look with a fairly low materials cost. I also hope the tips and tricks I shared help you to complete more professional looking projects in the future!

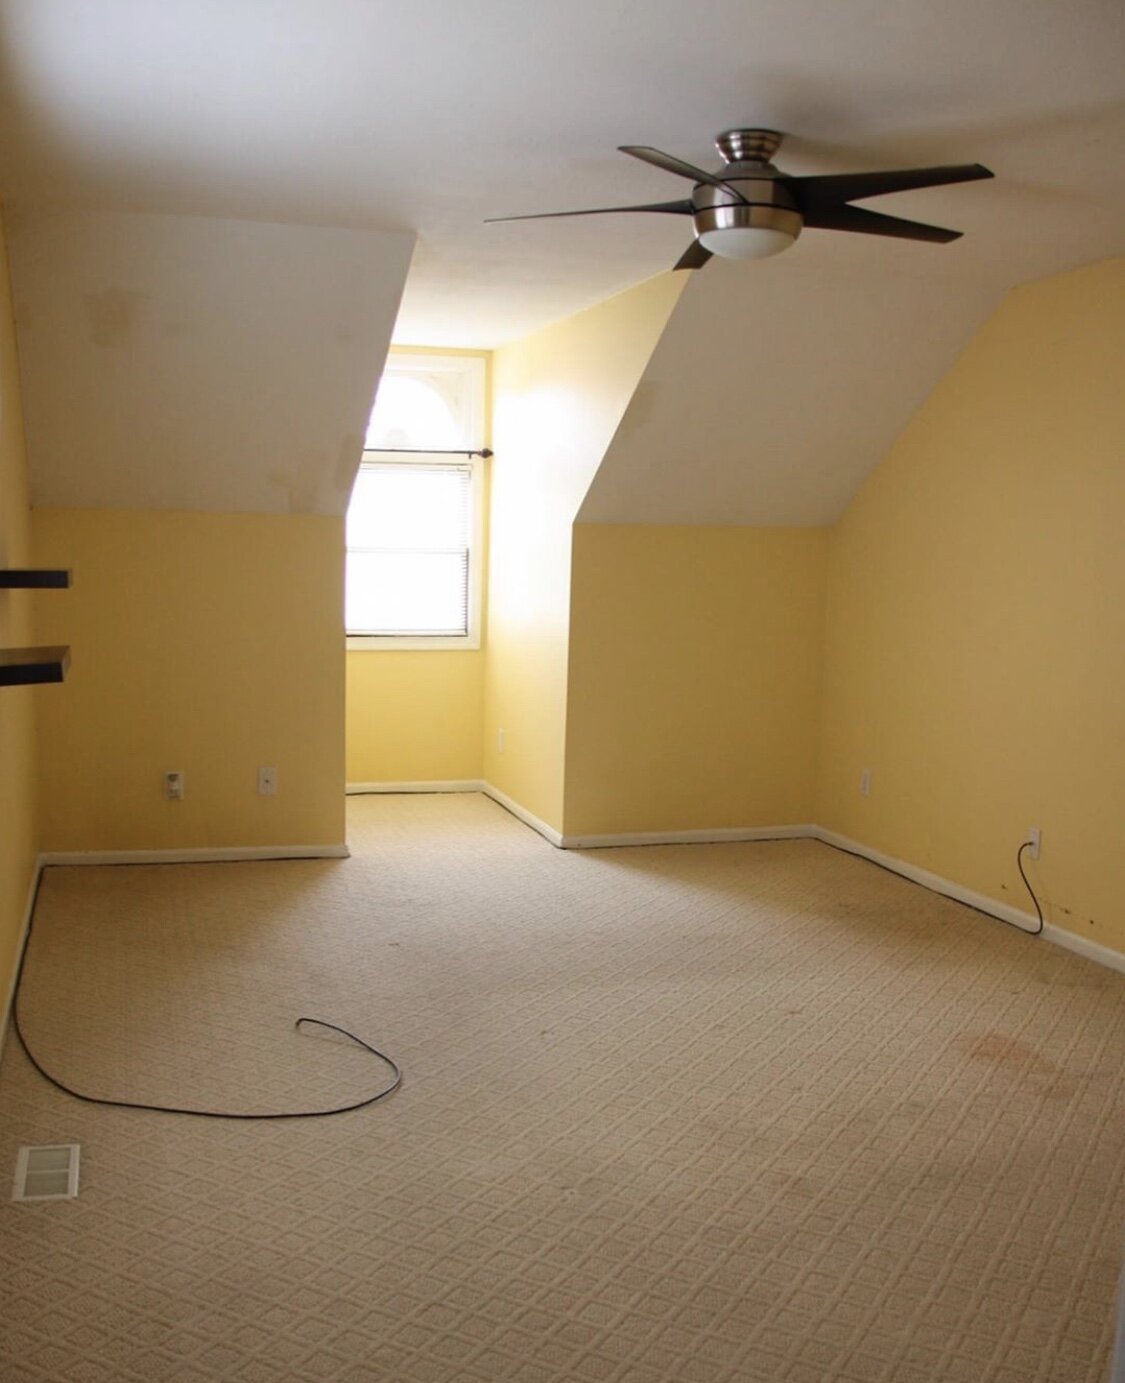
In case anyone is new around here, I’m going to add a before and after of our bedroom below so you can see where we started! This project was the perfect finishing touch to our space, and really helps pull some dimension into this all white space.

And here’s a before and after of the wall before I installed the shiplap last year, and how it looks today!

Sources:

DIY Vertical Shiplap Pinterest Image.jpg
 

What I'm Excited to See More of in 2020


Today I thought I’d share a few design elements that I’ve been loving lately, and am looking forward to seeing more of in the coming year. I’m not big on design trends, but I always love watching the design world evolve and seeing what we bring into it each year. The following are elements that I’ve noticed have gained popularity throughout the last year (or more) that I’m loving and hope to continue seeing more of.

Warm Brown Tones

Whether it’s a couple of well placed accessories, or a piece of furniture, I’m really into the warmth that small doses of brown tones introduce into a space. They give the design so much depth and contrast without the starkness that black can sometimes bring.

Brown Tones.jpg

Whimsical Floral Arrangements

I’ve been loving all of the more natural, wild, and whimsical floral arrangements I’ve been seeing lately, and have started trying to create some on my own. I’ve also been enjoying the muted color palettes in the arrangements along with the traditional pedestal vases that have been becoming more prevalent lately.

Vintage Art

Vintage art, whether real or faux, really adds so much character to a space. It helps to make a design feel more collected, especially if you’re using a lot of new pieces or your space is lacking in architectural interest.

Heidi Caillier LR.jpg

Natural Wood Tones and Organic Elements

Via The Vintage Rug Shop

Muted, Nature-Inspired Color Palettes

Jenni Kayne DR.jpg

Arches

Via Amber Interiors

Putty colored cabinetry + Natural Marble Countertops

I know that natural marble countertops come with a lot of disclaimers, and aren’t great for, well, a lot of real life, but the beauty of them just cannot be matched. I love the movement and character they add to a space, and they have been the perfect match for the putty colored cabinetry we’ve been seeing lately. I’ve been so drawn to these neutral putty tones, because they still have the light and bright feel of an all white kitchen, but are just a bit softer and add so much warmth.

Jenny K Kitchen.jpg
 

DIY Horizontal Shiplap


DIY Horizontal Shiplap Tutorial

For this project you will need:

  • Miter saw

  • Nail gun

  • Air compressor

  • Level

  • 1.5" brads

  • Caulk

  • Wood filler

  • Stud finder

Project time: One weekend

Experience Level: Beginner

IMG_1906.JPG

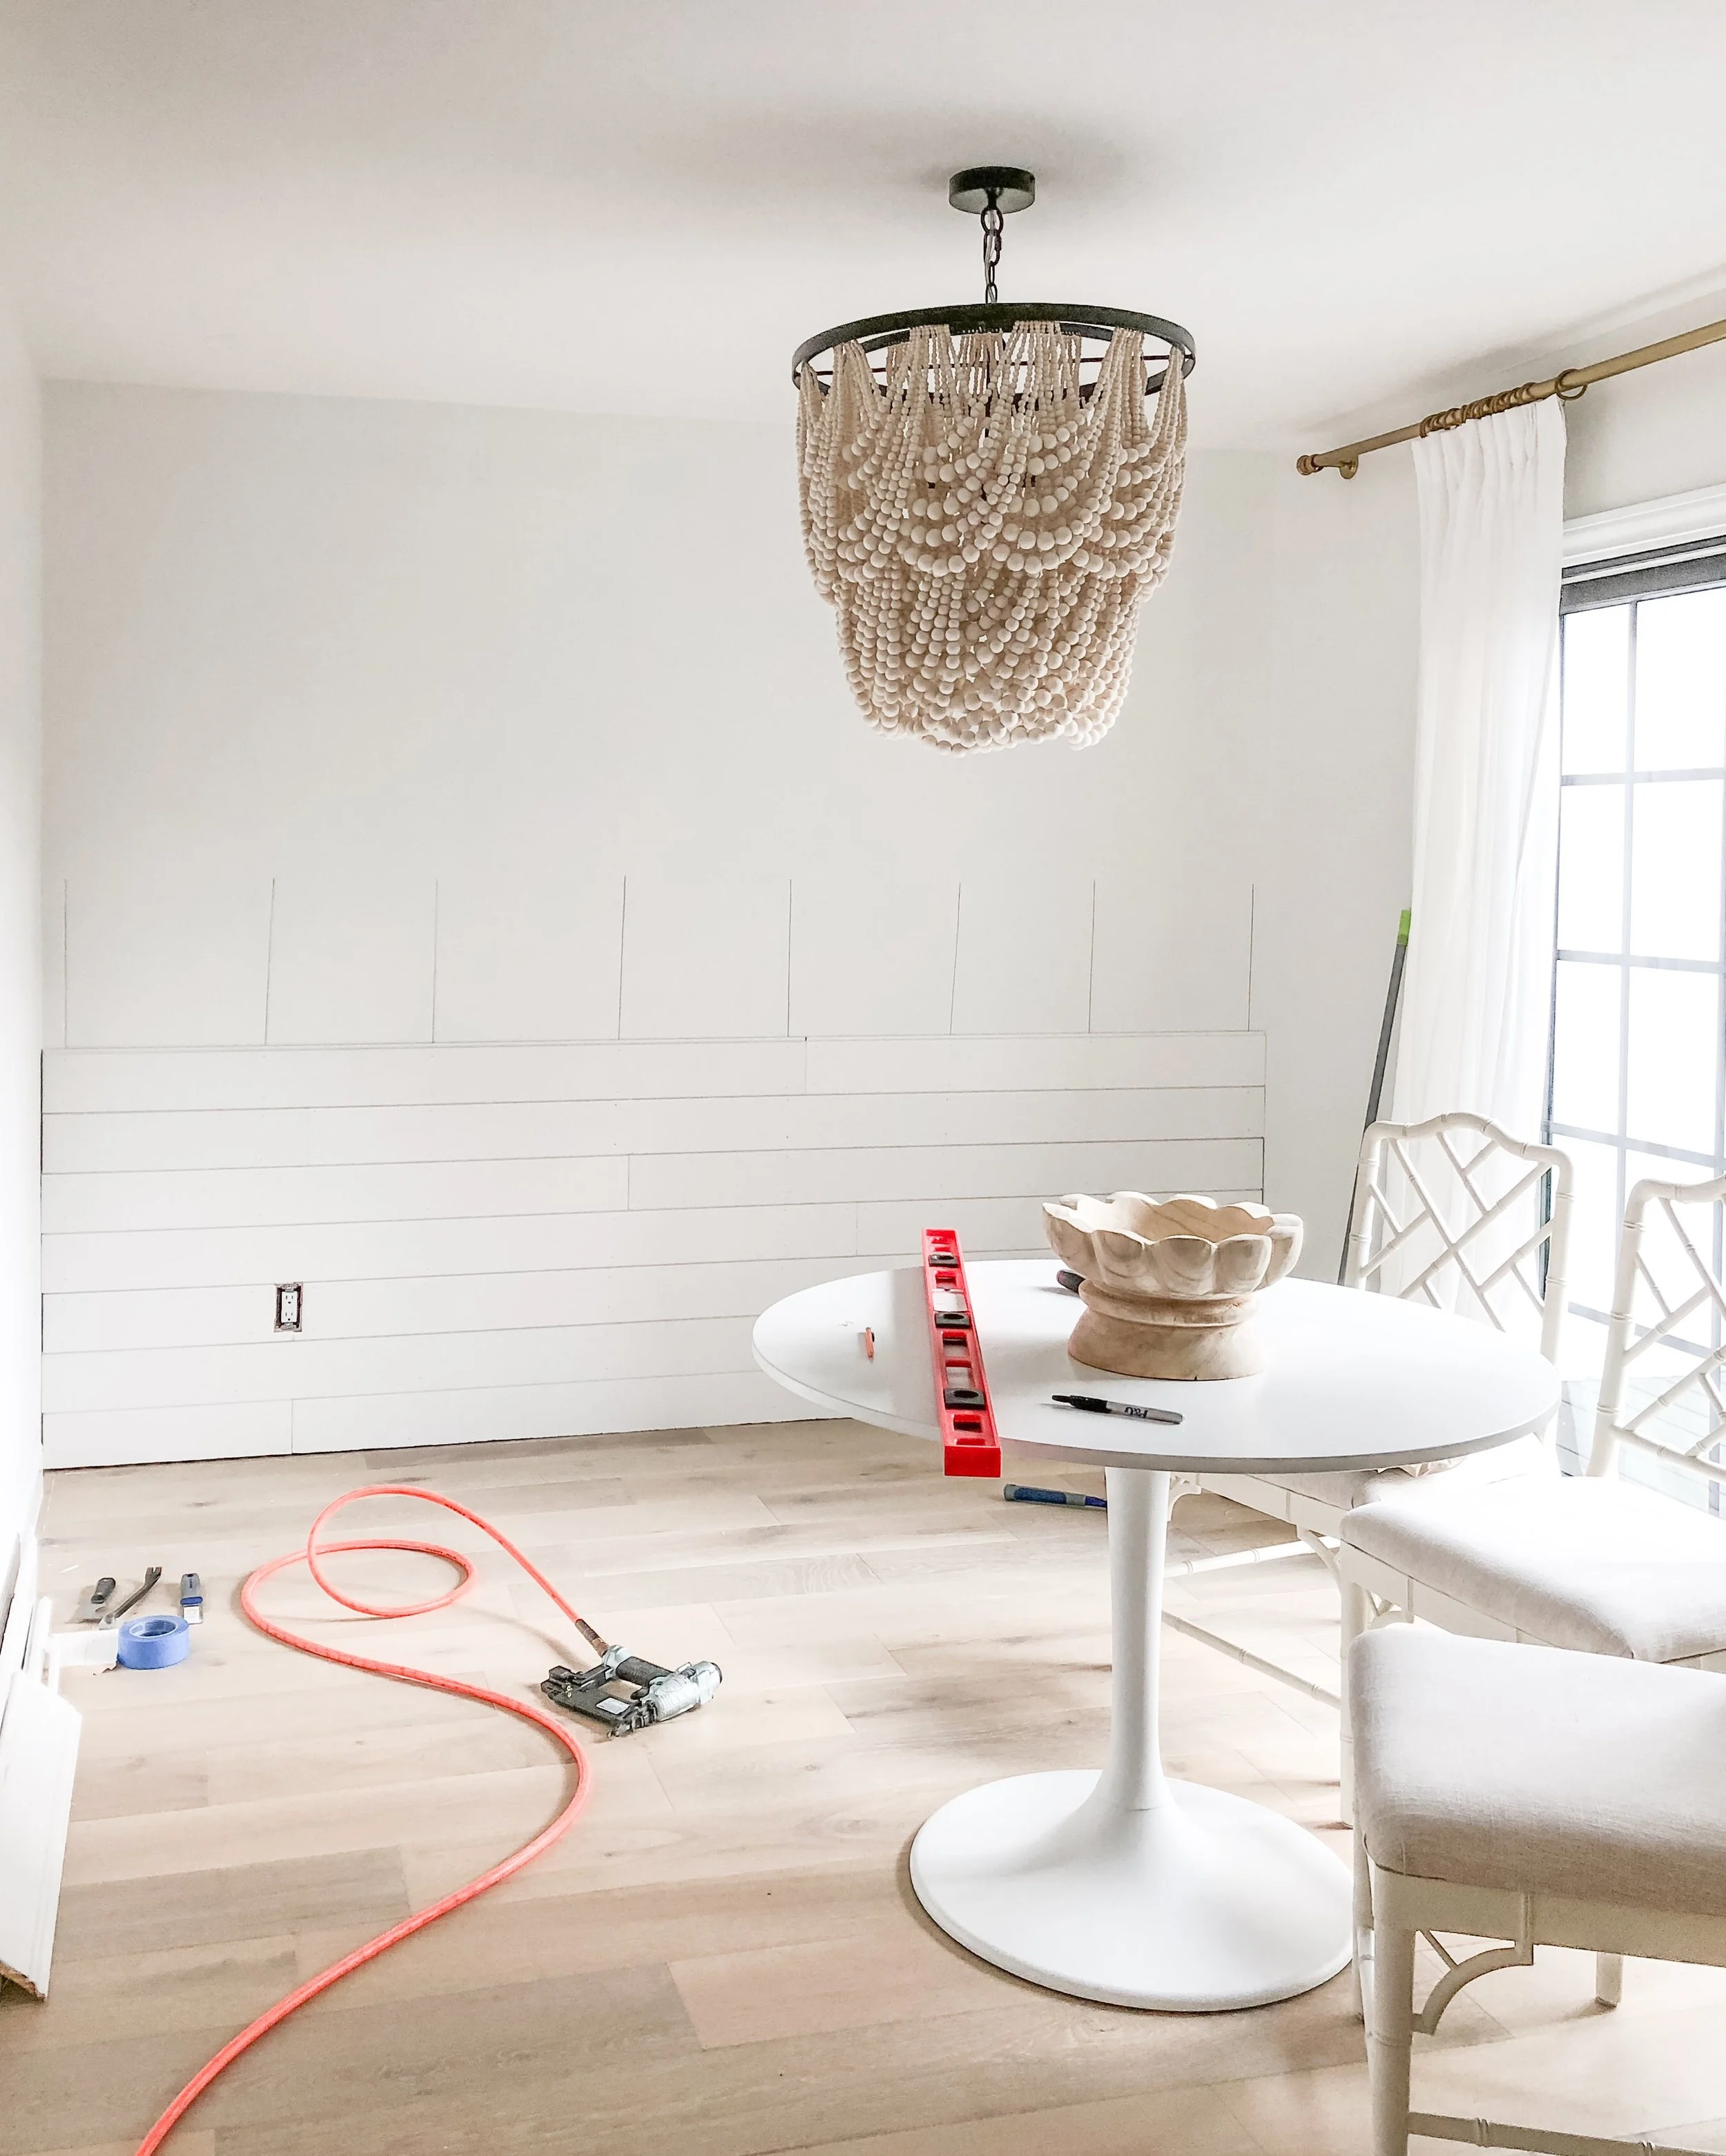
Last year I added shiplap to a couple walls in our house and decided to document the process from my point of view. I looked at many "shiplap" tutorials when I was deciding what materials to use for the project, and was shocked by how many of them looked very DIY once completed, which I don't feel adds value to your home. I think there's a difference between a professional project that can by "DIYed" and the finished product looks almost the same to an untrained eye, and a project that once completed, looks "DIYed." I wanted to share what I feel is the correct way to complete the project if you're looking for a more professional finished product that adds value to your home. I want to preface this by saying I am by no means a carpenter, but I have learned some tips and tricks during our renovation to help make my projects look more professional.

I started by selecting a material. Since I wanted the project to look and feel like the shiplap I've seen in high end model homes, I decided to go with true shiplap versus any sort of wood that is installed to get the effect by using a coin to create the gap. I don't recommend this method, as it's typically suggested that you rip down sheets of plywood to create the look on a budget. Also, if you've ever tried to rip down plywood, you know that the edges are very prone to splintering and inevitably results in missing chunks in the edges of the wood. Though I've never seen a completed shiplap project like this in person, I can't image the finished results look professional, and wouldn't recommend going this route.

I ultimately went with this product that is found in stock at most Lowe's stores, and was very happy with it. It's a primed MDF, which is great for any space where you don't have to worry about moisture near the wood. I'm planning on doing shiplap in my master bath soon and am still looking for a solid wood version. Now, onto the process and steps! I took all of these photos with my iPhone, so I apologize in advance for the quality.

37F33BF6-DEB8-46C0-A47F-C3B7314CC5DB.JPEG

The first step was to carefully demo the baseboards and quarter round on the wall so I could reuse them. After that I marked out where the studs were on the wall and lined up my first board. I used a large level to make sure things were as level as possible before beginning. This is the most important step! Take your time and do not rush through. I let the board rest on the floor naturally to see where I needed to adjust it to make it level and shimmed it up where necessary. I was doing this project by myself so I found it useful to use painters tape to help hold the board up while I ran the level across the wall and adjusted the board.

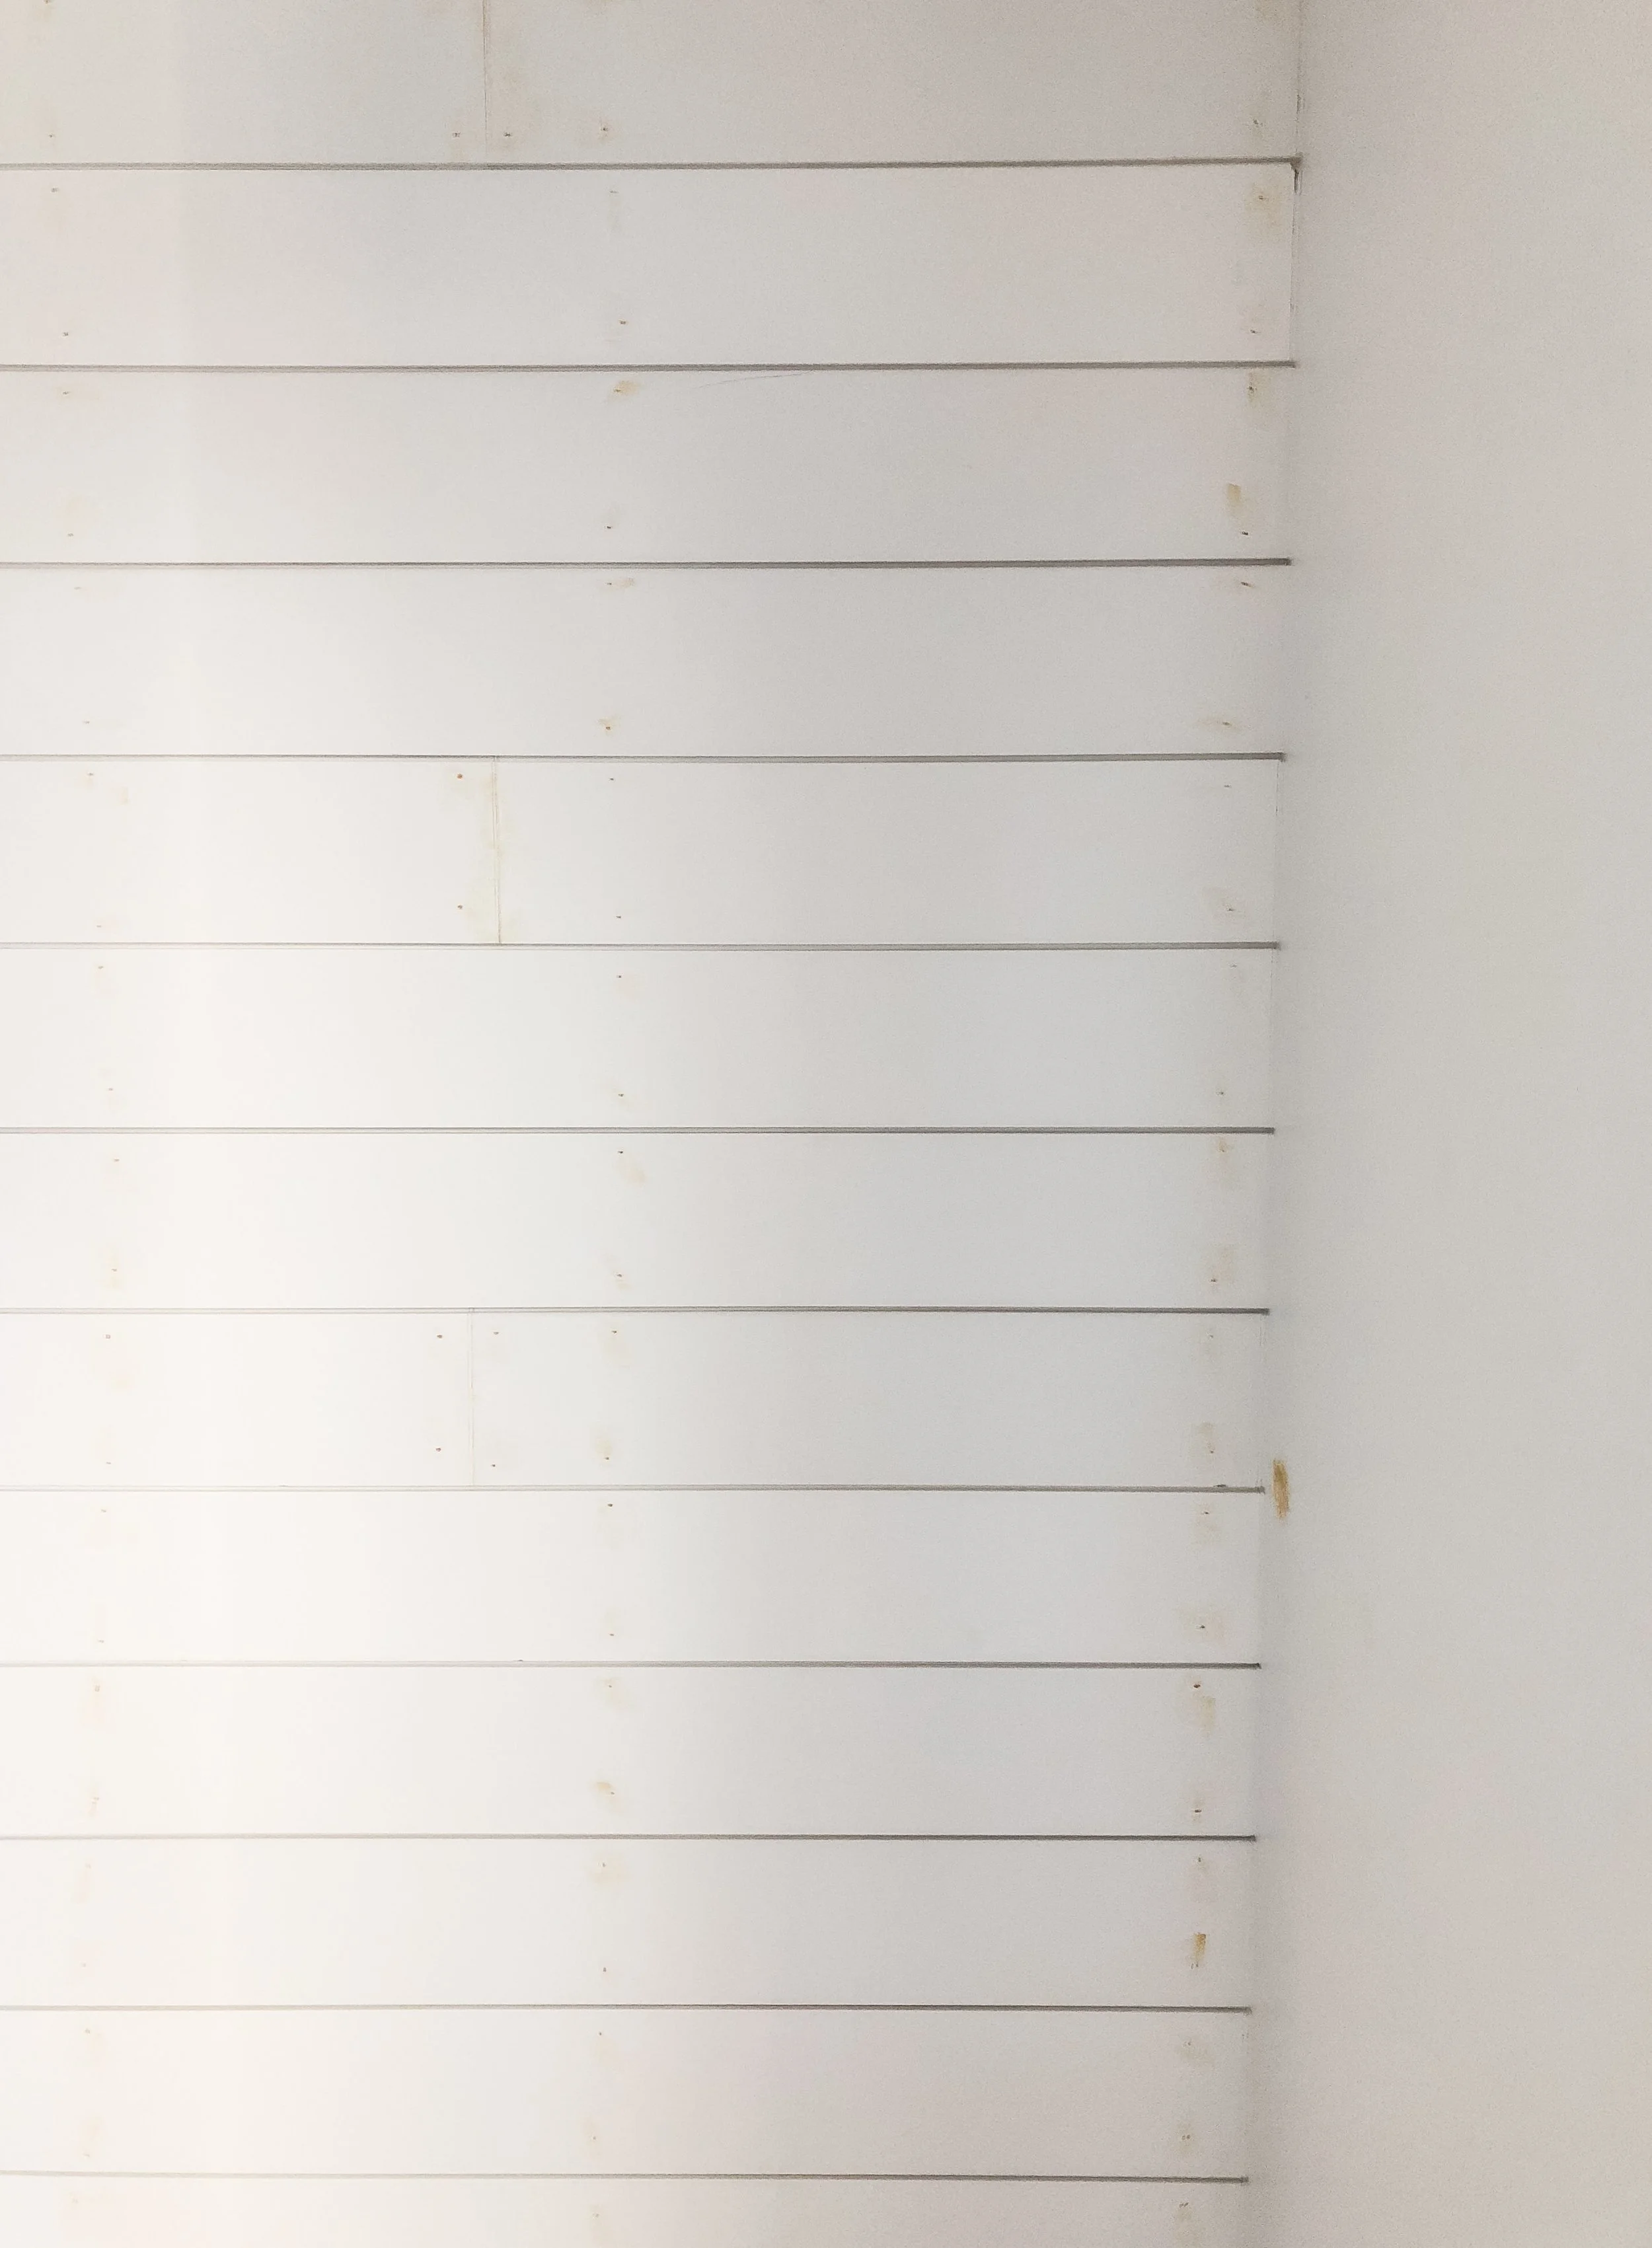
Once I got the first board level I nailed it in and after that the rest of the wall went up fairly quickly. I could only fit the 8 foot shiplap boards in my car, so I had to join the boards together to run the full length of the wall. I just made sure to stagger the end joints much like installing wood flooring, and limited it to one cut per board to lessen the amount of wood filling I needed to do later.

05C28A35-7A16-404F-8A7B-77F8932C763C.JPEG

I continued on until I finally reached the ceiling. I had a couple inches gap between the last board and the ceiling, but instead of wasting time and money ripping boards down to fit, I left it as I knew the crown molding was just going to cover that part anyway.

After I had all the shiplap up, I started to caulk all of the edges and fill the nail holes and end joints with wood filler. This is another very important step! Do not skip this step. I've seen many tutorials that do skip this step, or just add in quarter round on the edges to cover the gaps, and personally, I don't think that looks professional and cheapens the overall effect. Below is a before and after of caulking the end joints so that they blend seamlessly into the wall. Some gaps are larger than others due to either the wall being uneven, or me not wanting to take the time to go back and forth between the dining room and miter saw to get a more exact fit as I knew the caulk would cover it.

Before caulk and wood filler

EA87B548-0D13-4A80-8267-A649AA466F43.JPEG

After caulking the end joints

The method I used to caulk the end joints was to fill along the whole edge, smooth in with my finger, and then take a cotton swab in a sweeping motion towards the opposite wall to clear the excess caulk from the gap in the shiplap. Make sure to do this while the caulk is still wet. Some of the larger gaps will need to be caulked twice, as the caulk shrinks when it dries.

After wood filling all nail holes and end joints

244F0D6C-1CA5-4A33-BBD0-F347050CAF77.JPEG

After I caulked and wood filled everything, I went over the wood filler with sandpaper so that the paint would go on smoothly and all the nail holes and joints would disappear. I added the crown molding and baseboards in and went over the whole wall with a light coat of wall paint.

I am thrilled with the texture that the shiplap adds to the space! I hope this tutorial is helpful for those of you looking for advice.
Thanks for reading!

Michelle