
DIY Horizontal Shiplap
DIY Horizontal Shiplap Tutorial
For this project you will need:
Miter saw
Nail gun
Air compressor
Level
1.5" brads
Caulk
Wood filler
Stud finder
Project time: One weekend
Experience Level: Beginner

Last year I added shiplap to a couple walls in our house and decided to document the process from my point of view. I looked at many "shiplap" tutorials when I was deciding what materials to use for the project, and was shocked by how many of them looked very DIY once completed, which I don't feel adds value to your home. I think there's a difference between a professional project that can by "DIYed" and the finished product looks almost the same to an untrained eye, and a project that once completed, looks "DIYed." I wanted to share what I feel is the correct way to complete the project if you're looking for a more professional finished product that adds value to your home. I want to preface this by saying I am by no means a carpenter, but I have learned some tips and tricks during our renovation to help make my projects look more professional.
I started by selecting a material. Since I wanted the project to look and feel like the shiplap I've seen in high end model homes, I decided to go with true shiplap versus any sort of wood that is installed to get the effect by using a coin to create the gap. I don't recommend this method, as it's typically suggested that you rip down sheets of plywood to create the look on a budget. Also, if you've ever tried to rip down plywood, you know that the edges are very prone to splintering and inevitably results in missing chunks in the edges of the wood. Though I've never seen a completed shiplap project like this in person, I can't image the finished results look professional, and wouldn't recommend going this route.
I ultimately went with this product that is found in stock at most Lowe's stores, and was very happy with it. It's a primed MDF, which is great for any space where you don't have to worry about moisture near the wood. I'm planning on doing shiplap in my master bath soon and am still looking for a solid wood version. Now, onto the process and steps! I took all of these photos with my iPhone, so I apologize in advance for the quality.
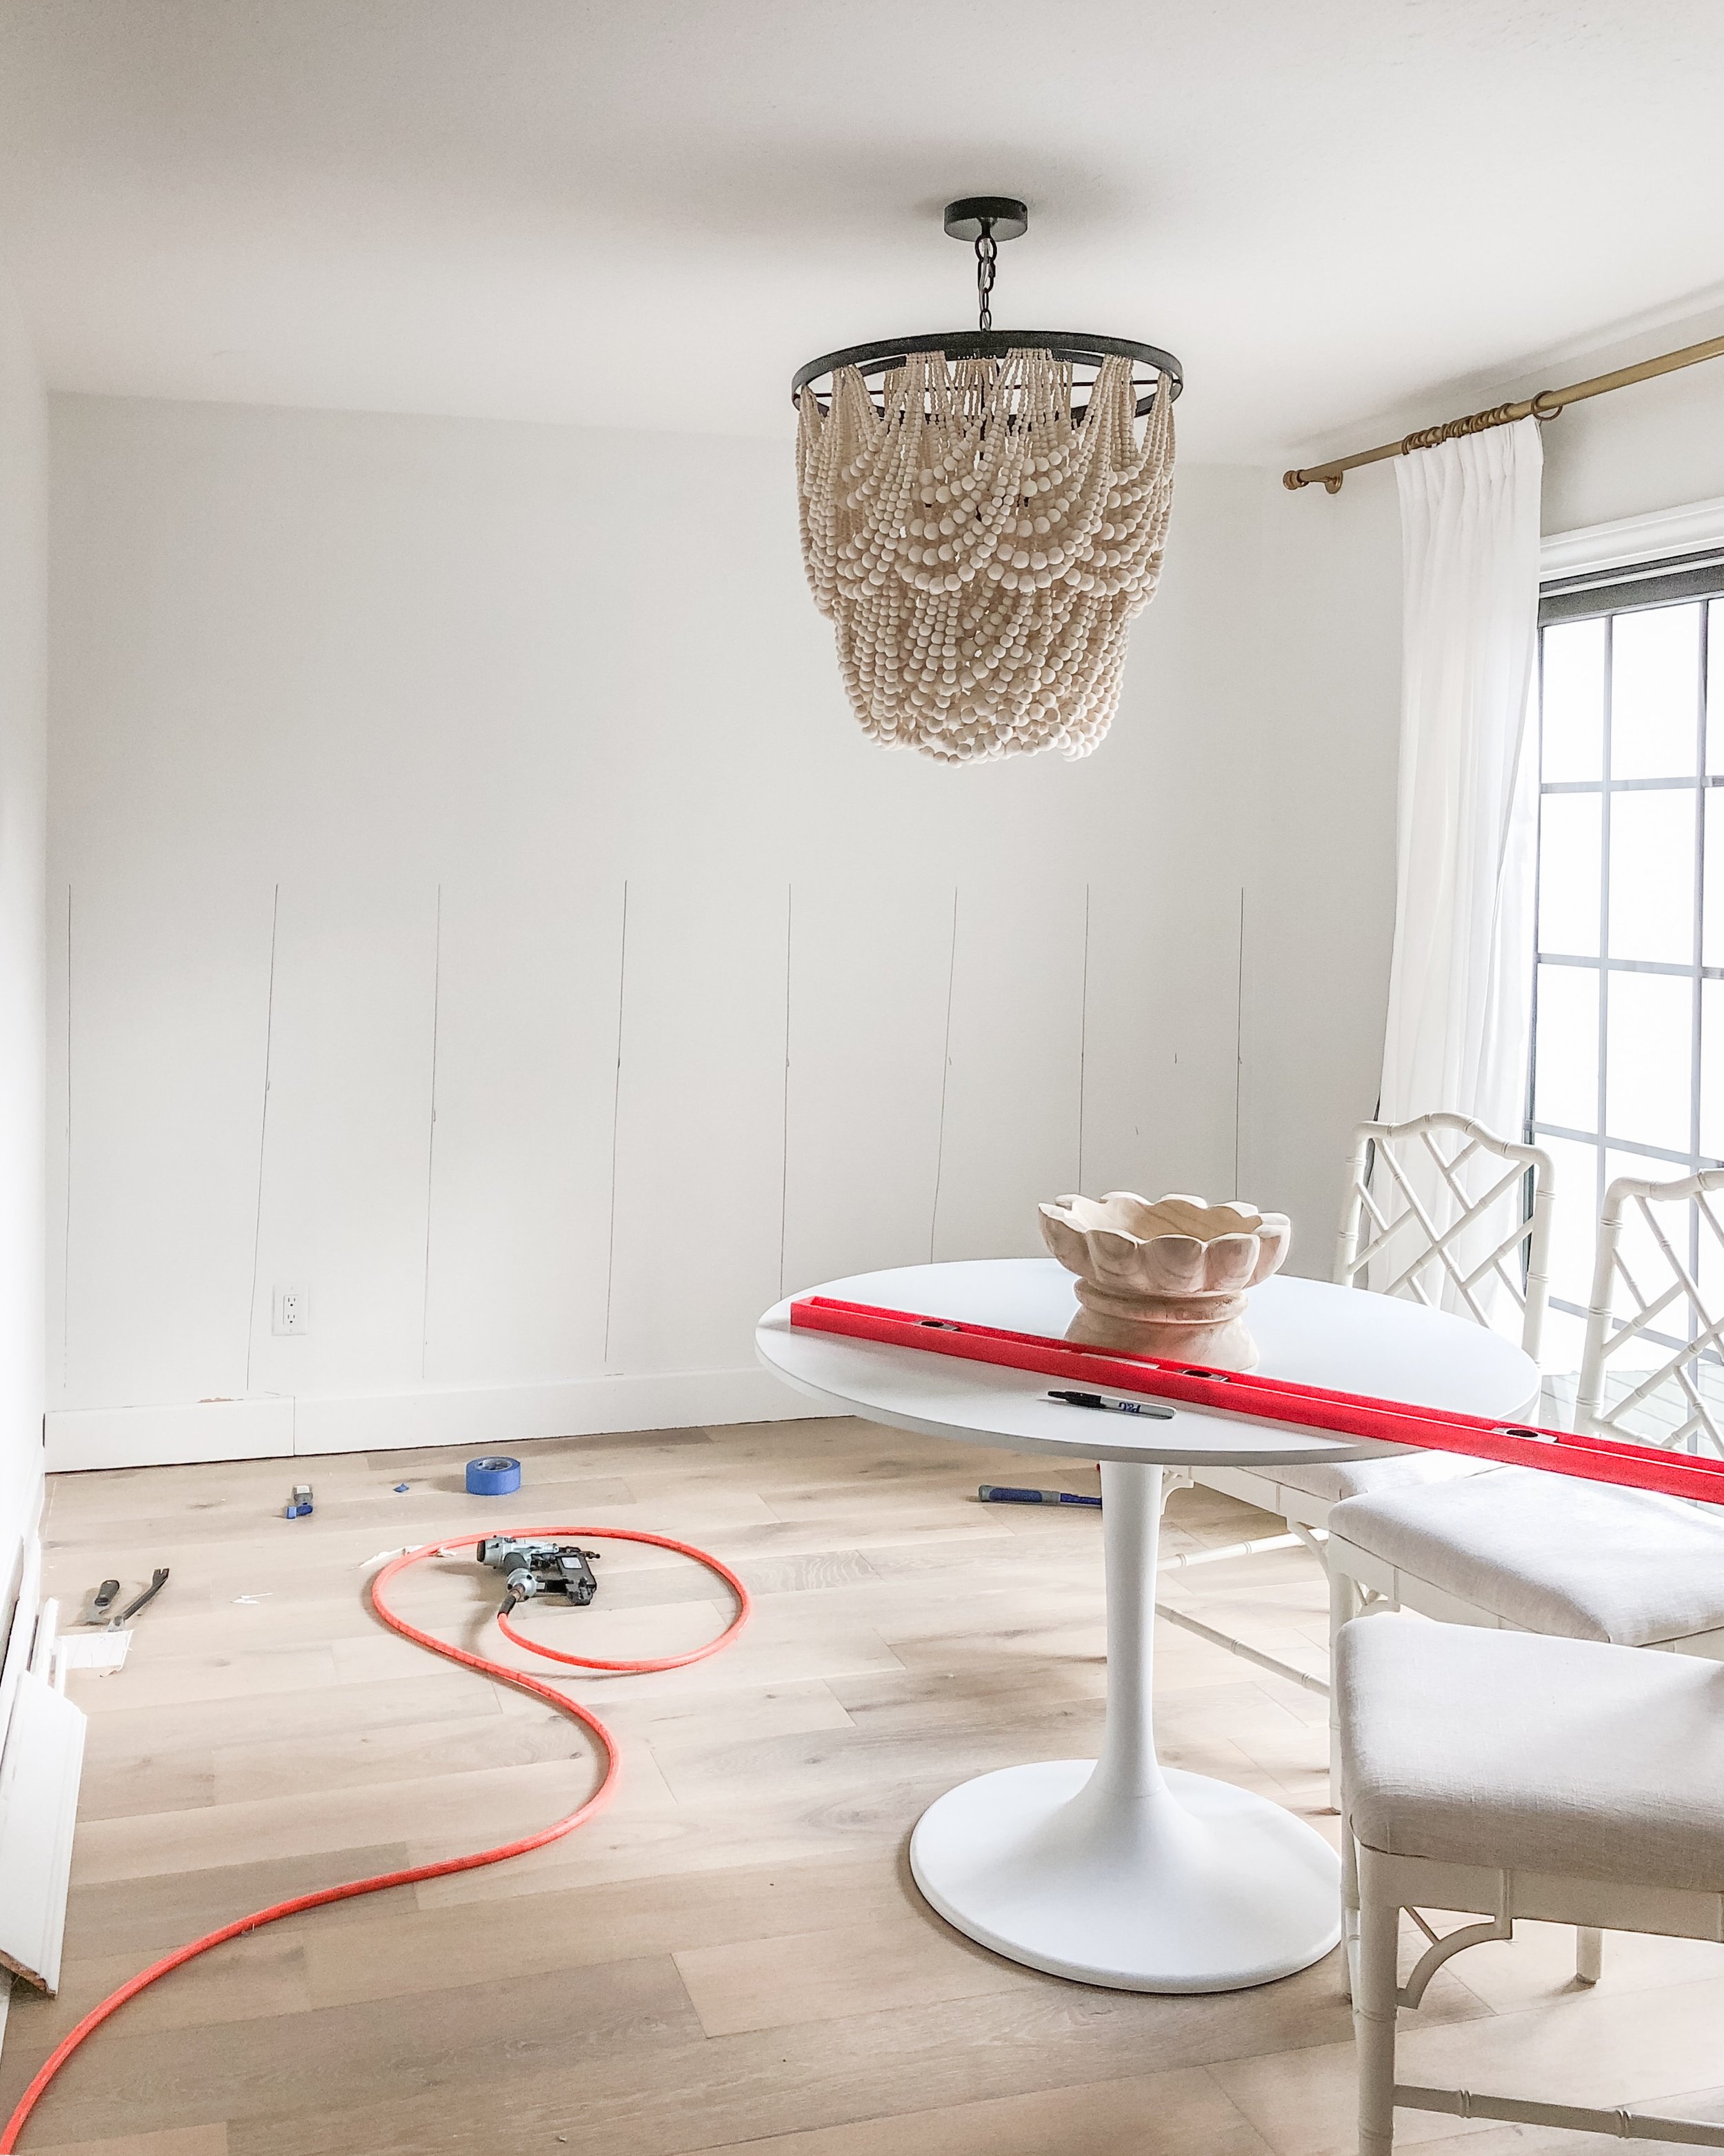
The first step was to carefully demo the baseboards and quarter round on the wall so I could reuse them. After that I marked out where the studs were on the wall and lined up my first board. I used a large level to make sure things were as level as possible before beginning. This is the most important step! Take your time and do not rush through. I let the board rest on the floor naturally to see where I needed to adjust it to make it level and shimmed it up where necessary. I was doing this project by myself so I found it useful to use painters tape to help hold the board up while I ran the level across the wall and adjusted the board.
Once I got the first board level I nailed it in and after that the rest of the wall went up fairly quickly. I could only fit the 8 foot shiplap boards in my car, so I had to join the boards together to run the full length of the wall. I just made sure to stagger the end joints much like installing wood flooring, and limited it to one cut per board to lessen the amount of wood filling I needed to do later.
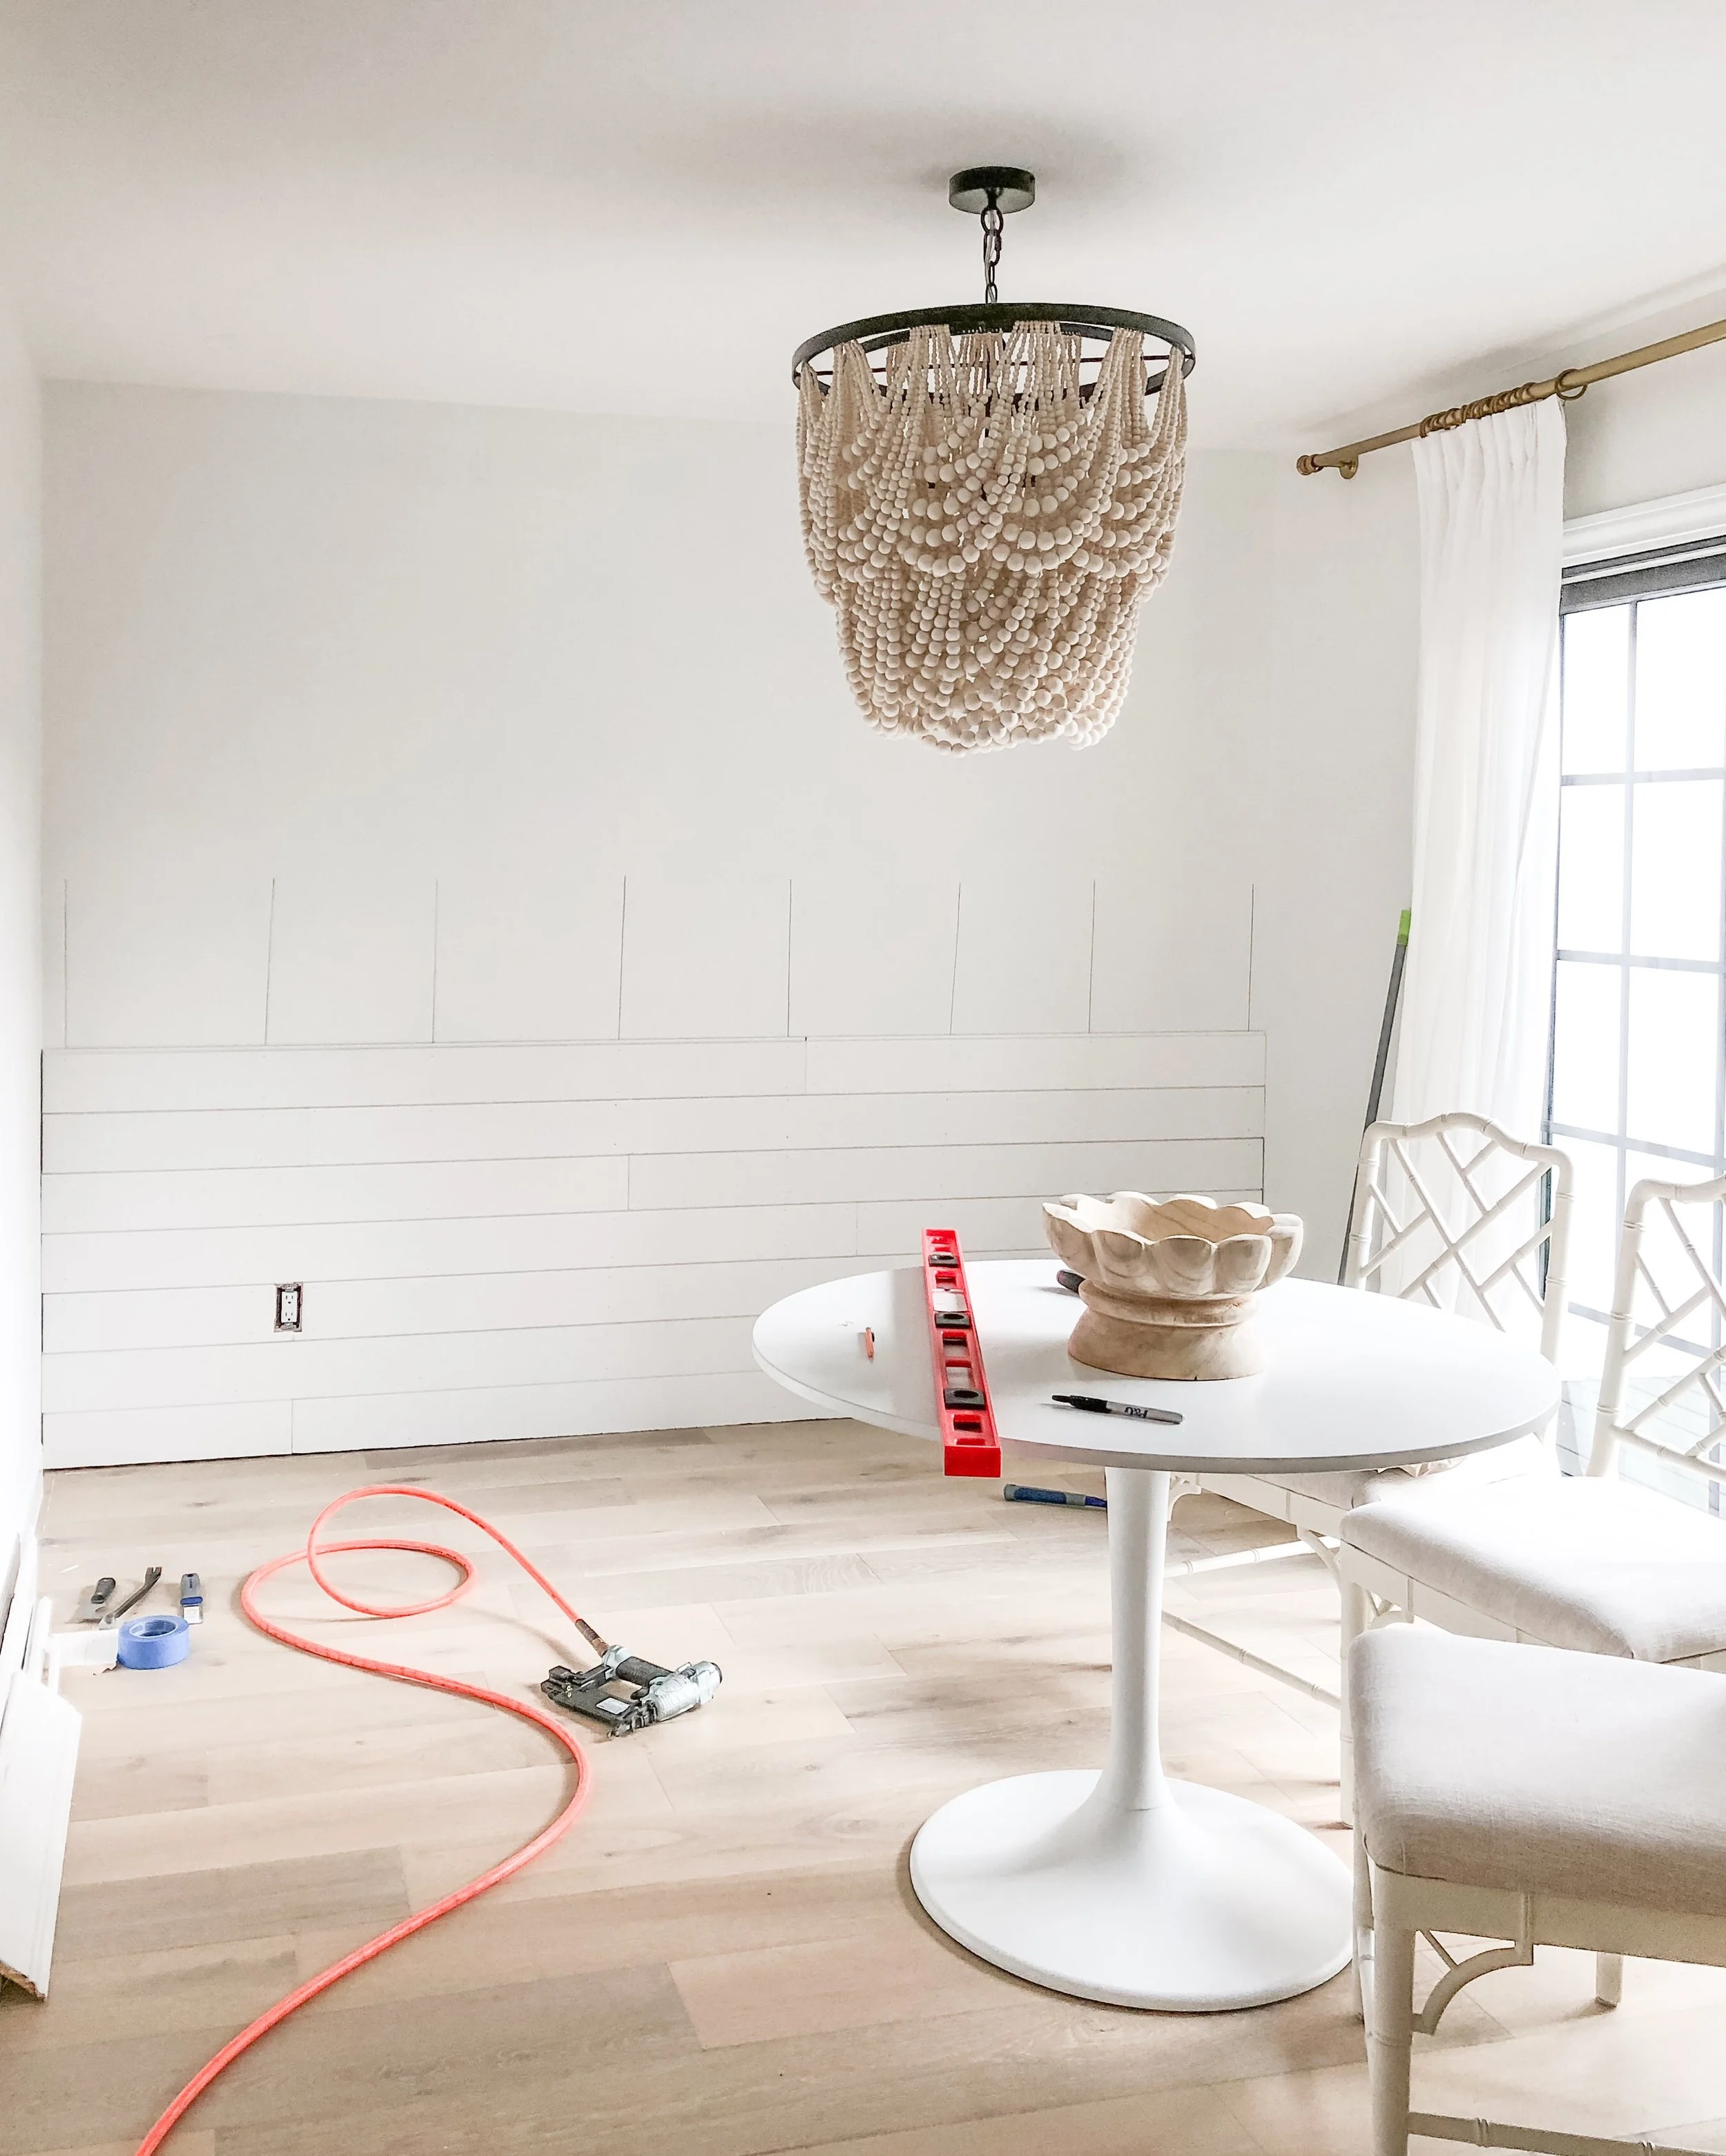
I continued on until I finally reached the ceiling. I had a couple inches gap between the last board and the ceiling, but instead of wasting time and money ripping boards down to fit, I left it as I knew the crown molding was just going to cover that part anyway.
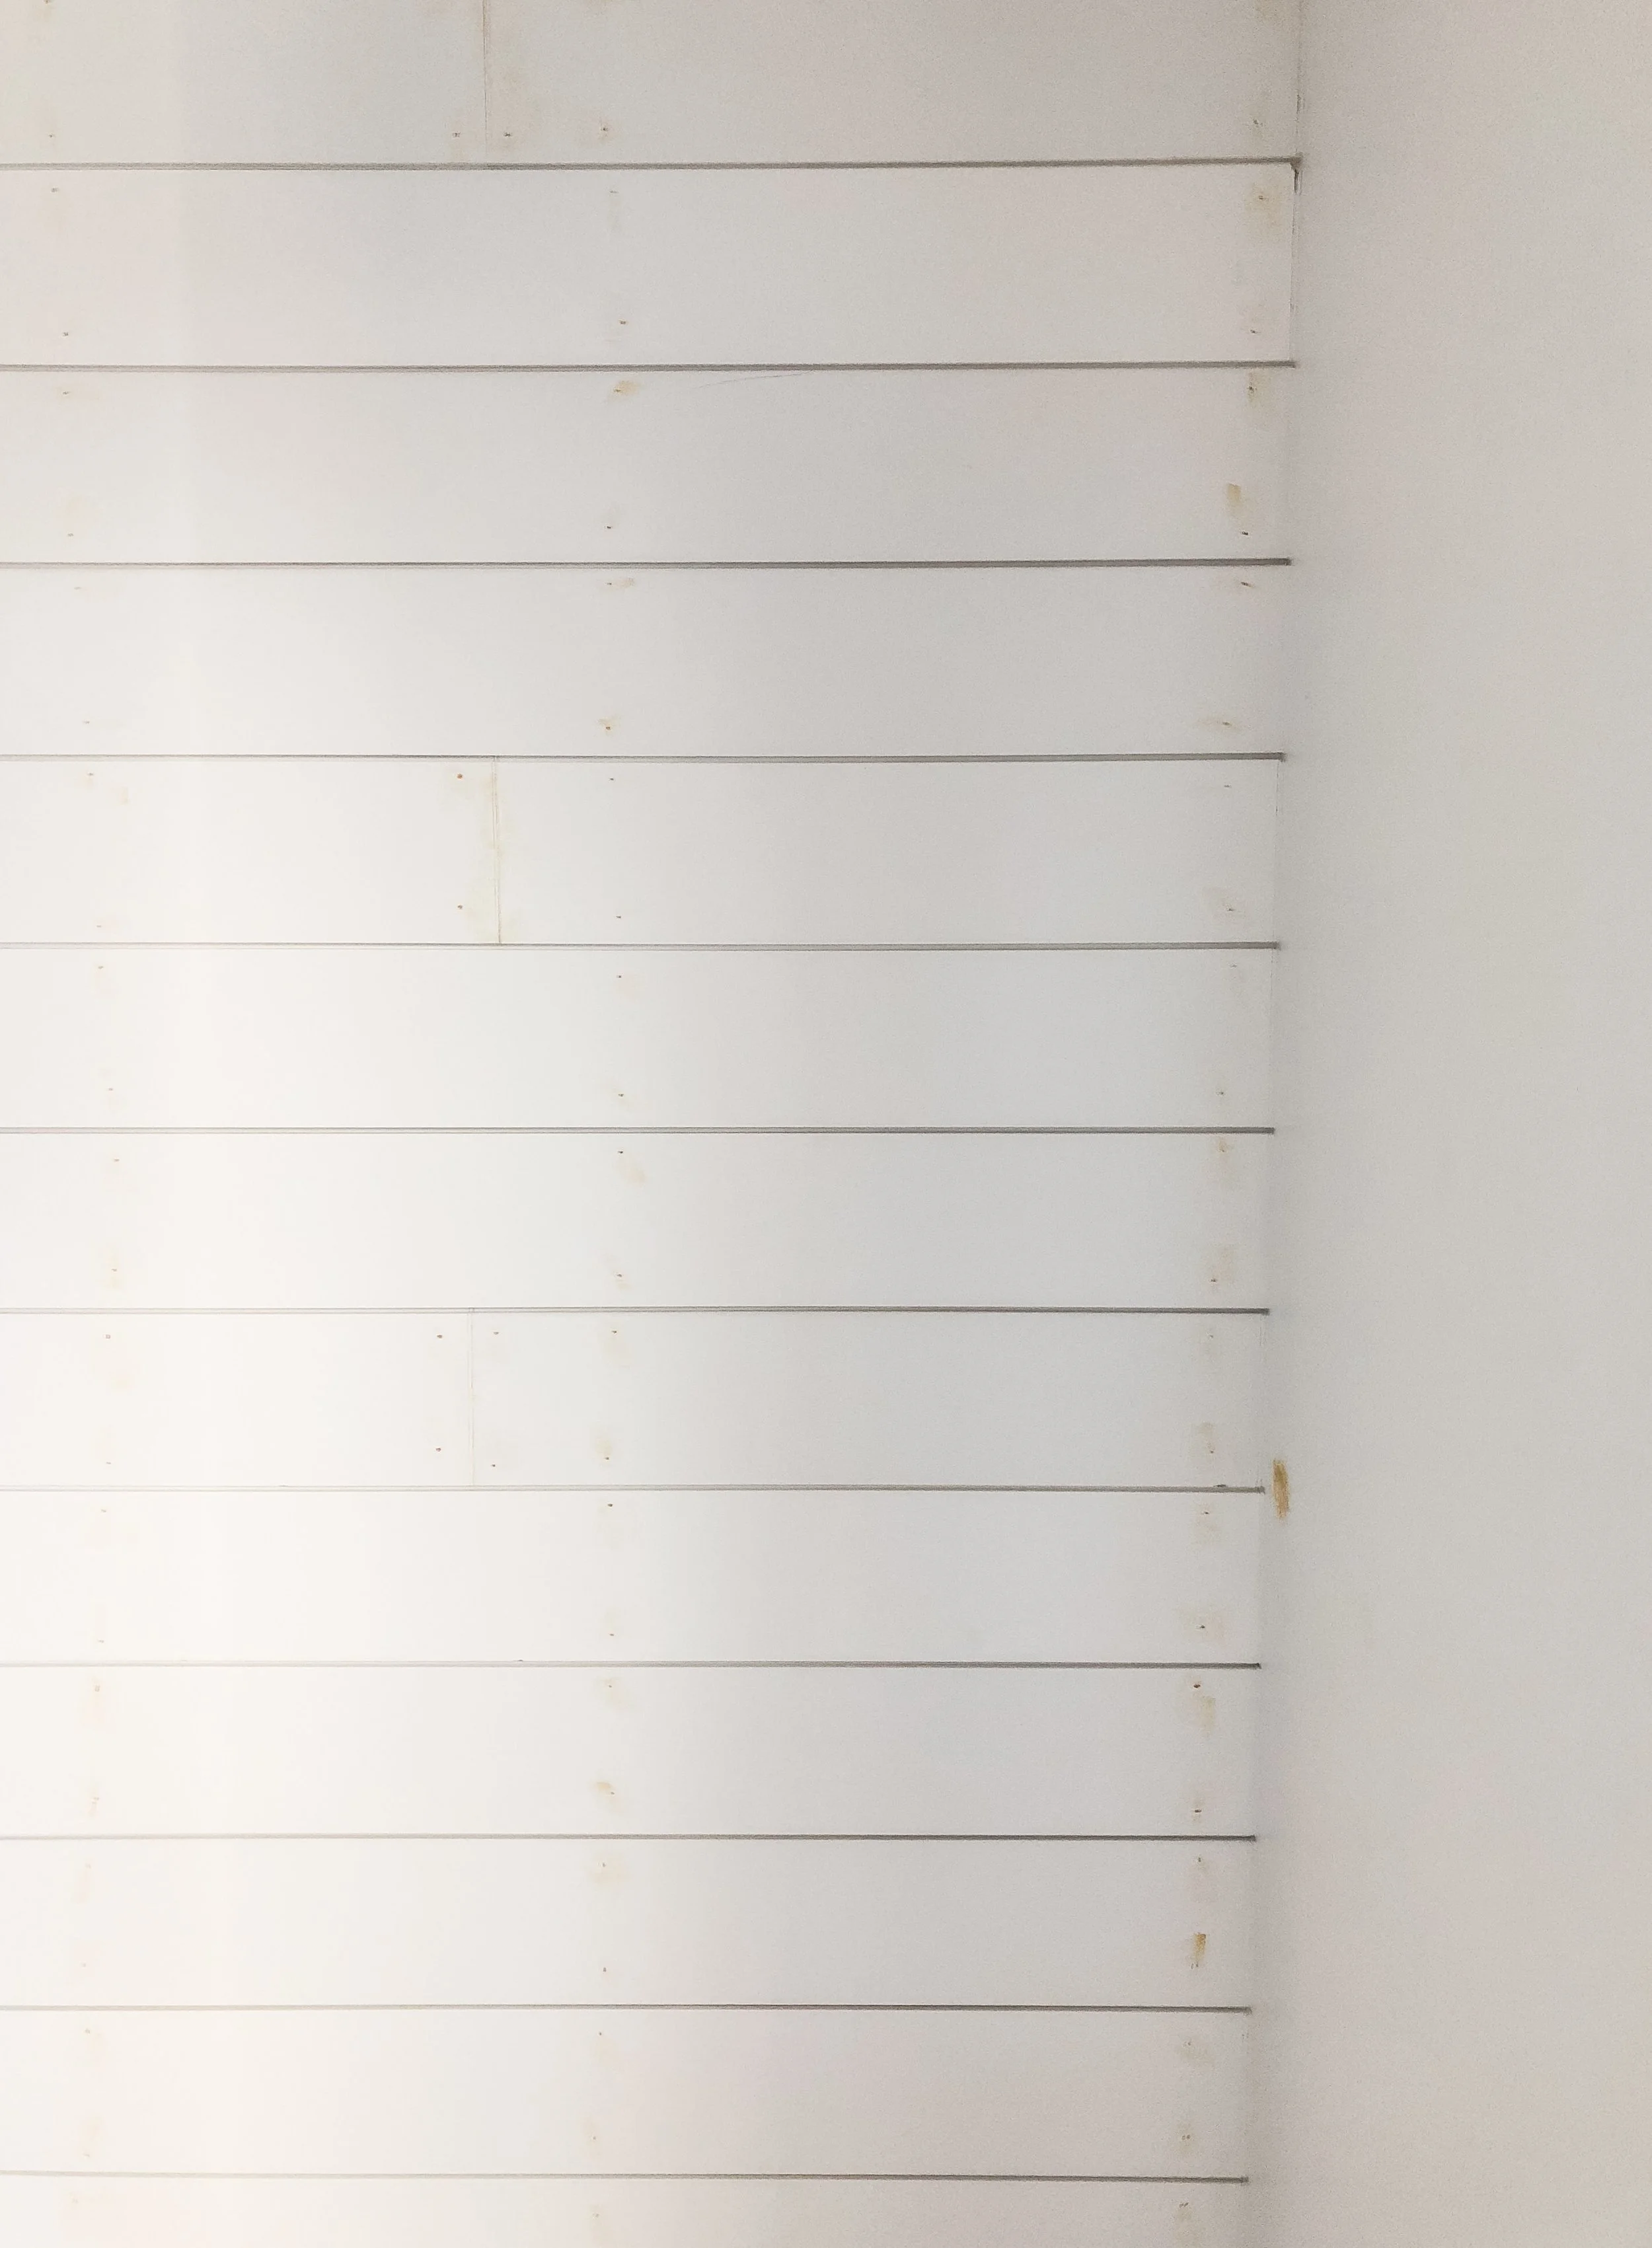
After I had all the shiplap up, I started to caulk all of the edges and fill the nail holes and end joints with wood filler. This is another very important step! Do not skip this step. I've seen many tutorials that do skip this step, or just add in quarter round on the edges to cover the gaps, and personally, I don't think that looks professional and cheapens the overall effect. Below is a before and after of caulking the end joints so that they blend seamlessly into the wall. Some gaps are larger than others due to either the wall being uneven, or me not wanting to take the time to go back and forth between the dining room and miter saw to get a more exact fit as I knew the caulk would cover it.
Before caulk and wood filler

After caulking the end joints
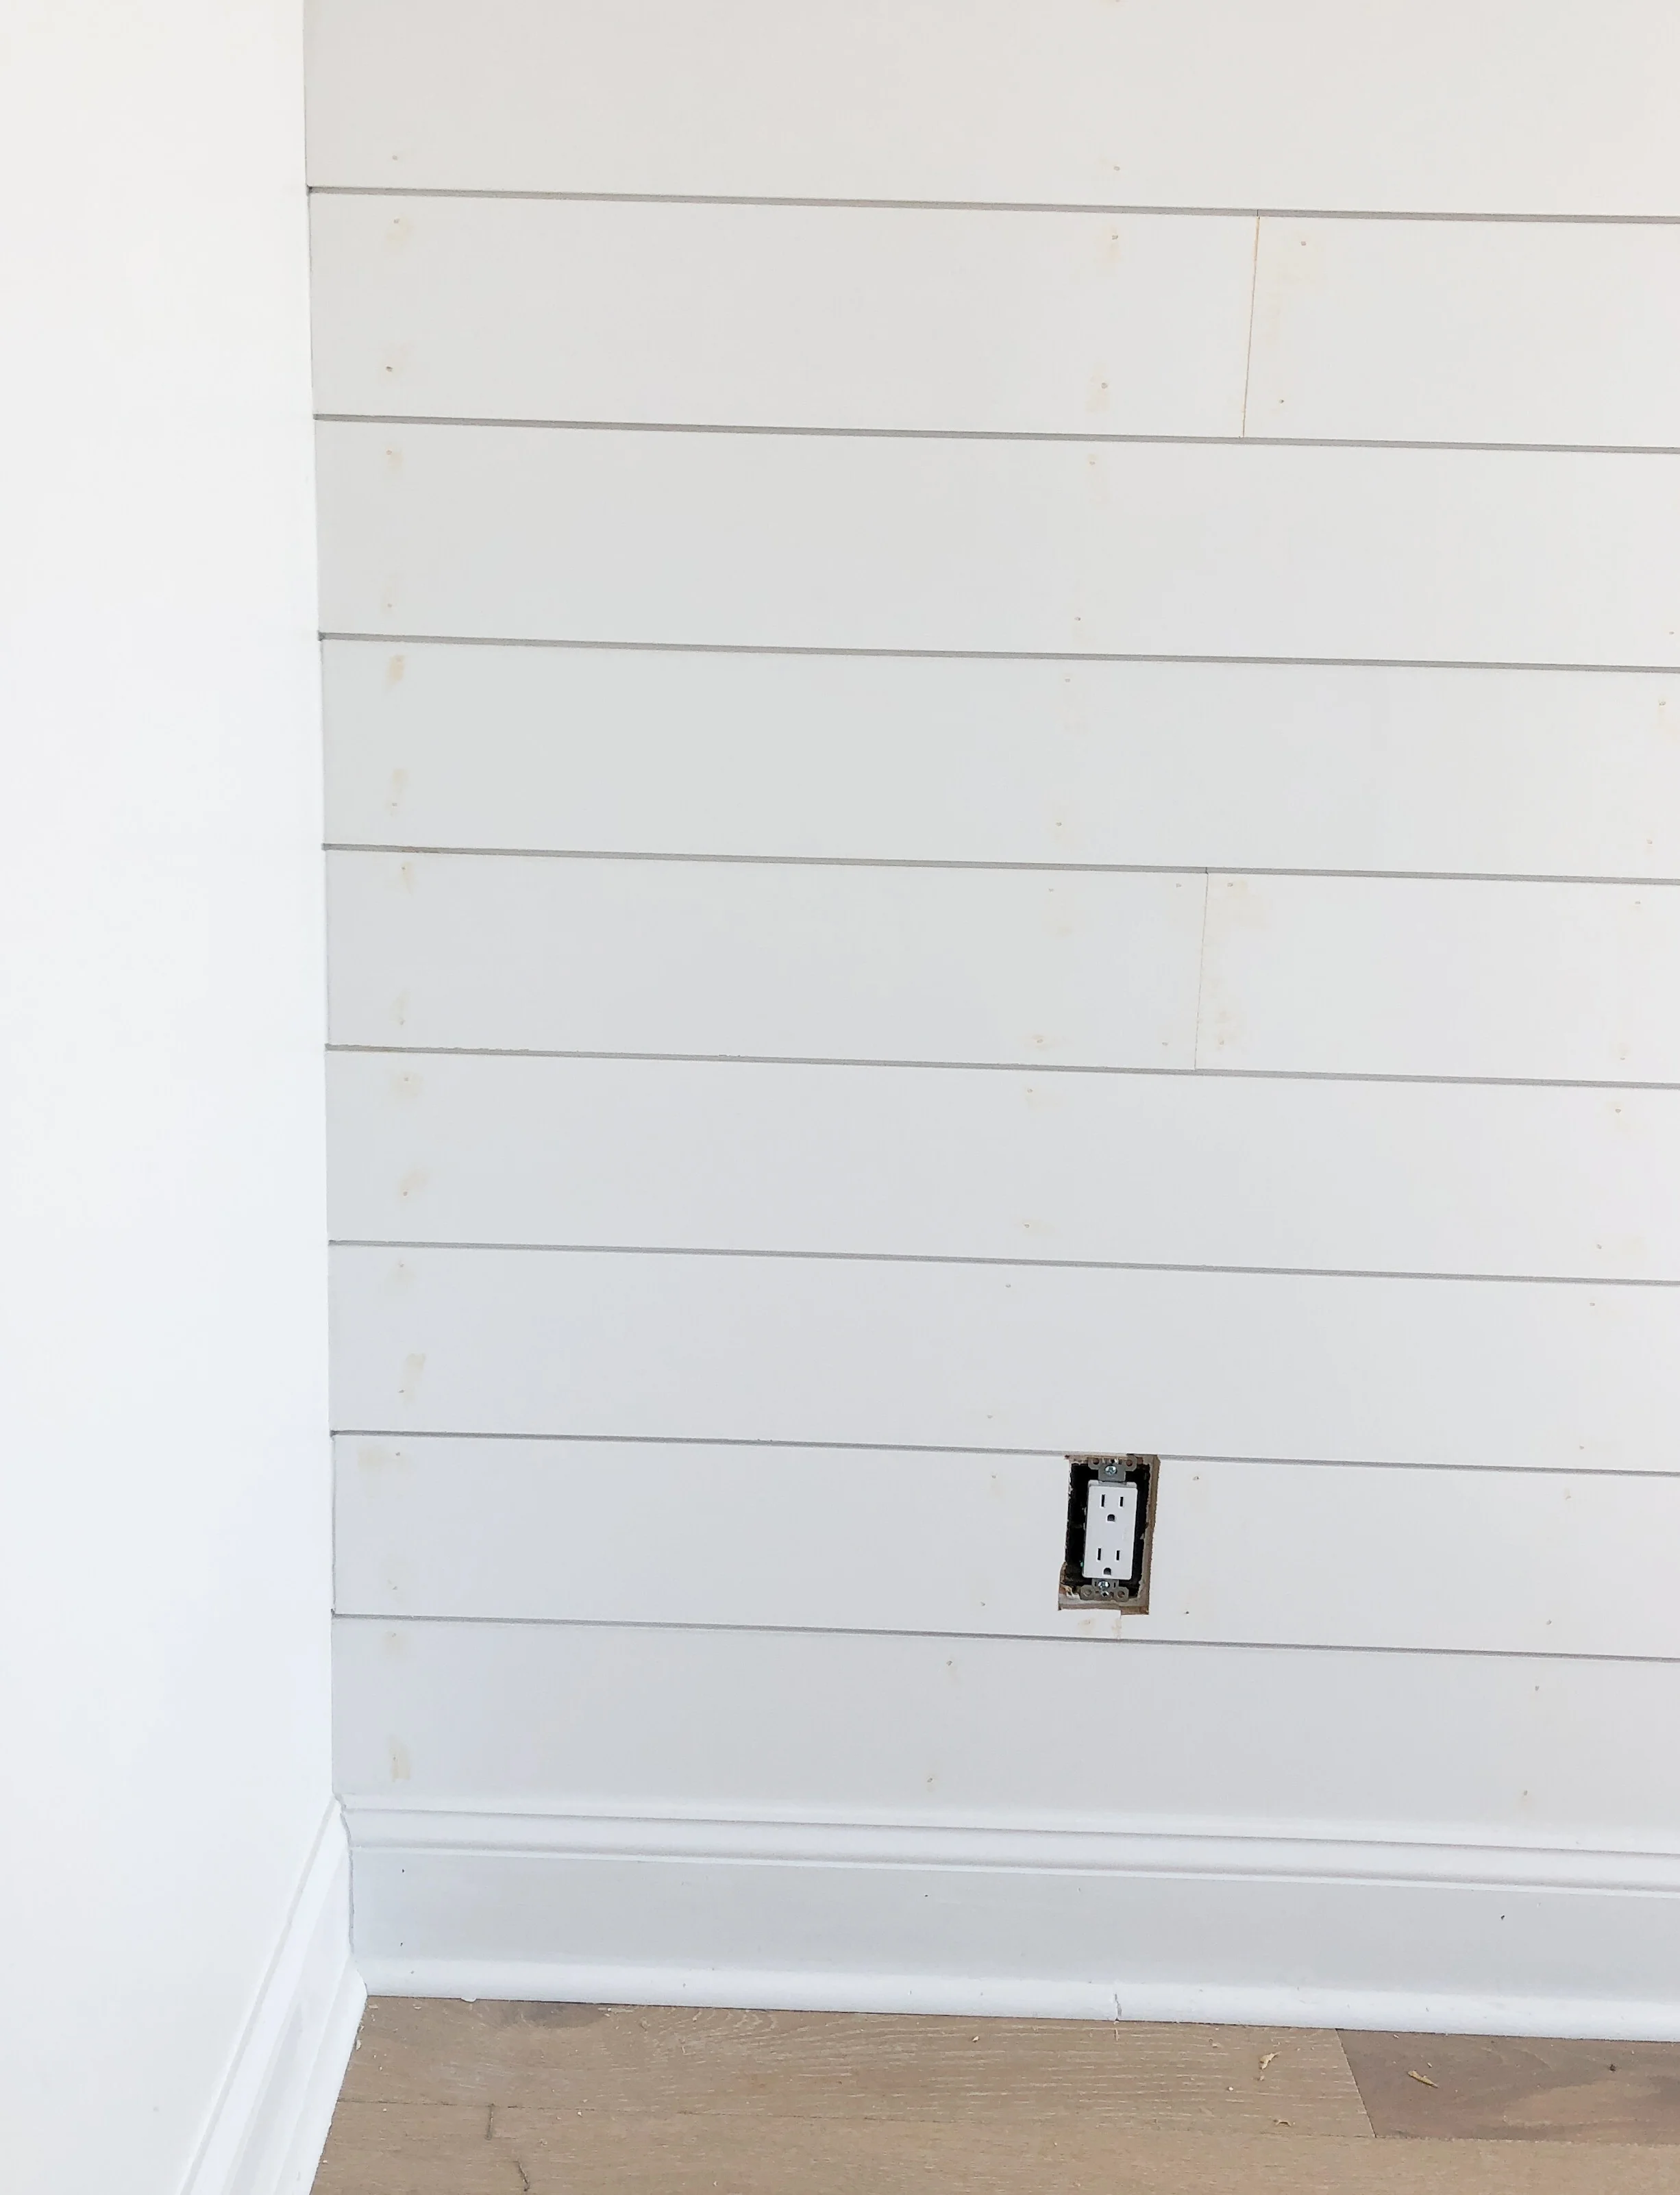
The method I used to caulk the end joints was to fill along the whole edge, smooth in with my finger, and then take a cotton swab in a sweeping motion towards the opposite wall to clear the excess caulk from the gap in the shiplap. Make sure to do this while the caulk is still wet. Some of the larger gaps will need to be caulked twice, as the caulk shrinks when it dries.
After wood filling all nail holes and end joints
After I caulked and wood filled everything, I went over the wood filler with sandpaper so that the paint would go on smoothly and all the nail holes and joints would disappear. I added the crown molding and baseboards in and went over the whole wall with a light coat of wall paint.
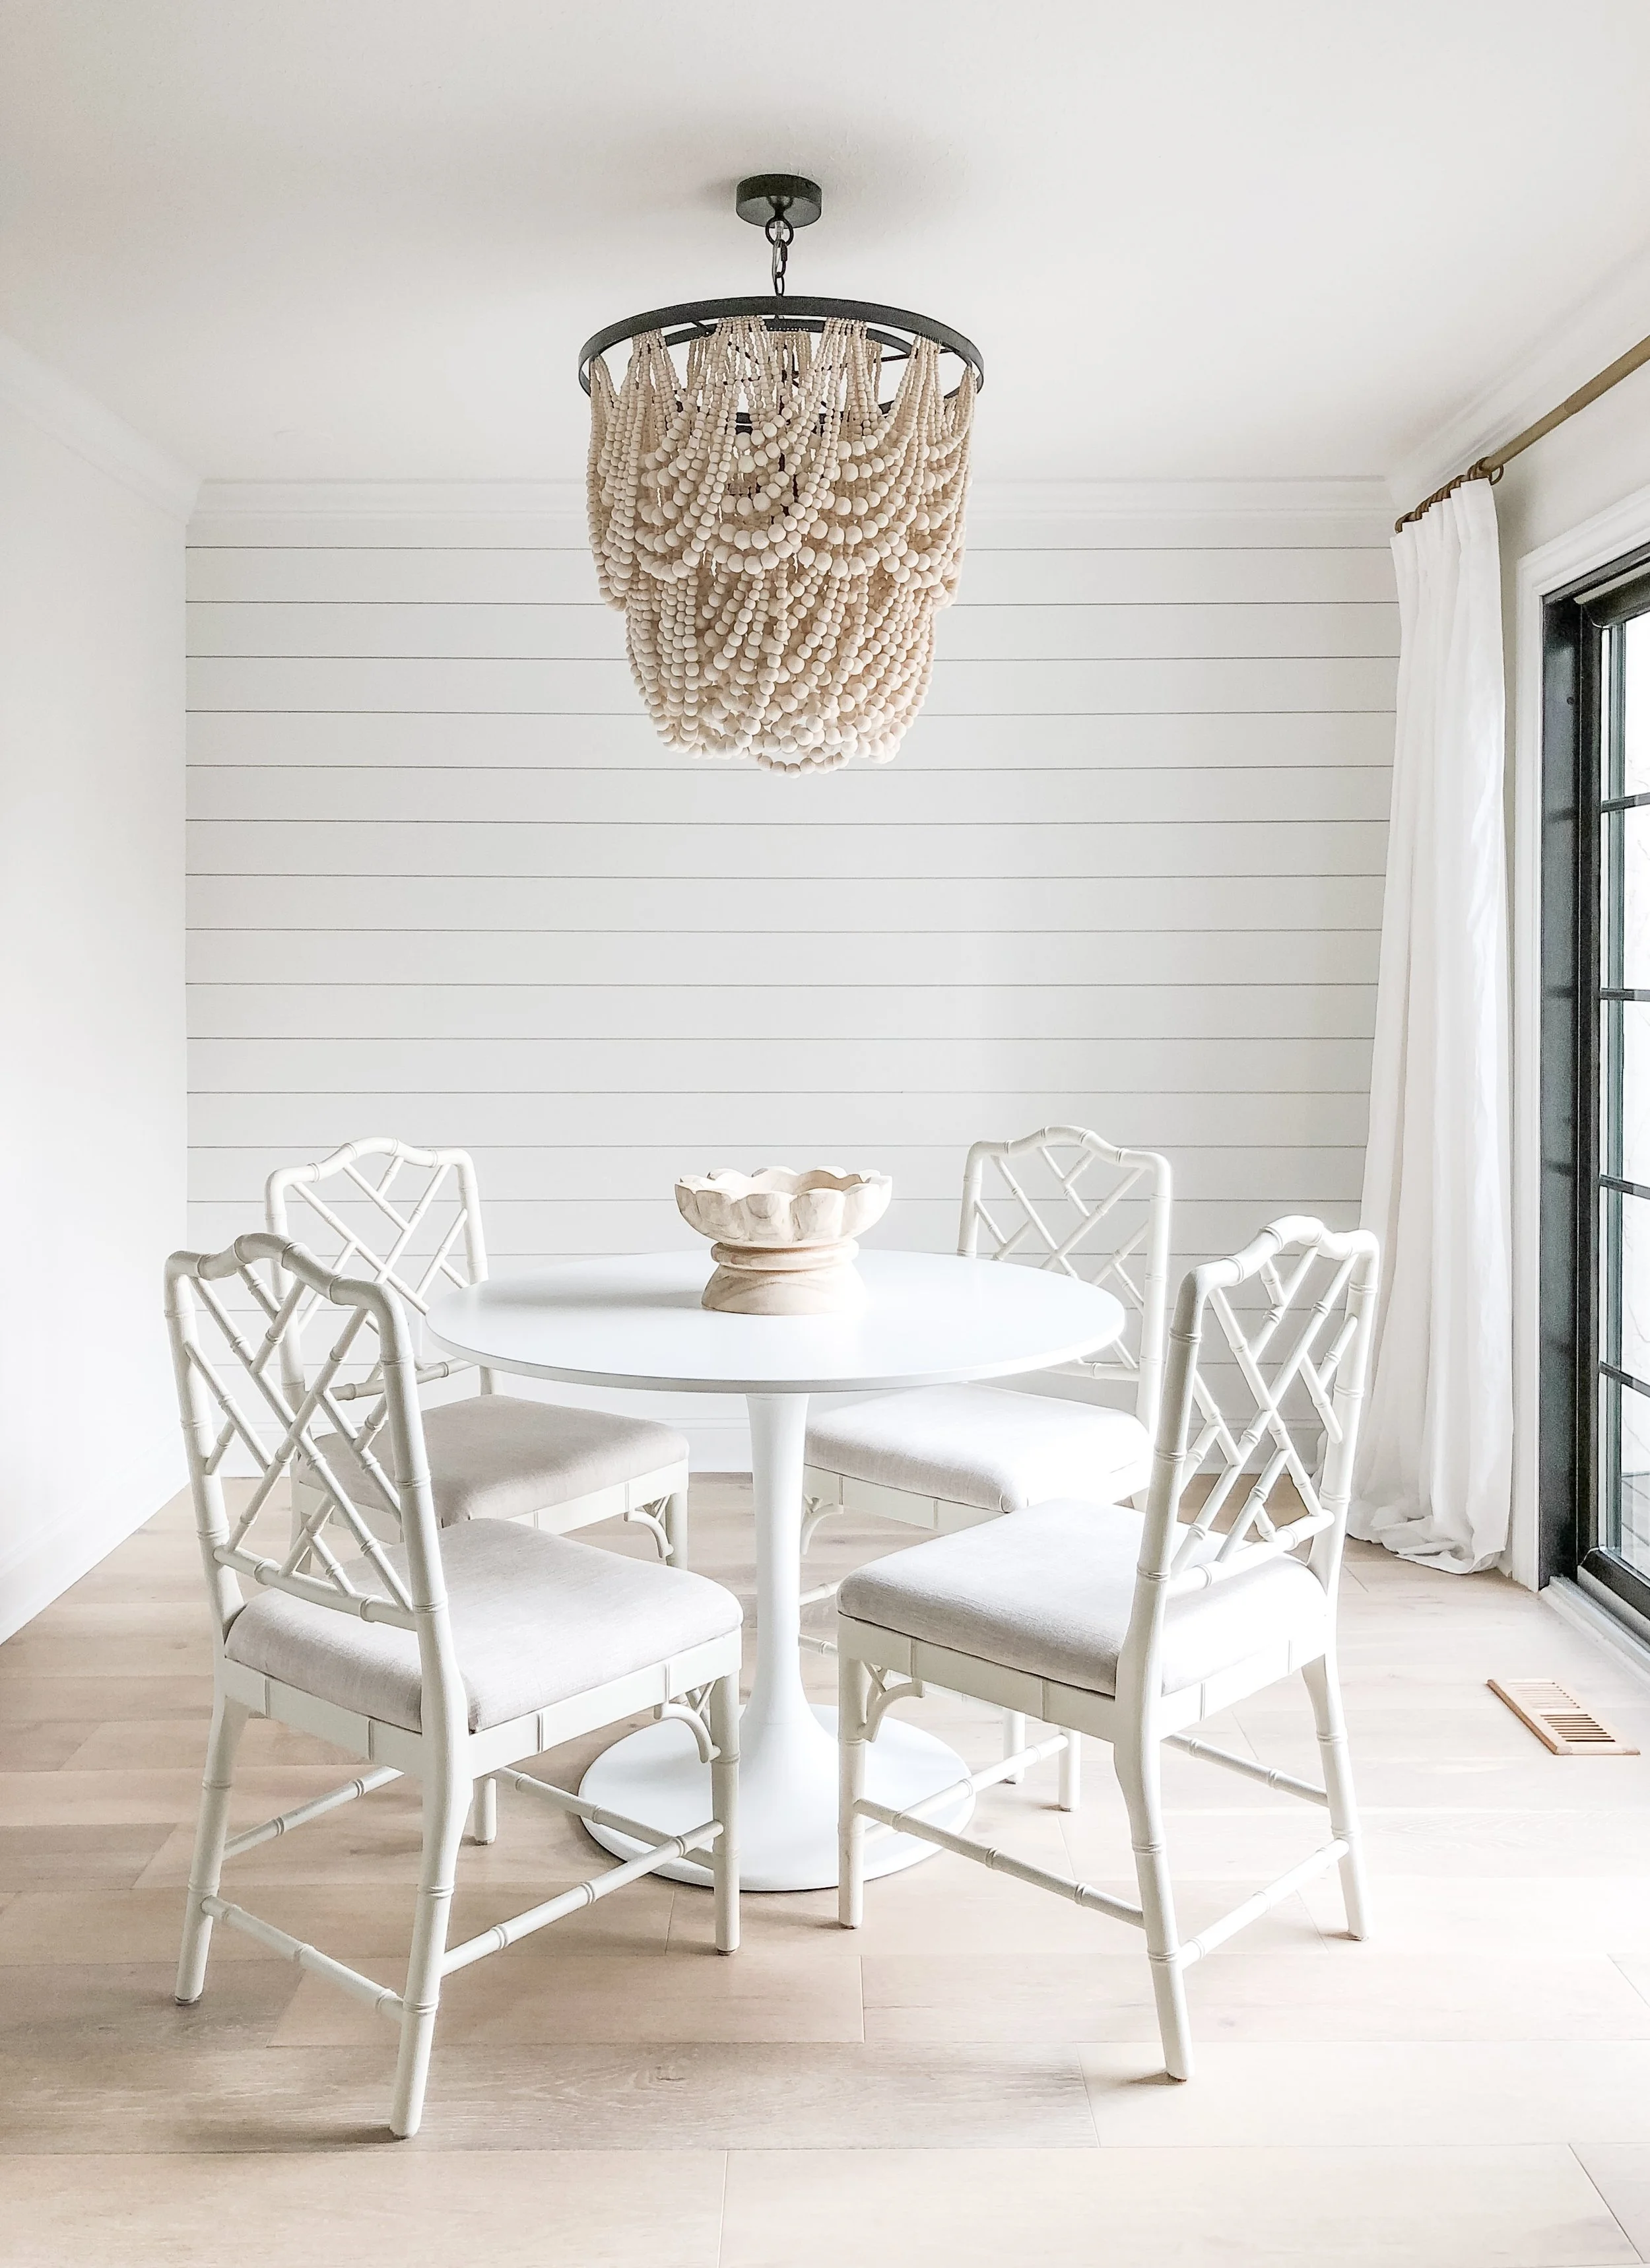
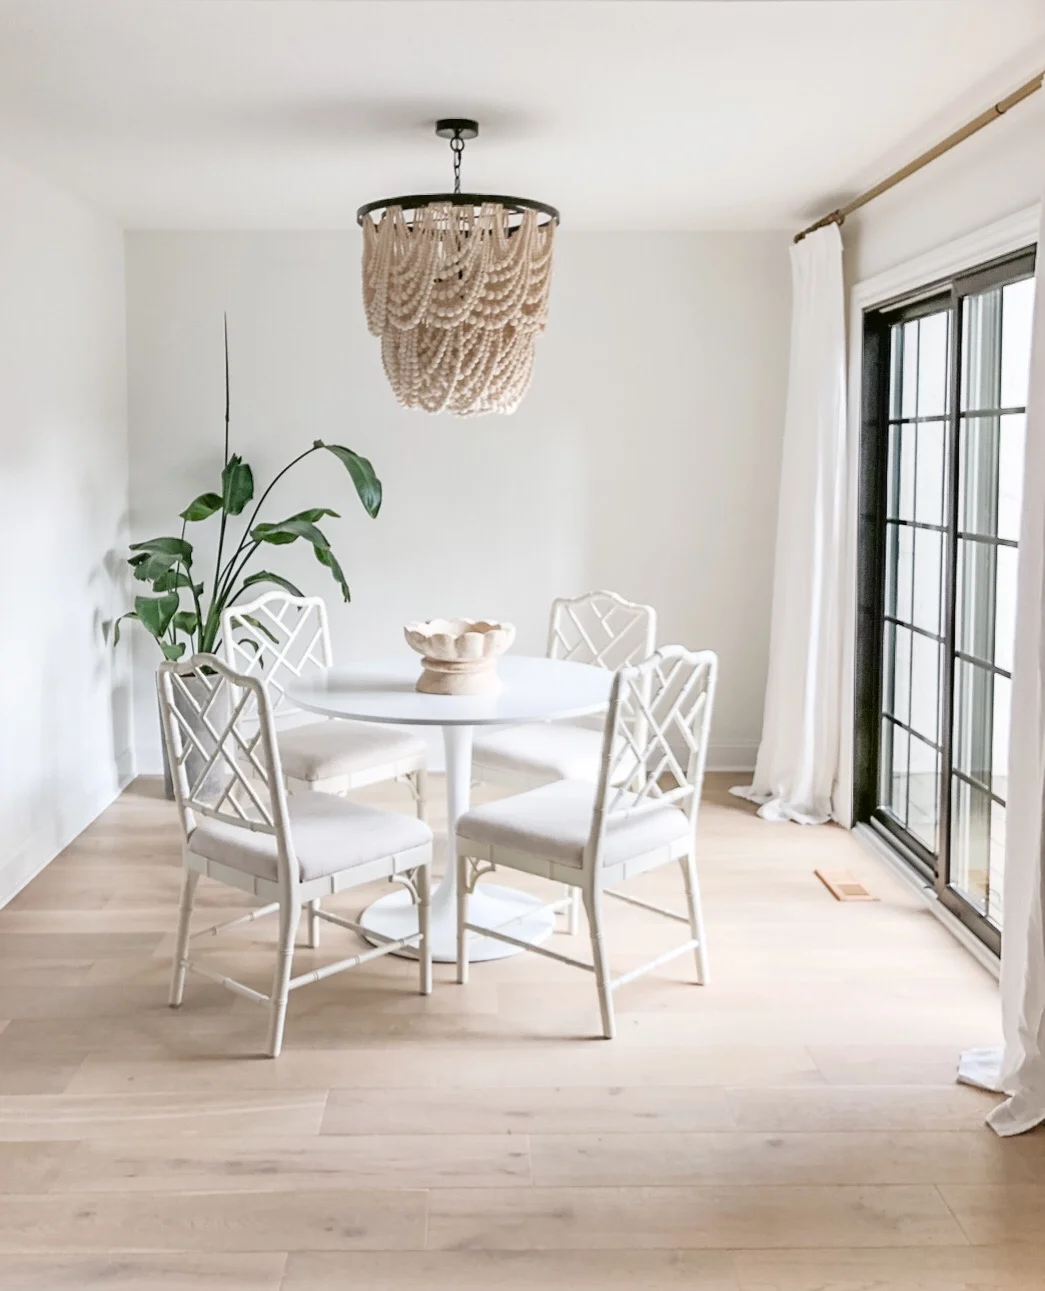
I am thrilled with the texture that the shiplap adds to the space! I hope this tutorial is helpful for those of you looking for advice.
Thanks for reading!
Michelle