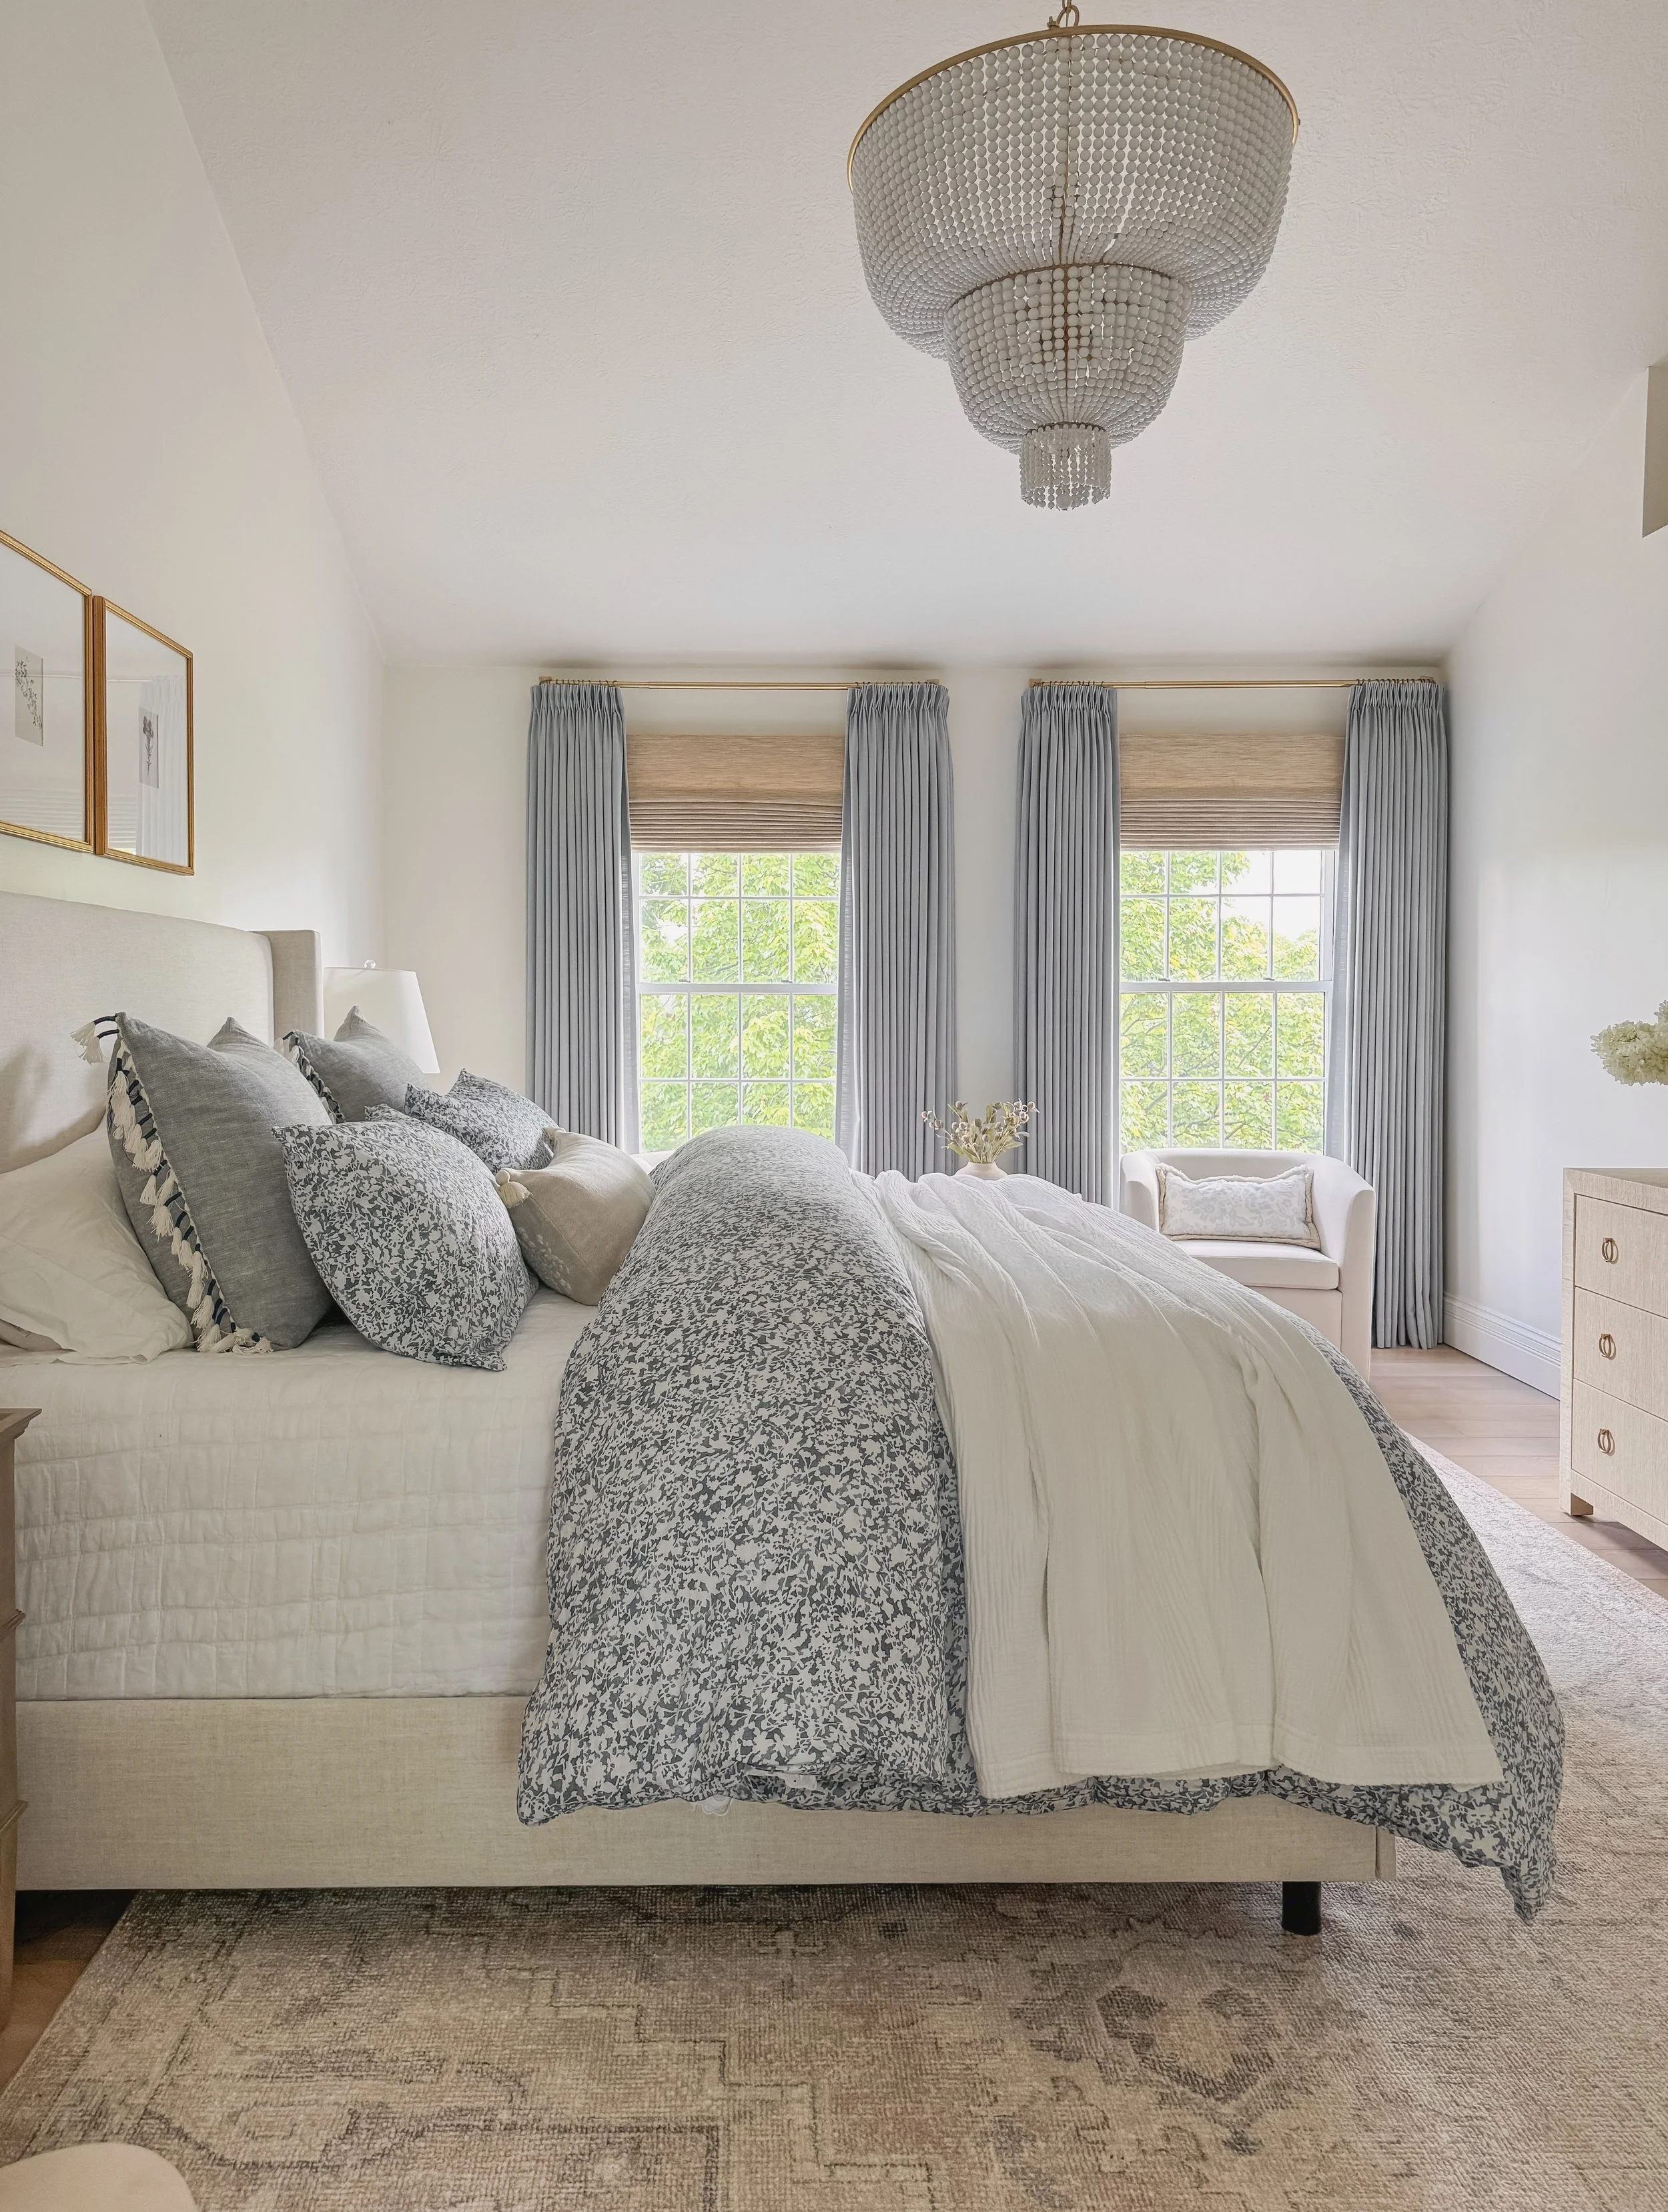
THE TILLY BED REVIEW: WHY THIS AFFORDABLE UPHOLSTERED BED IS WORTH EVERY PENNY

A full breakdown of the bed I've recommended to friends, family, and design clients for years — including fabric picks, sizing tips, and everything you need to know before you order.

Topics: Bedroom Design · Upholstered Beds · Home Favorites
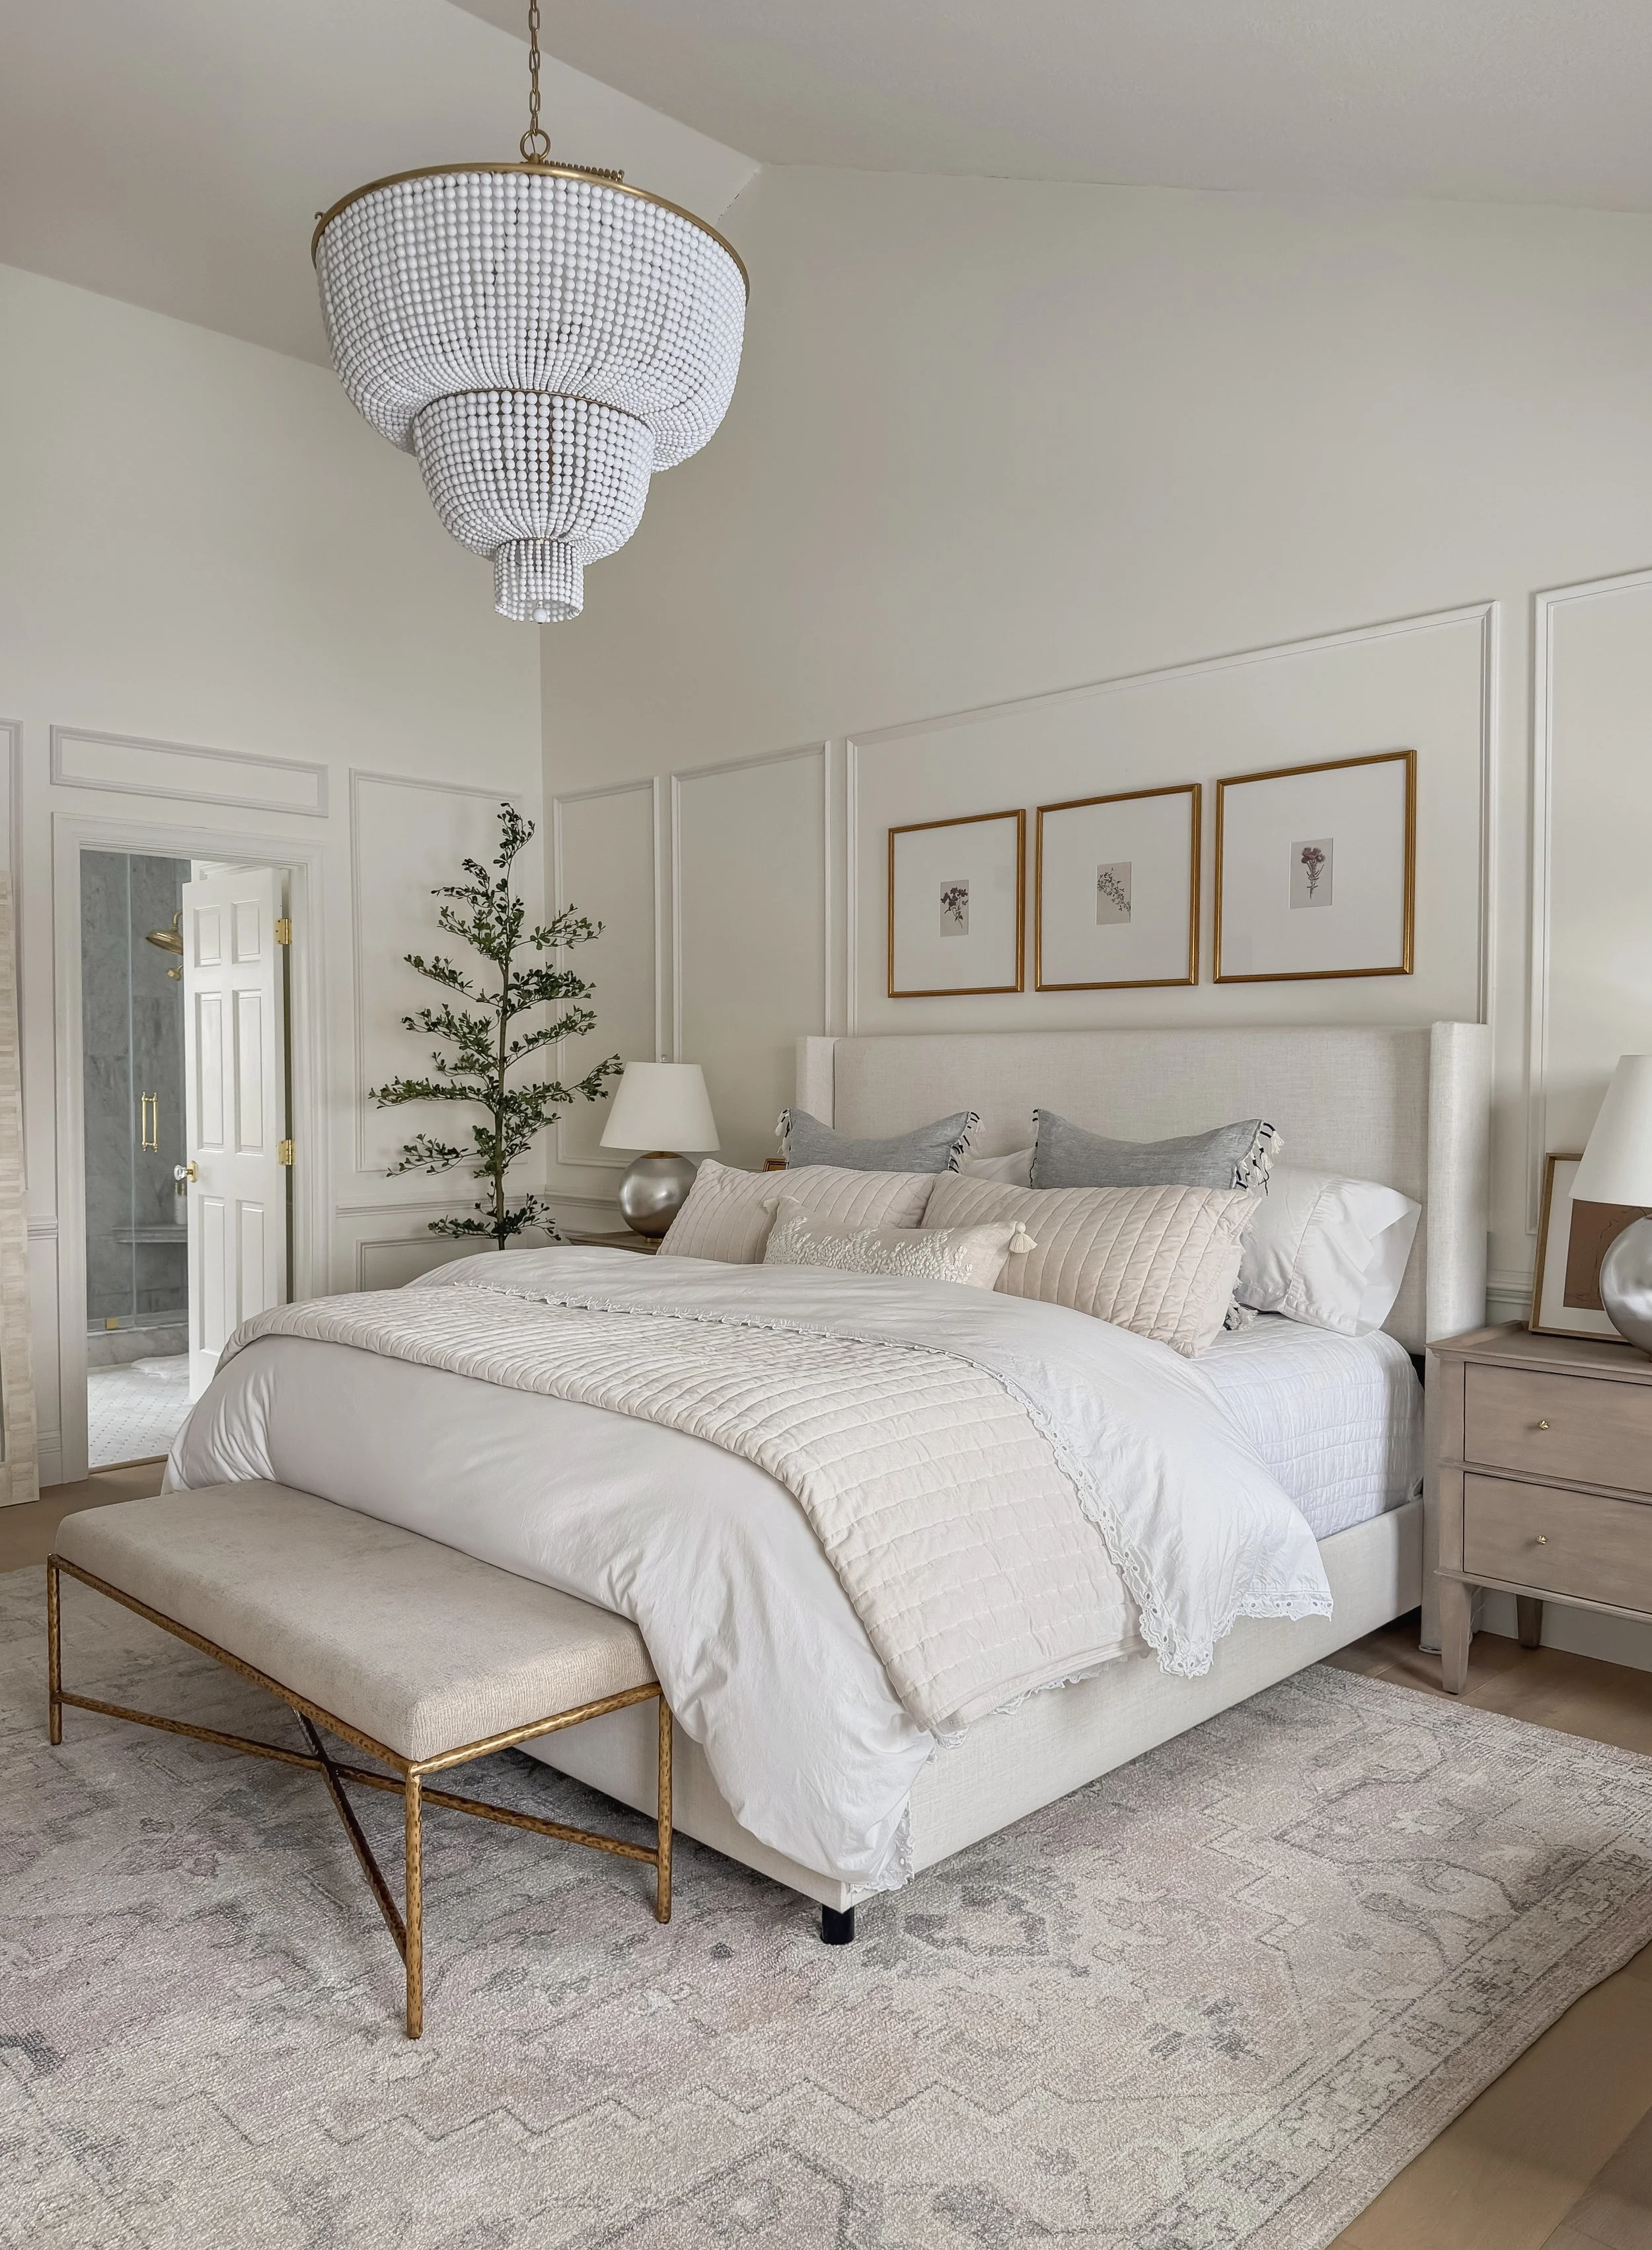
Table of Contents

  1. The Style That Works With Almost Anything
  2. The Price Point
  3. Fast (And Free!) Shipping
  4. Fabric Options: 40 Ways to Make It Yours
  5. Classic Talc Linen vs. Zuma White Textured Linen
  6. Quality and Longevity
  7. FAQ

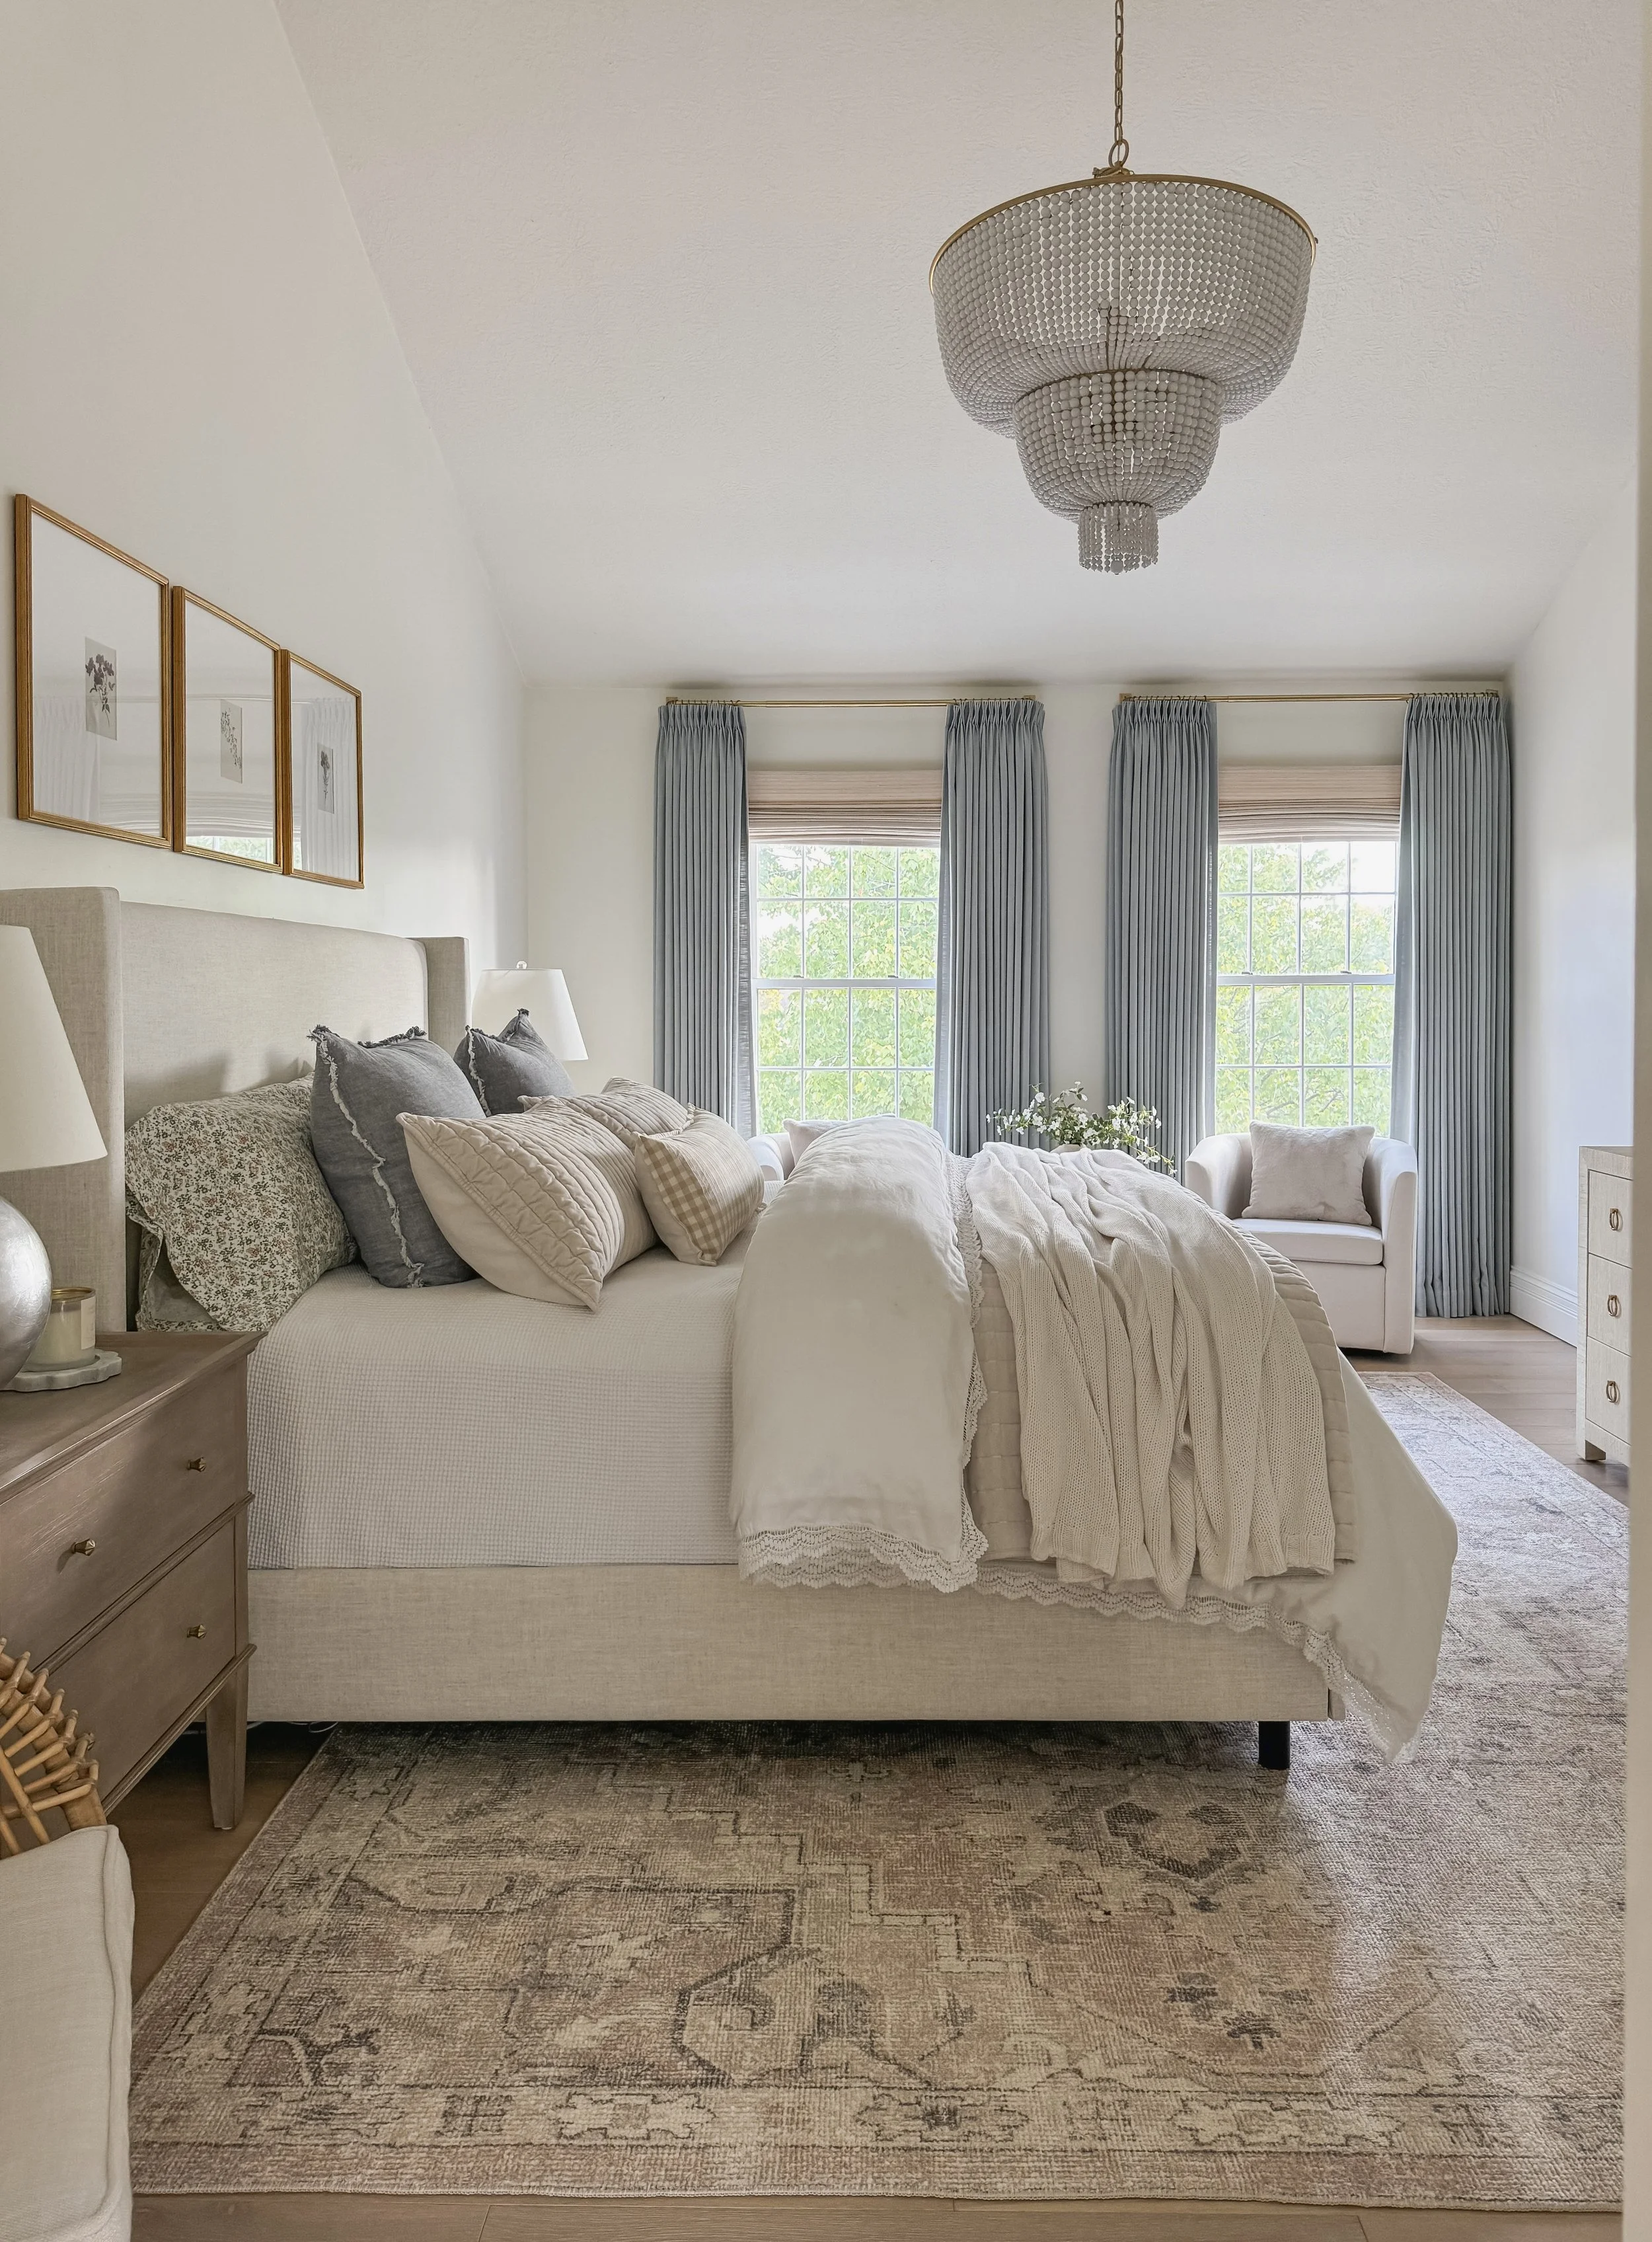
If you've been following along for a while, you already know I'm a little obsessed with this bed. I've recommended it to friends, family, and more design clients than I can count, and I still stand behind every word of that recommendation today.

Today I want to walk you through exactly why the Tilly bed has earned a permanent spot on my "yes, buy this" list. We'll talk style, price, fabric options, and everything else you need to know before you click add to cart.

> "This is the bed I recommend to family, friends, and design clients. We've bought it several times over the years and always had a good experience."

Let's get into it.


Section 01

The Style That Works With Almost Anything

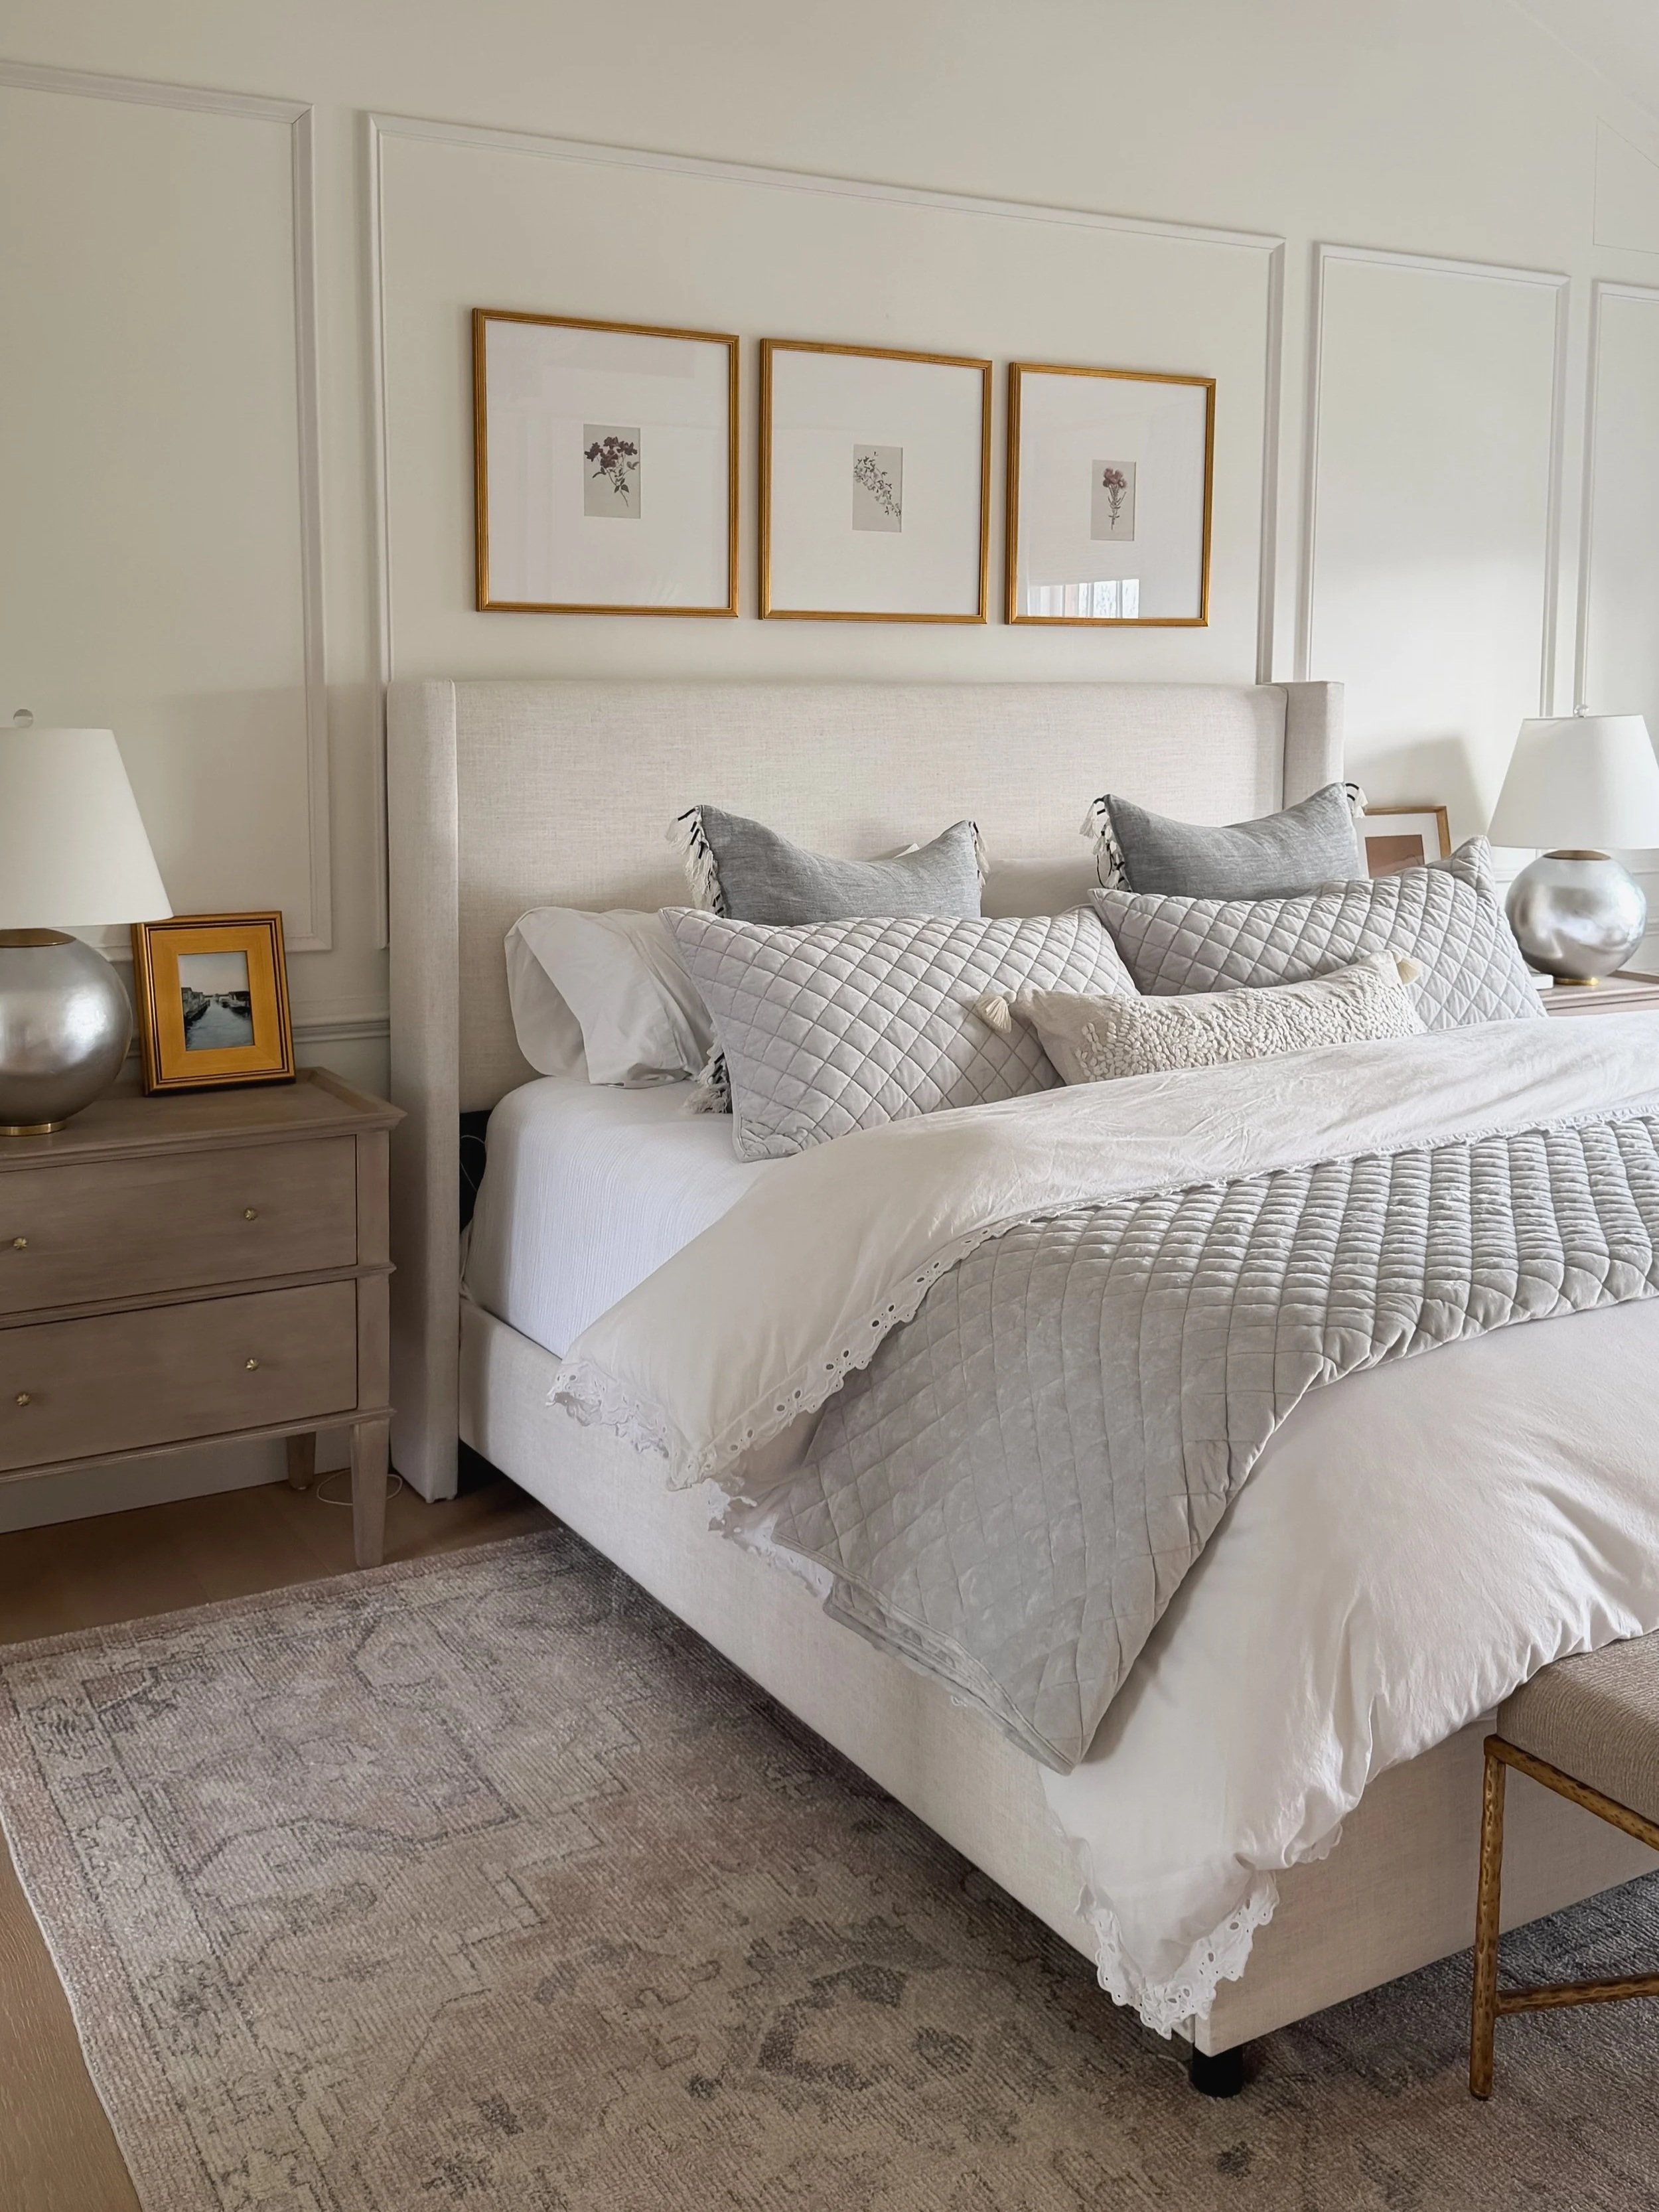
One of my favorite things about the Tilly bed is how versatile its silhouette is. The tall, curved-wing headboard reads classic and timeless, but it's simple enough to slide right into nearly any interior design style.

Whether your bedroom leans modern farmhouse, transitional, coastal, or moody and traditional, this bed doesn't fight against your existing decor. It just fits. That's a rare quality in upholstered furniture, and it's a huge part of why I keep coming back to it for client projects.
> Pro Tip:> If you're unsure whether a piece will work with your style, look for simple, classic silhouettes like this one. Trendy shapes can feel dated quickly, but a timeless profile like the Tilly's will age beautifully no matter how your decor evolves.


Section 02

The Price Point

Let's talk numbers, because I know that's what you're really here for. The Tilly bed is a fraction of the price of similar designer styles, and I mean that literally — I've priced out comparable upholstered beds from higher-end brands, and the difference is significant.

What I love most is that the lower price tag doesn't translate to a "cheap" look. You're not sacrificing style or quality to save money here. It still photographs beautifully, holds up to daily life, and looks every bit as polished as something with a much bigger price tag.

Section 03

Fast (And Free!) Shipping

Here's something that genuinely surprised me: even with 40 fabric options to choose from, this bed ships fast. You can typically expect it within about 2–3 weeks (sometimes even sooner), which is impressive for a fully customizable, made-to-order piece.

And the shipping itself? Completely free. For context, most retailers would charge you a hefty fee for an item this large — sometimes up to $300 just for delivery. With the Tilly bed, that cost simply isn't part of the equation.

> Pro Tip:> When you're shopping for large furniture pieces online, always factor shipping costs into your total price comparison. A "cheaper" bed with a big shipping fee can end up costing more than a slightly pricier option that ships free.


Section 04

Fabric Options: 40 Ways to Make It Yours

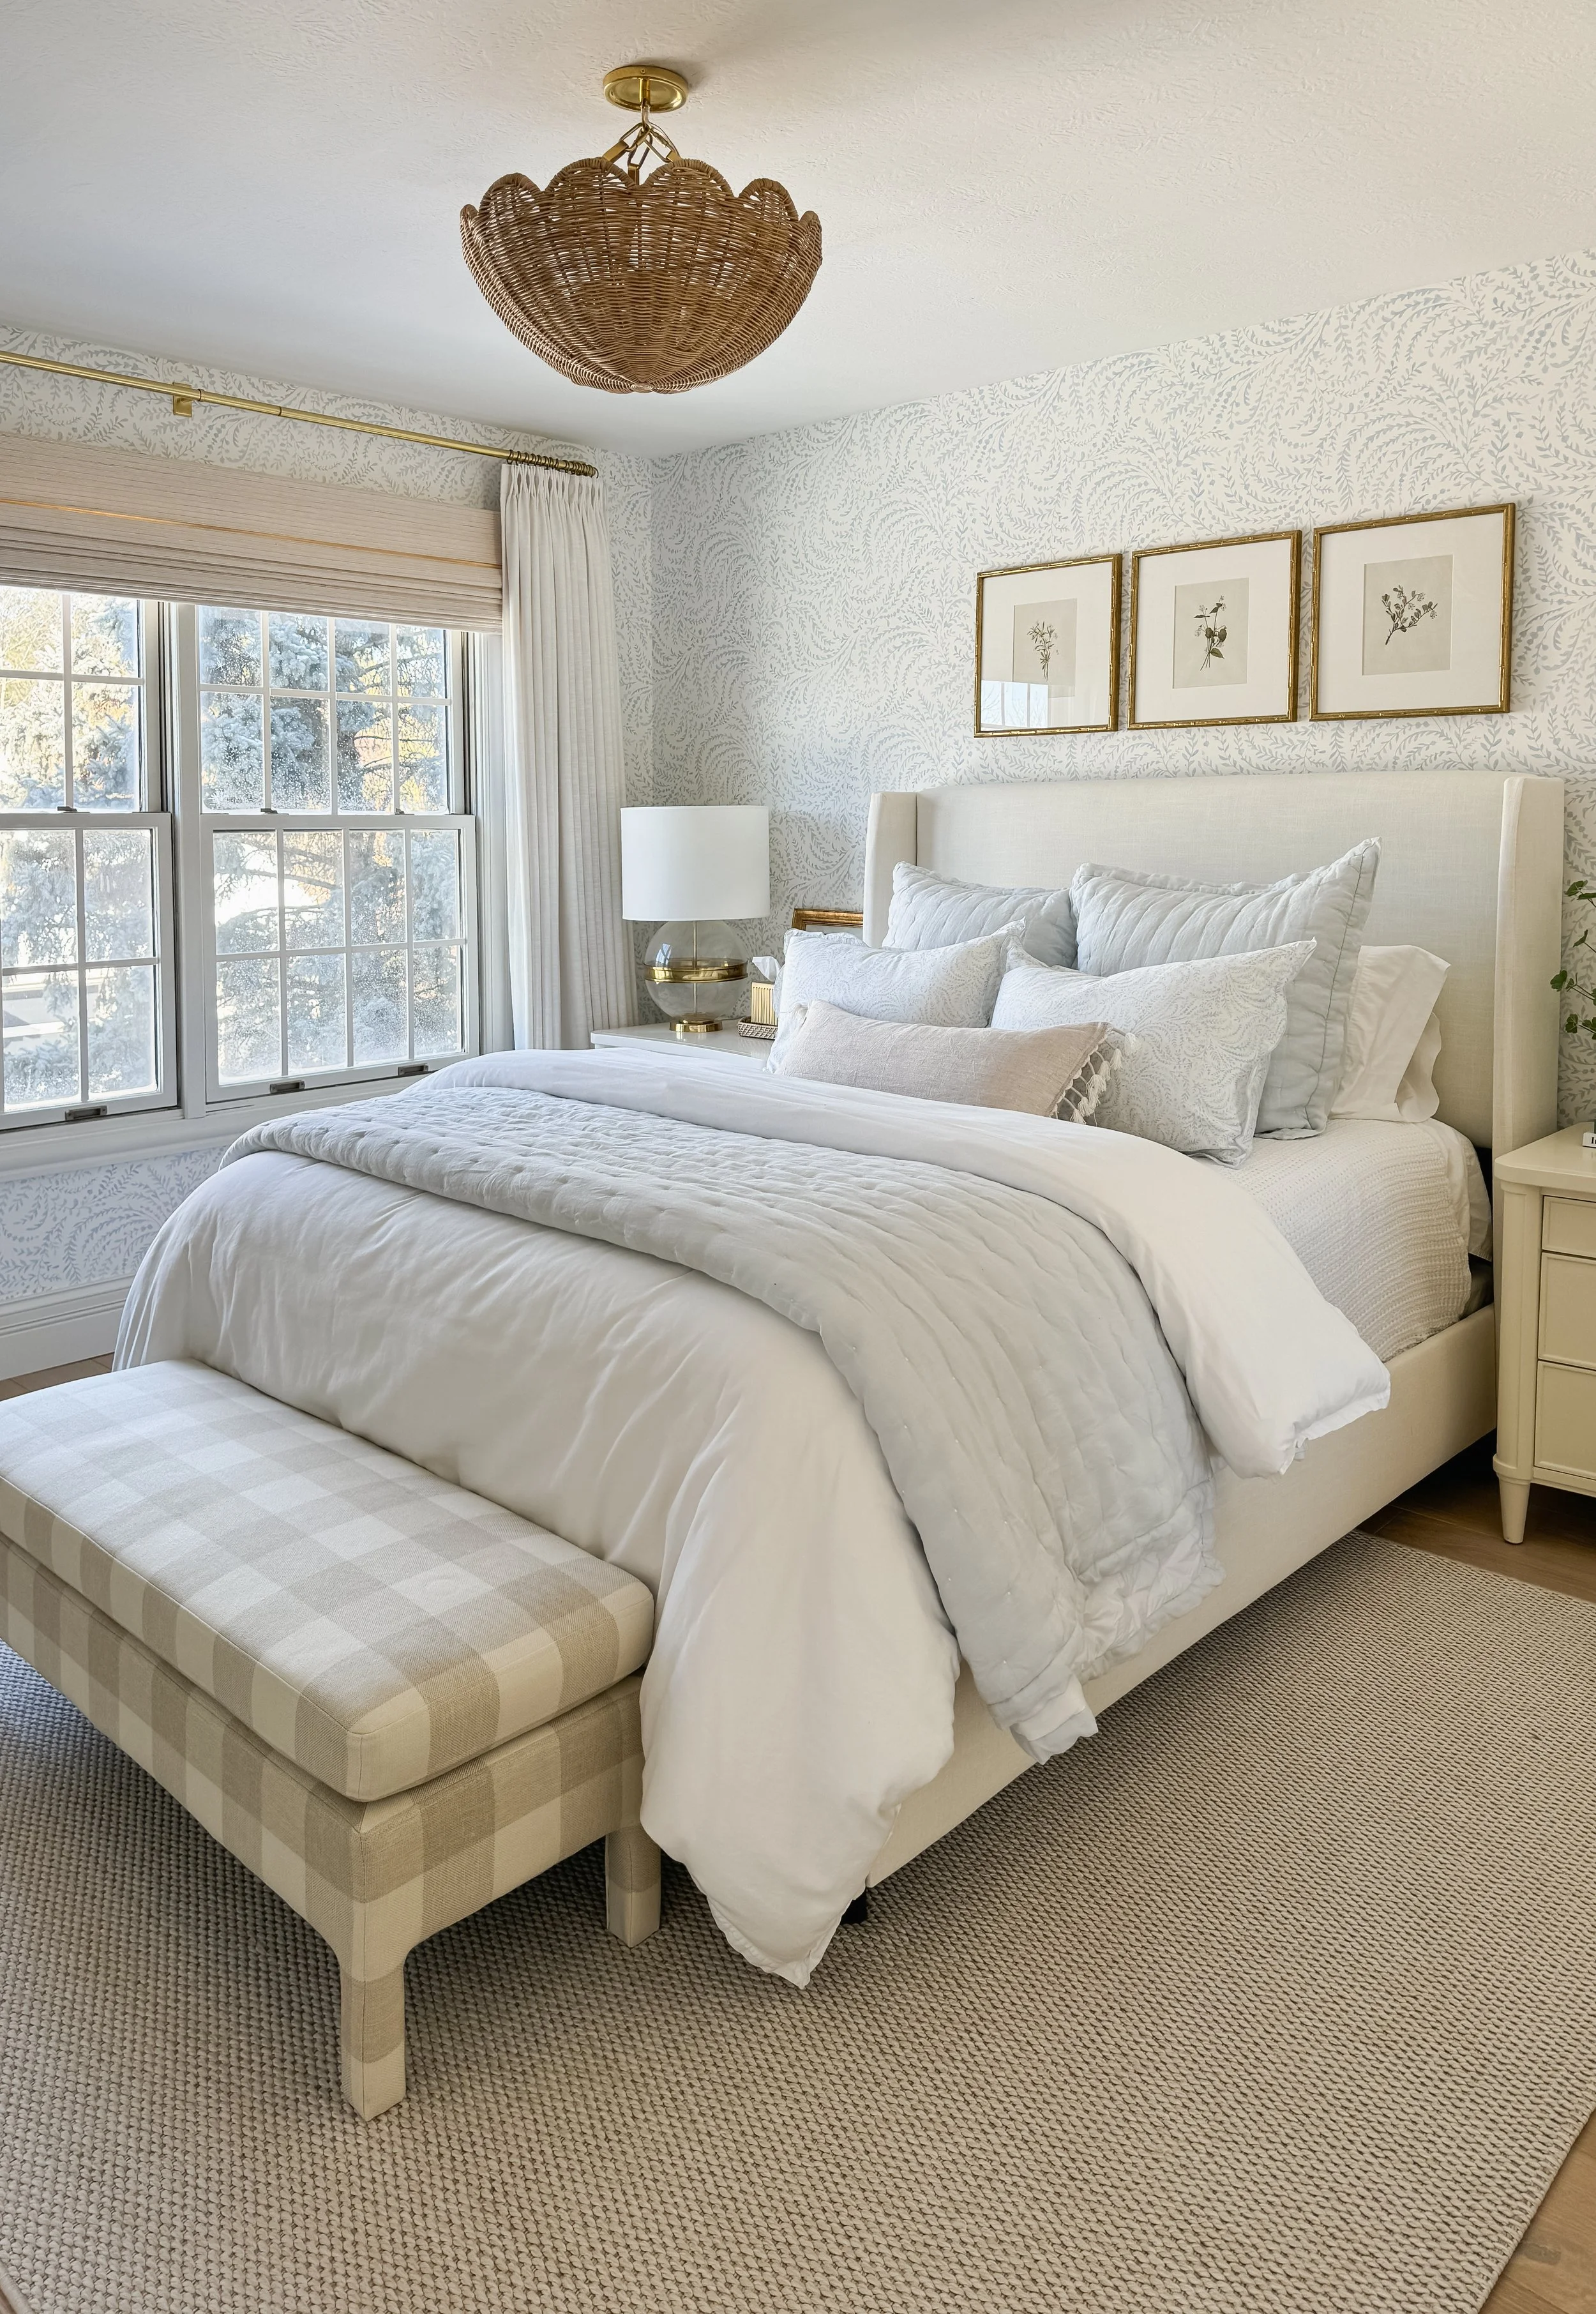
This is where the Tilly bed really shines. With 40 fabric options to choose from, there's genuinely something for every style and every room. Whether you're drawn to soft neutrals, deep moody tones, or something with a little more texture, you'll find an option that works.
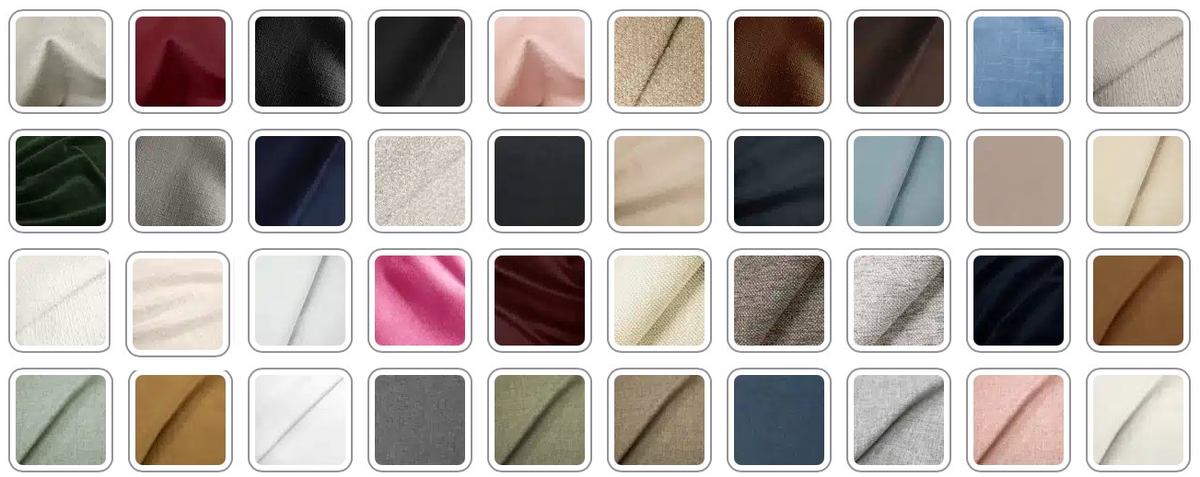
My two personal favorites, hands down, are:

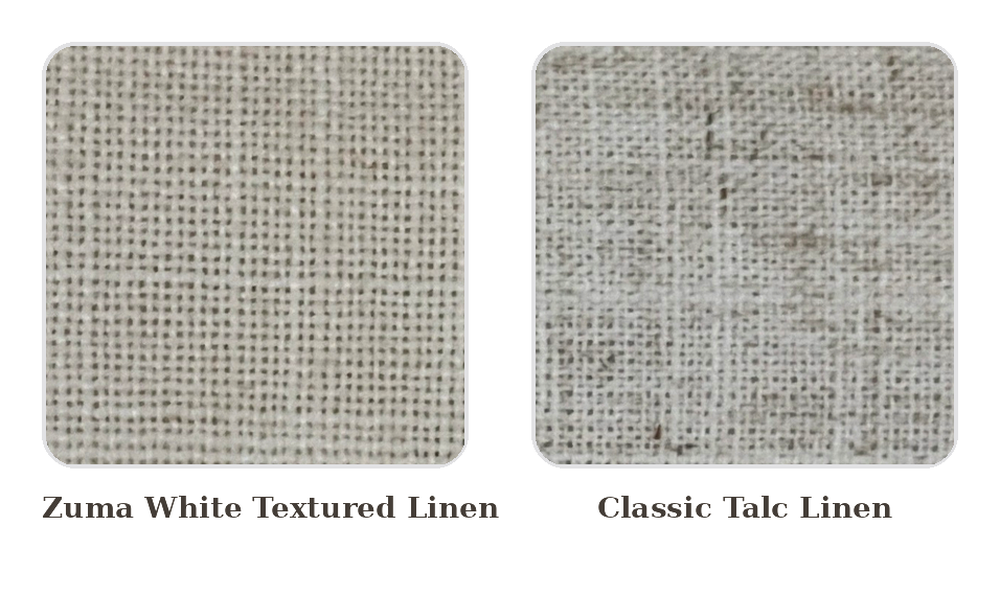
  • Classic Talc Linen — A warm, true neutral with beautiful texture and weave variation. This is what I chose for my own primary bedroom.
  • Zuma White Textured Linen — A soft, warm ivory tone with a slightly more textured finish. I used this one in my guest room, and it's just as lovely.
Section 05

Classic Talc Linen vs. Zuma White Textured Linen

Since these two are my go-to picks, I get asked all the time how they actually compare side by side. Here's the short answer: both are gorgeous, true neutrals with no strong yellow or gray undertones, so you really can't go wrong with either.

The differences come down to texture and tone.
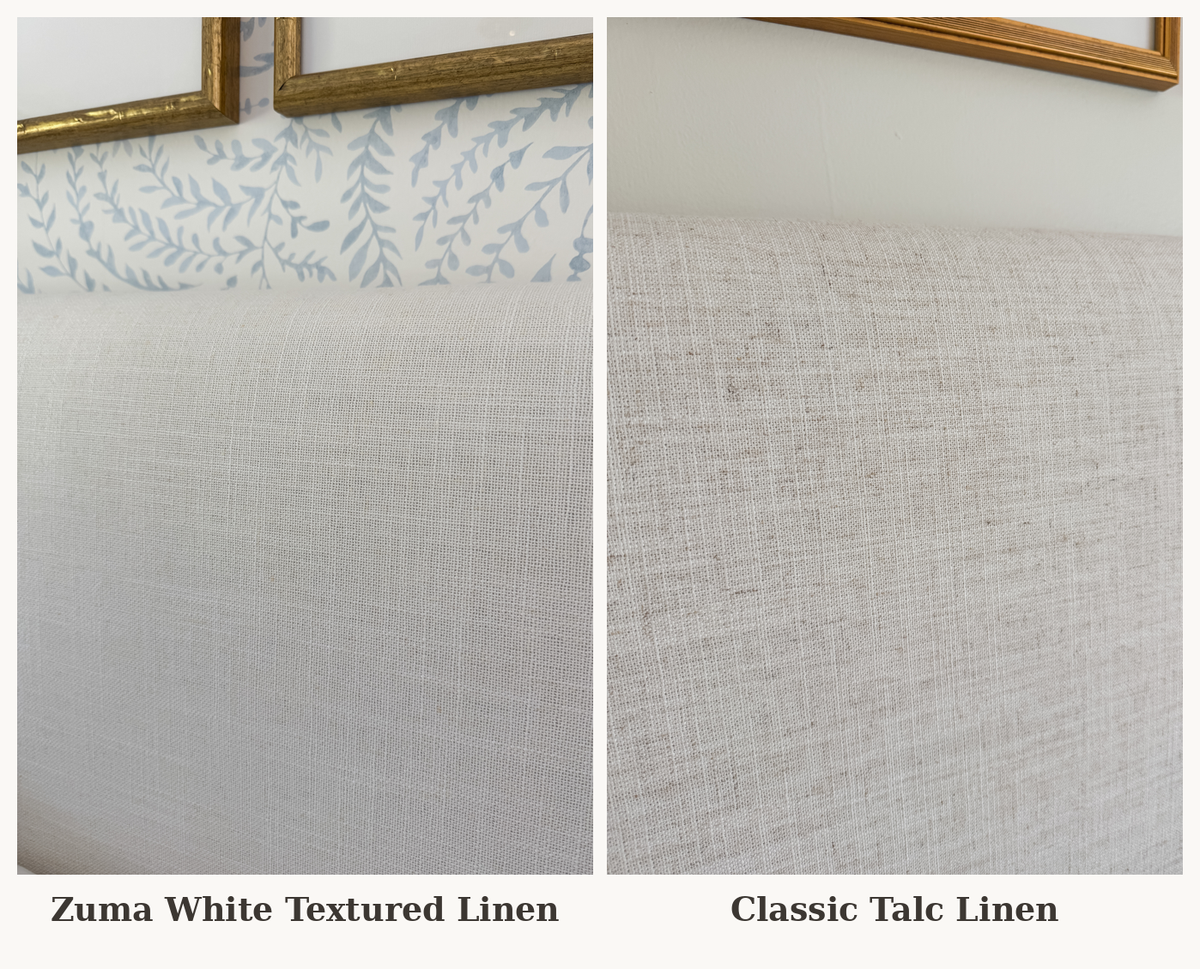
The Classic Talc Linen is a warm neutral with variation in tone in the weave of the fabric, whereas the Zuma White Textured Linen is a soft ivory tone with a solid but textured fabric.

If you love a bit of visual texture and dimension, Classic Talc Linen is the way to go. If you're after that perfect warm ivory tone with a slightly more uniform look, Zuma White Textured Linen is your answer. I genuinely love both, and I'd happily choose either one again.


Section 06

Quality and Longevity

Here's the part that really sold me: this bed is built to last. It comes from a well-known, established furniture manufacturer, and the quality shows.

Our previous bed was from the same manufacturer in a tufted velvet style, and we had it for almost ten years before we decided to switch up the look — not because it wore out, but purely for a style refresh. When we passed it along to a family member, it was still in perfect condition.

That kind of longevity is exactly why this is the bed I recommend most often. It's an investment piece that happens to come at a non-investment price.
> Pro Tip:> Upholstered beds in performance or durable linen fabrics tend to hold up best over time, especially in busy households. If longevity is a priority for you, ask about fabric durability before you order.


Frequently Asked Questions

FAQ

Does the Tilly bed require a box spring?

Yes, the Tilly bed requires a box spring. It's designed to sit at the right height with one, so don't skip this step.

What height should my mattress and box spring setup be?

The total height of your box spring and mattress should be about 21". I'd recommend going with a standard 8" box spring rather than a low-profile one. There's a small gap at the back of the headboard, and a total height of 20"+ helps close that gap so nothing slips behind the headboard and the bed looks its best.

Is the Tilly bed easy to put together?

Yes! My husband and I have assembled this bed many times — for ourselves, family, and design clients — and it typically takes two adults about an hour from start to finish.

Does the Tilly bed work with an adjustable bed frame?

Several of my followers have told me they've successfully used this bed with an adjustable bed frame, so it's worth considering if that's part of your setup.

Which fabric color should I choose?

My two favorites are Classic Talc Linen and Zuma White Textured Linen, both warm neutrals with no yellow or gray undertones. With 40 options total, though, there's likely a perfect match for your space — I'd recommend ordering a few swatches before committing.


Thanks for reading! Have a question about your own space? Drop it in the comments — I read every one.

This post may contain affiliate links. If you purchase through one of these links, I may earn a small commission at no extra cost to you.
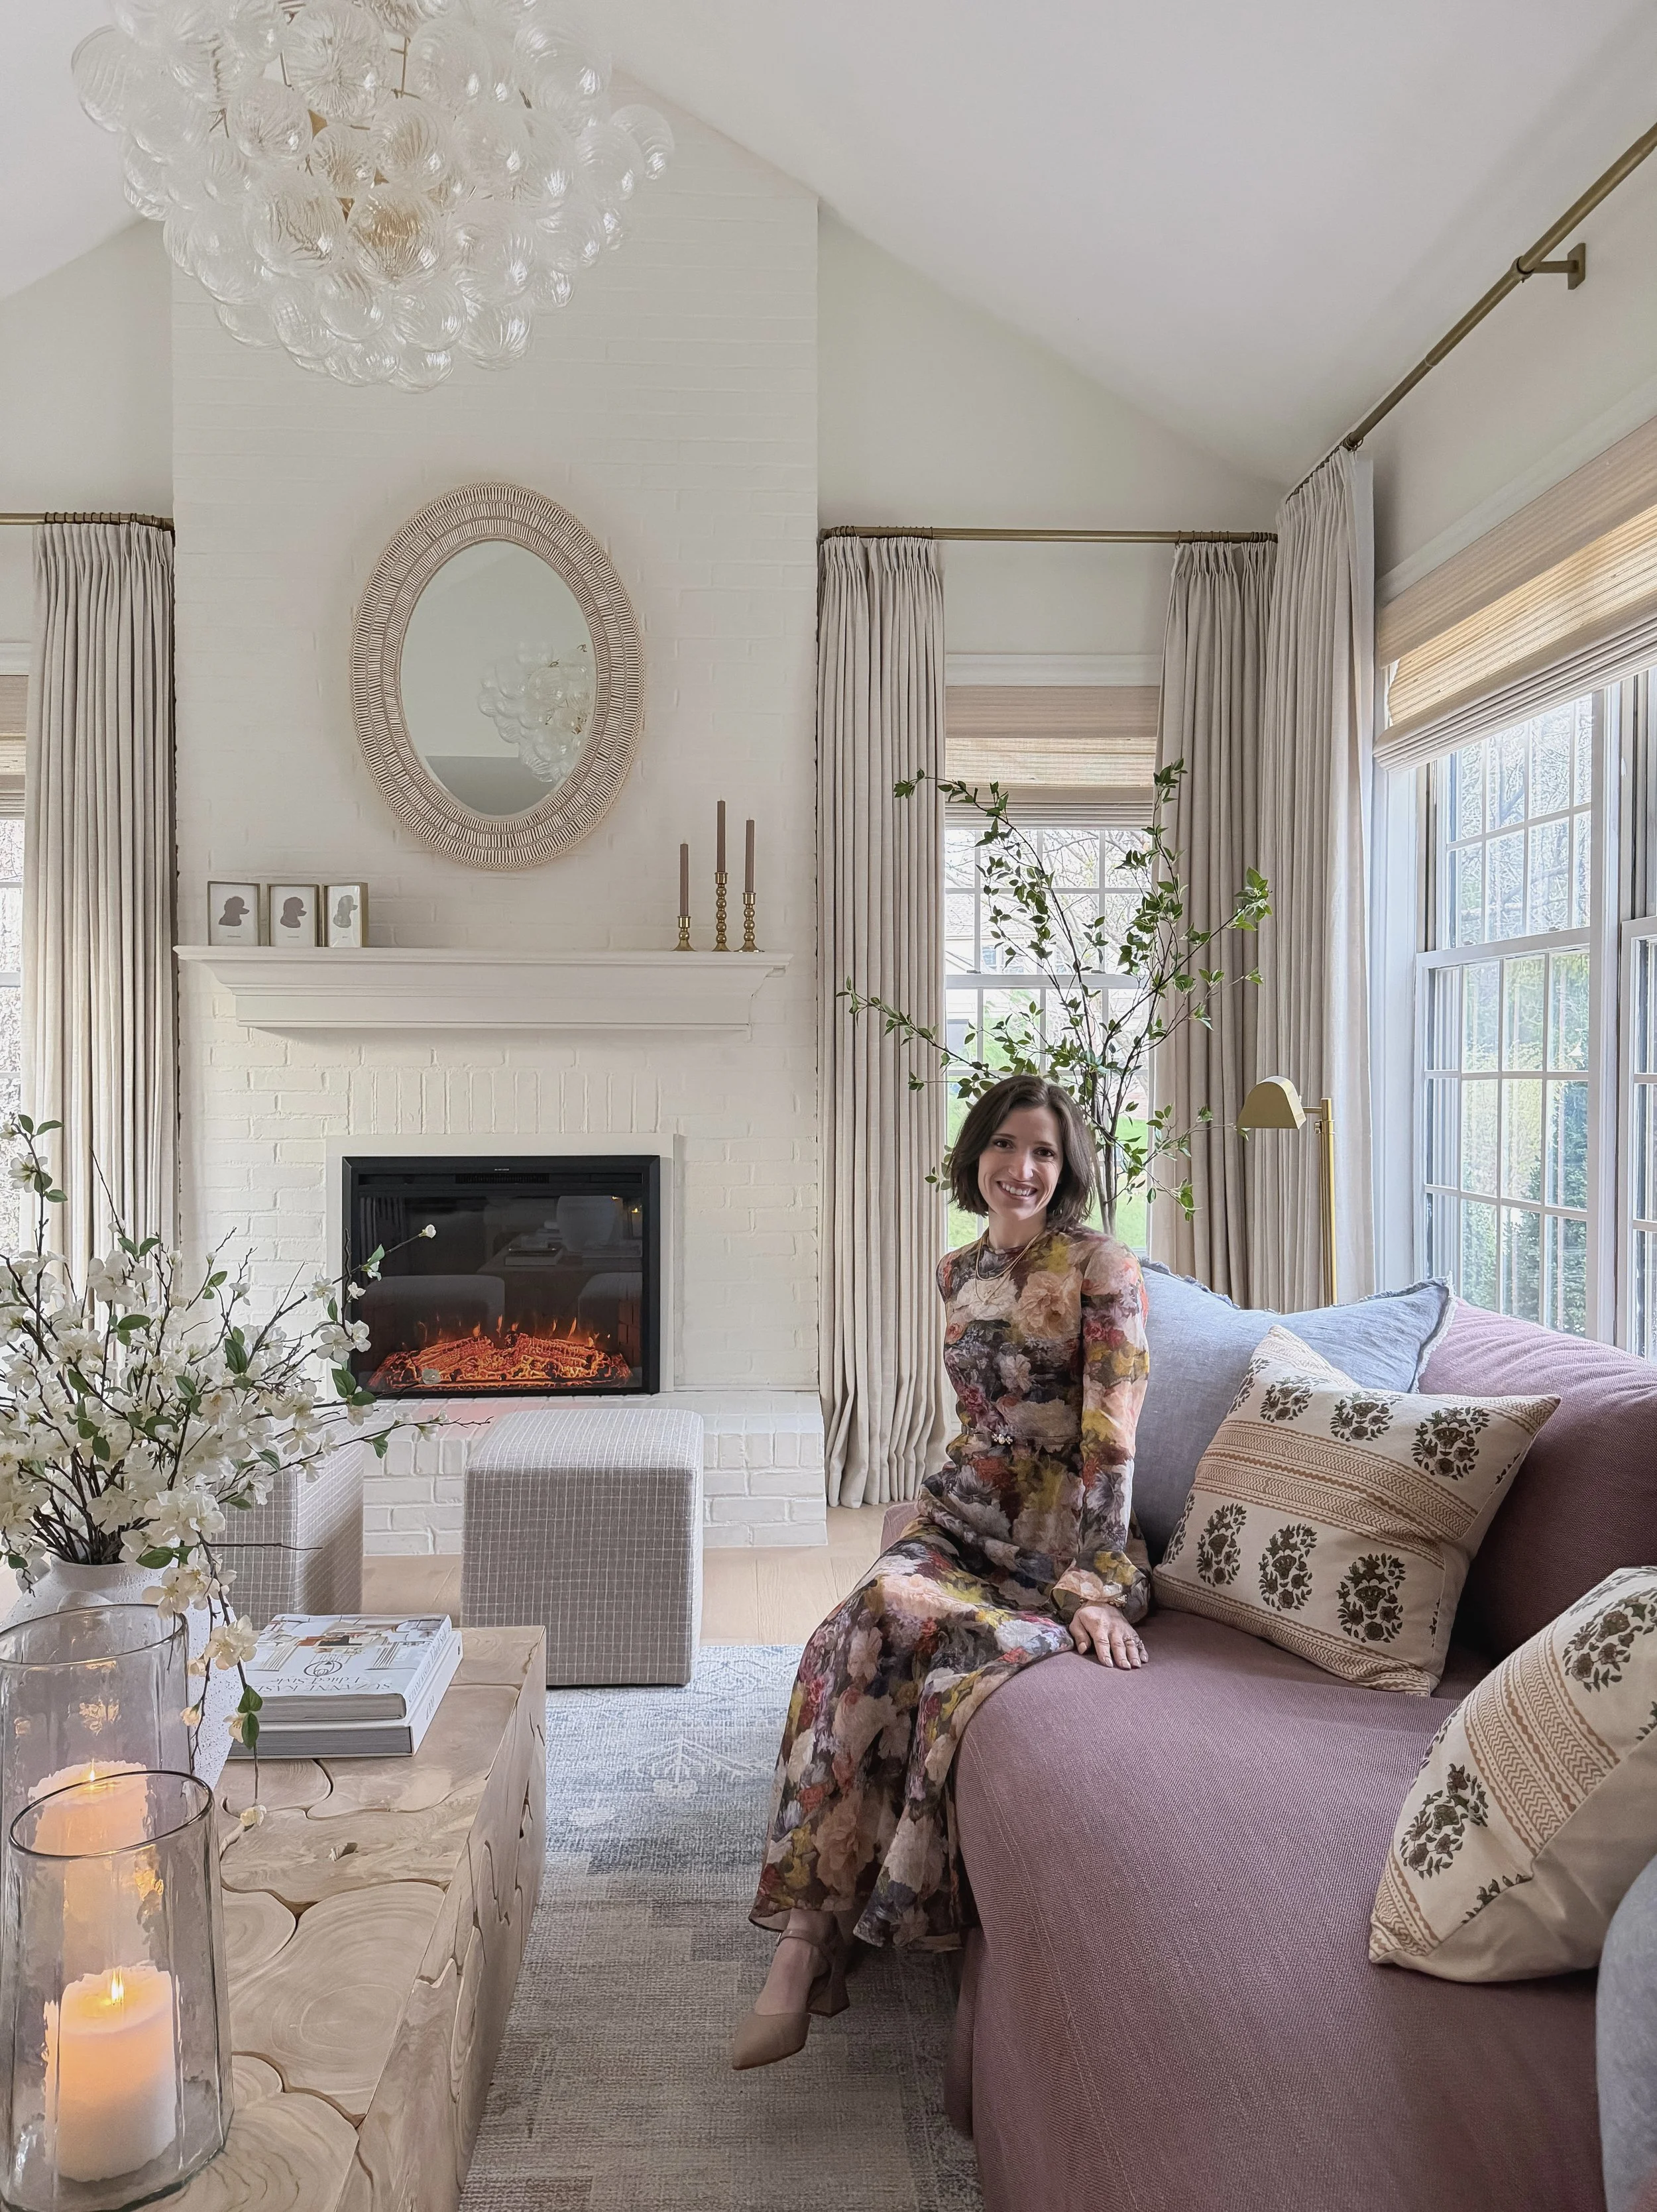

The Ultimate Curtain Guide For Measuring and Installing TWOPAGES Curtains

Everything I wish I'd known before ordering my first set of custom curtains — measurements, mounting, lining, and color recommendations included.

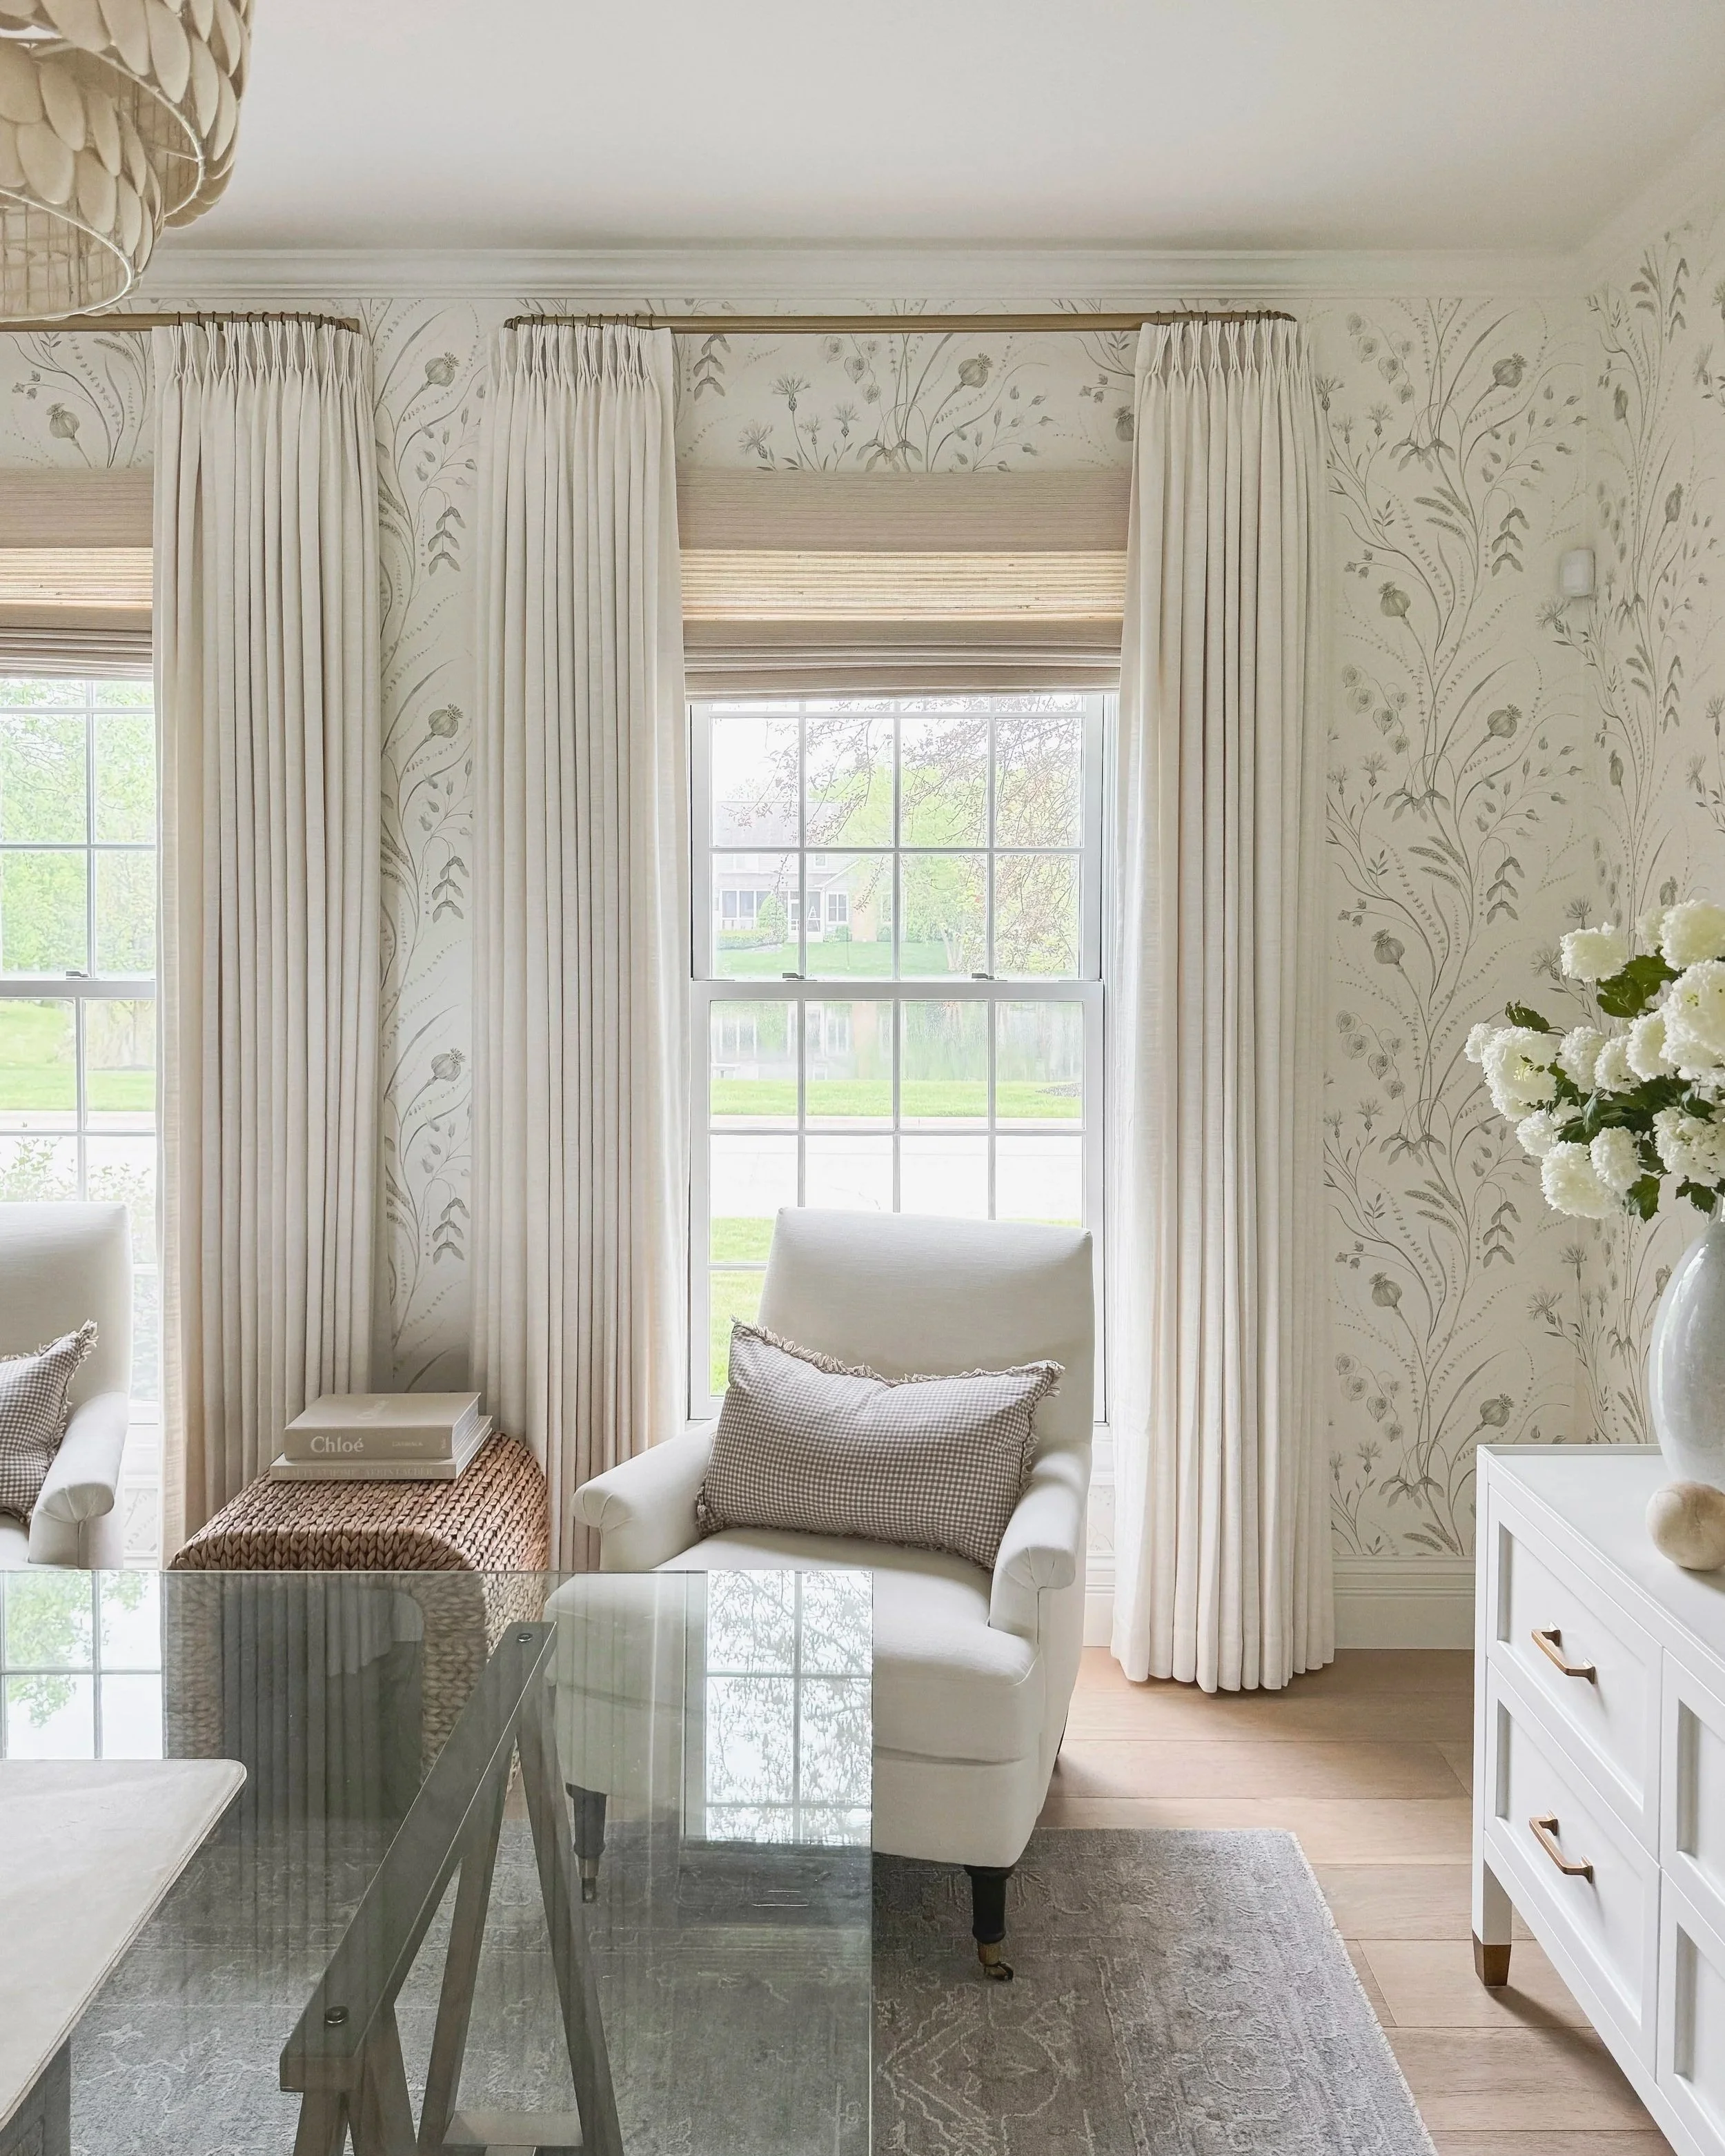
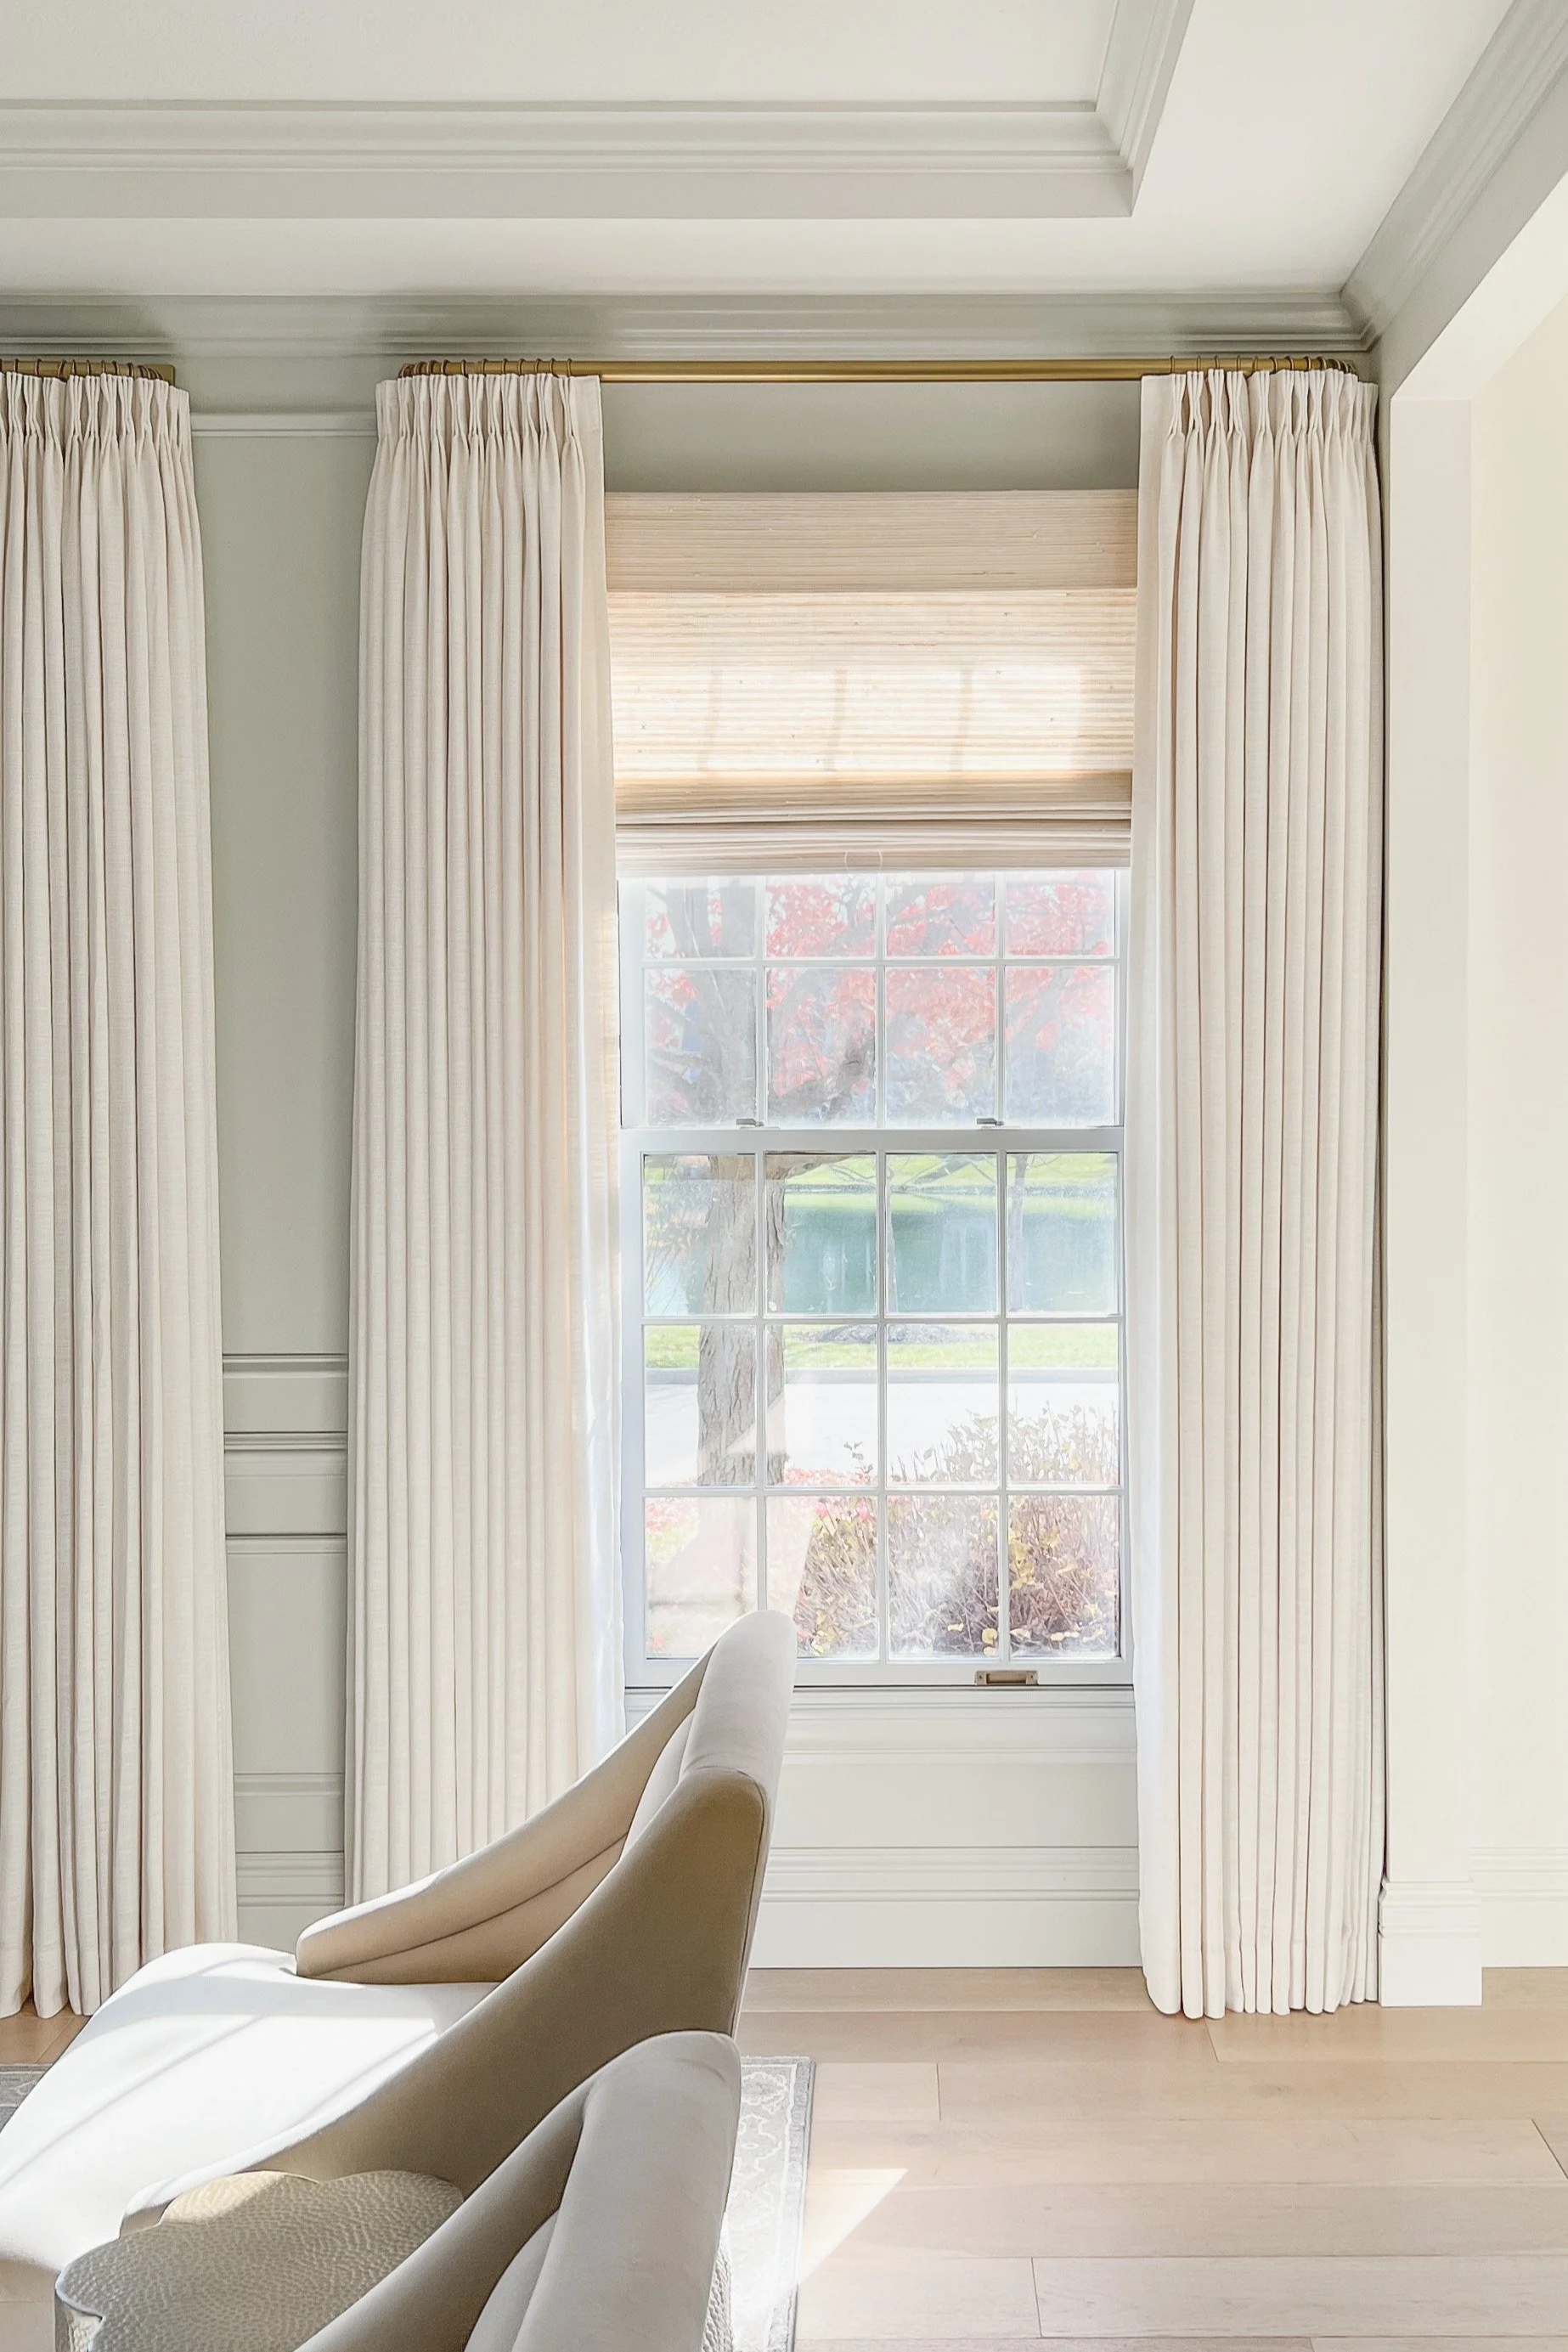
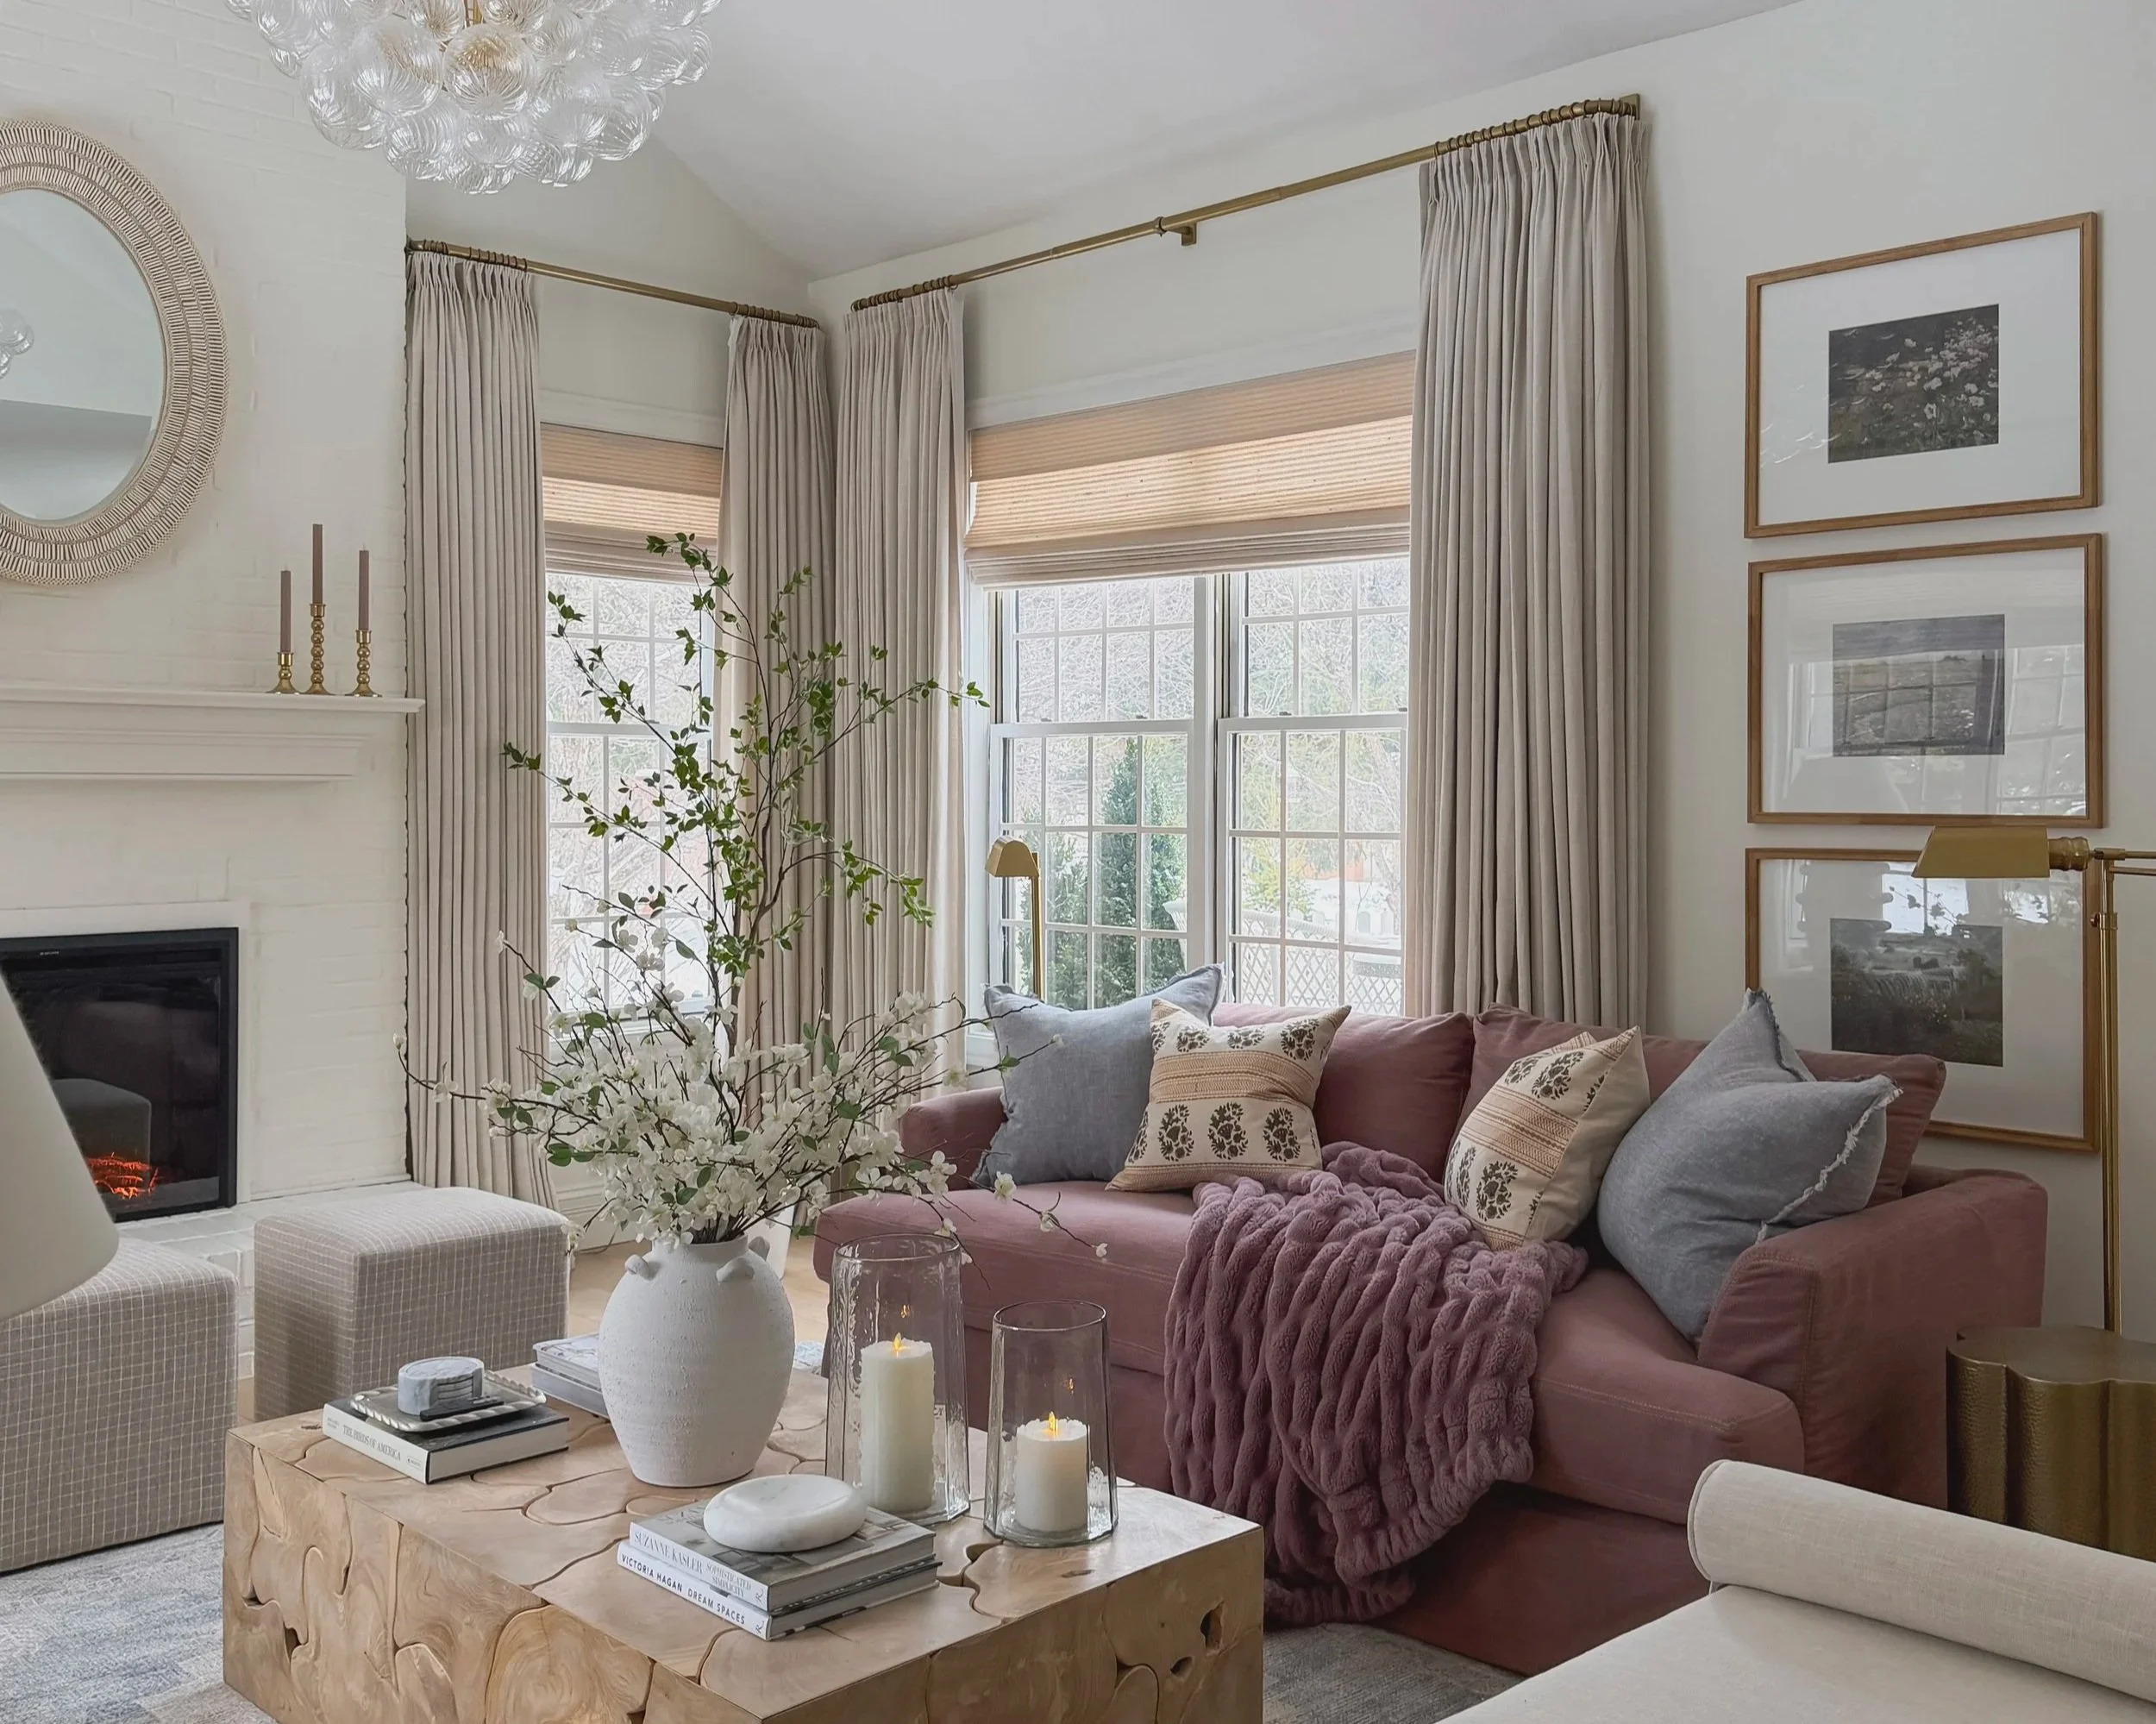
Floor-to-ceiling TwoPages pinch pleat curtains in a bright living room layered over bamboo roman shades

Please keep in mind that my exclusive coupon code BLUSHINGBOHO never expires and will get you the highest discount that TWOPAGES is currently offering. While the discount fluctuates from month to month, it will always offer you the deepest discount on everything on the TWOPAGES website.

Topics: Curtains · Roman Shades · Window Hardware


Table of Contents

  1. Why Layering Curtains and Shades Works
  2. How to Measure For Roman Shades
  3. How to Measure for Curtains
  4. Choosing the Right Lining
  5. Color and Material Options I Love
  6. Hardware: Rods, Rings, and Mounting
  7. Motorized vs. Cordless Roman Shades
  8. FAQ

Why Layering Curtains and Shades Works So Well

I get asked about my curtains more than almost anything else in my home, and honestly? I get it. There's something about a beautifully dressed window that makes a whole room feel finished. If you've been eyeing TWOPAGES curtains and roman shades but feel a little overwhelmed by the sizing and installation process, you're in the right place.

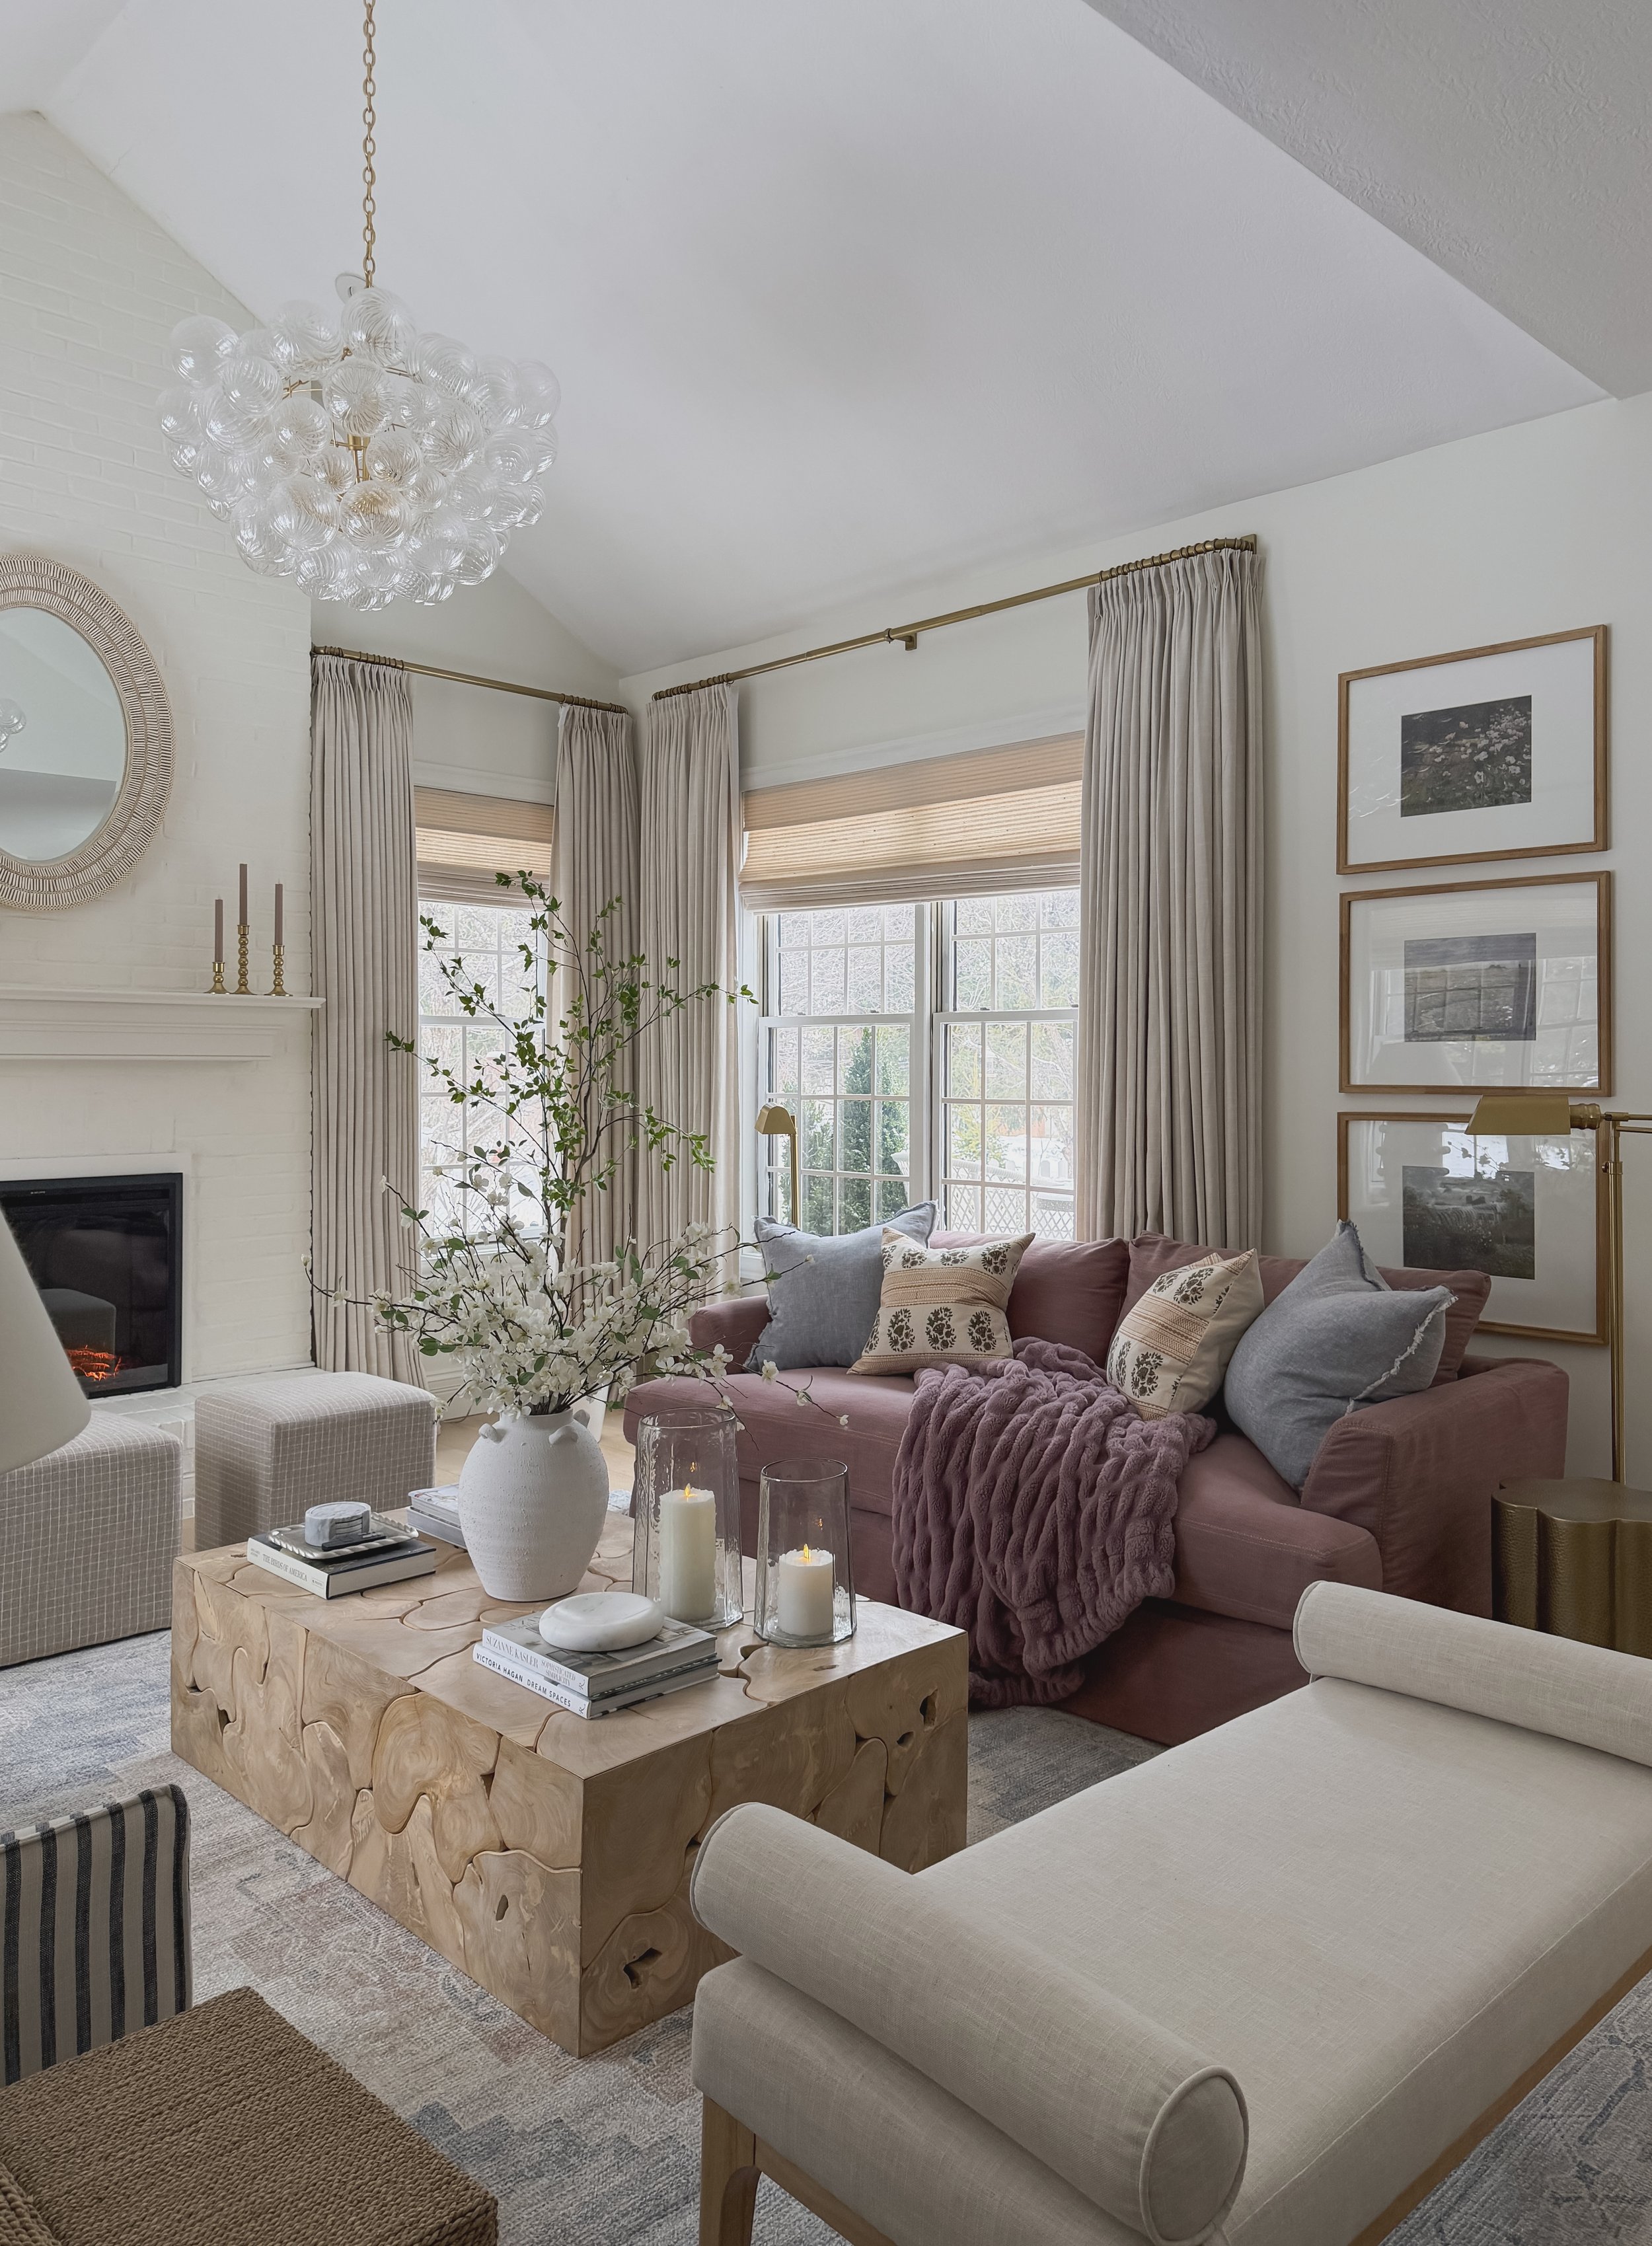
Layering a roman shade underneath a floor-length curtain panel gives you the best of both worlds. The shade handles your everyday privacy and light control, while the curtains add softness, height, and that custom, tailored look. It's a combination I use in nearly every room of my house, and once you get the hang of measuring and installing these curtains, it's honestly not as complicated as it looks.

In this post, I'm walking you through exactly how I size, place, and style my TWOPAGES curtains and roman shades — from measuring your window to picking a lining to choosing colors that'll actually work in your space. Let's get into it.


How to Measure For Roman Shades

Section 02

First you need to decide: are you doing an inside mount or an outside mount?

Inside mount Roman shade measuring instructions for TwoPages bamboo shades

Inside Mount Measuring

An inside mount shade sits inside the window frame, which gives a clean, built-in look. Inside mount works best when your window frame depth is at least 2"-4" depending on the shade style you choose. The depth required varies between cordless and motorized shades, with motorized shades requiring at least 4" of depth.

> Inside Mount Measuring Instructions

  1. Measure the inner window width and subtract 3/8" — this gives the shade a little wiggle room so it doesn't rub against the frame.

  2. Measure the inner window height exactly. Do not subtract anything for inside mount height.

Outside Mount Measuring

If your window frame depth is less than 2", or you just prefer the look of a shade mounted outside the frame (it can make a window look bigger), go with an outside mount.

> Outside Mount Measuring Instructions

  1. Measure the window width including the mouldings, and add 1/2".

  2. Measure the window height including the mouldings, and add a minimum of 3".

If you'd like more resources on how to measure for shades, please see TWOPAGES shade measuring instructions here.

Shop the bamboo shades I have in almost my entire home:


How to measure for curtains

Section 03

Measuring for custom curtains can feel very intimidating, but I have a few fool-proof tips and tricks to help you feel confident in your decision.

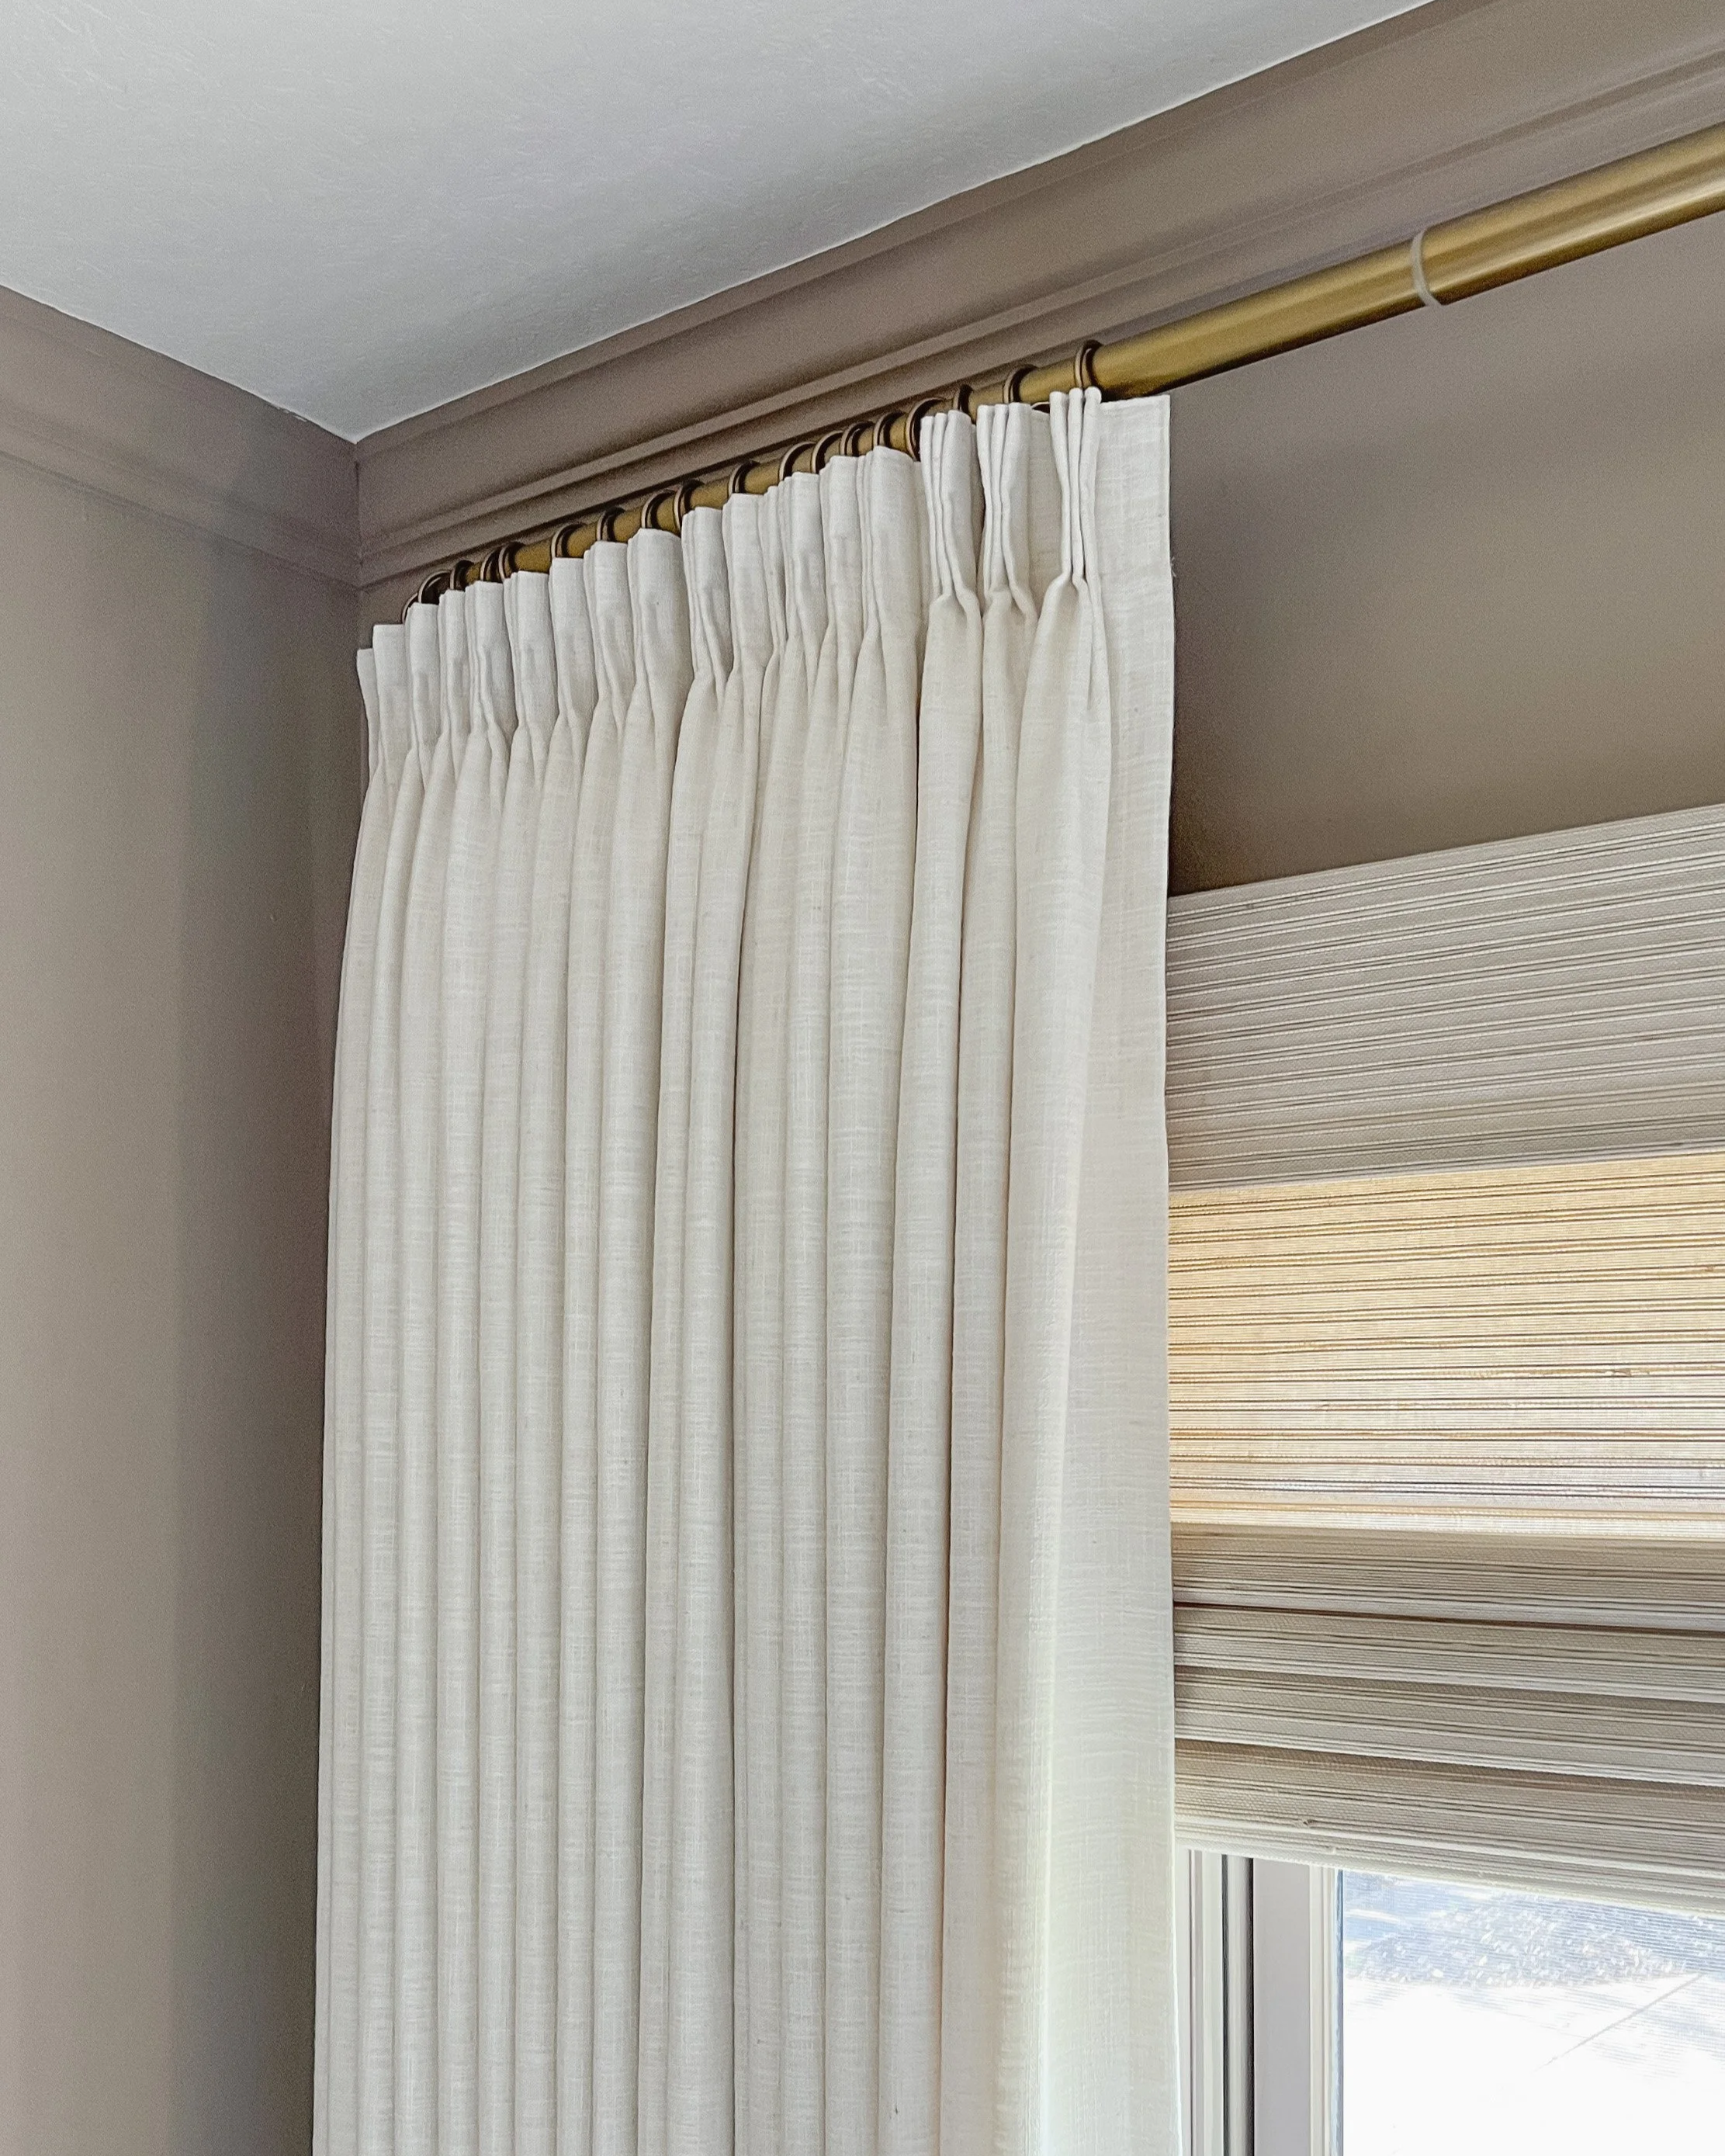
Curtain rod mounted close to ceiling with floor-length TwoPages panels in a neutral bedroom

Mounting Height

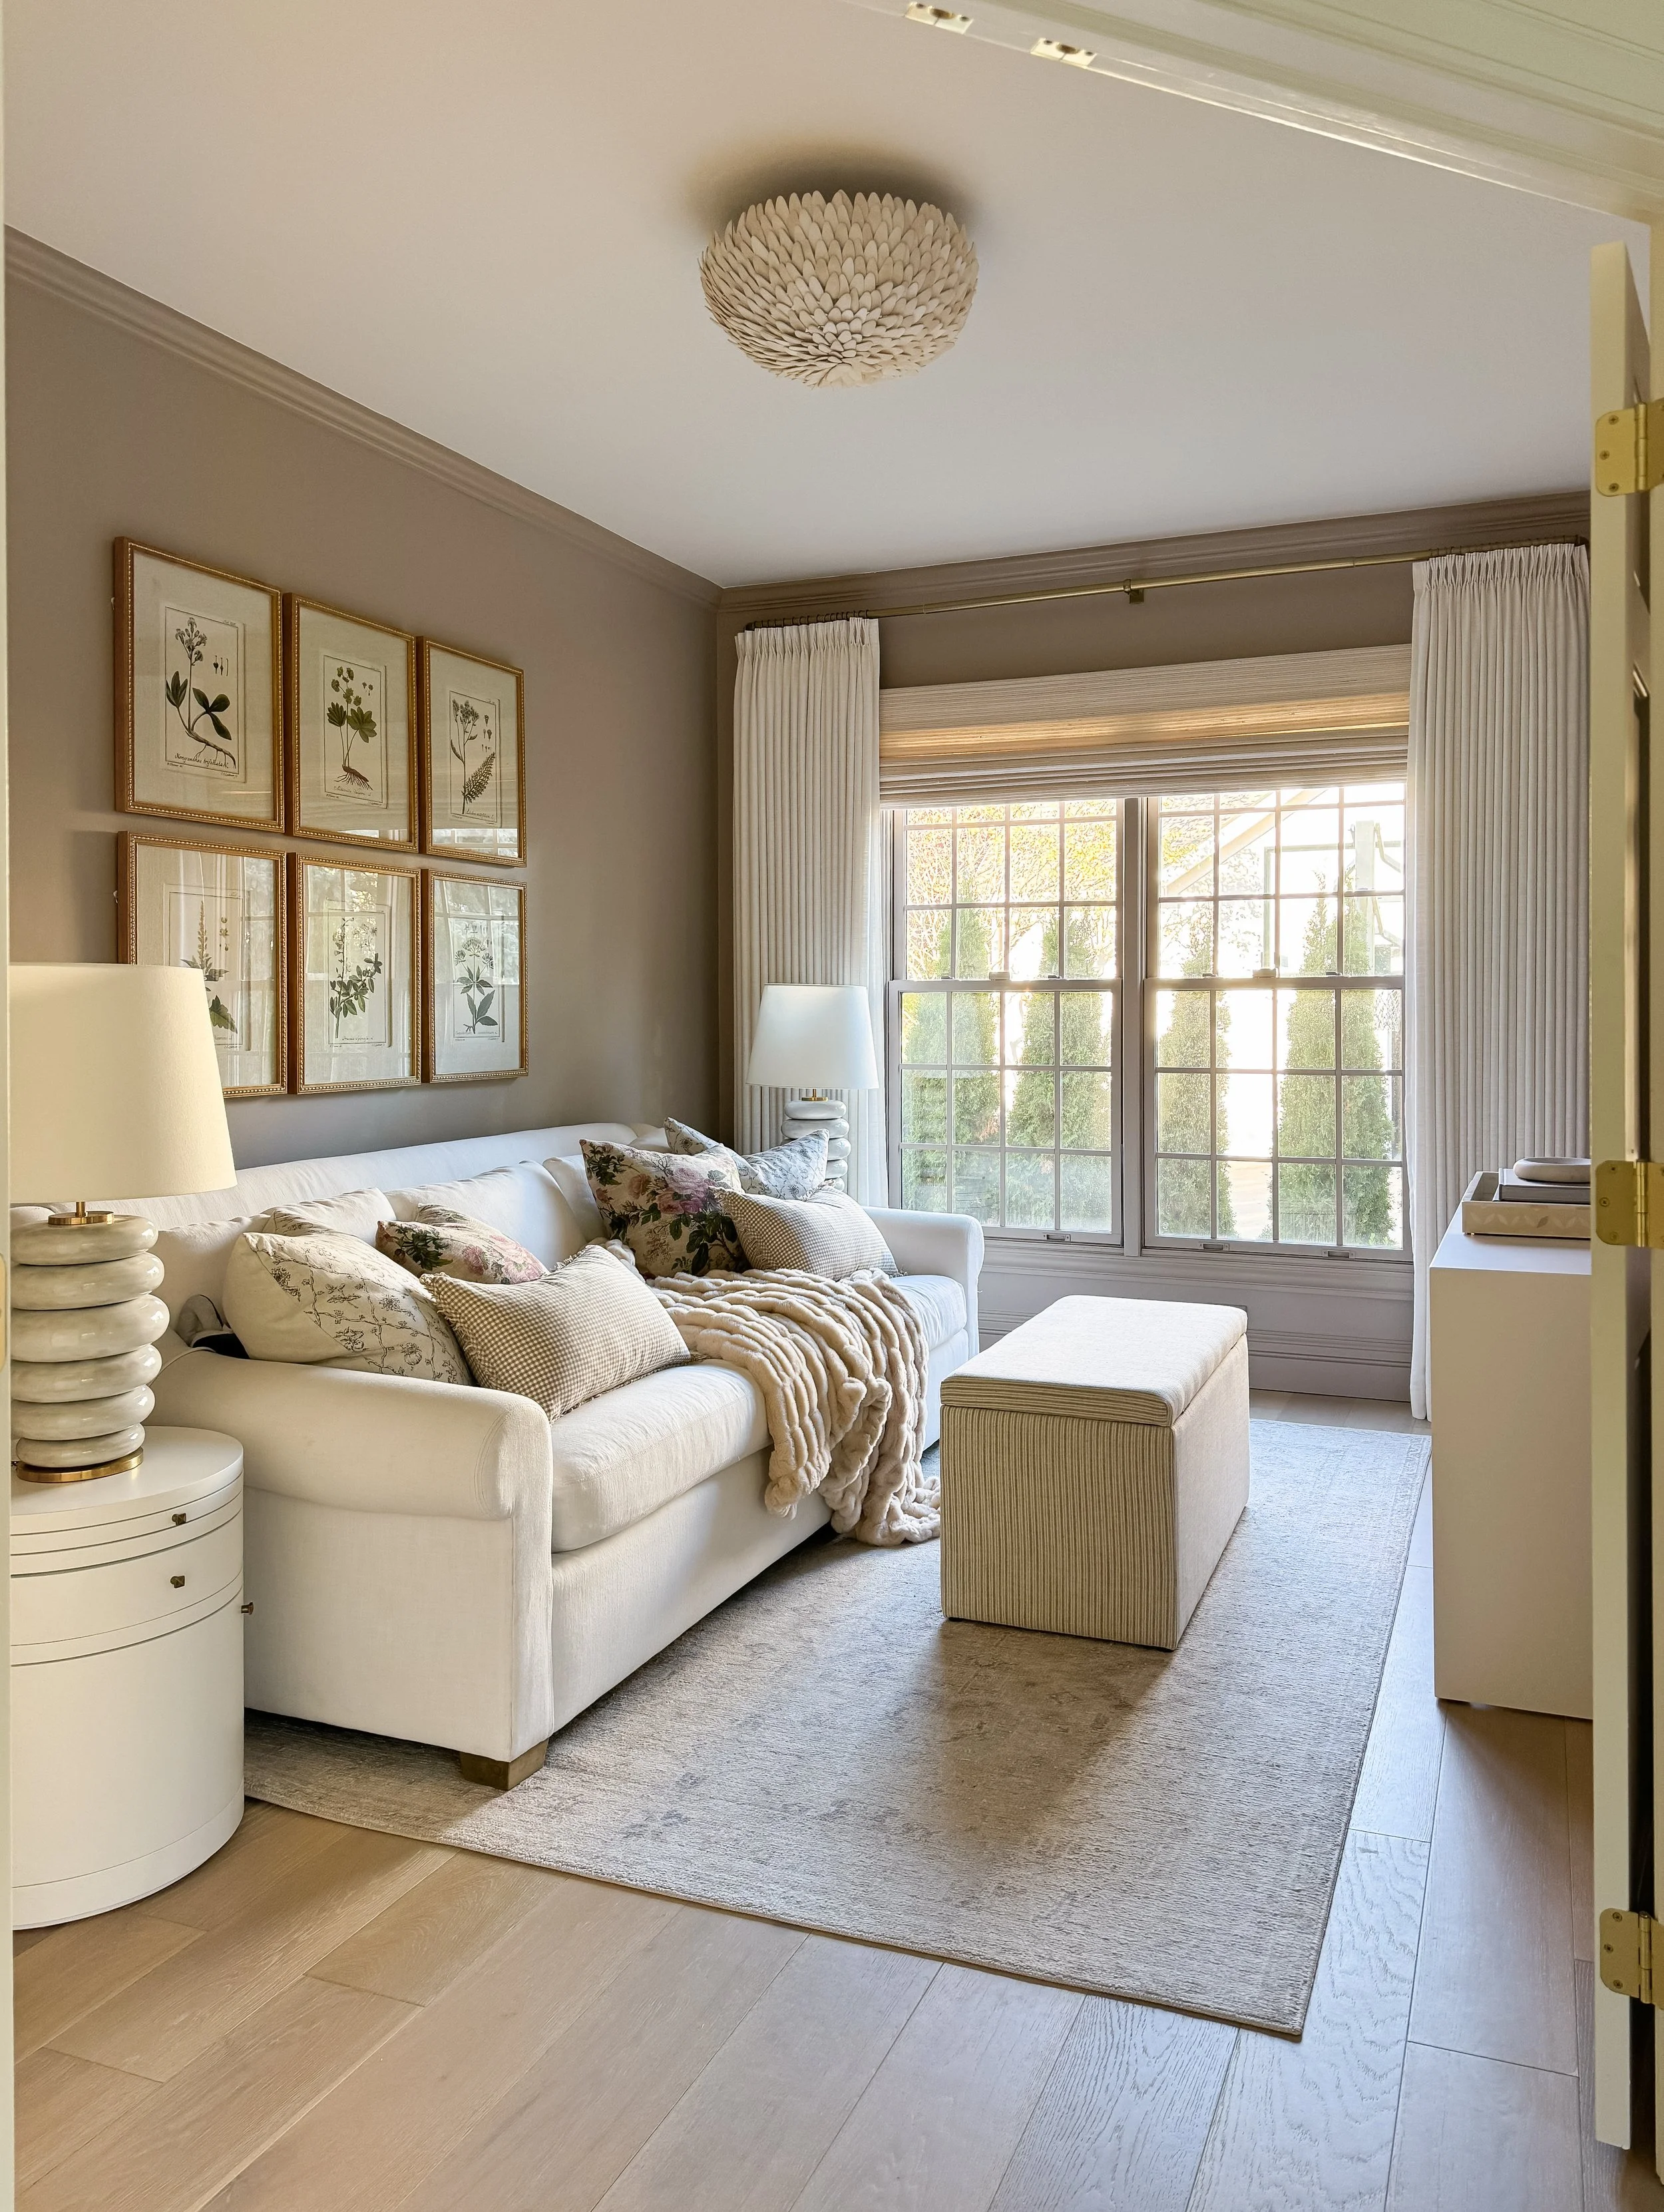
I almost always mount my curtain rods as close to the ceiling as possible — usually leaving just a few inches of clearance between the rod and the ceiling or crown moulding. I generally say to plan on mounting your curtain rod between 3-5" below the ceiling or moulding.

Mounting high (rather than right above the window frame) draws the eye up and makes ceilings feel taller. Even in rooms with standard 8-foot ceilings, this trick makes a noticeable difference.

Curtain Width: How Full Should Your Panels Be?

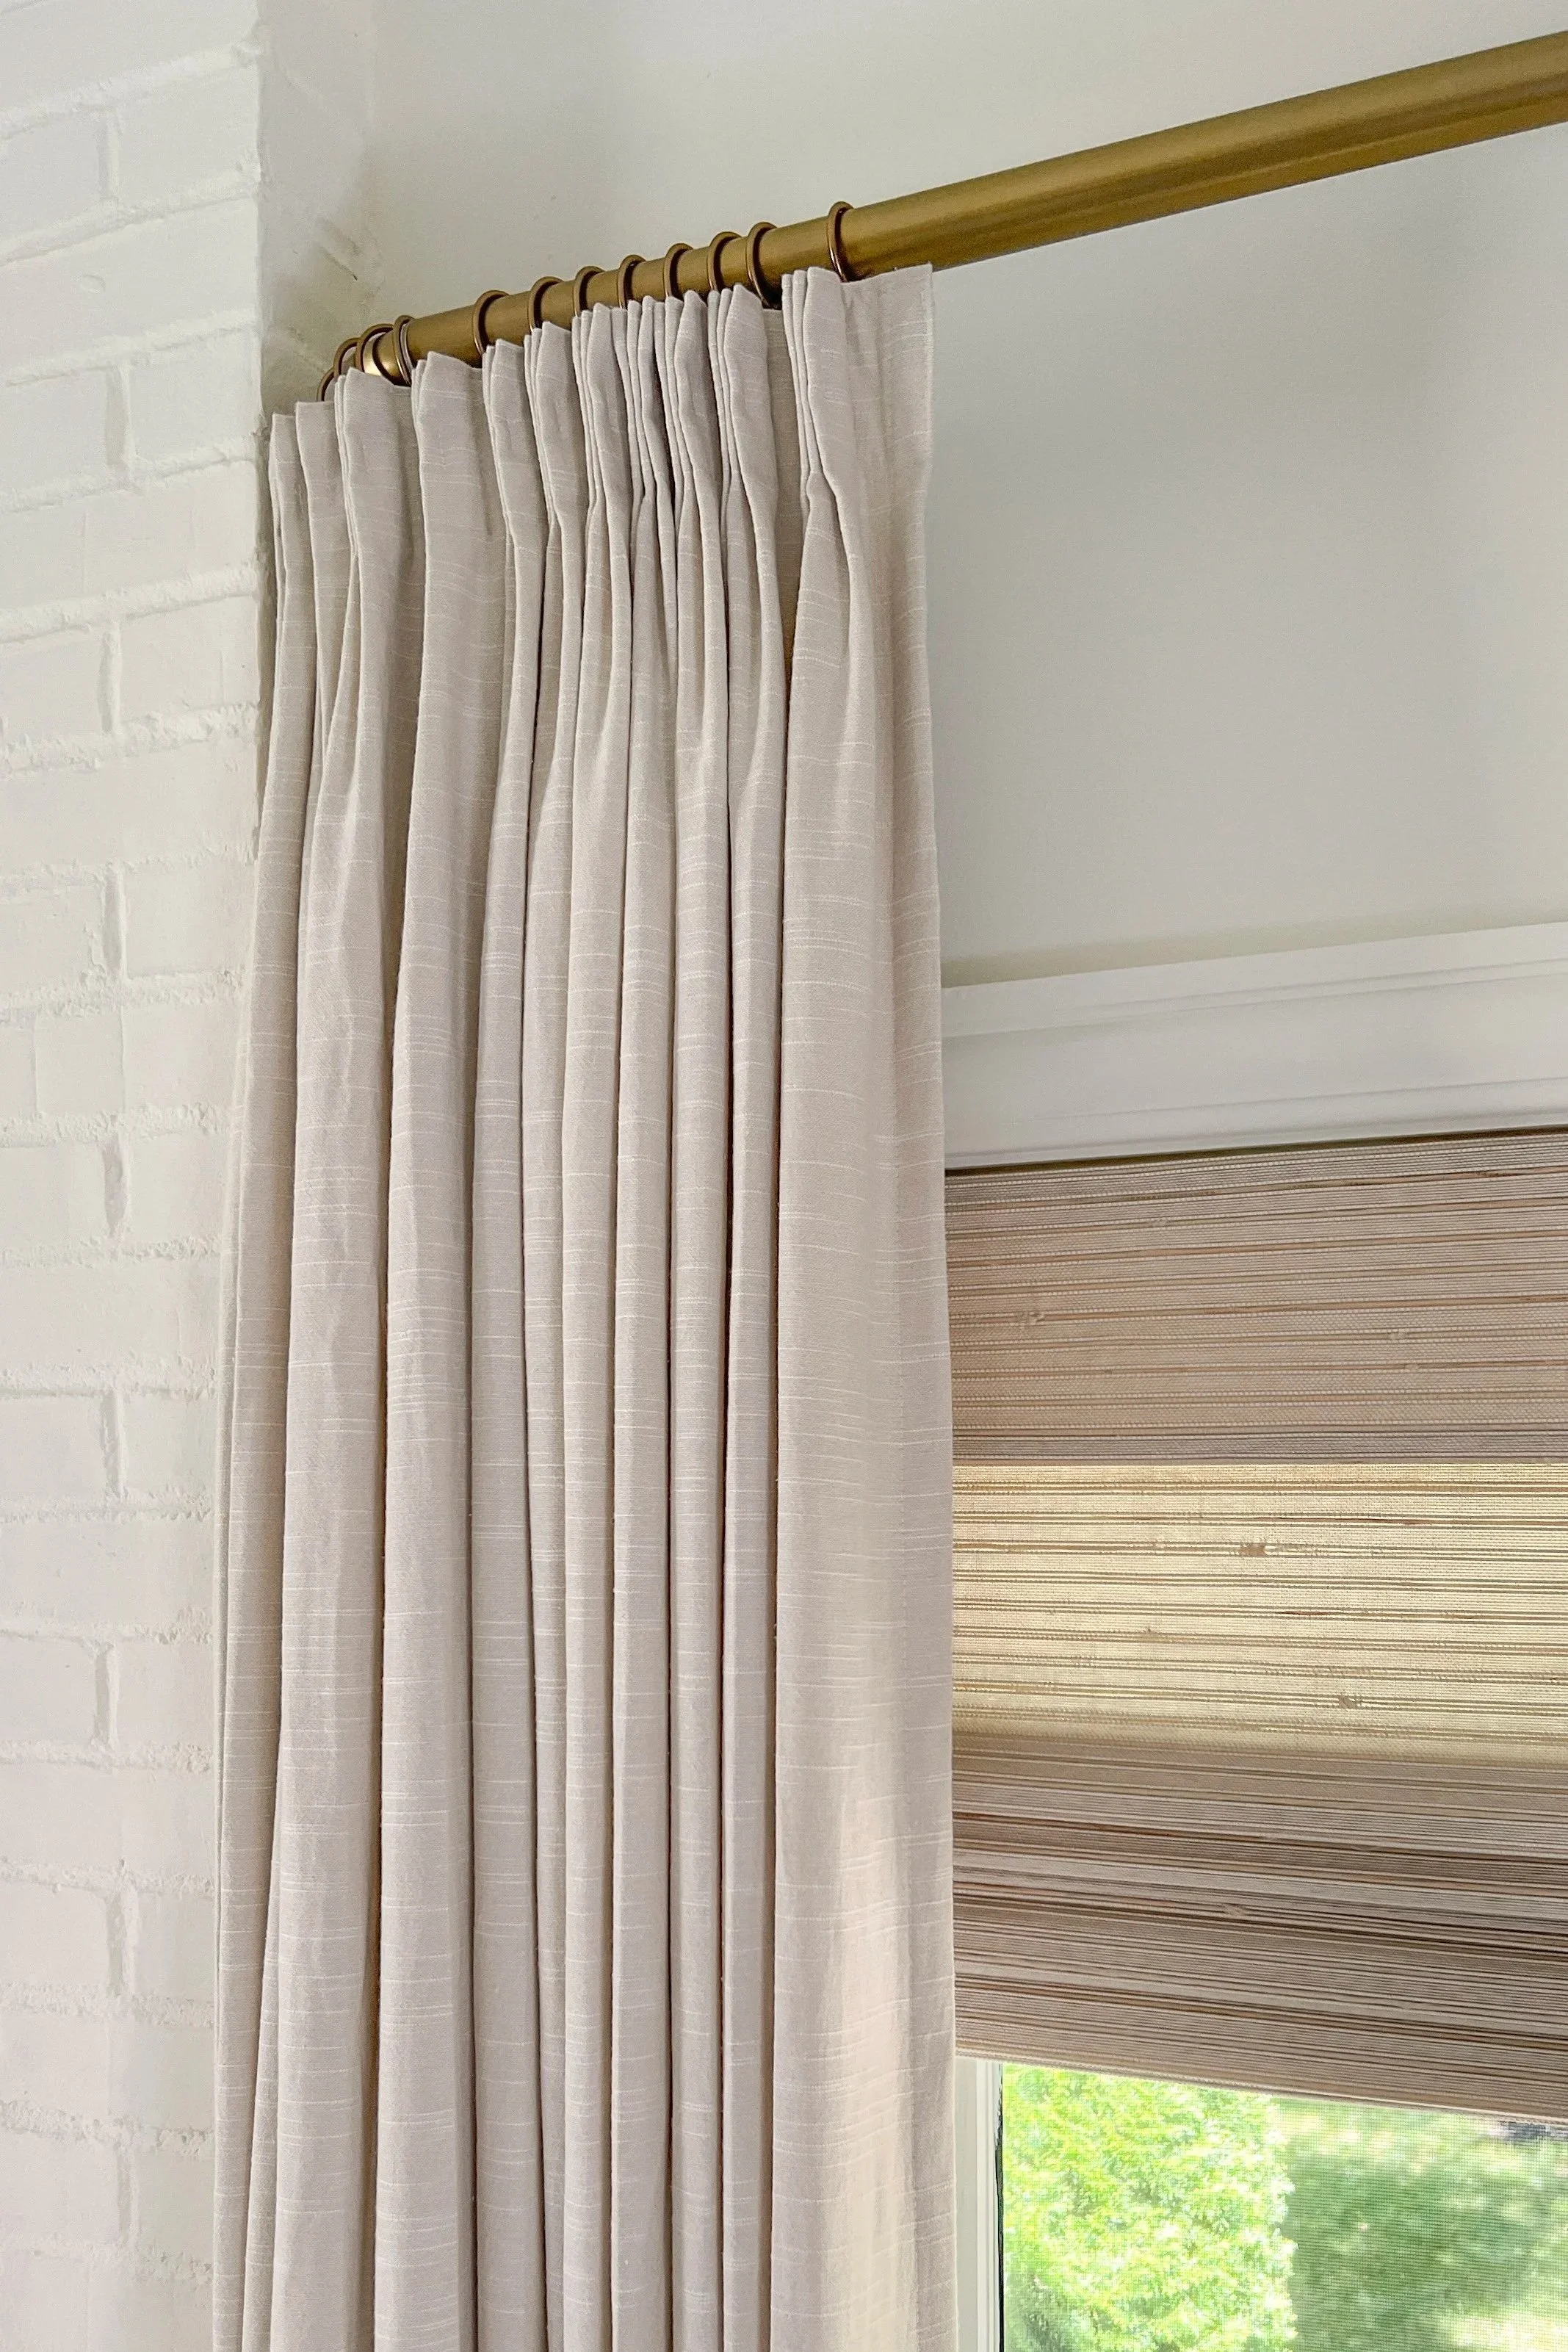
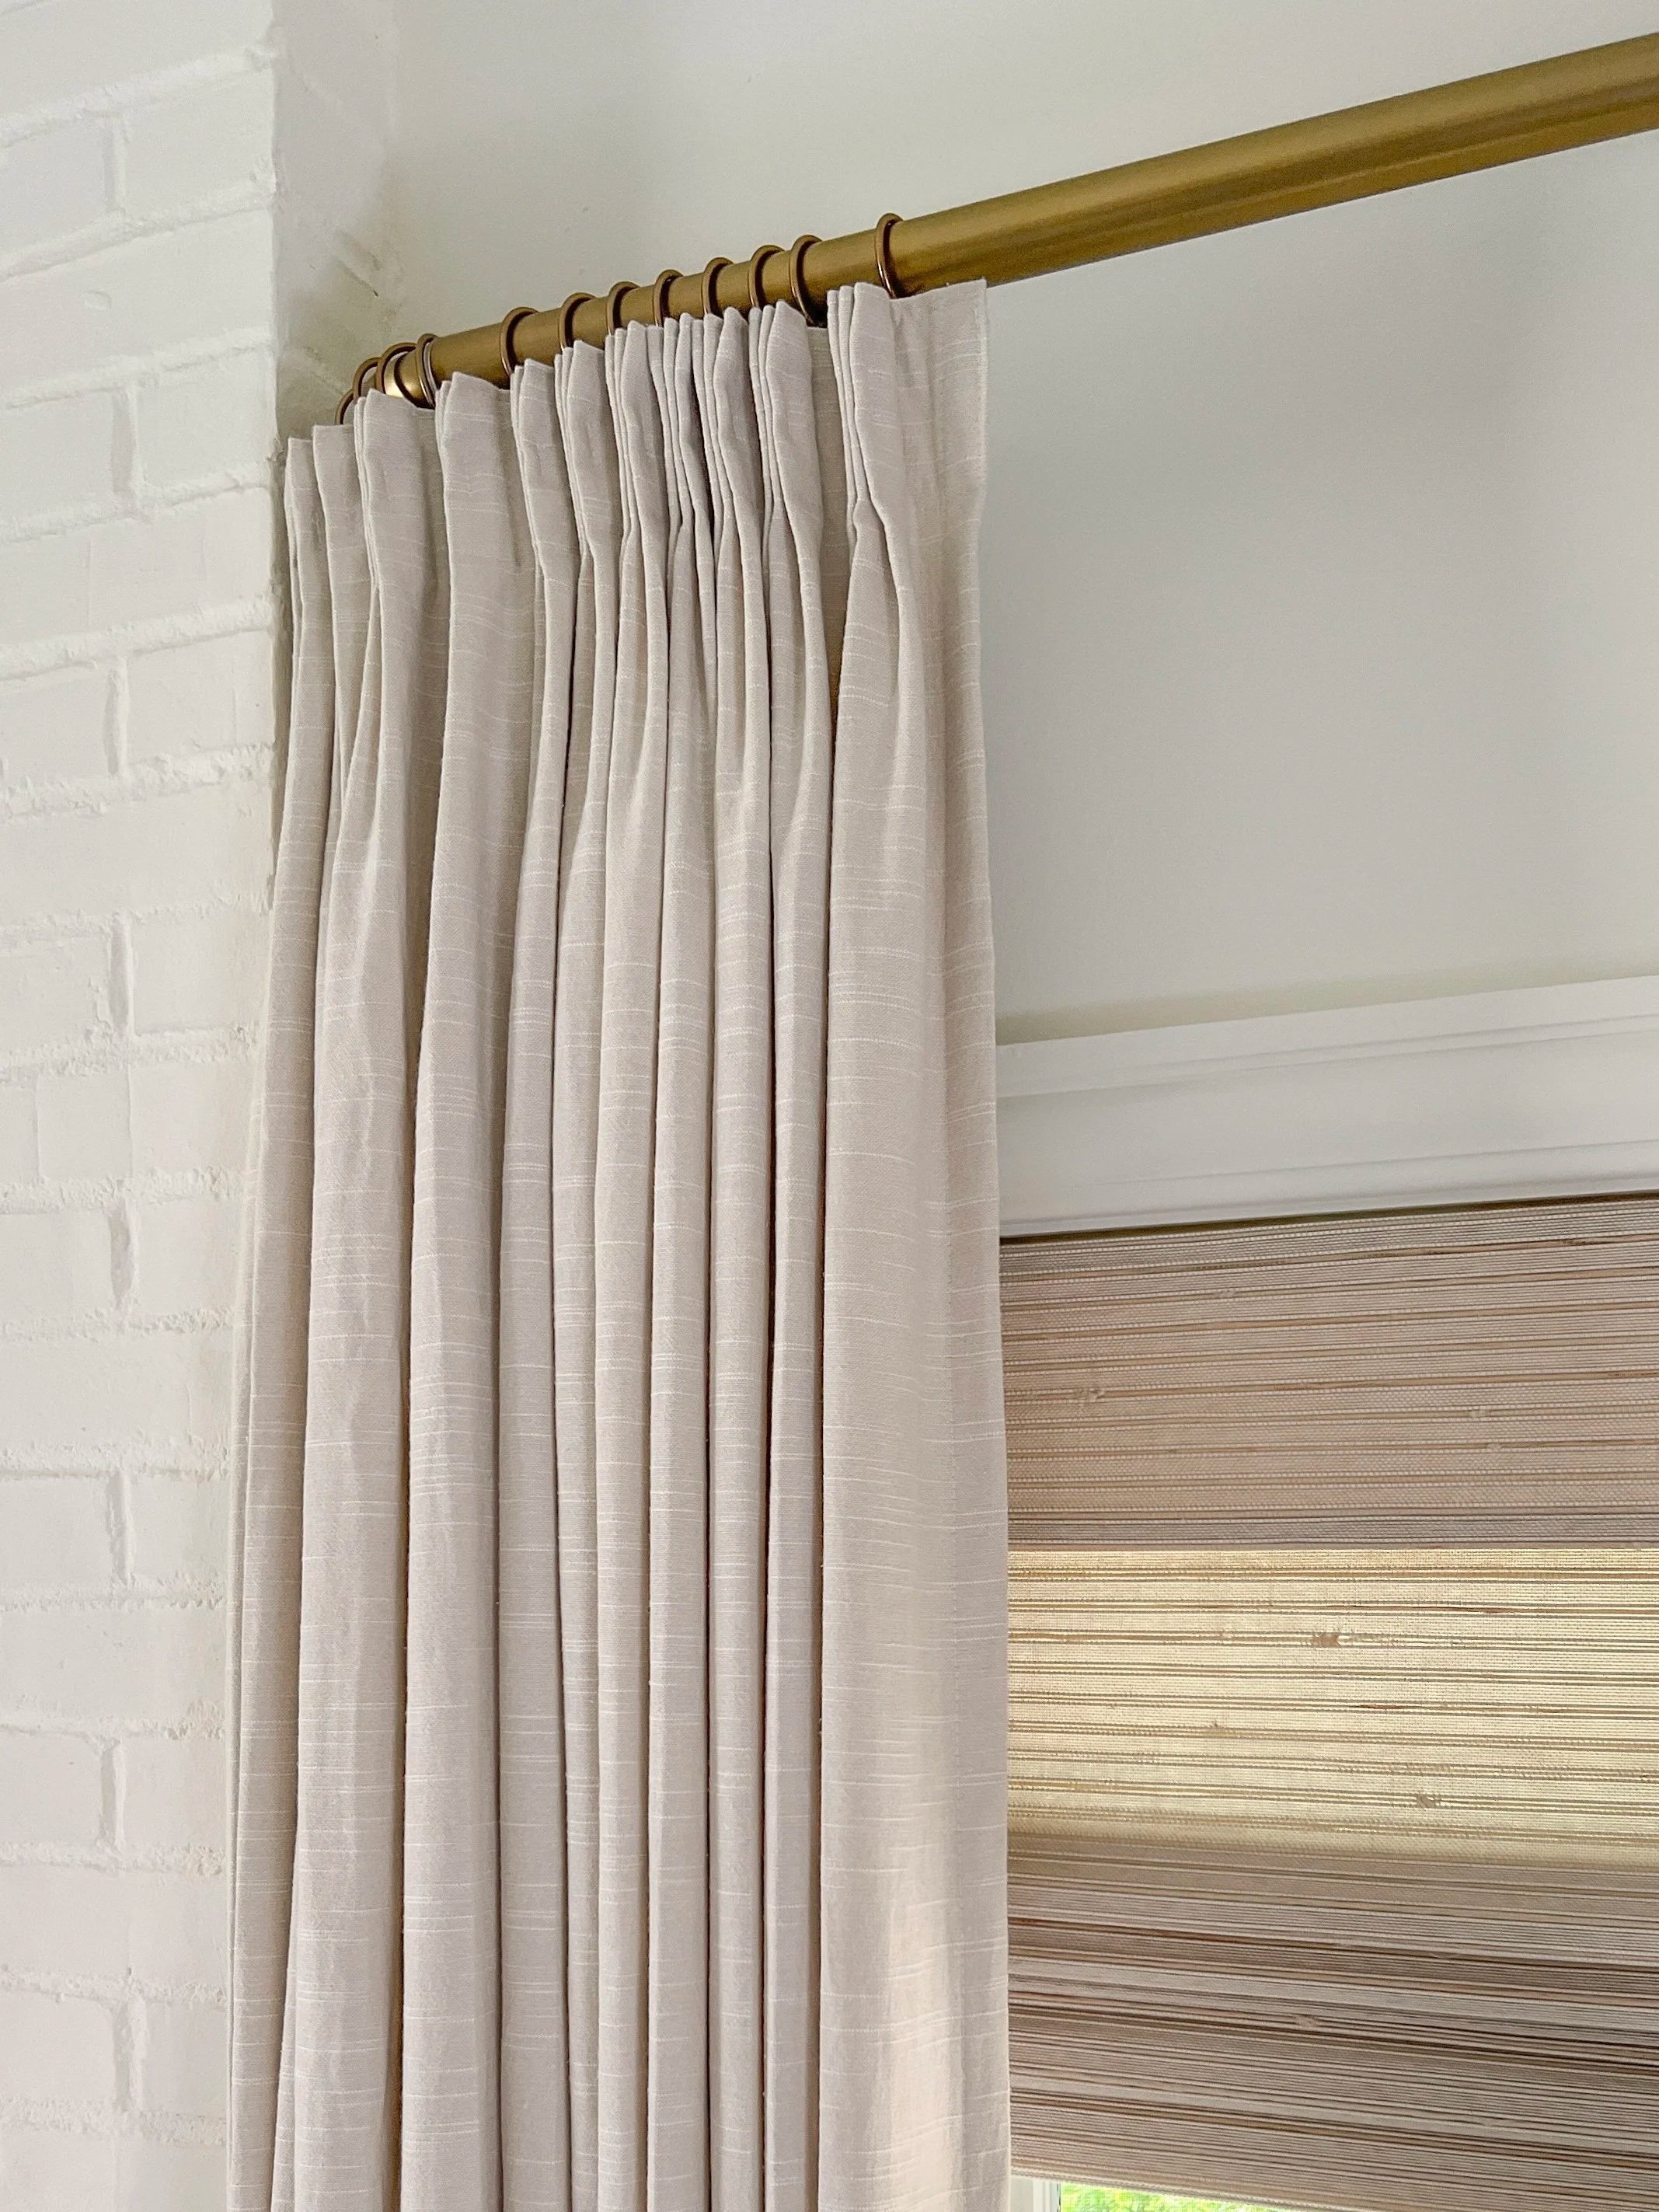
This is where stack width comes in. Stack width is simply how wide your curtains end up when they're pulled all the way open to the sides of your window. I only use the triple pleated header style, but have come up with a simple formula for that style to quickly determine the stack width.

Stack width formula diagram for TwoPages triple pleat curtain panels

Stack Width = panel width x 0.18

For example, if my curtain panel width is 100", the stack width would be approximately 18"

100" (PANEL WIDTH) x 0.18 = 18" (STACK WIDTH)

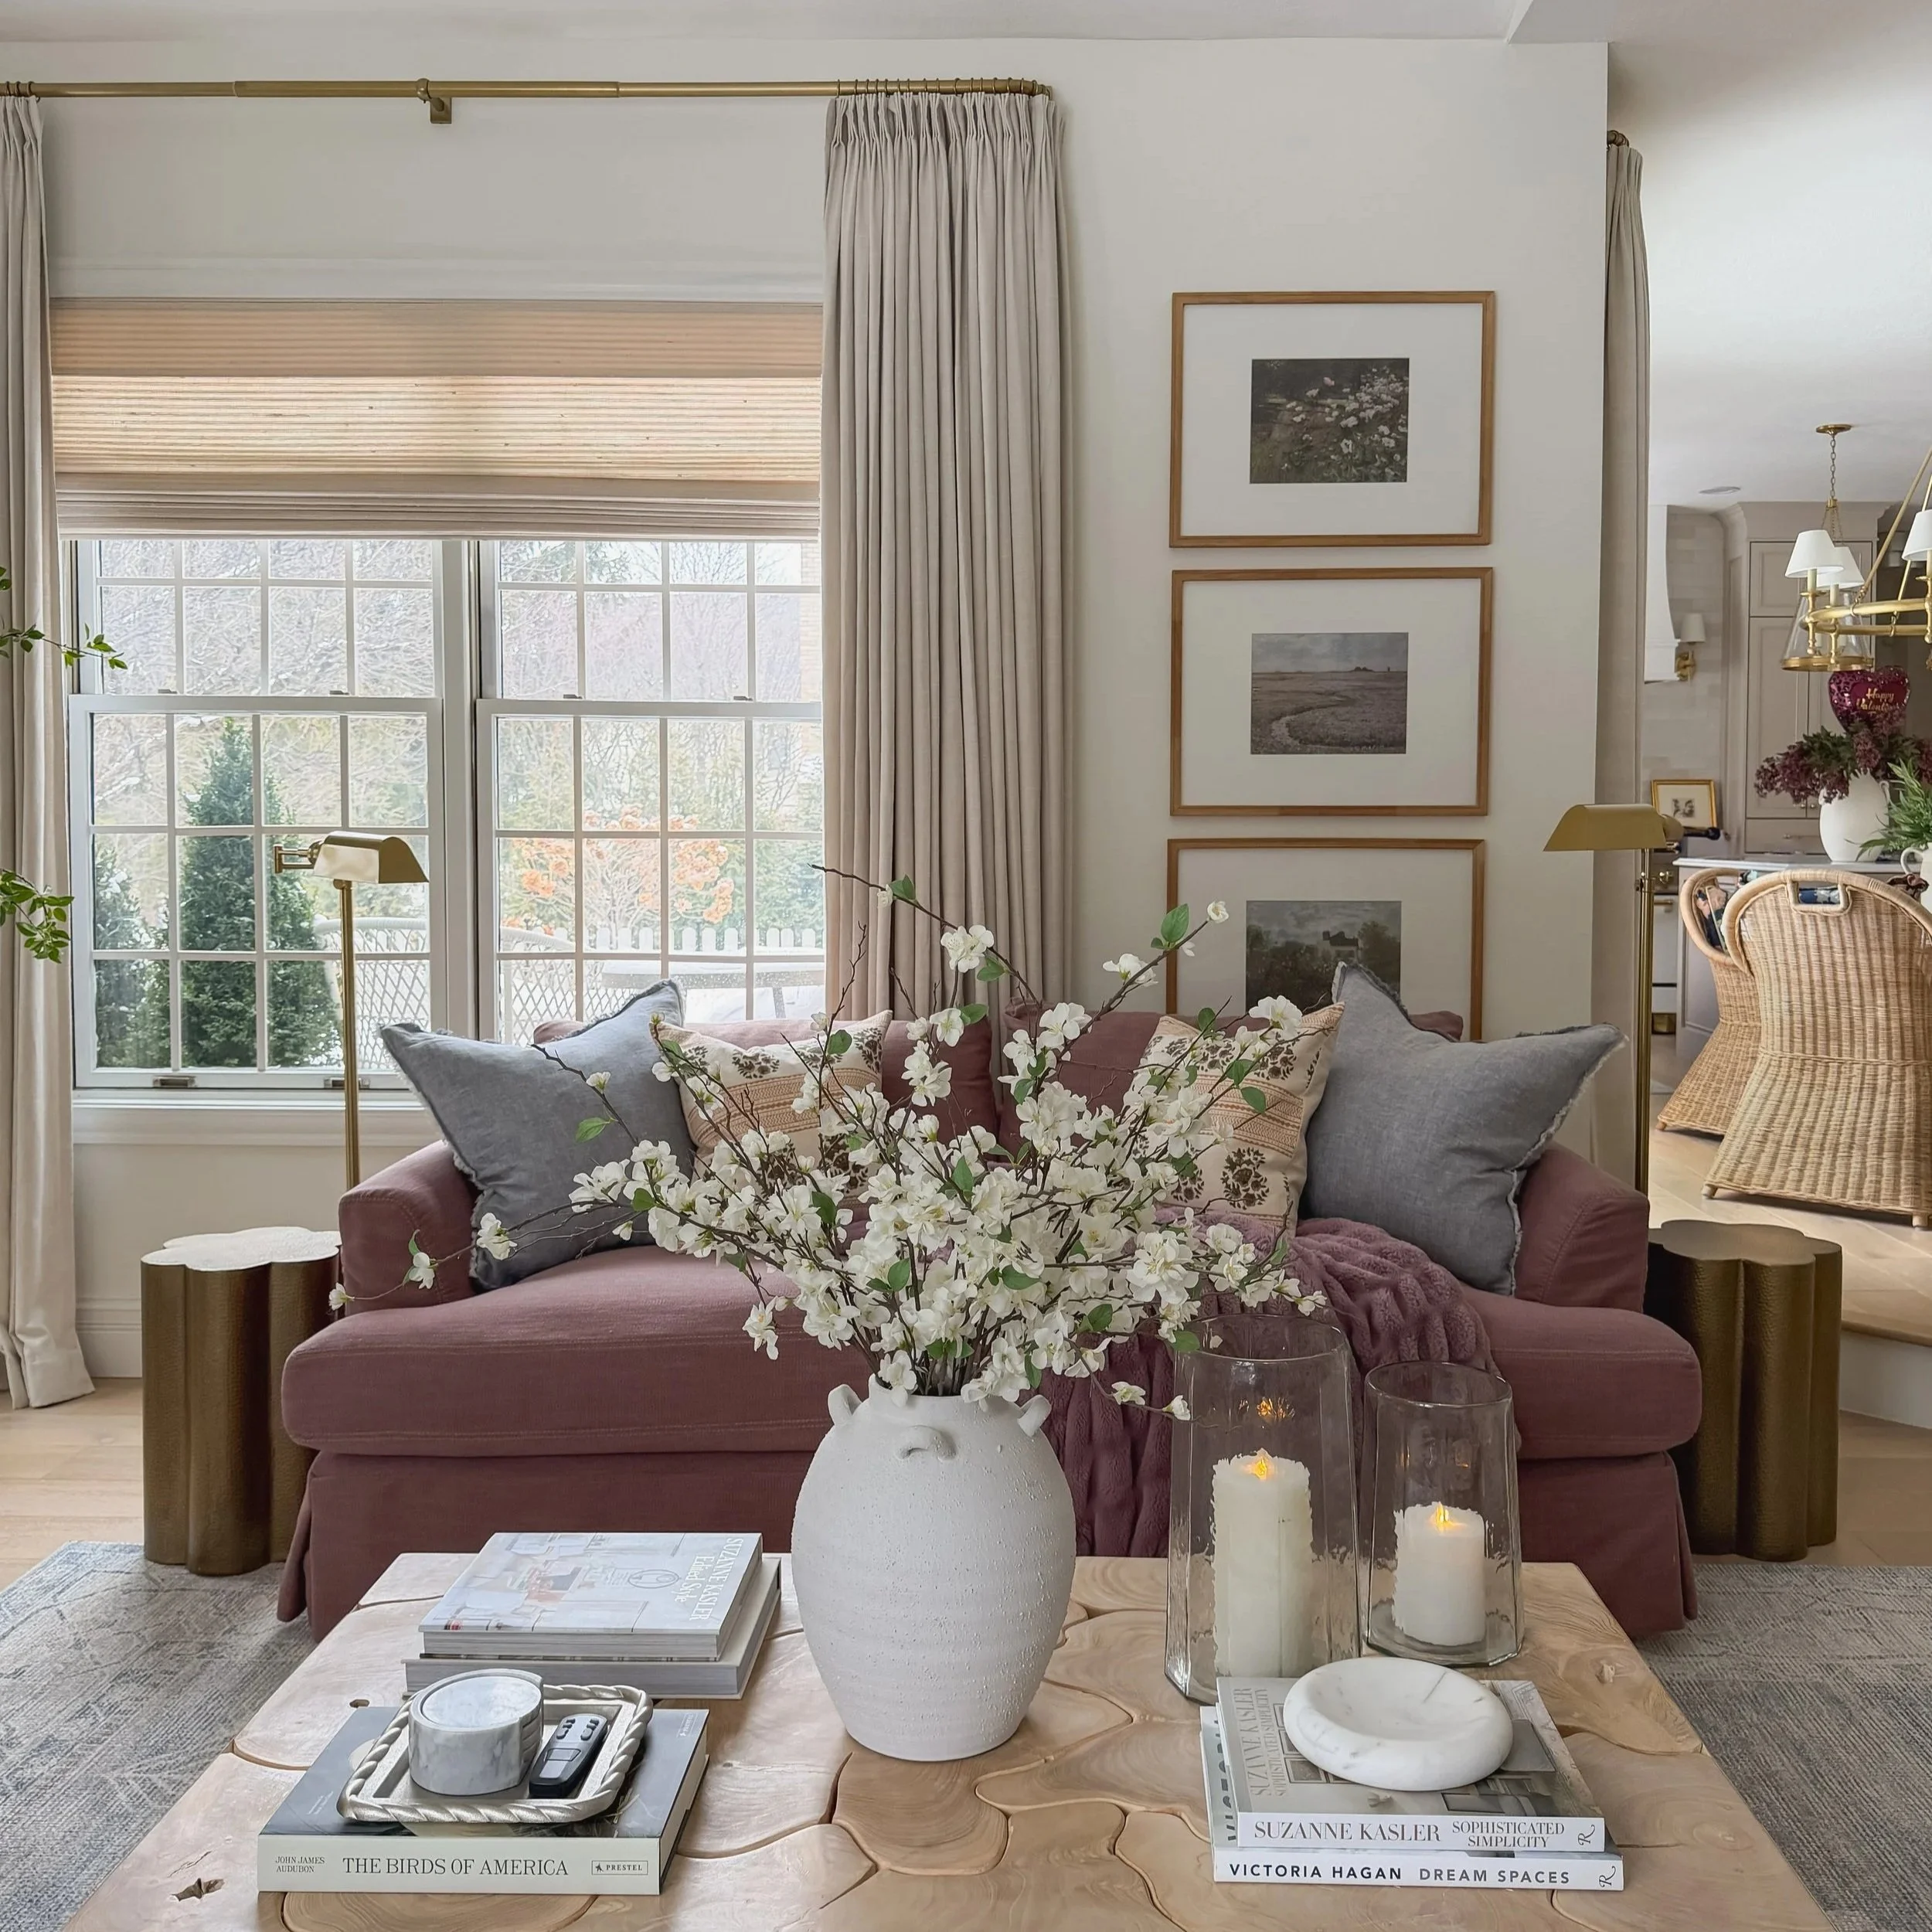
TwoPages Liz Ivory White floor-length curtains in a bright neutral living room

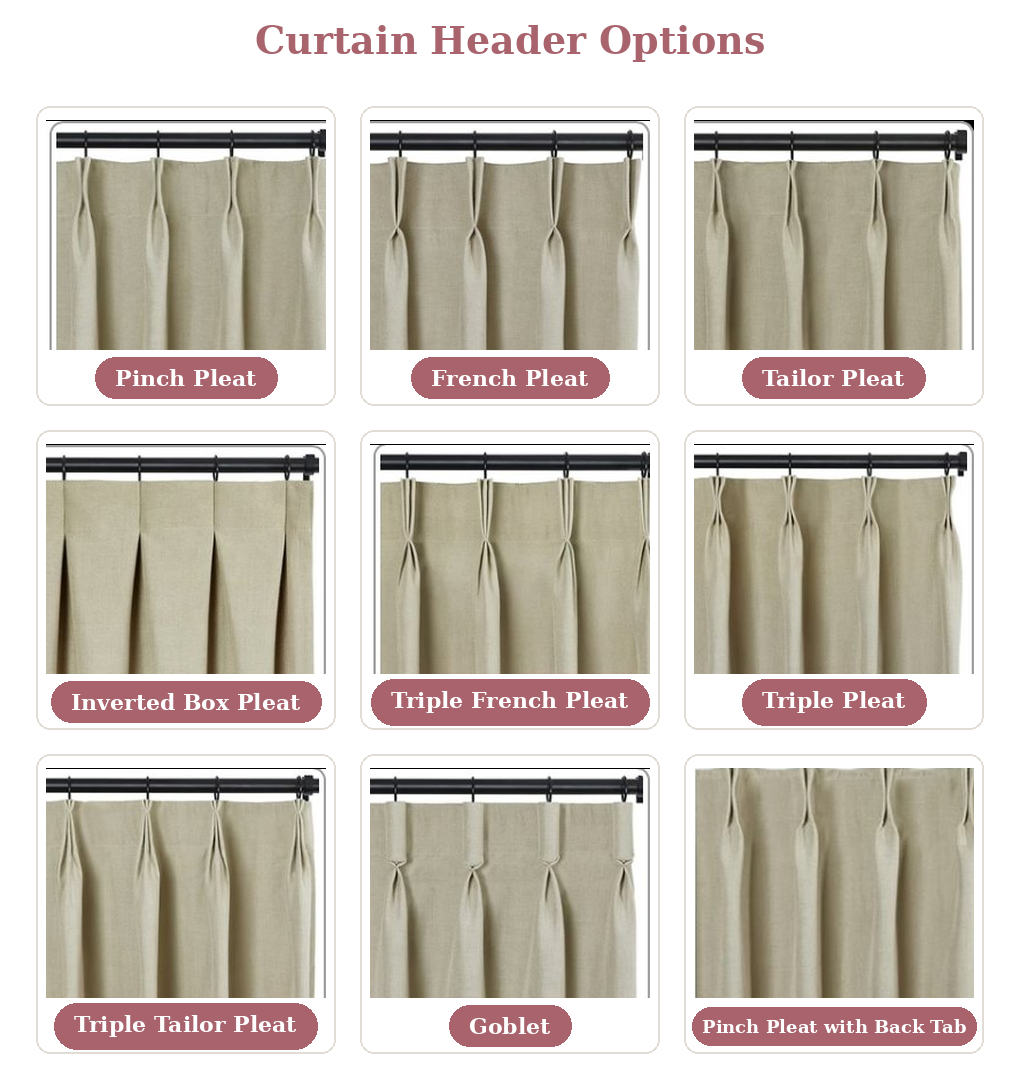
Please keep in mind that this formula to calculate the stack width only applies to the triple pleated header style. There are many styles of headers, but personally I choose to use the triple pleated because I like the traditional and formal look. There’s an image with all the header options below.

TwoPages curtain header style options reference chart including pinch pleat, ripple fold, and pencil pleat

Here's my general rule of thumb for total panel width (per panel, not combined):

  1. Measure your window width. This is your starting point for everything else.
  2. Decide on fullness based on window size. For windows under 50" wide, aim for 1–2x the width of the window per panel. For windows over 50" wide, aim for 1–1.5x the width per panel.
  3. Don't go overboard. The absolute max I'd ever recommend is 150" per panel — anything wider becomes incredibly heavy and impractical to find curtain rods sturdy enough to support the weight of the curtains.

Floor Length

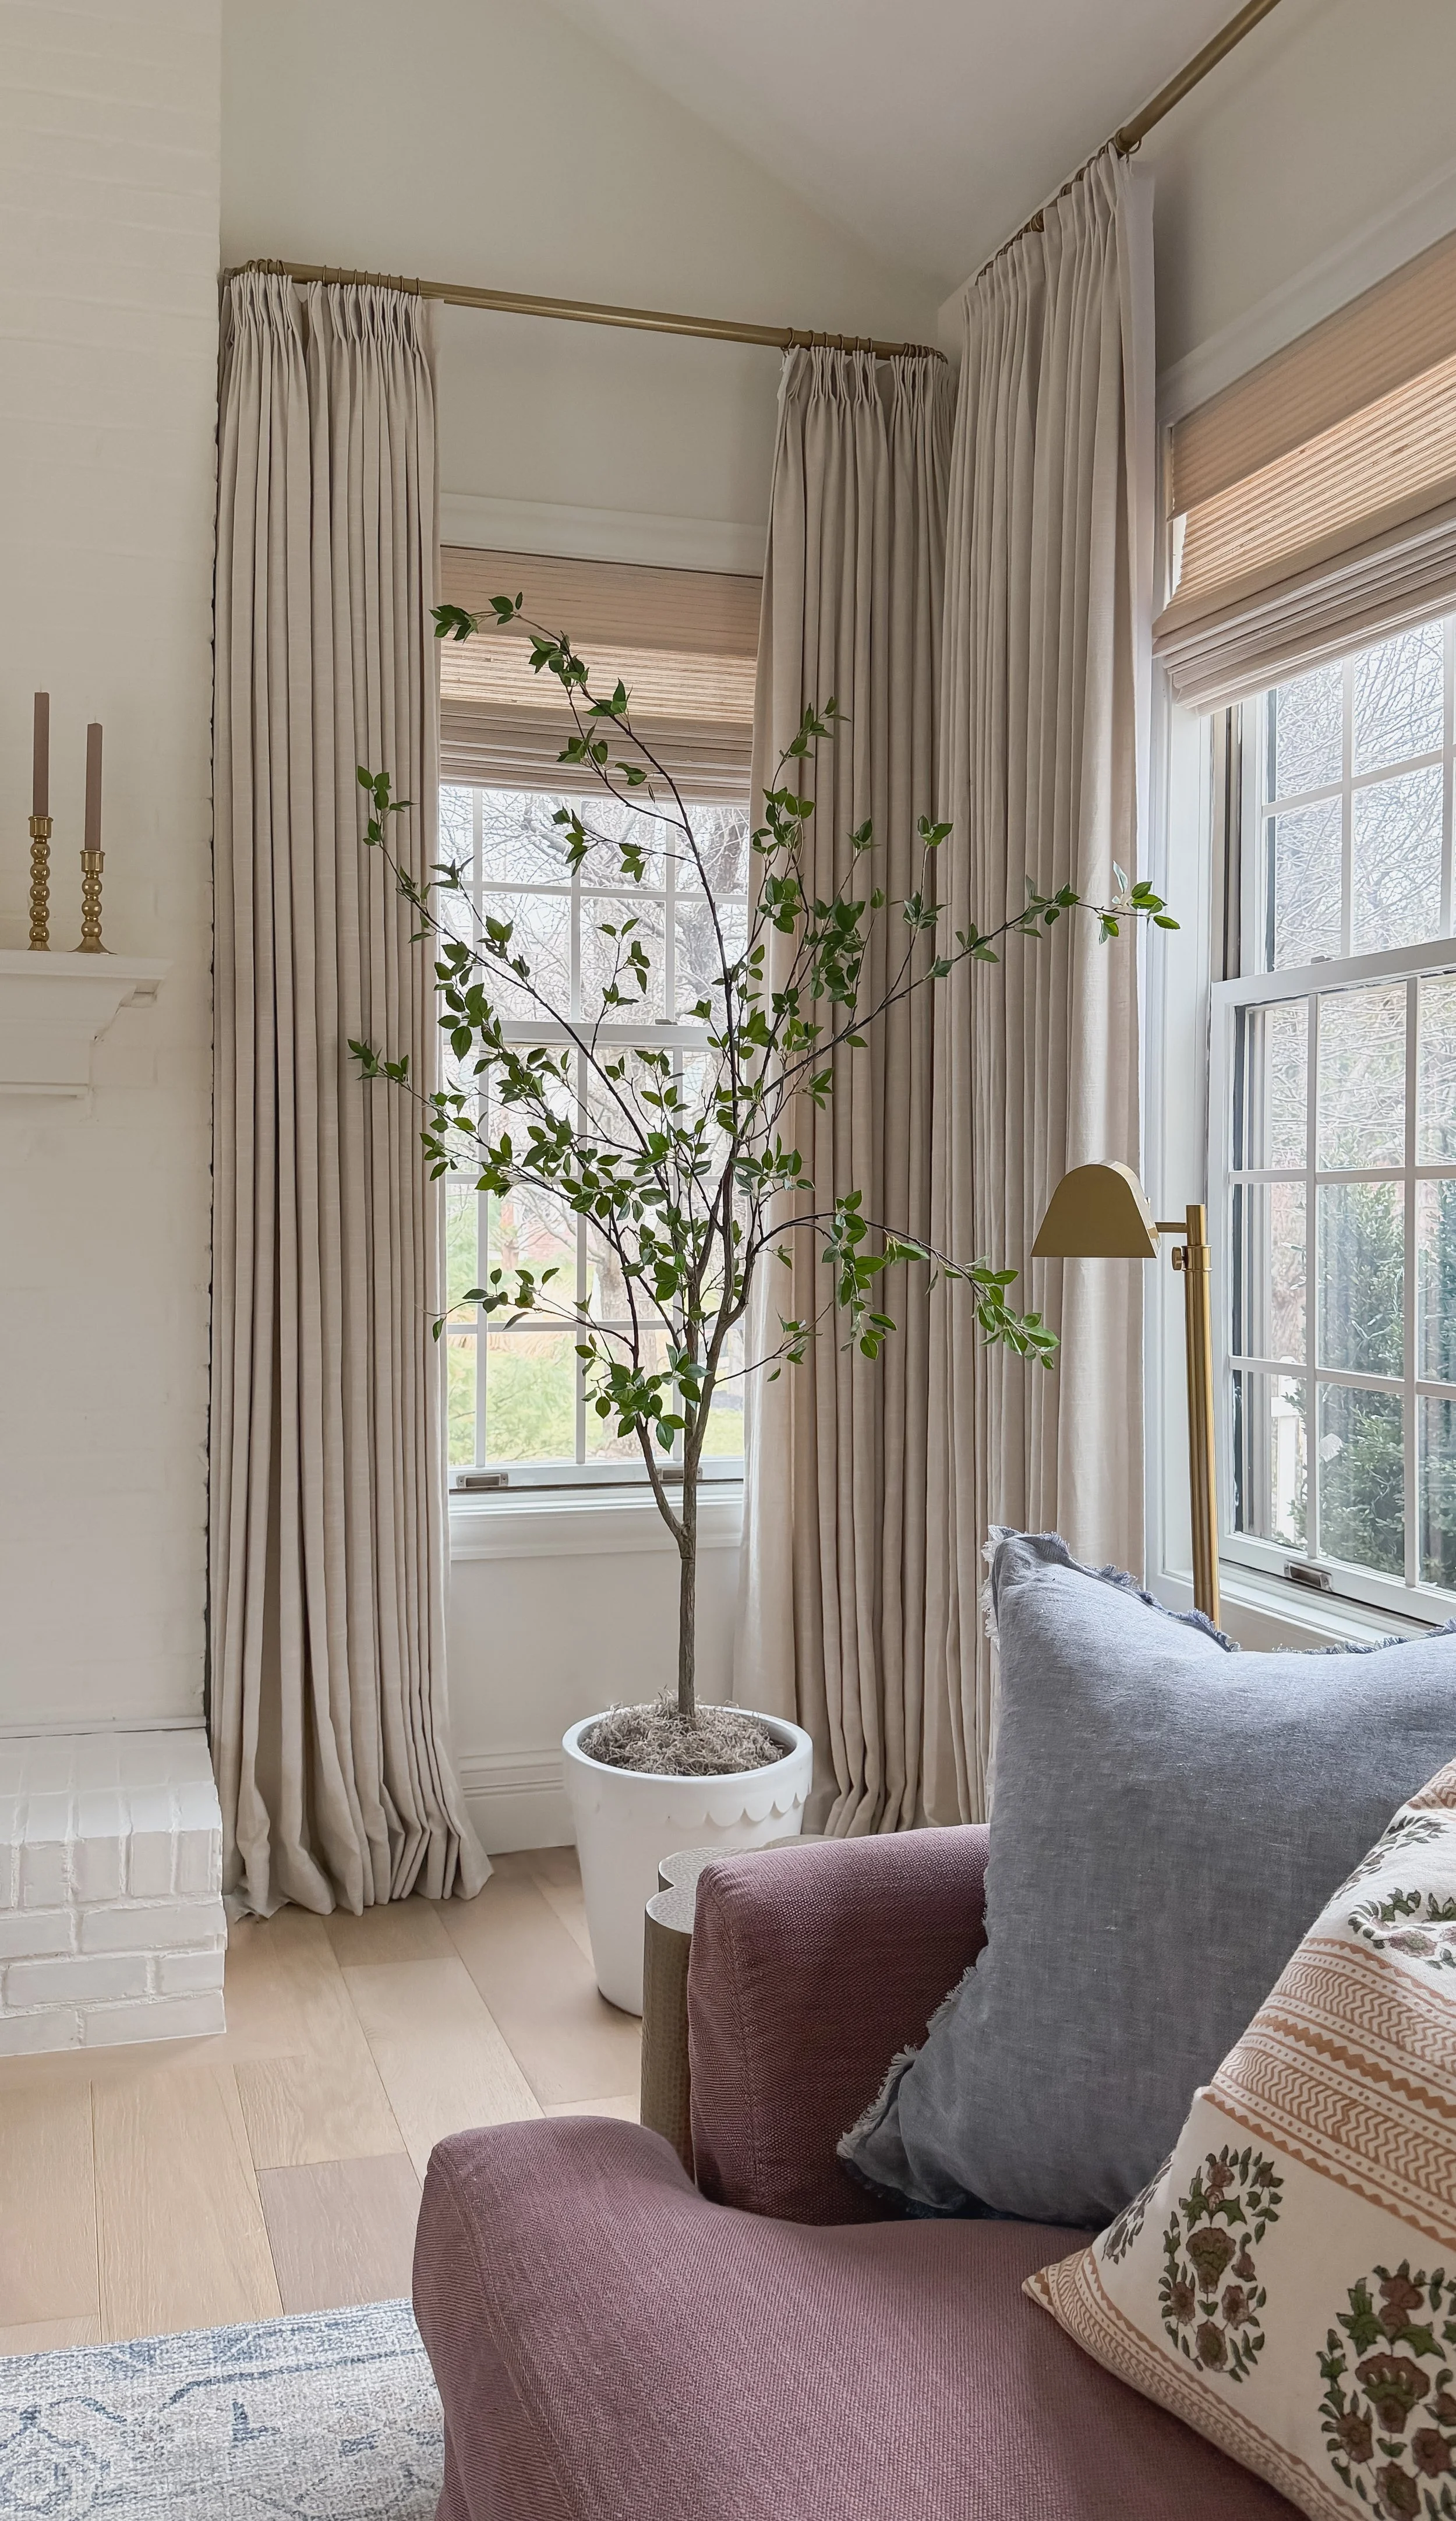
For floor-length panels, I like my curtains to just barely kiss the floor, or break very slightly — think a half inch of "puddle." Too short and it looks like you bought the wrong size; too long and they'll drag and collect dust.

If you have a curtain rod already installed, measure from the bottom of the rod to the floor and subtract 1" to accomodate for the drop of the curtain rings.

If you don't have a rod installed, measure from the floor to the ceiling (or crown moulding), and subtract 3-5" to allow you plenty of room to install the curtain rod.

If you have tall ceilings, I wouldn't recommend hanging the curtains any heigher than about 18" above the moulding on windows or doors.


Choosing the Right Lining

Section 04

This is honestly one of the most important decisions you'll make, and it's also the one people skip over the fastest. TWOPAGES curtains are fully customizable with seven different lining options, ranging from completely unlined to full blackout.

TwoPages curtain lining swatch samples held up to a window showing light blocking comparison

> Pro Tip:> I do not suggest going unlined. Unlined panels will not give you that high-end, custom look these curtains are known for, and they'll feel thin and a little lackluster. Opting for a thicker lining is what will give the finished look of your curtains a luxurious, magazine-worthy feel.

Here's a quick breakdown of the lining weights and where I use each one:

Lining Options Table
Recommended Lining Options
Lining Type Weight Best For
Privacy Liner 90 GSM Roman shades, light privacy
Room Darkening 140 GSM Curtain panels, everyday rooms
Blackout Liner 220 GSM Bedrooms, media rooms
Thermal Blackout 250 GSM Maximum light & temperature control

In my own home, I use room darkening (140 GSM) on all of my curtain panels, and the privacy liner (90 GSM) on all of my roman shades. That combination gives me a soft, room-darkening drape on the curtains, plus a roman shade that still lets in some gentle light when it's down but offers privacy from the street.

As long as you've hung your curtains high and wide, opting for a thicker lining will not have an affect on the natural light in your home.

TwoPages lining weight comparison chart from 90GSM privacy liner to 250GSM thermal blackout

If you want to sample lining options before committing, ordering a swatch book and holding the individual swatches up against your window is genuinely the easiest way to feel their weight, texture, and light blocking ability for yourself.

Shop: Curtain Lining Swatch Book


Color and Material Options I Love

Section 05

One of the best parts of working with TWOPAGES is just how many color and pattern options there are. Here are a few of the combinations I've used throughout my own home, and why I picked them.

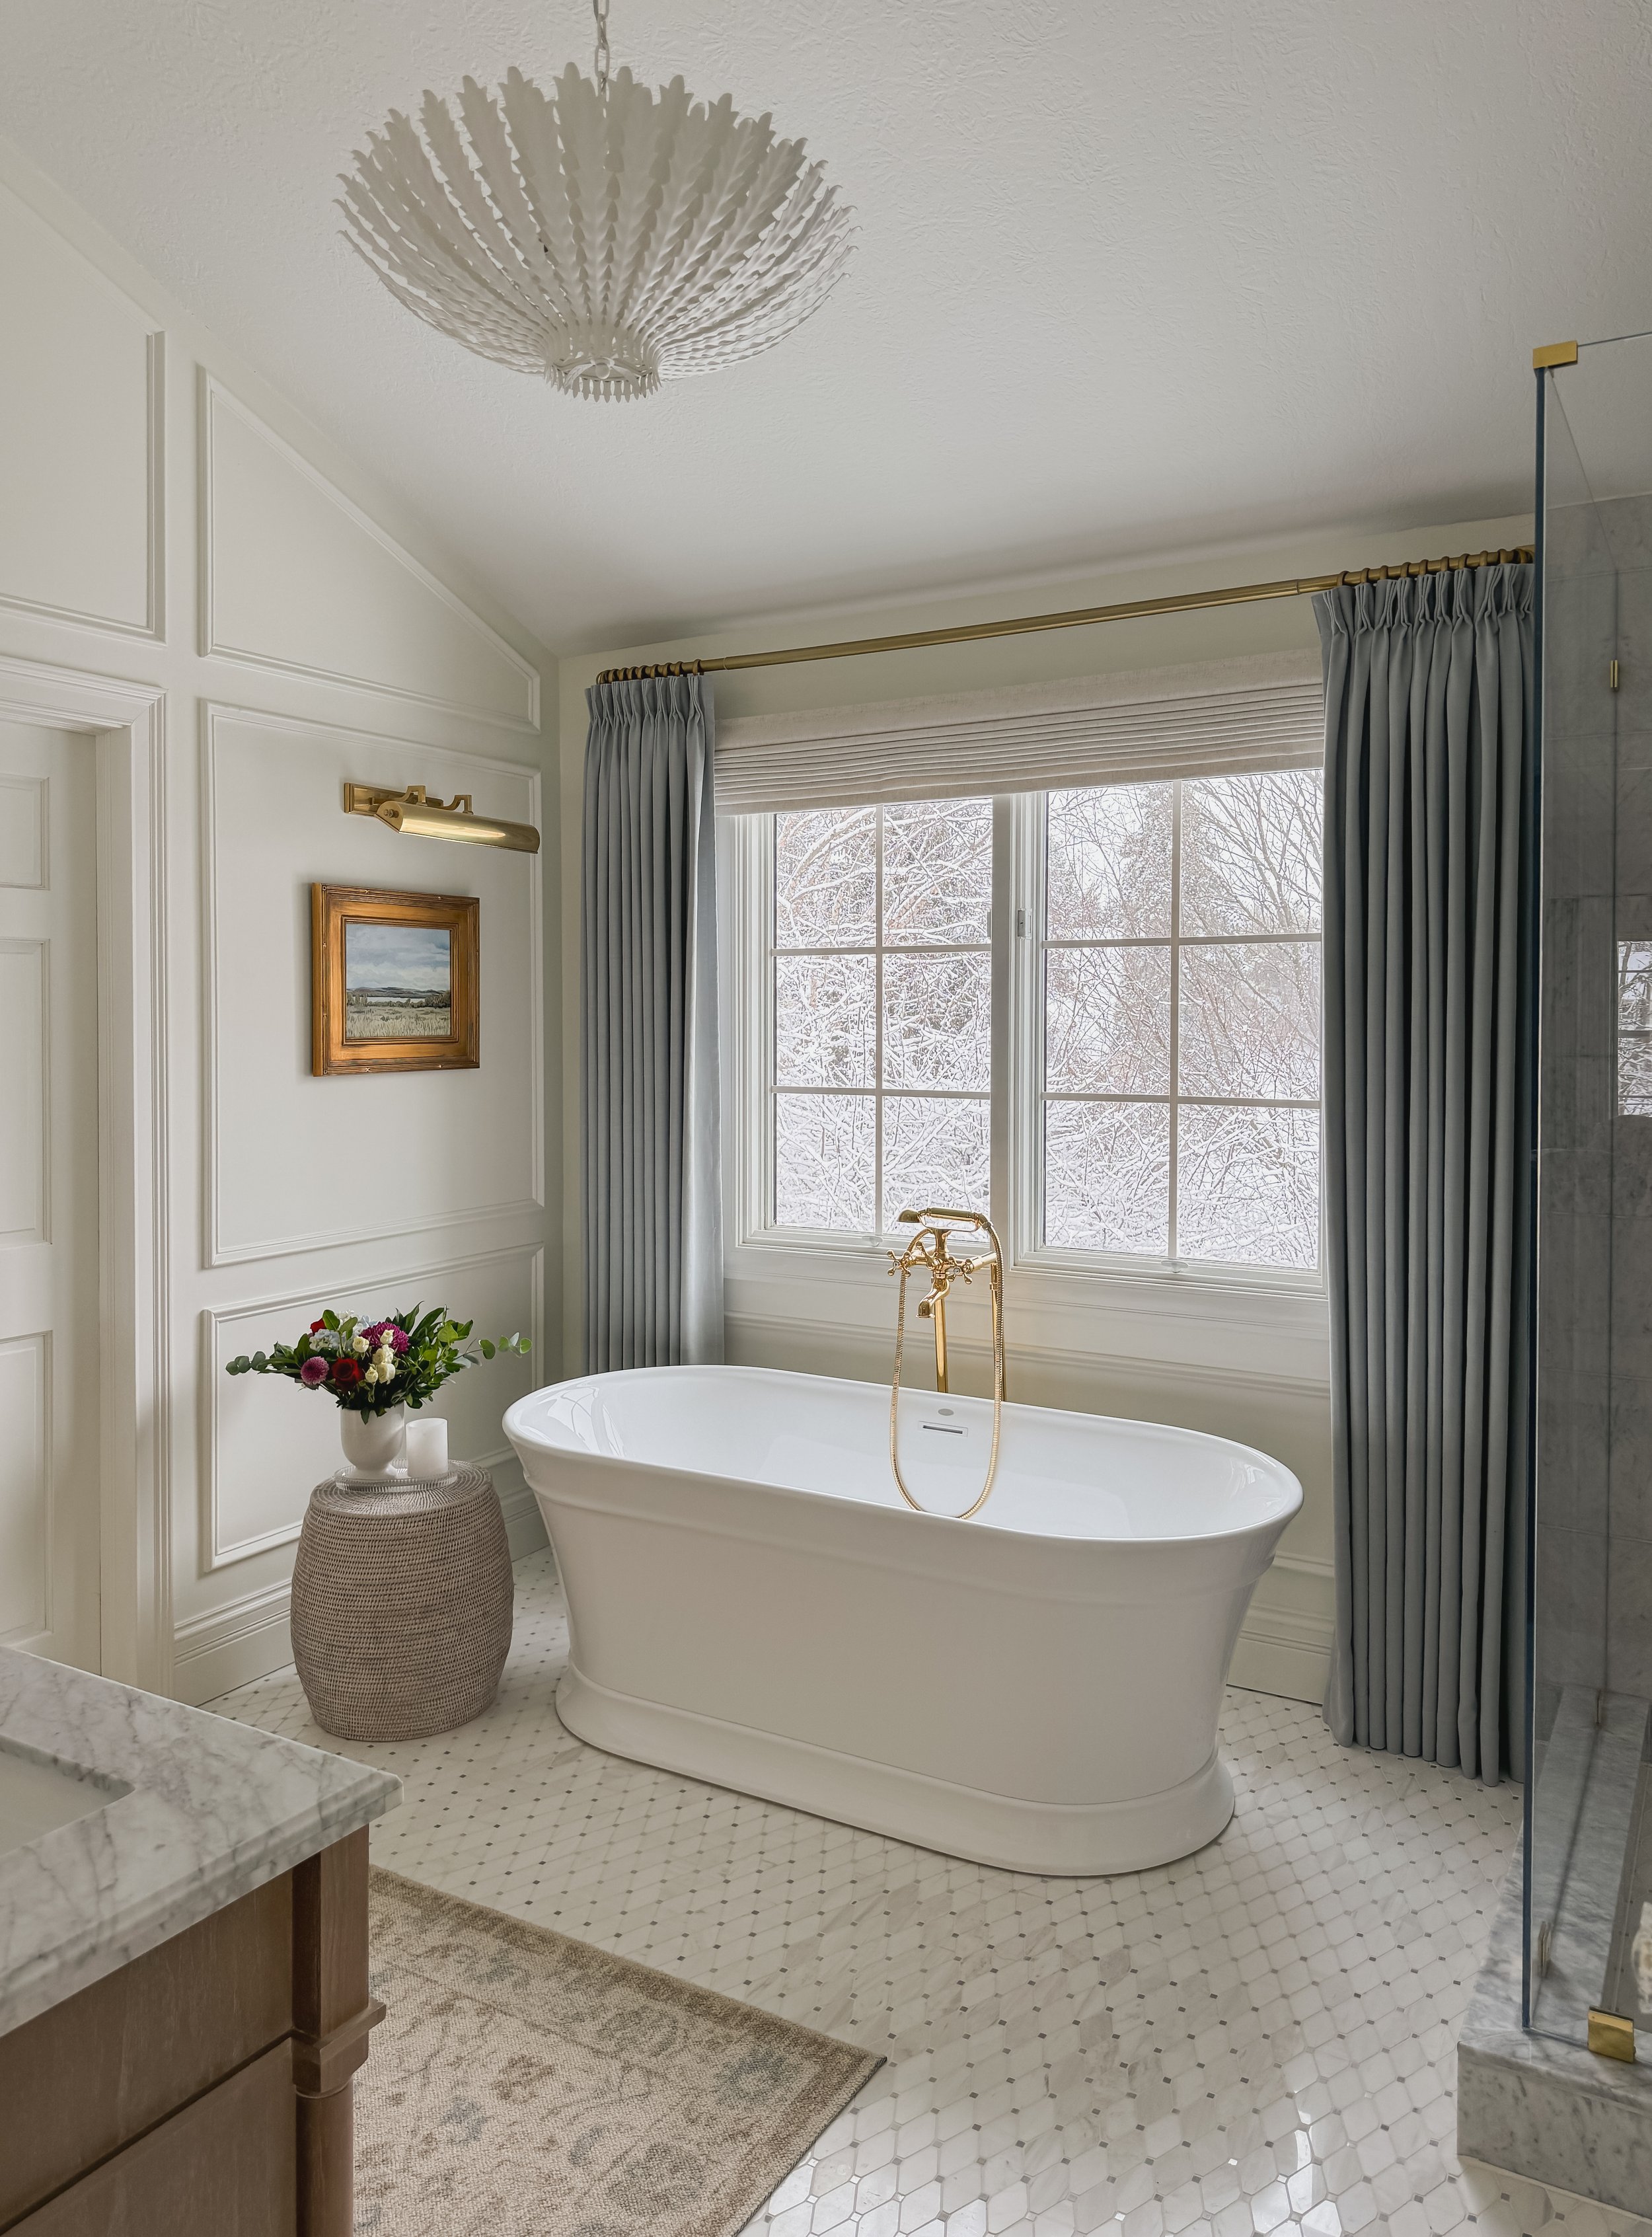
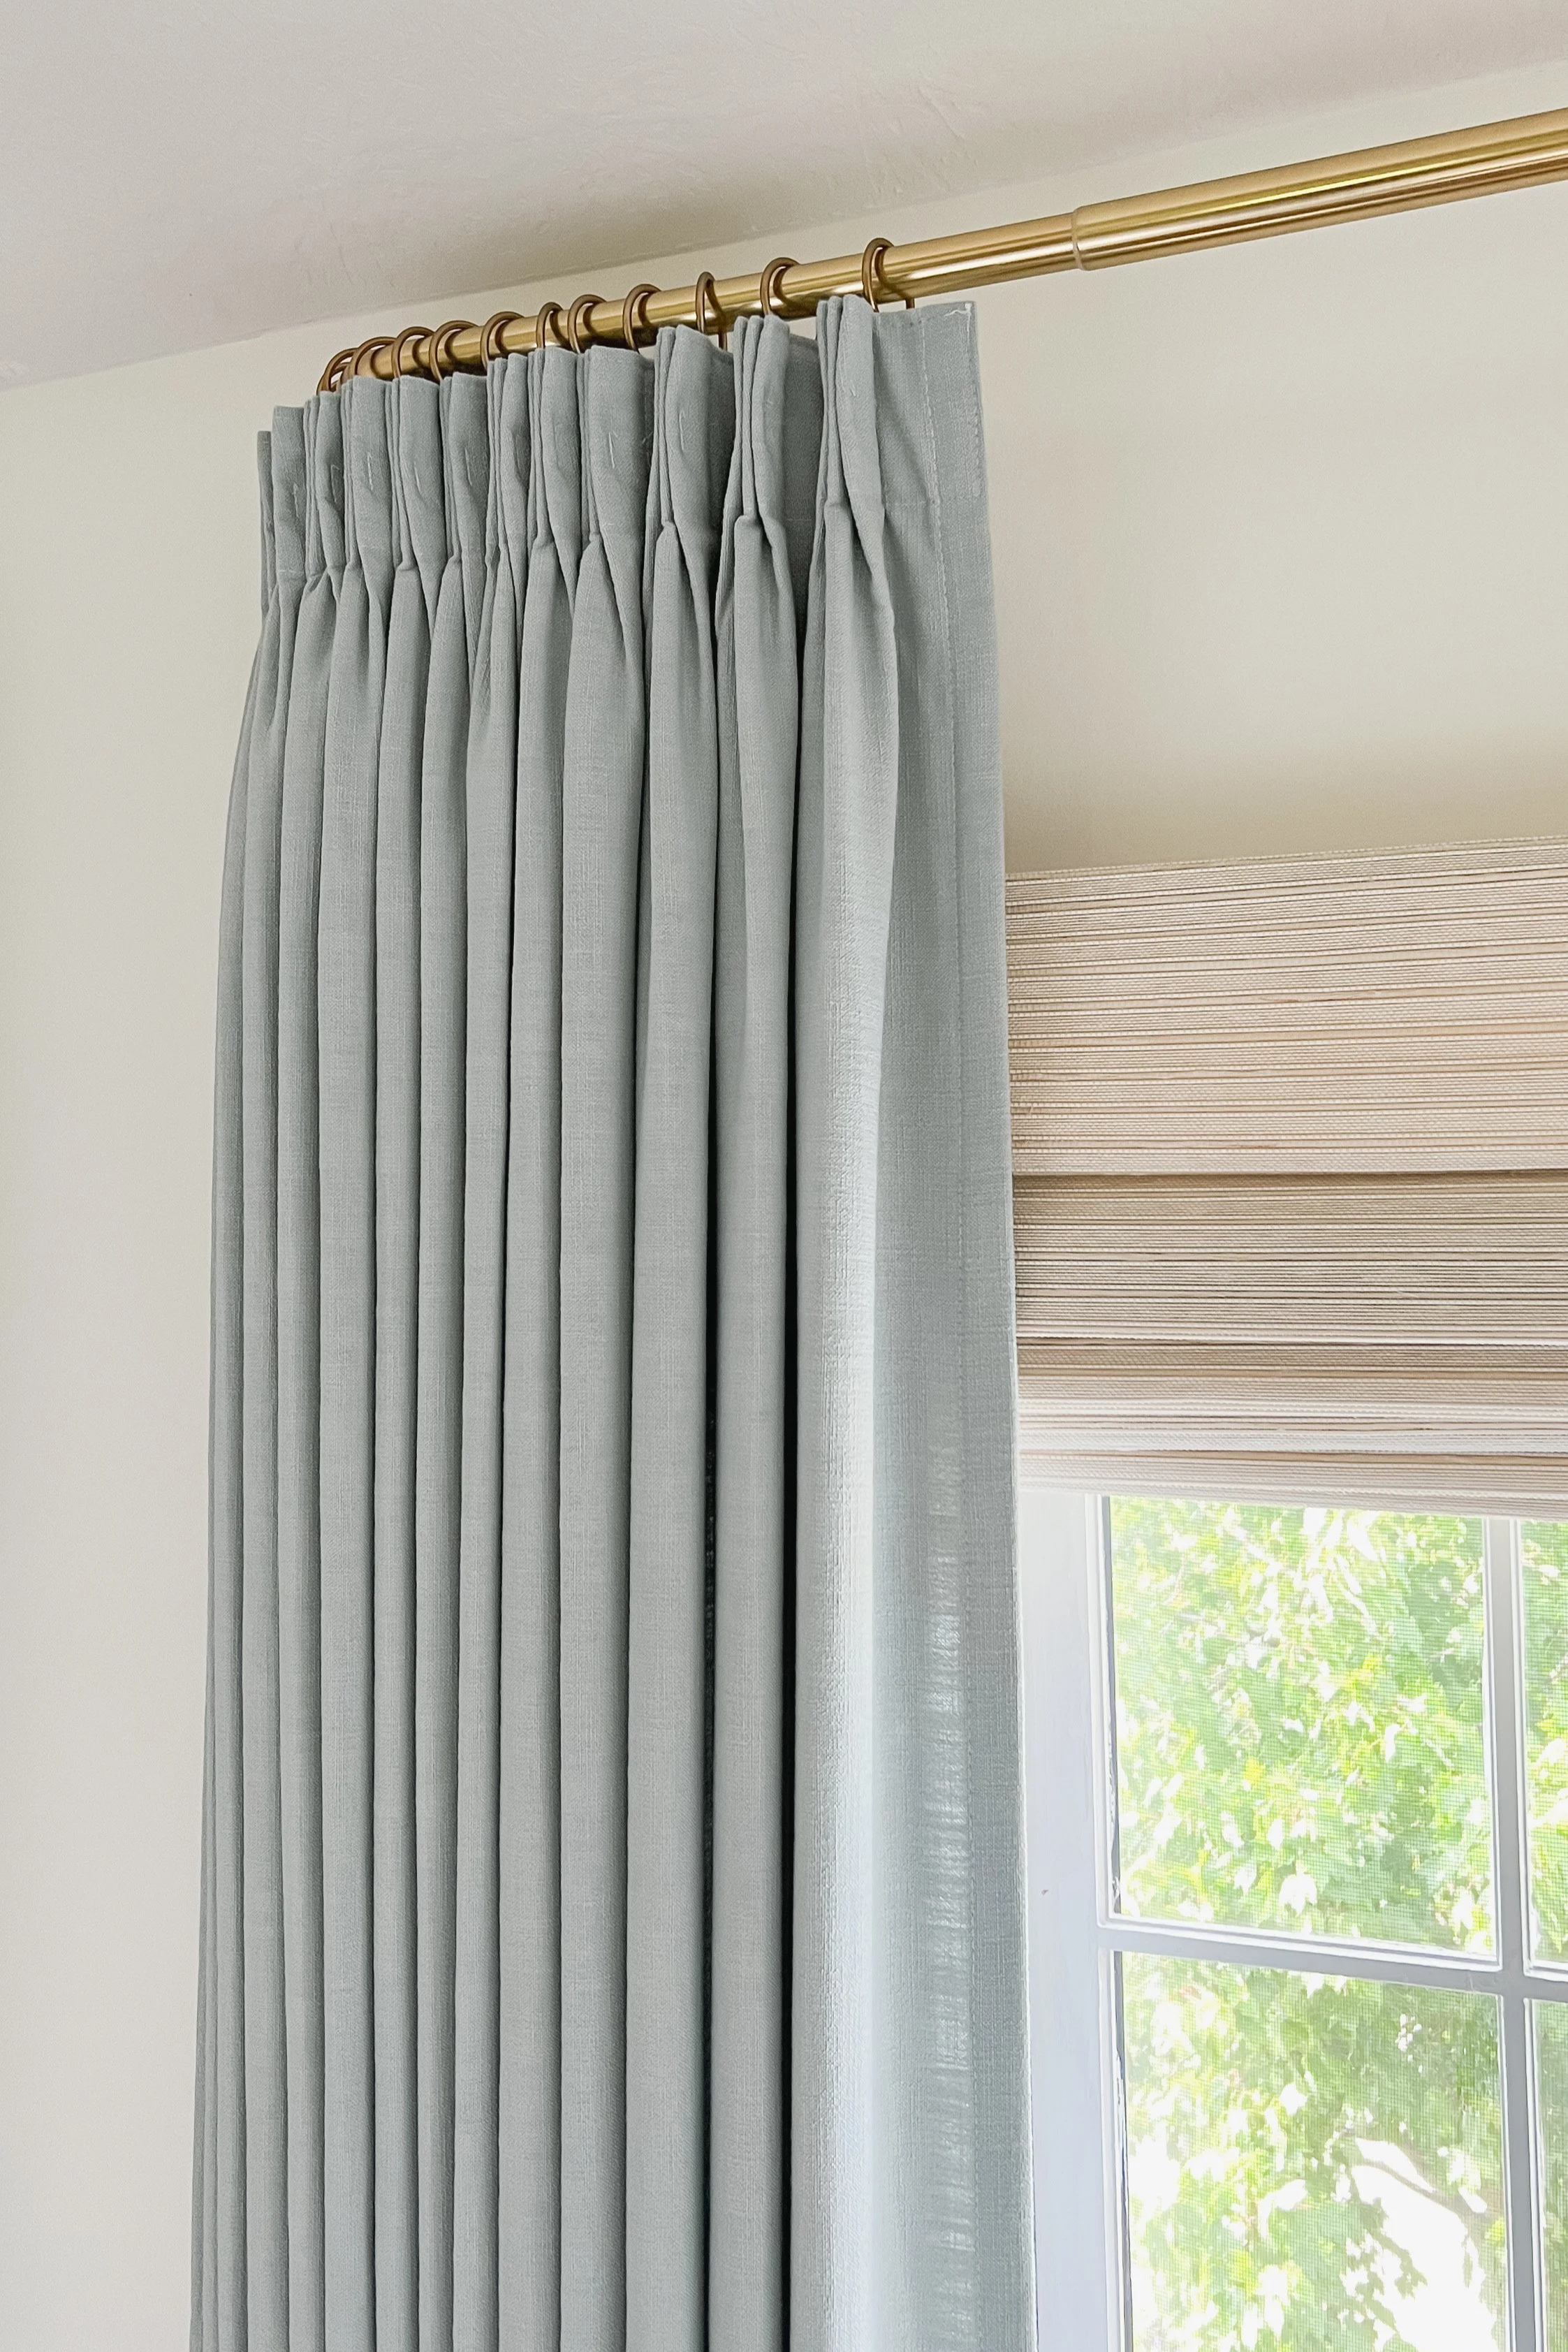
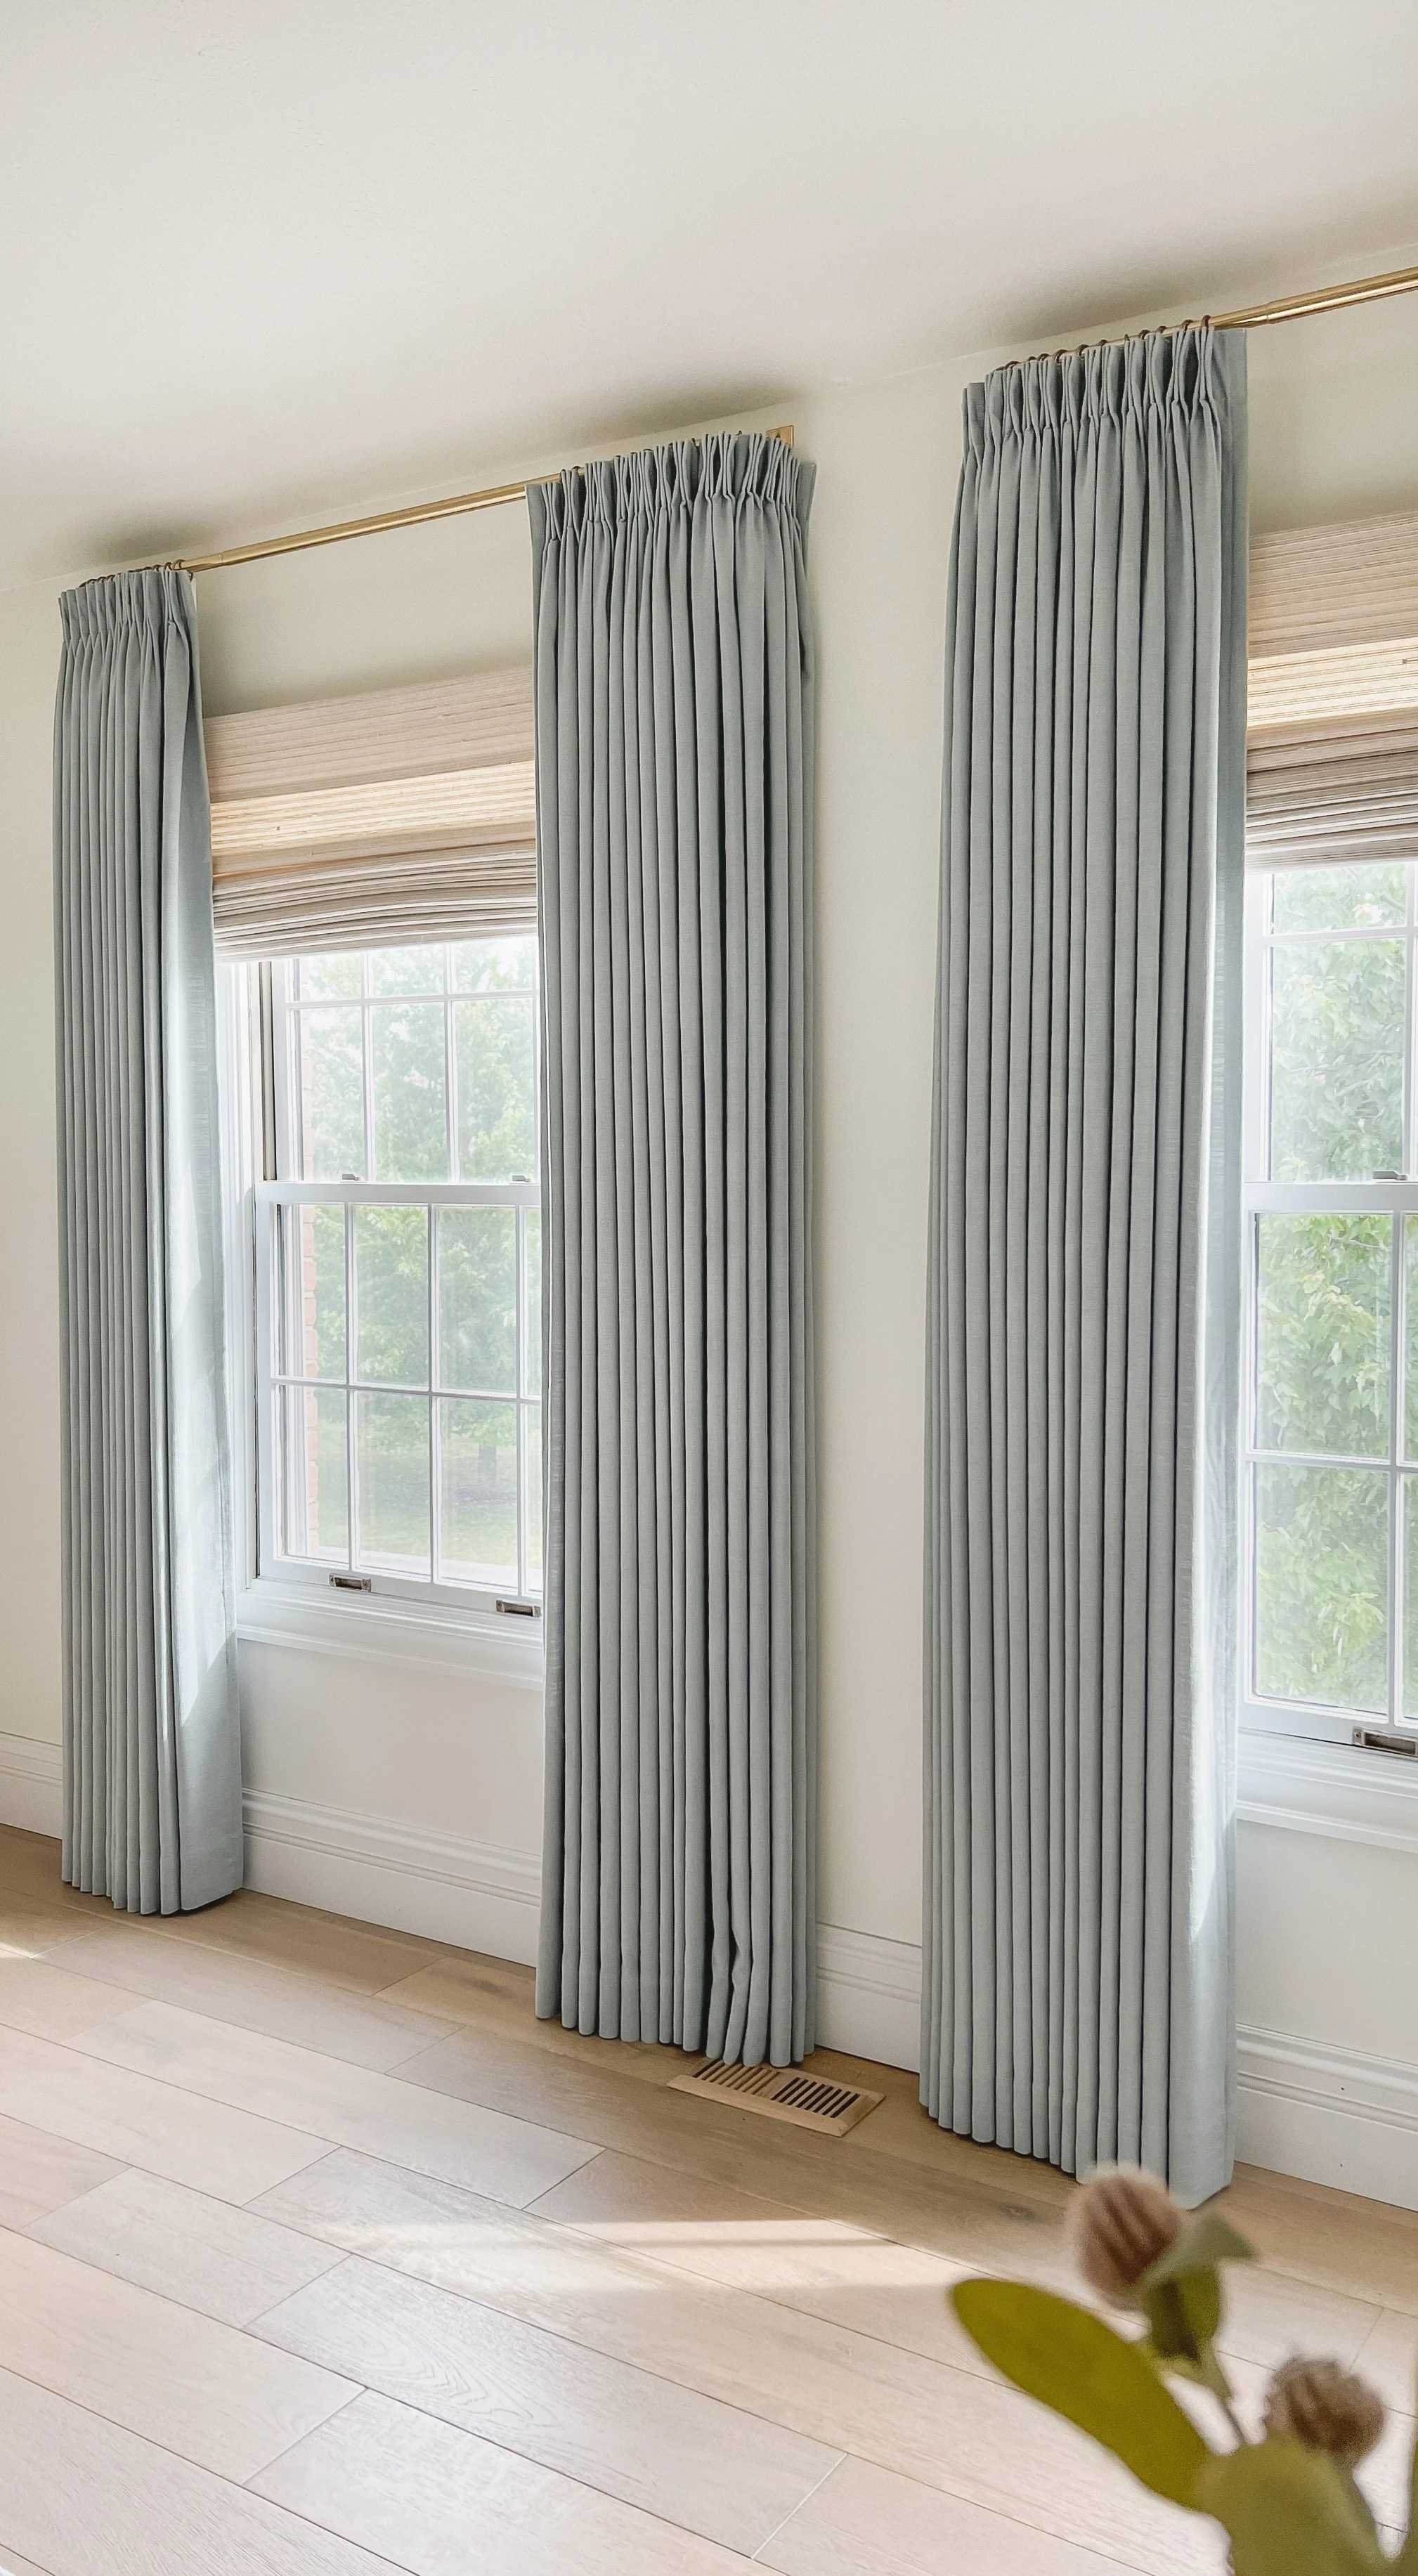
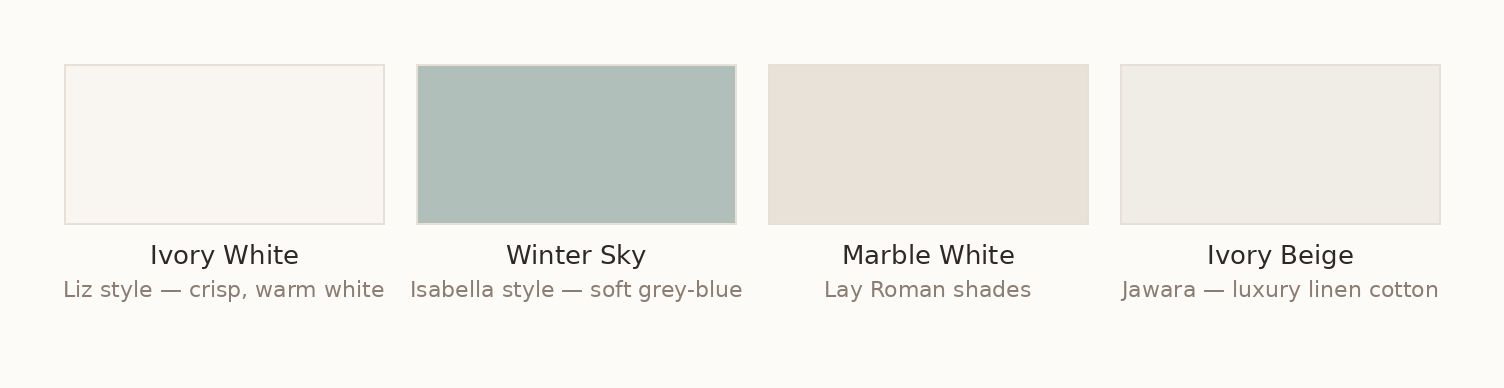
  • Isabella – Winter Sky — A muted blue-grey heavyweight cotton that reads soft and calming. I used this in my primary bedroom paired with a Marble White roman shade, and in my primary bathroom paired with a Liz Ivory White Motorized roman shade. It's one of my favorite combinations in the whole house.
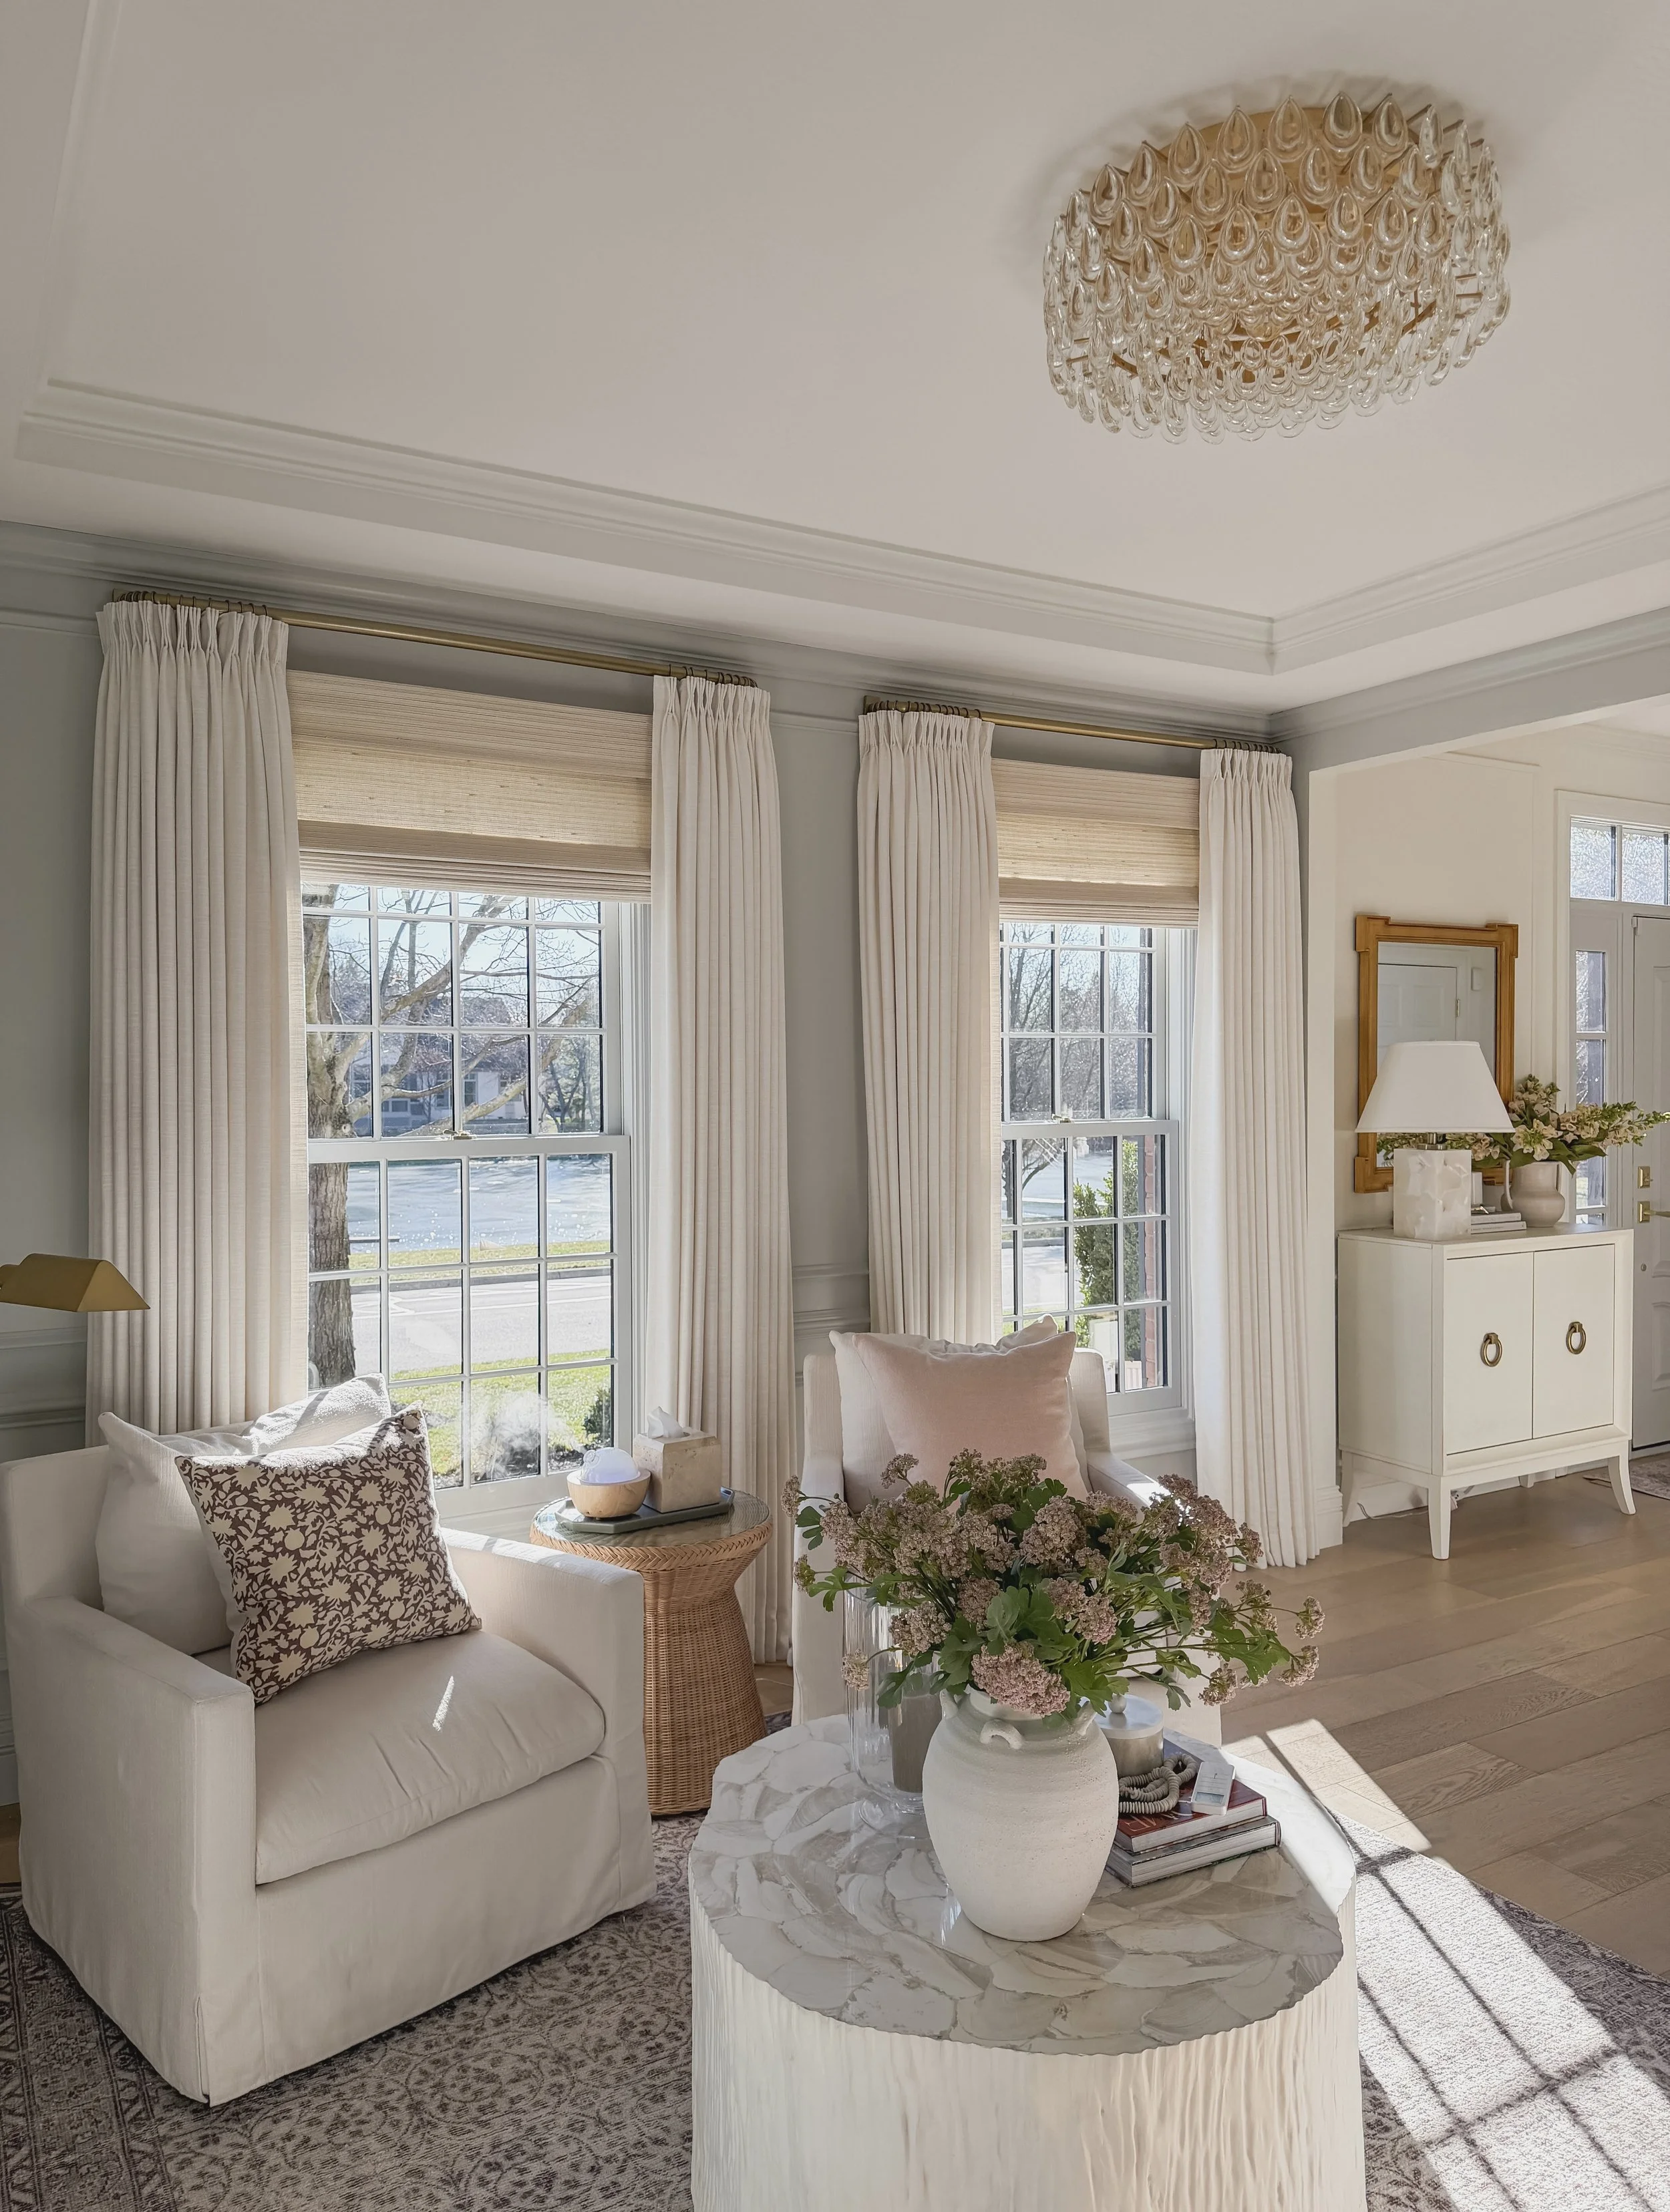
  • Liz – Ivory White — A warm, soft white that pairs beautifully with wood tones, brass hardware, and most wallpaper. This is my go-to for almost any room color. The color works nicely in a tonal, light and bright space as well as a dark and moody space to add a bit of contrast and warmth.
  • Jawara – Ivory Beige — Slightly warmer and more textural than Liz, this one has a relaxed, lived-in feel that works really well in almost any space in your home.
  • Stefana Silber – Windowpane White Carbon (W118) — A subtle windowpane pattern in white and carbon. I used this in my husband's home office, and it adds just enough pattern without feeling busy.
TwoPages curtain color swatches — Ivory White, Winter Sky, Marble White, and Ivory Beige
TwoPages Lay Marble White bamboo roman shade — exterior view showing 90GSM privacy liner

For the roman shades, I almost always go with the Lay style:

  • Lay – Marble White — A soft, warm white that reads neutral against most wall colors. This is the one I use most throughout my main living spaces.
  • Lay – Coconut — A slightly deeper, warmer tone that I used on the motorized shades in our primary bedroom for a cozier feel.

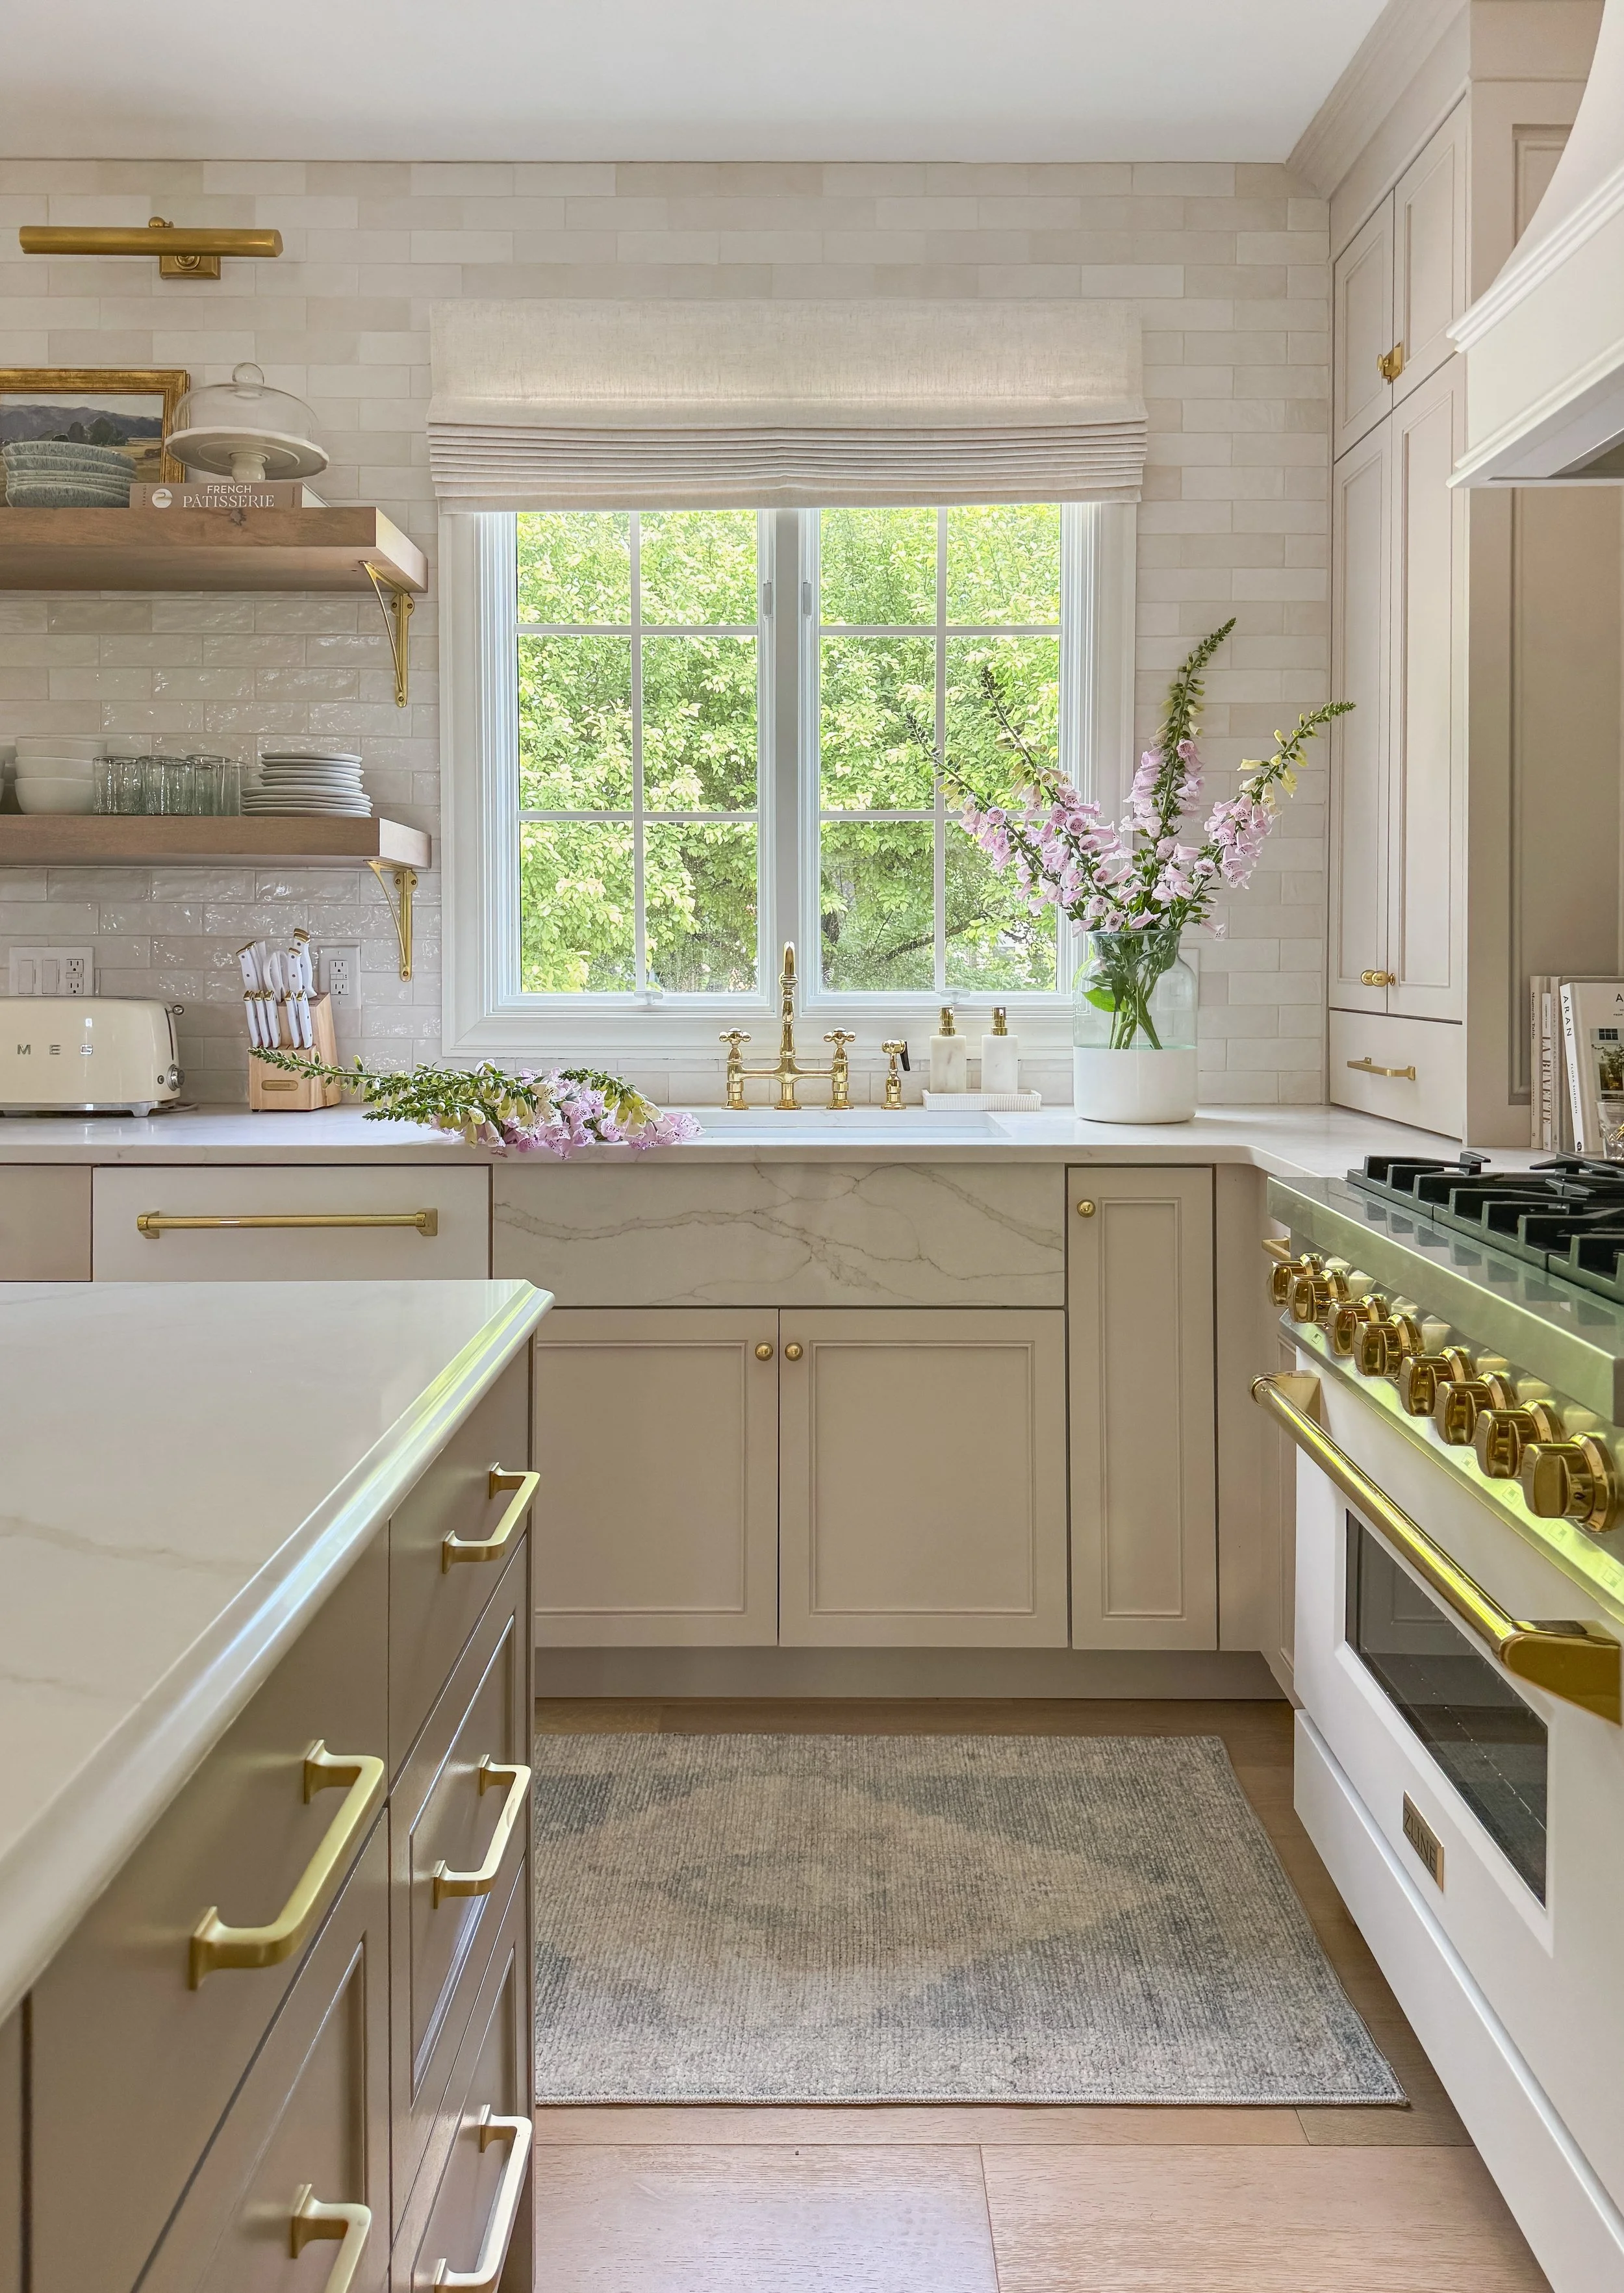
I also have fabric roman shades in a couple rooms in my home. For those I've chosen the Liz - Ivory White motorized shades in my kitchen and primary bathroom.

Shop:Isabella Winter Sky Curtains · Liz Ivory White Curtains · Jawara Ivory Beige Curtains · Stefana Silber Windowpane Curtains

A quick tip on color: if you're between two shades, order swatches first. Lighting changes everything, and a color that looks perfect in a photo can read totally different in your space depending on natural light.


Hardware: Rods, Rings, and Mounting

Section 06

Your curtains can be perfectly sized and beautifully lined, and still look "off" if the hardware isn't right. Here's what I use throughout my home.

Brass French return curtain rod installed close to ceiling above TwoPages floor-length panels

Curtain Rods

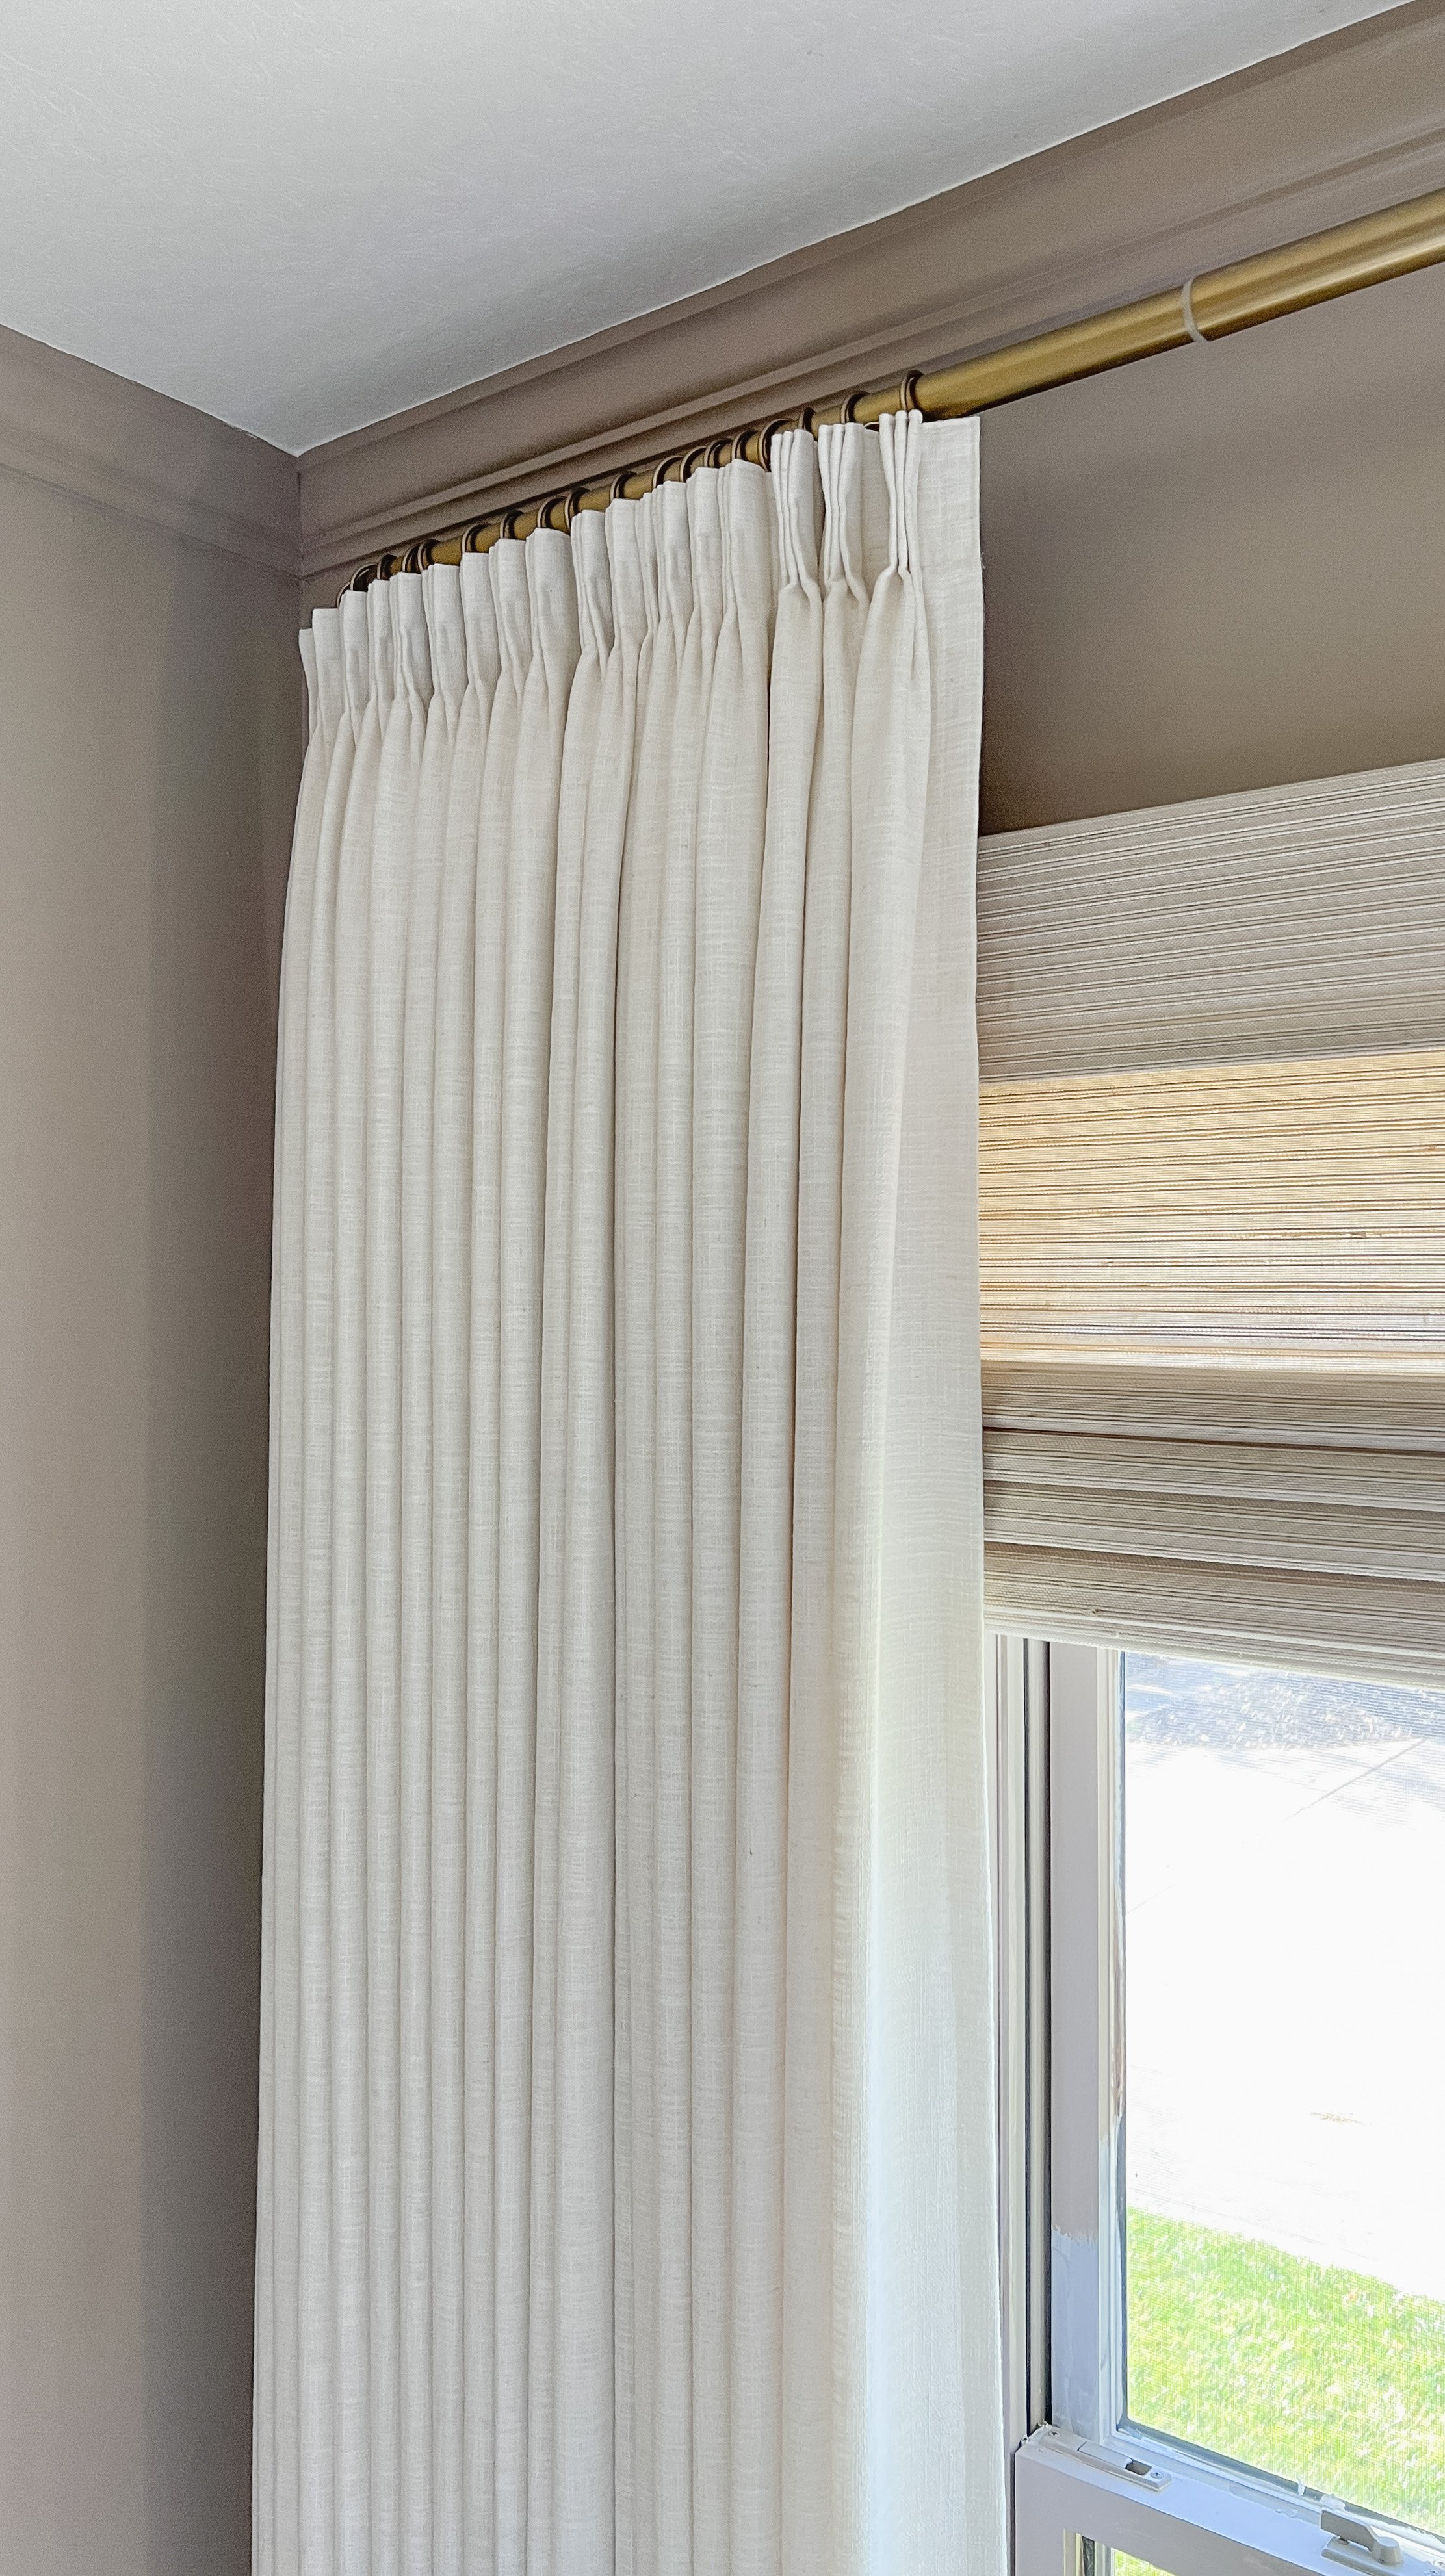
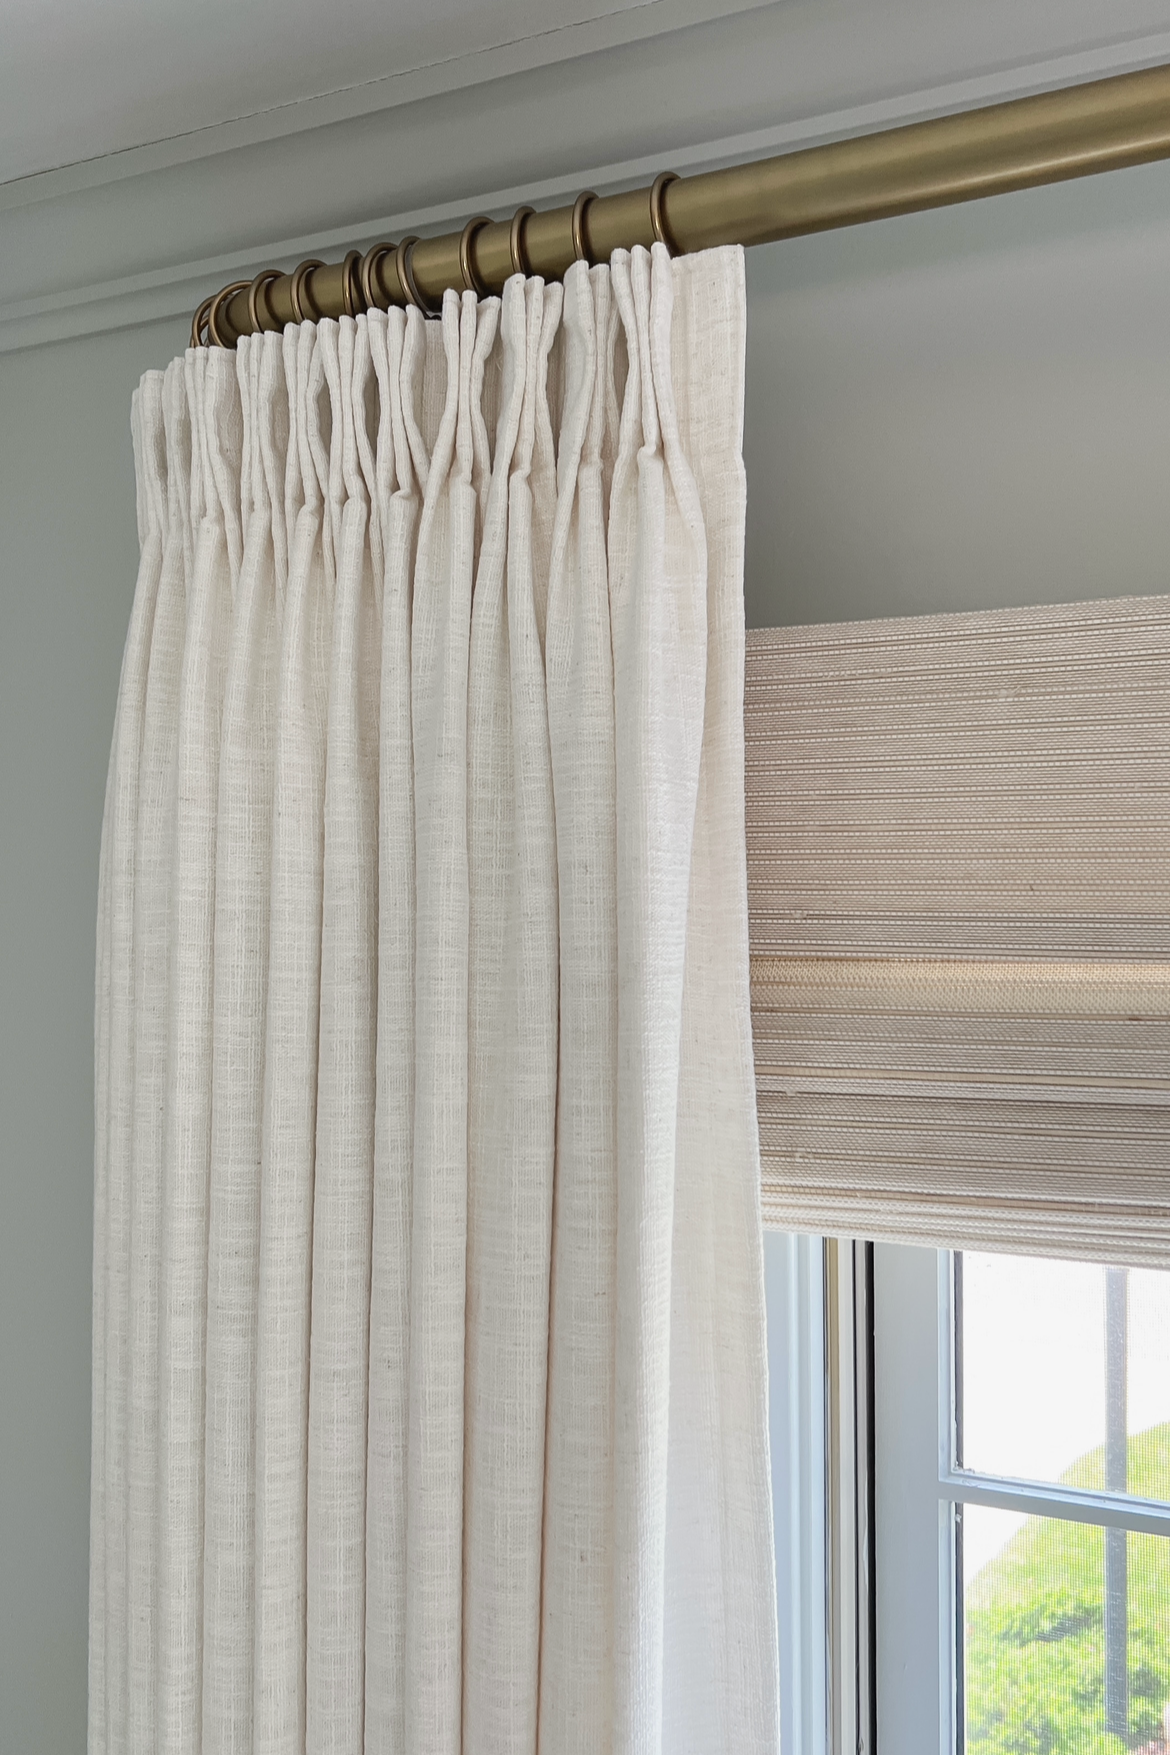
I have brass French return curtain rods throughout my entire house. The "French return" detail (where the rod curves back toward the wall at each end) is what gives that seamless, no-gap-at-the-corners look.

On my first floor, I used a 1.25" diameter rod for all windows since it's substantial enough to hold a fuller, heavier panel without bowing.

For the second floor of my house, I switched to a more affordable 1" diameter French return rod option that gives a very similar look at a lower price point — perfect if you're outfitting a lot of windows at once.

Shop:Brass French Return Curtain Rod in 1.25" Diameter · Affordable French Return Curtain Rods

Curtain Rings

For pinch pleat panels, you'll need rings to clip onto the rod. I use these brass curtain rings to match my 1.25" diameter rods, but if you're working with a tighter budget (or opt for the more affordable 1" rods I have on my second floor), there's a really affordable option on Amazon in a warm gold finish that still looks great.

Shop:Curtain Rings in Brass · Affordable Amazon Curtain Rings in Warm Gold

Mounting Anchors

Here's something that doesn't get talked about enough: wall anchors matter. A full curtain panel with a quality lining has real weight to it, and a flimsy anchor is a recipe for a rod crashing down (trust me, I've heard the horror stories). I only use one specific type of wall anchor when mounting curtain rods, and it's made all the difference for keeping everything secure long-term.

Shop:Wall Anchors for Mounting Curtain Rods


Motorized vs. Cordless Roman Shades

Section 07

If you're on the fence about motorized shades, I want to walk you through why I made the switch — and where I think cordless still makes sense.

TwoPages motorized bamboo roman shades controlled by remote — living room with multiple windows

Why I Love Motorized

My favorite thing about motorized roman shades is that one remote can control up to 15 shades, and they can all be opened or closed at the same time. I have a hub (Bond Bridge) that connects everything to an app on my phone, and I can also control the shades with voice commands through Google Home or Alexa. It also allows me to set schedules in the app for when I want my curtains to open and close automatically, so I literally never have to do a thing!

You can also set a max height for when the shades open, so the exterior of your home always has a clean, polished look — even if someone in the house opens the shades all the way up out of habit. I like my shades to only open about 3/4 of the way so you can still see a bit of the shade fabric.

Shop:Motorized Bamboo Roman Shades in Lay – Coconut · Bond Bridge Smart Home Hub

Where Cordless Still Makes Sense

For smaller windows, secondary rooms, or anywhere you don't need daily adjustments, cordless is a totally reasonable (and more budget-friendly) option. I have a mix of both throughout my home — motorized in the rooms I'm adjusting daily, cordless everywhere else.

Shop:Cordless Bamboo Roman Shades in Lay – Marble White


FAQ

Do you have a coupon code?

Yes! My exclusive coupon code BLUSHINGBOHO never expires and will get you the highest discount that TWOPAGES is currently offering. While the discount fluctuates from month to month, it will always offer you the deepest discount on everything on the TWOPAGES website.

How much extra width should I add for curtains?

It depends on your window width. For windows under 50" wide, aim for 1–2x the width of the window per panel. For windows over 50" wide, aim for 1–1.5x the width. The absolute max I'd ever recommend is 150" per panel — anything wider gets heavy and unwieldy fast.

Should I do an inside mount or outside mount for my roman shades?

If your window frame depth is at least 2", inside mount gives a clean, built-in look. If your frame depth is less than 2", or you want your window to visually appear larger, go with an outside mount instead.

Do TwoPages curtains come with a lining?

Yes — they're fully customizable, with seven lining options ranging from completely unlined to full blackout. I do not recommend going unlined, since the lining is really what gives these curtains their high-end, custom feel.

What lining do you personally use?

I use room darkening (140 GSM) on all of my curtain panels, and the privacy liner (90 GSM) on all of my roman shades.

How high should I mount my curtain rod?

As close to the ceiling as possible, leaving just a few inches (about 3-5") of clearance. Mounting high — rather than directly above the window frame — makes ceilings feel taller and the whole window treatment feel more intentional.

What's the difference between motorized and cordless roman shades?

Motorized shades can be controlled via a remote, an app, or voice assistants like Alexa or Google Home, and one remote can control up to 15 shades at once. Cordless shades are operated by hand and are a more budget-friendly option for smaller or less-used windows.


Thanks for reading! Have a question about your own space? Drop it in the comments — I read every one.

This post may contain affiliate links. If you purchase through one of these links, I may earn a small commission at no extra cost to you.
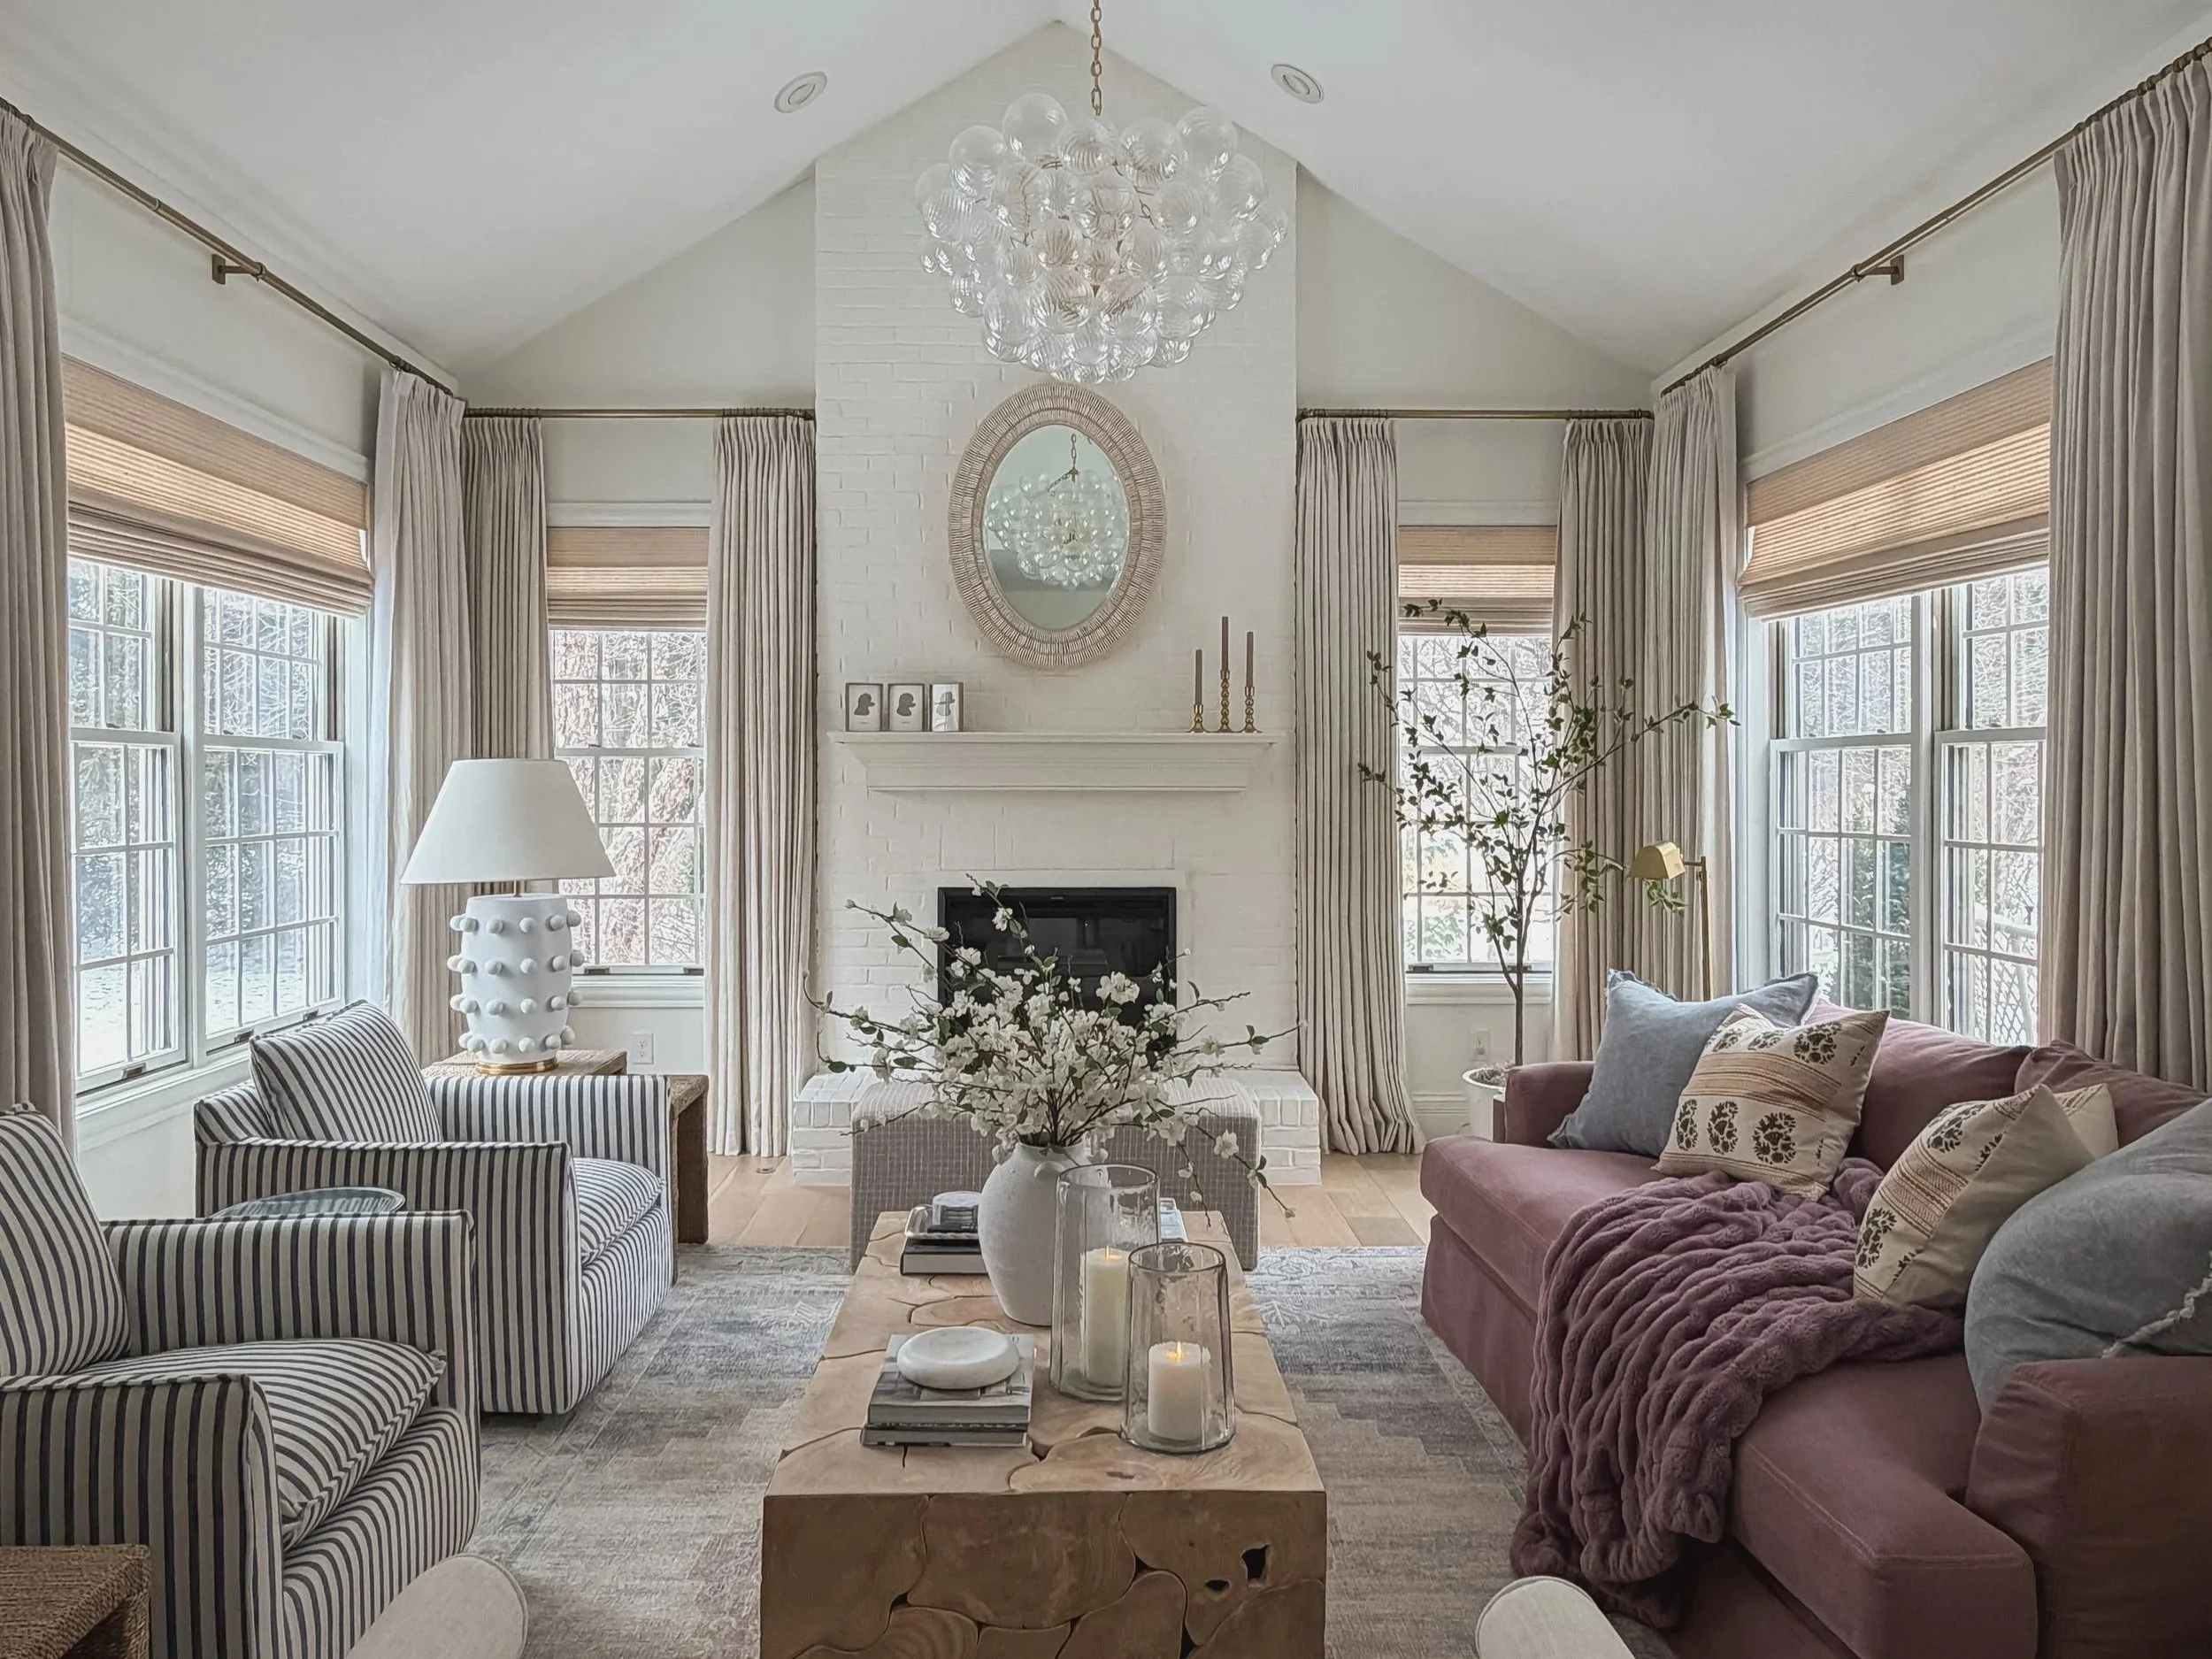
Whole Home Paint Color Tour

When selecting paint colors for my home I wanted to create a warm neutral palette, while also pulling in some bold hues to add some contrast and depth to the overall design. My go-to paint brands have always been Sherwin Williams and Benjamin Moore so I’ve used a good mix of each palette throughout my home. My all-time favorite paint to use is Sherwin Williams SuperPaint Air Purifying. It’s a high quality paint that’s a nice thick consistency. I have easily bought over 200 gallons and exclusively use only that paint line because it’s zero VOC and is very low odor. When using Benjamin Moore paint colors I just have my local Sherwin Williams color match for me.
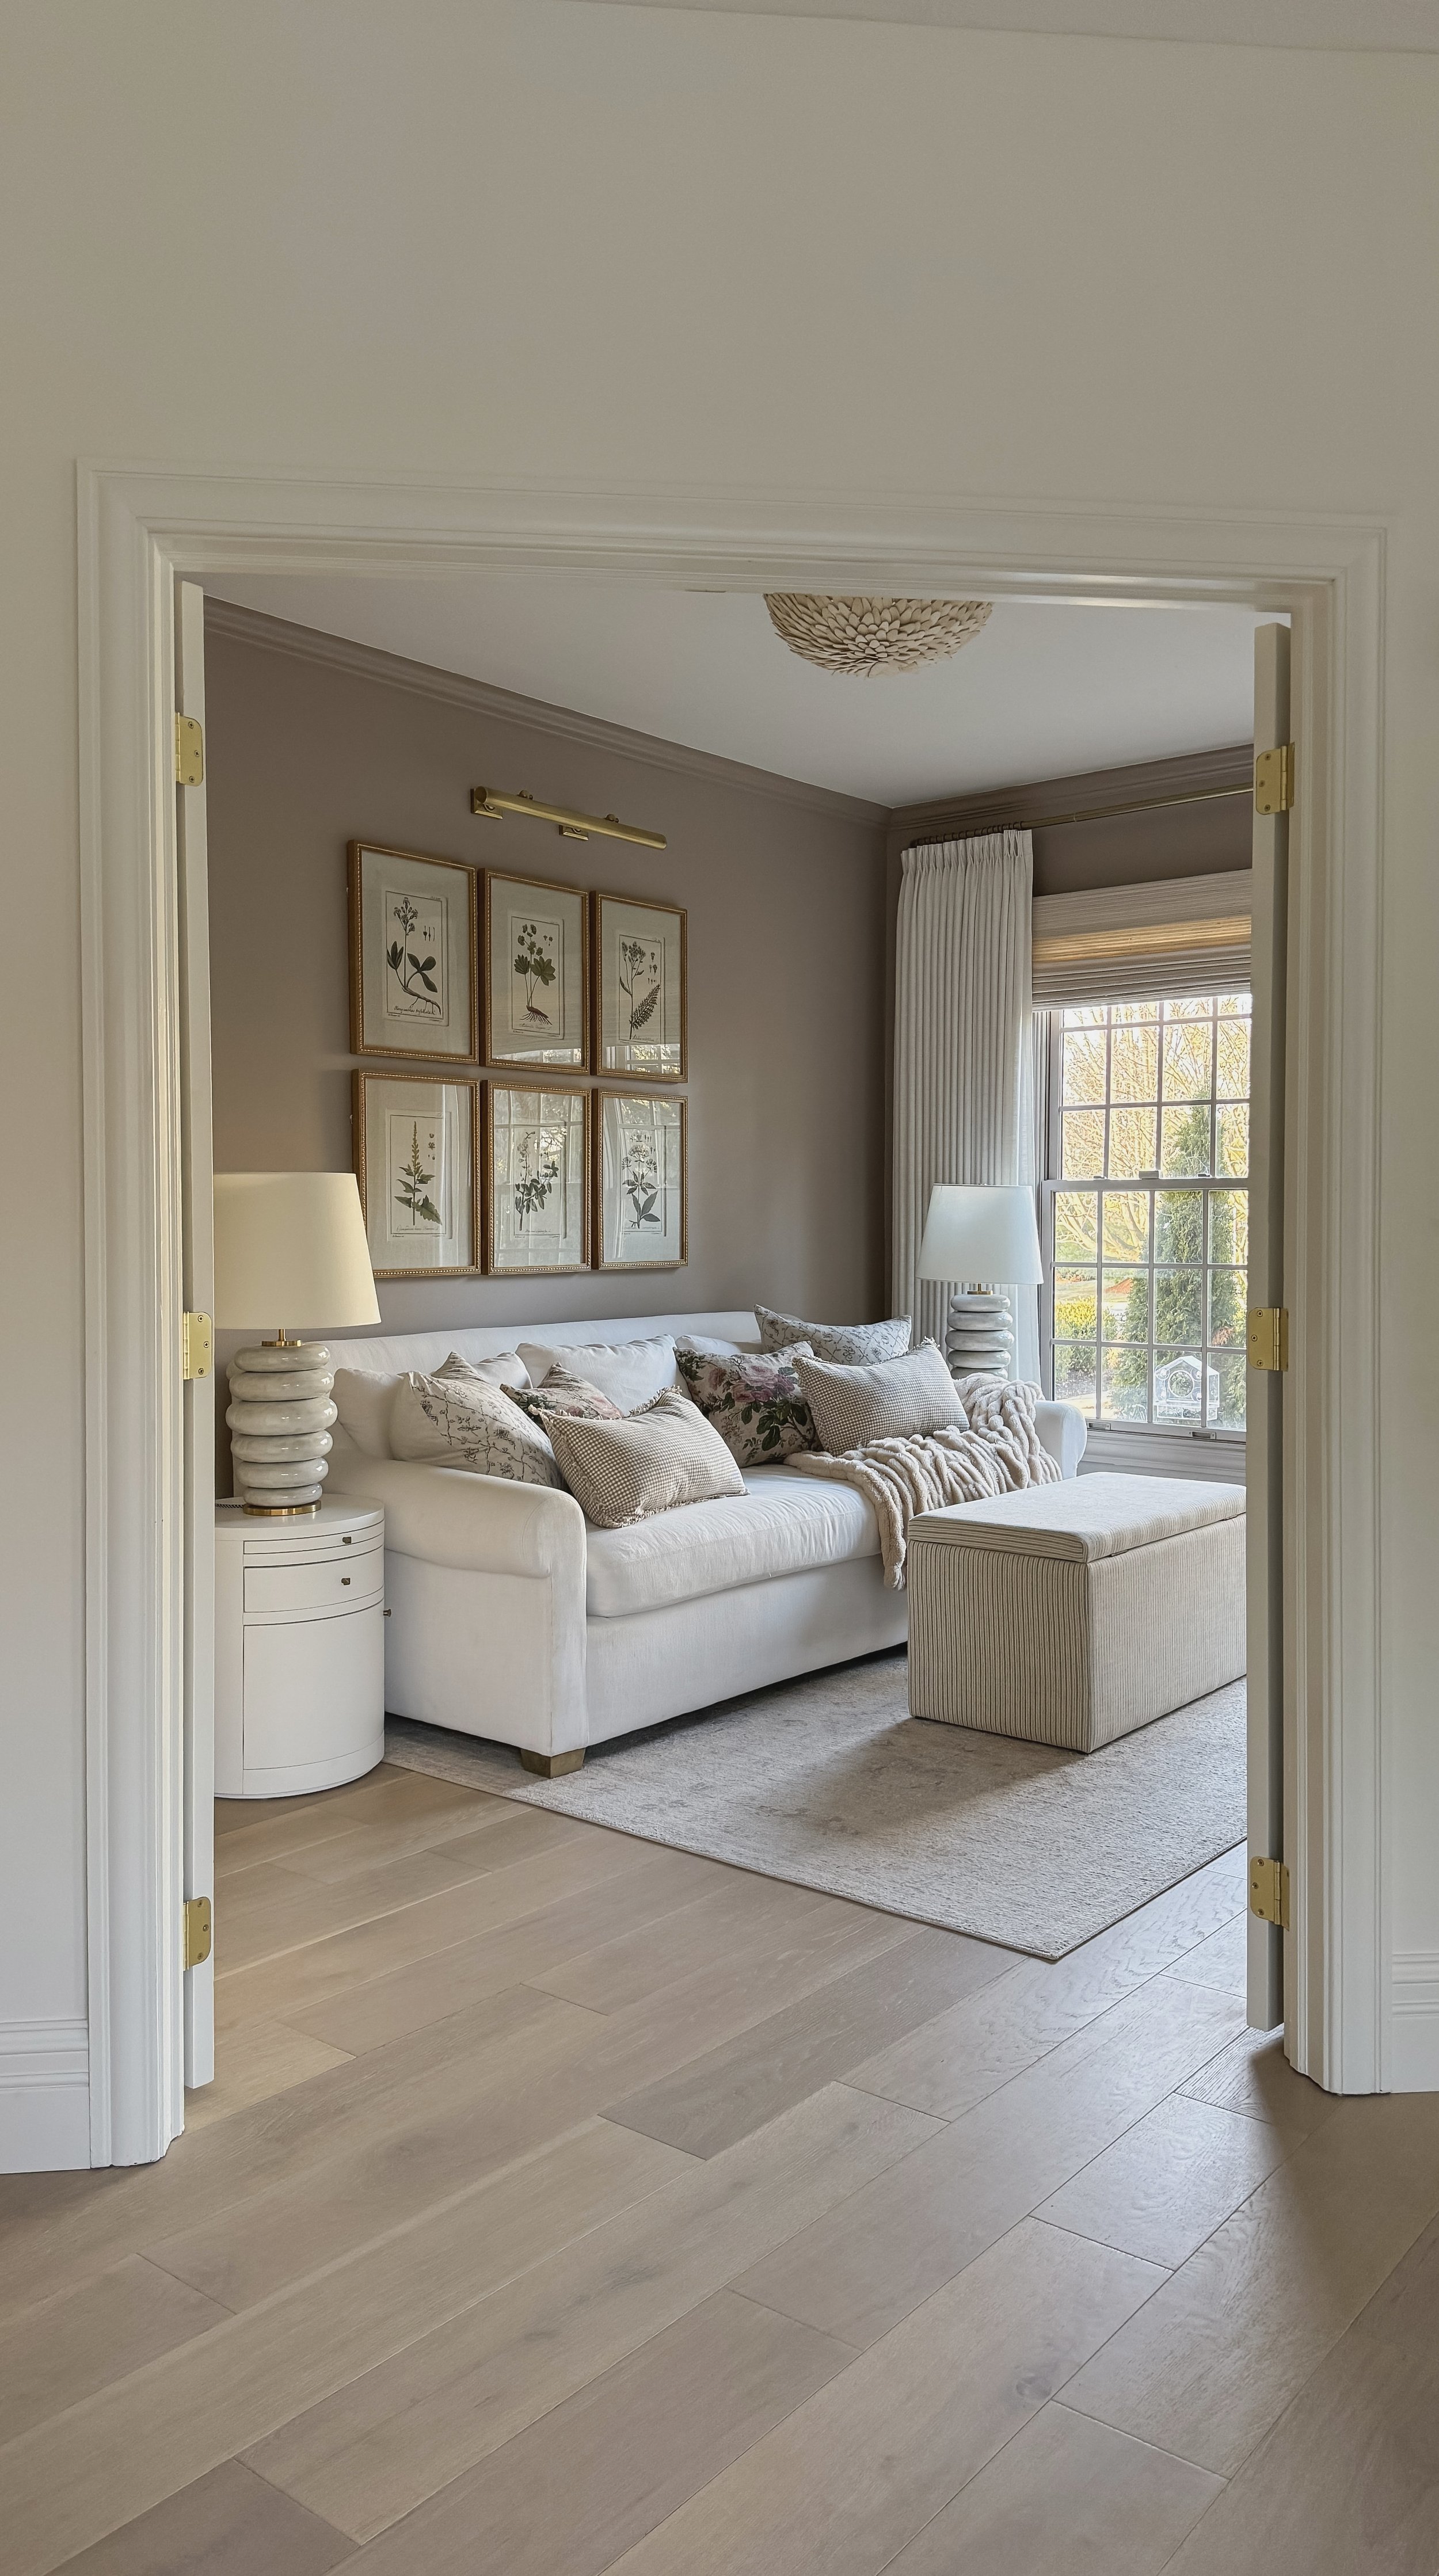
Sherwin Williams - Greek Villa

I used this color throughout my home. I wanted a warm, creamy white and this color was the perfect mix of bright and warm. It has subtle soft yellow undertones and slight gray/pink undertones. I’ve used this color for the walls in a satin sheen, and on my baseboards, doors, and trim in a semi gloss sheen.

Benjamin Moore - Cliffside Gray

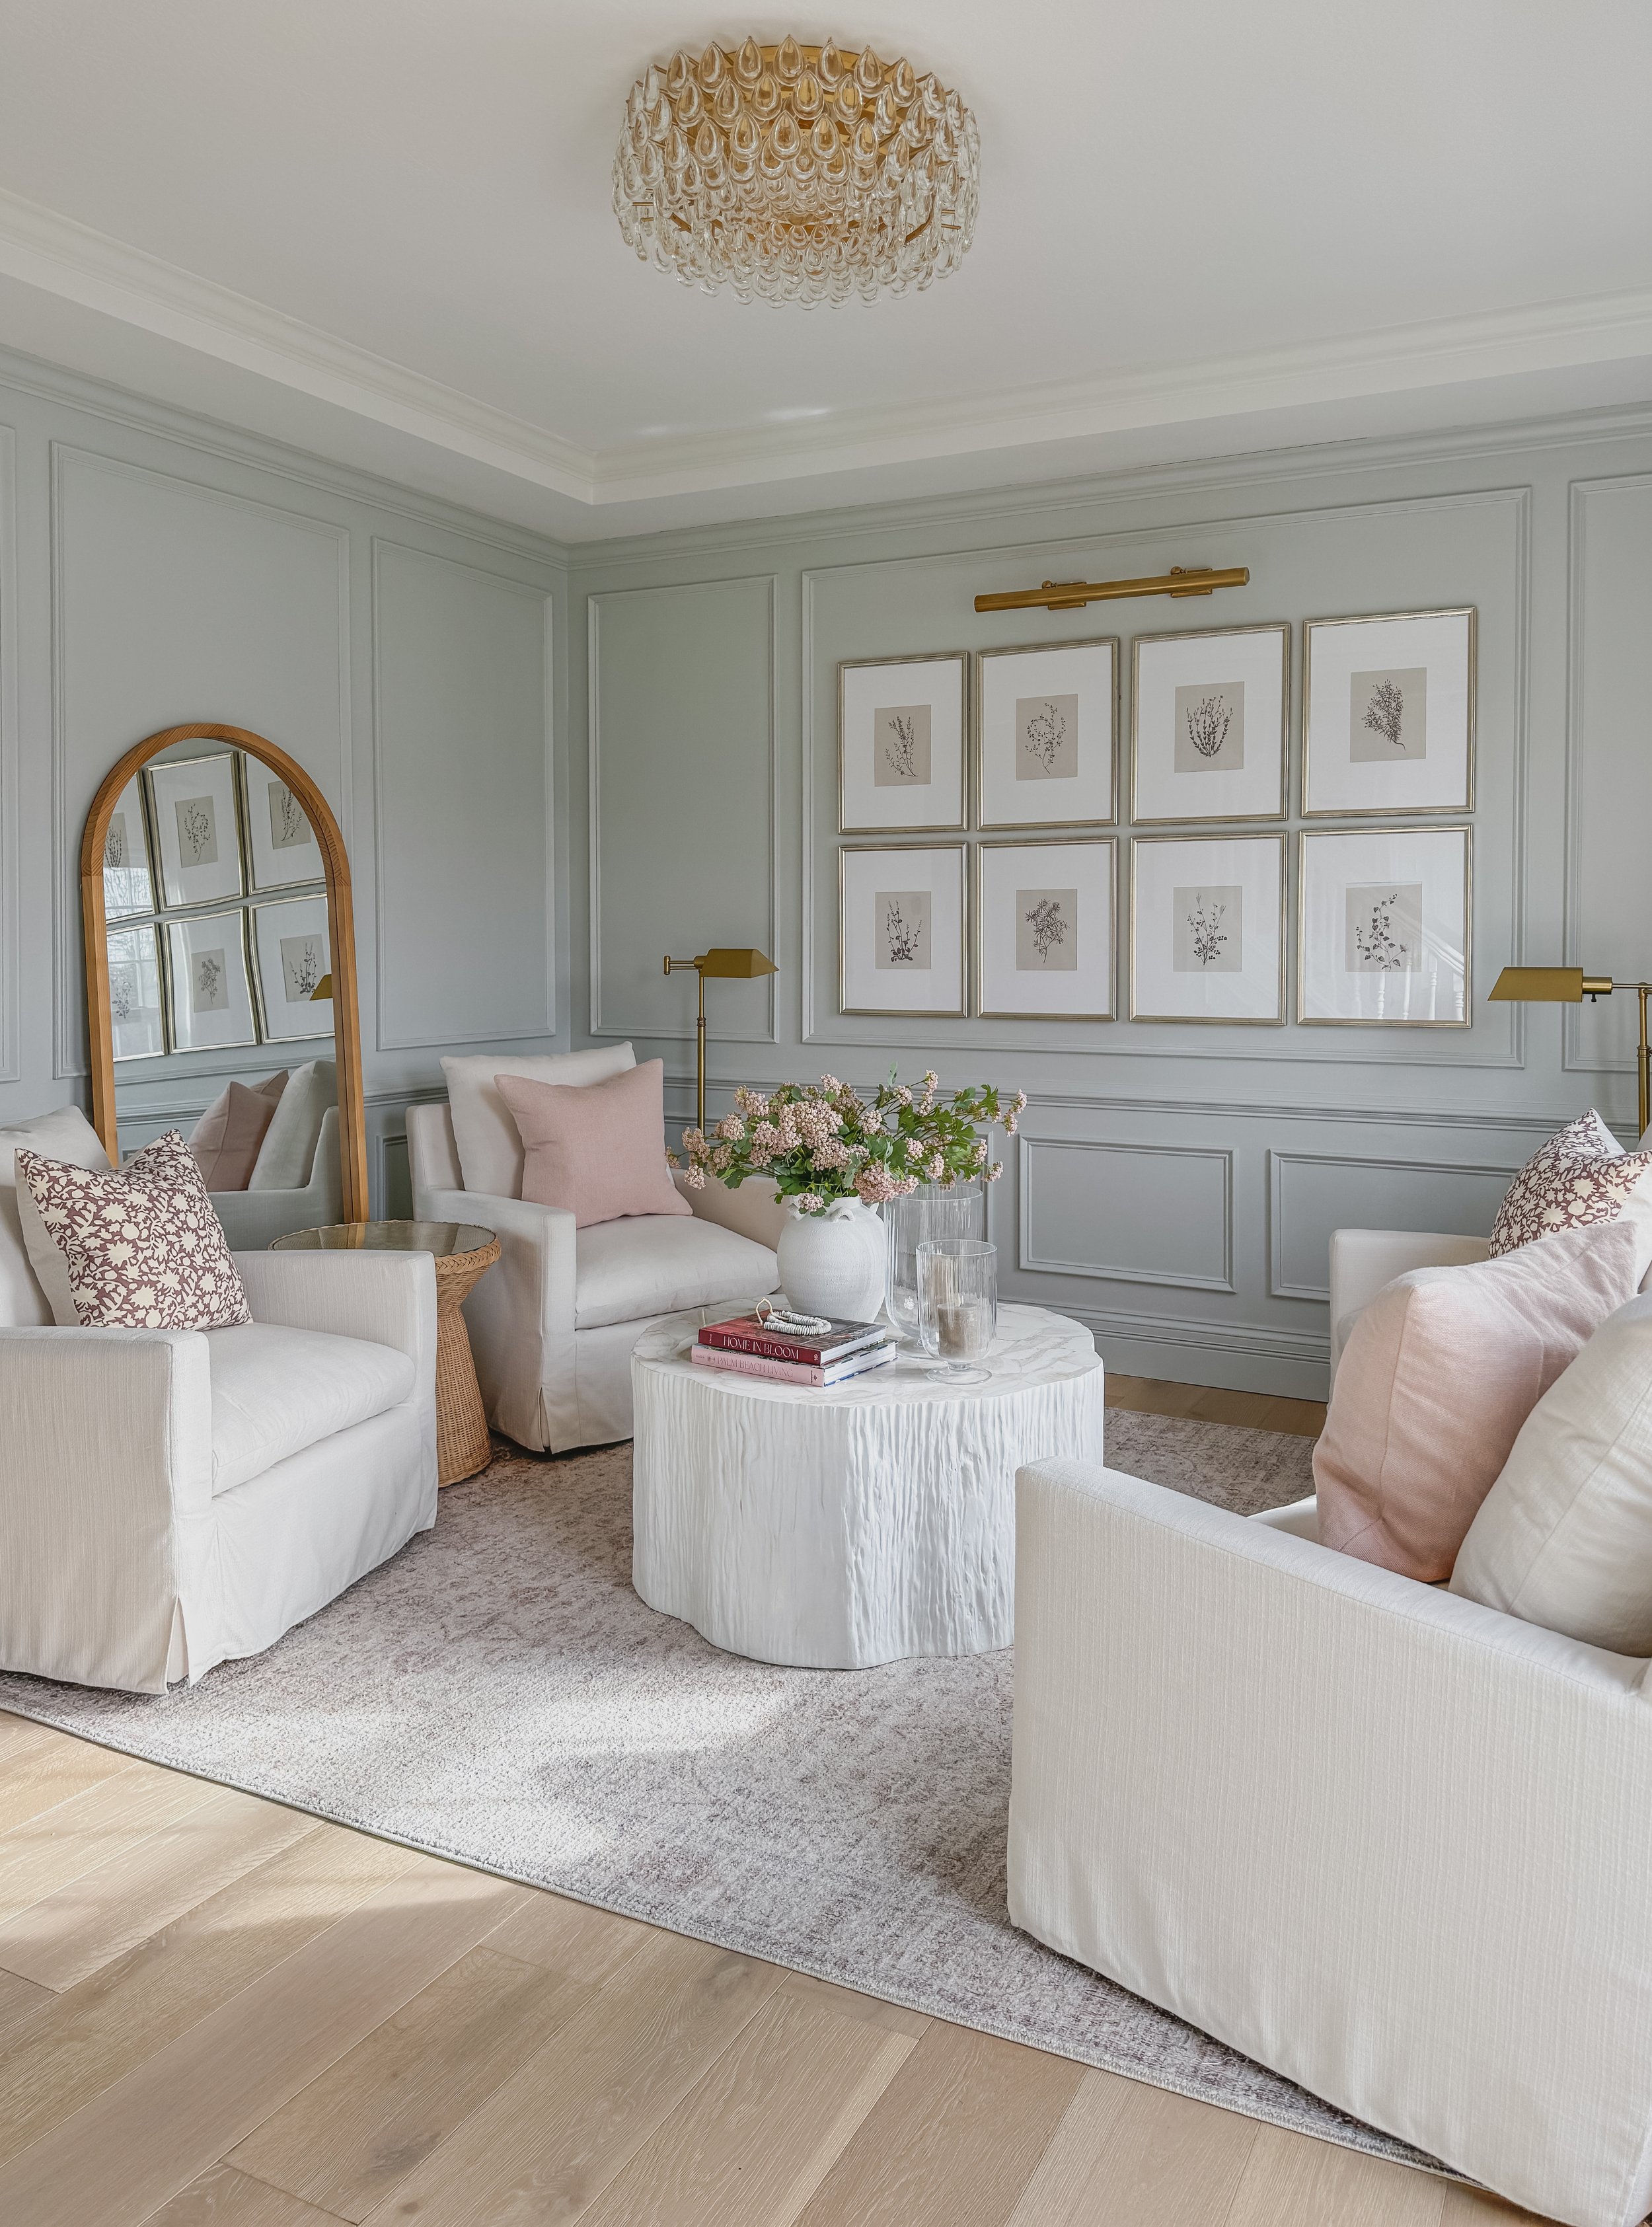
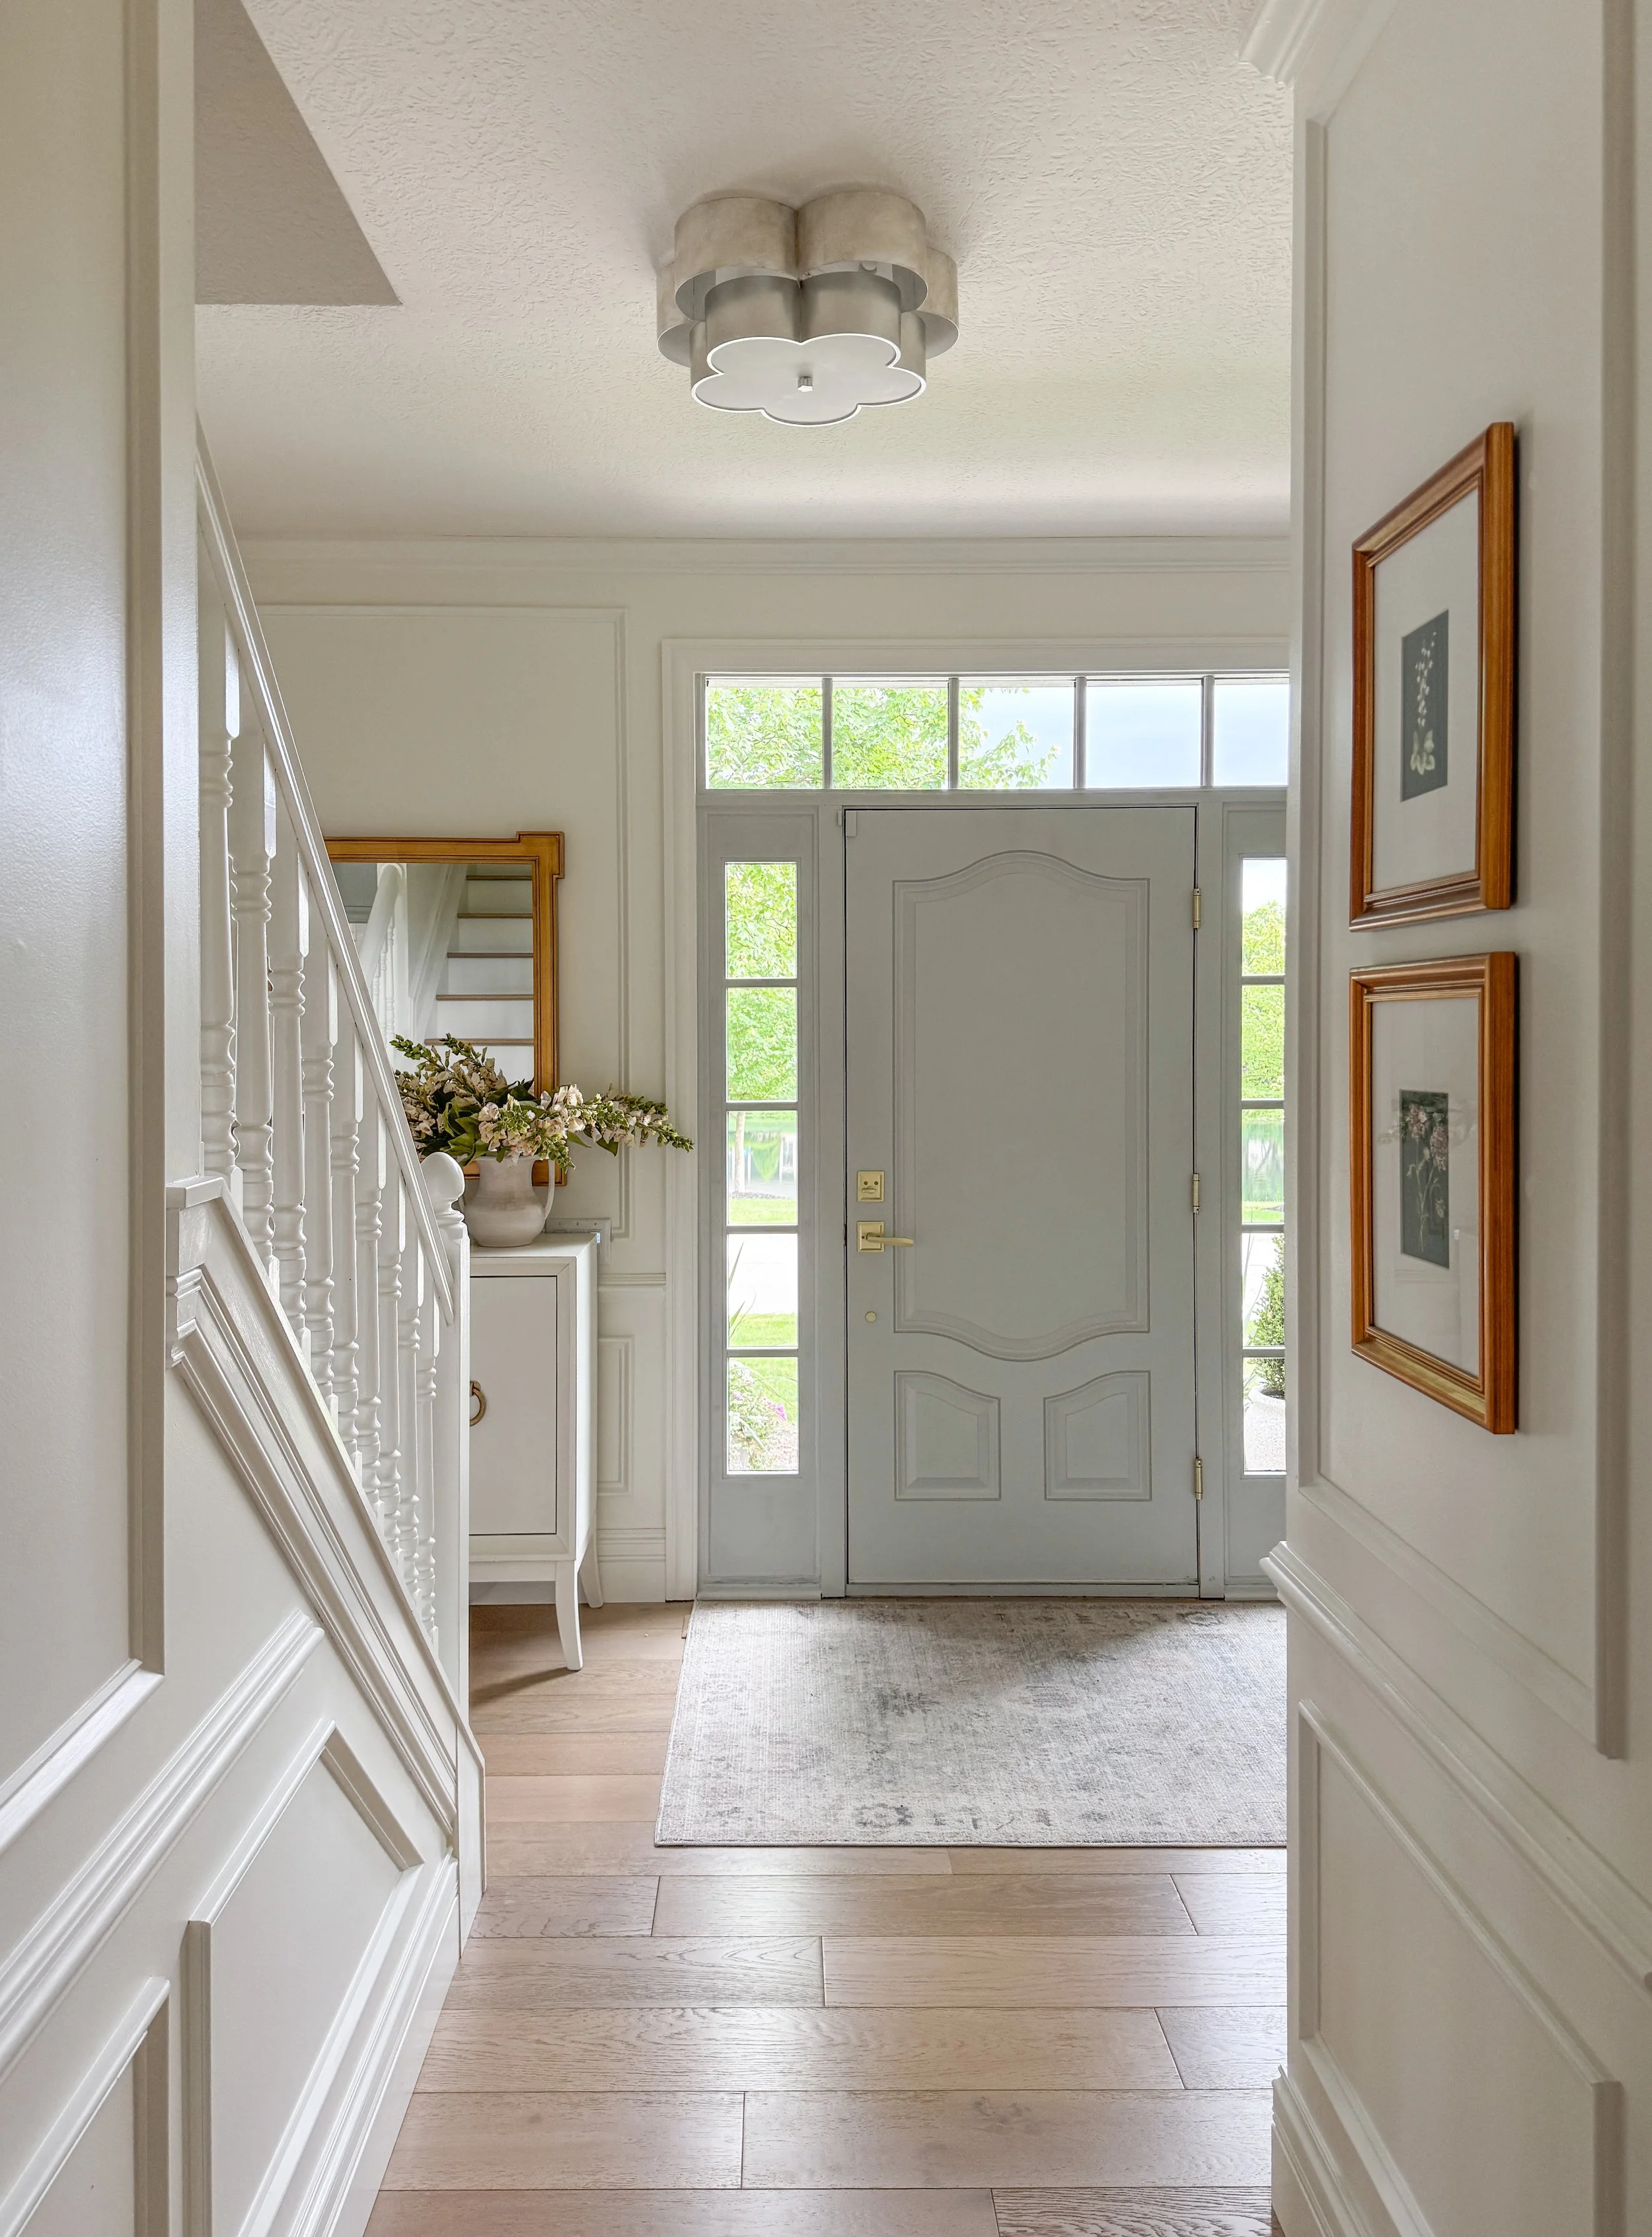
I used this color in my sitting room and on the inside of my front door. It’s a soft pale gray with blue undertones. It creates a calming feel and is the perfect muted tone for any space.

Sherwin Williams - Utterly Beige and Realist Beige

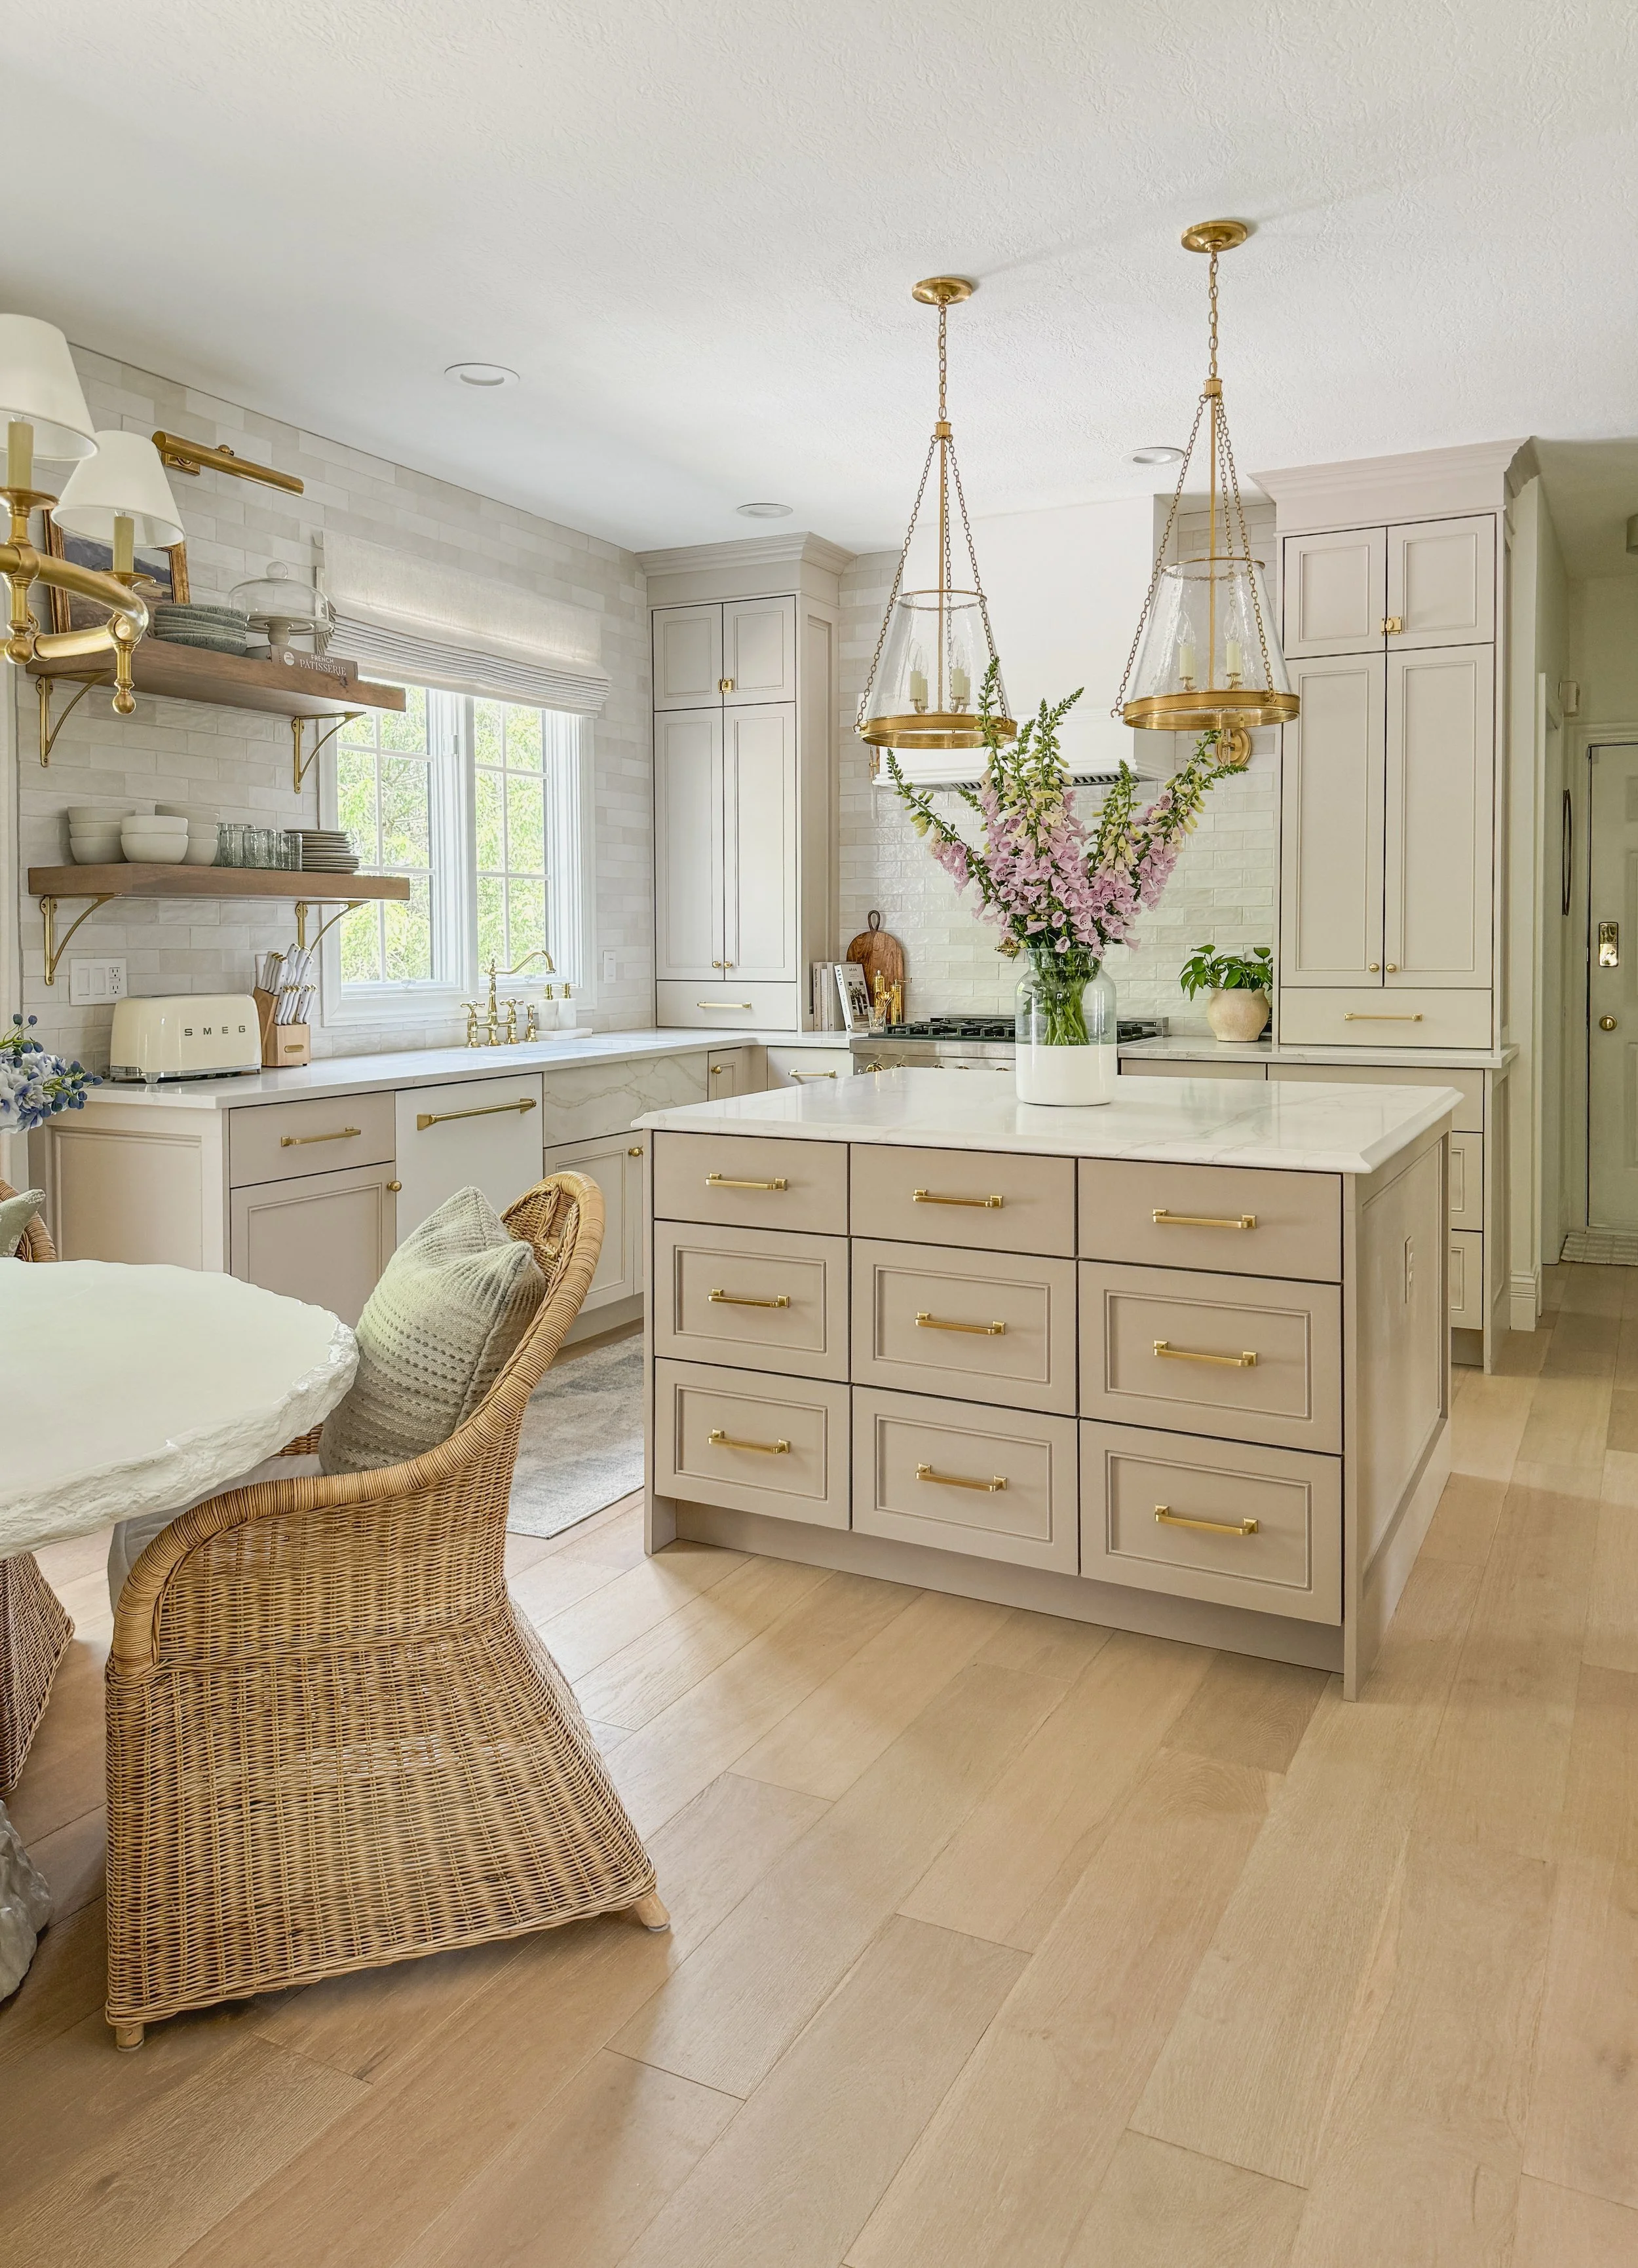
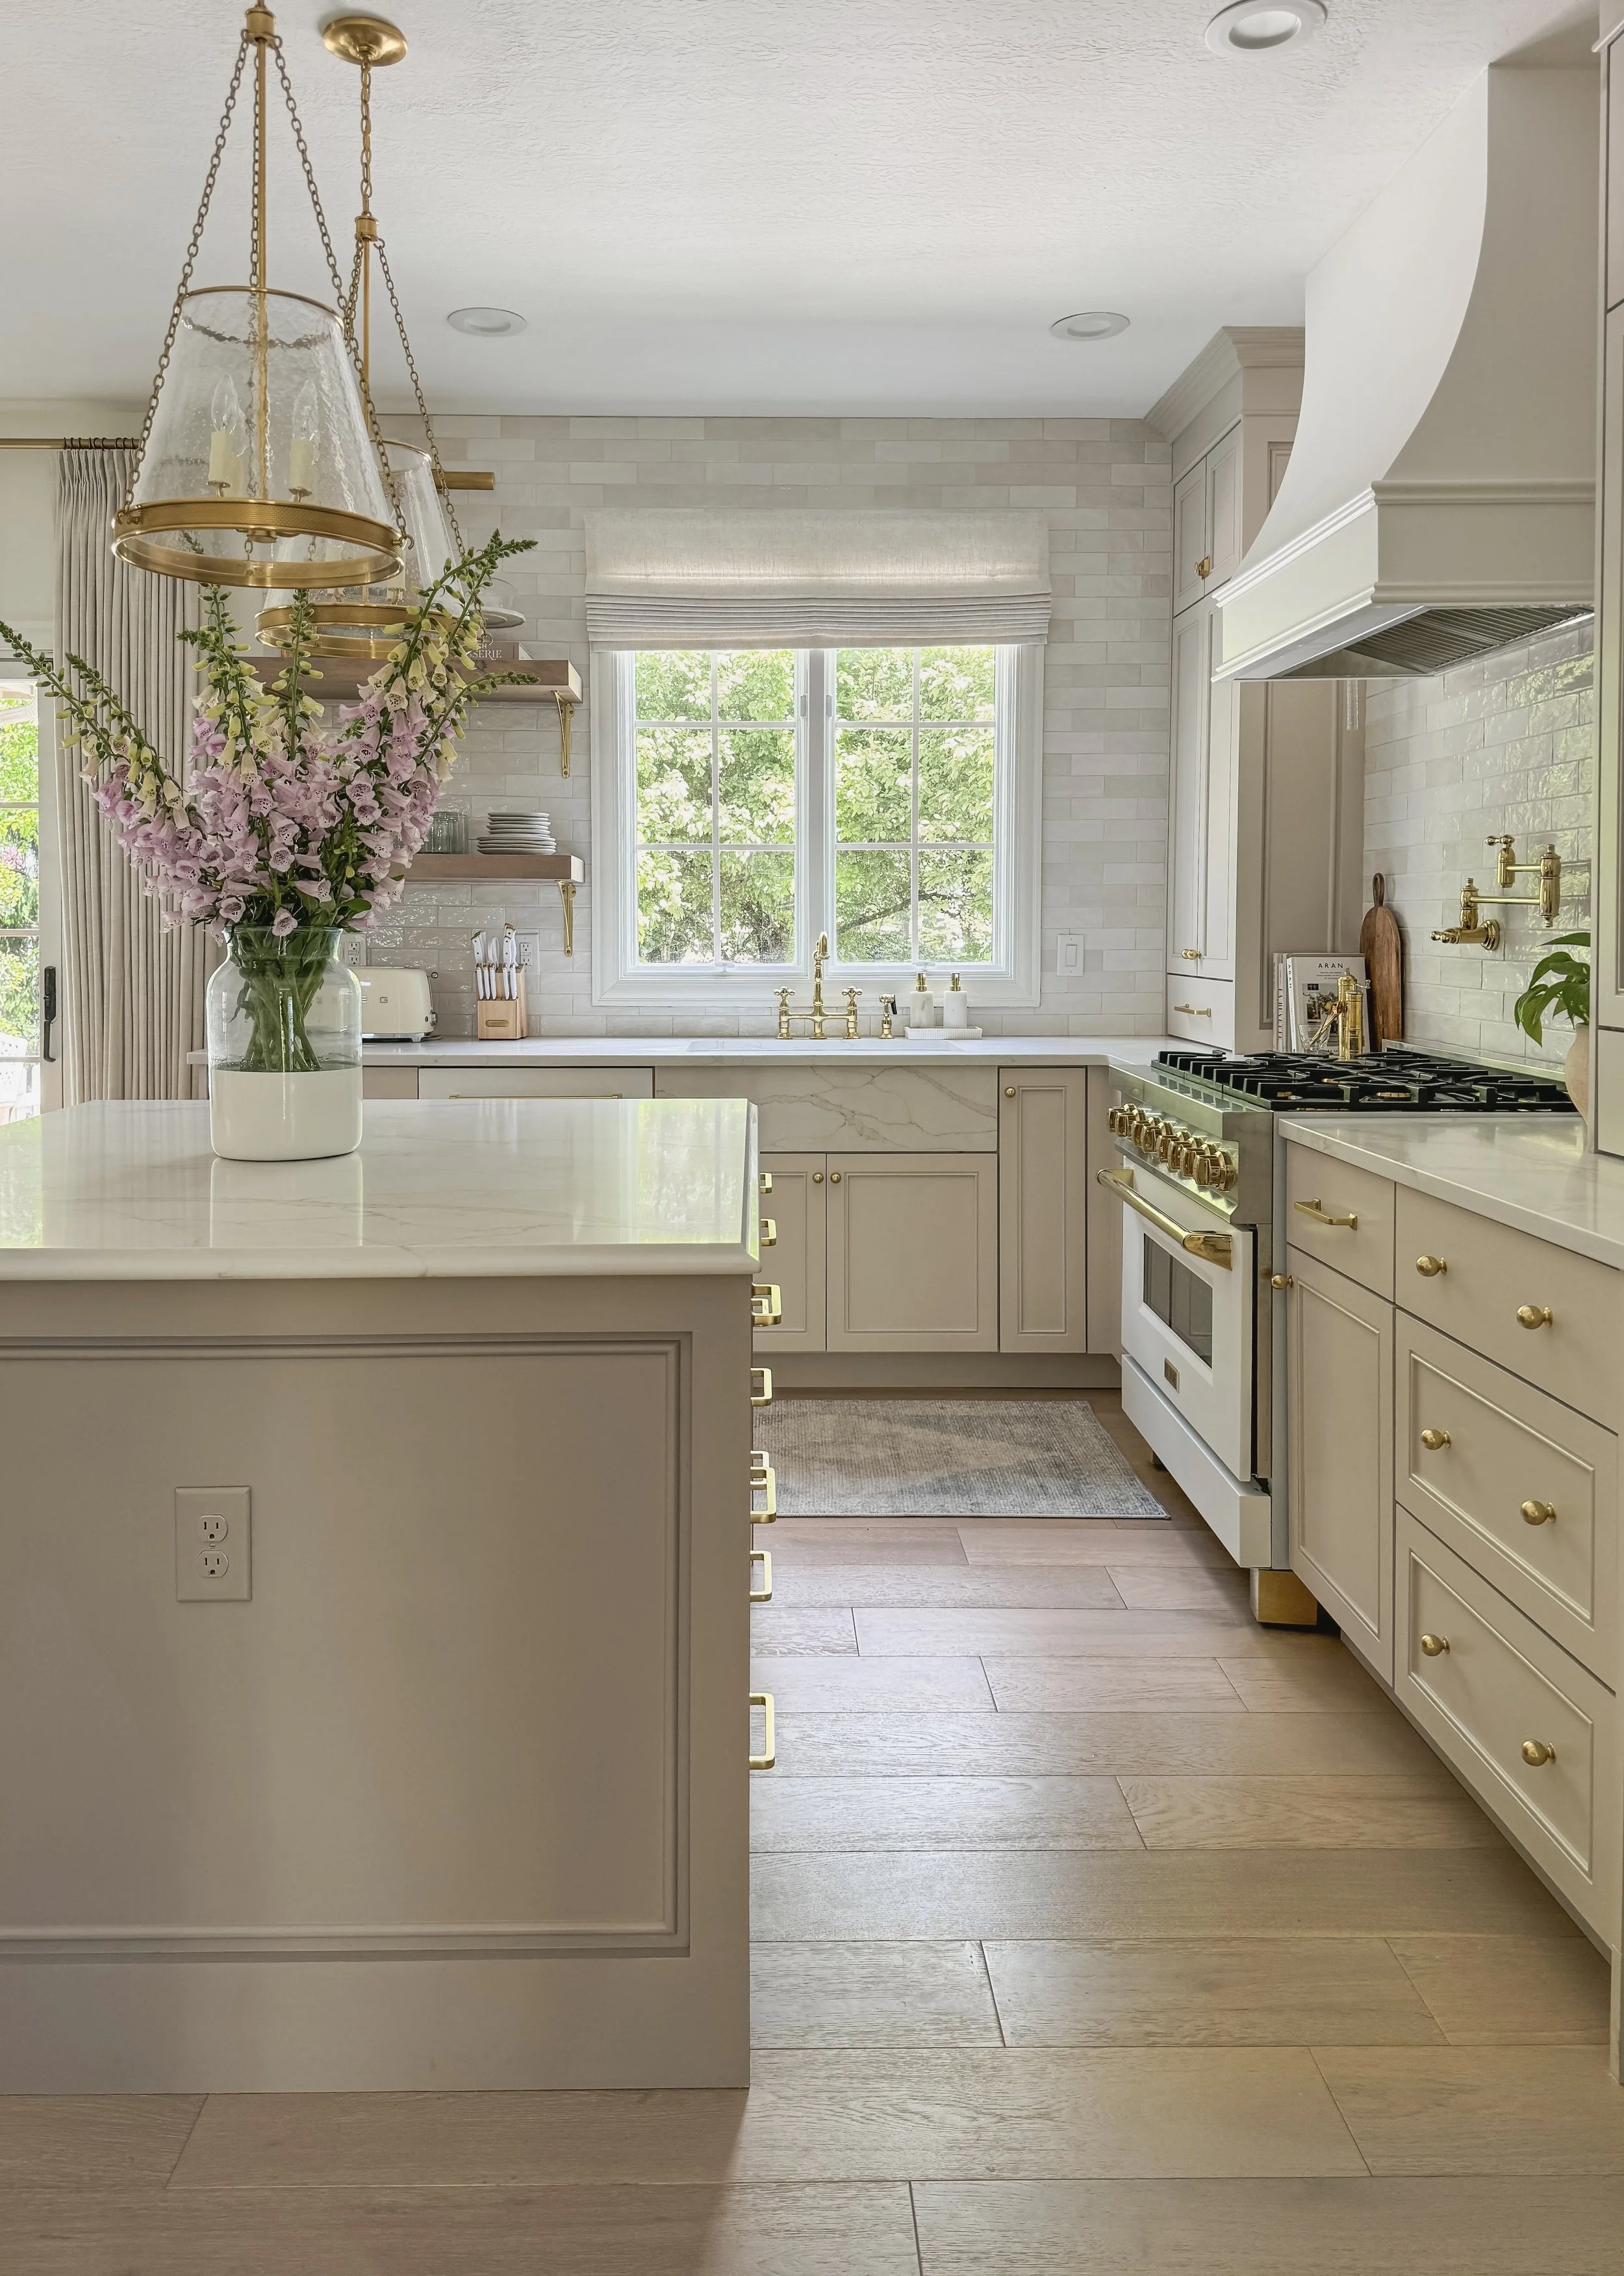
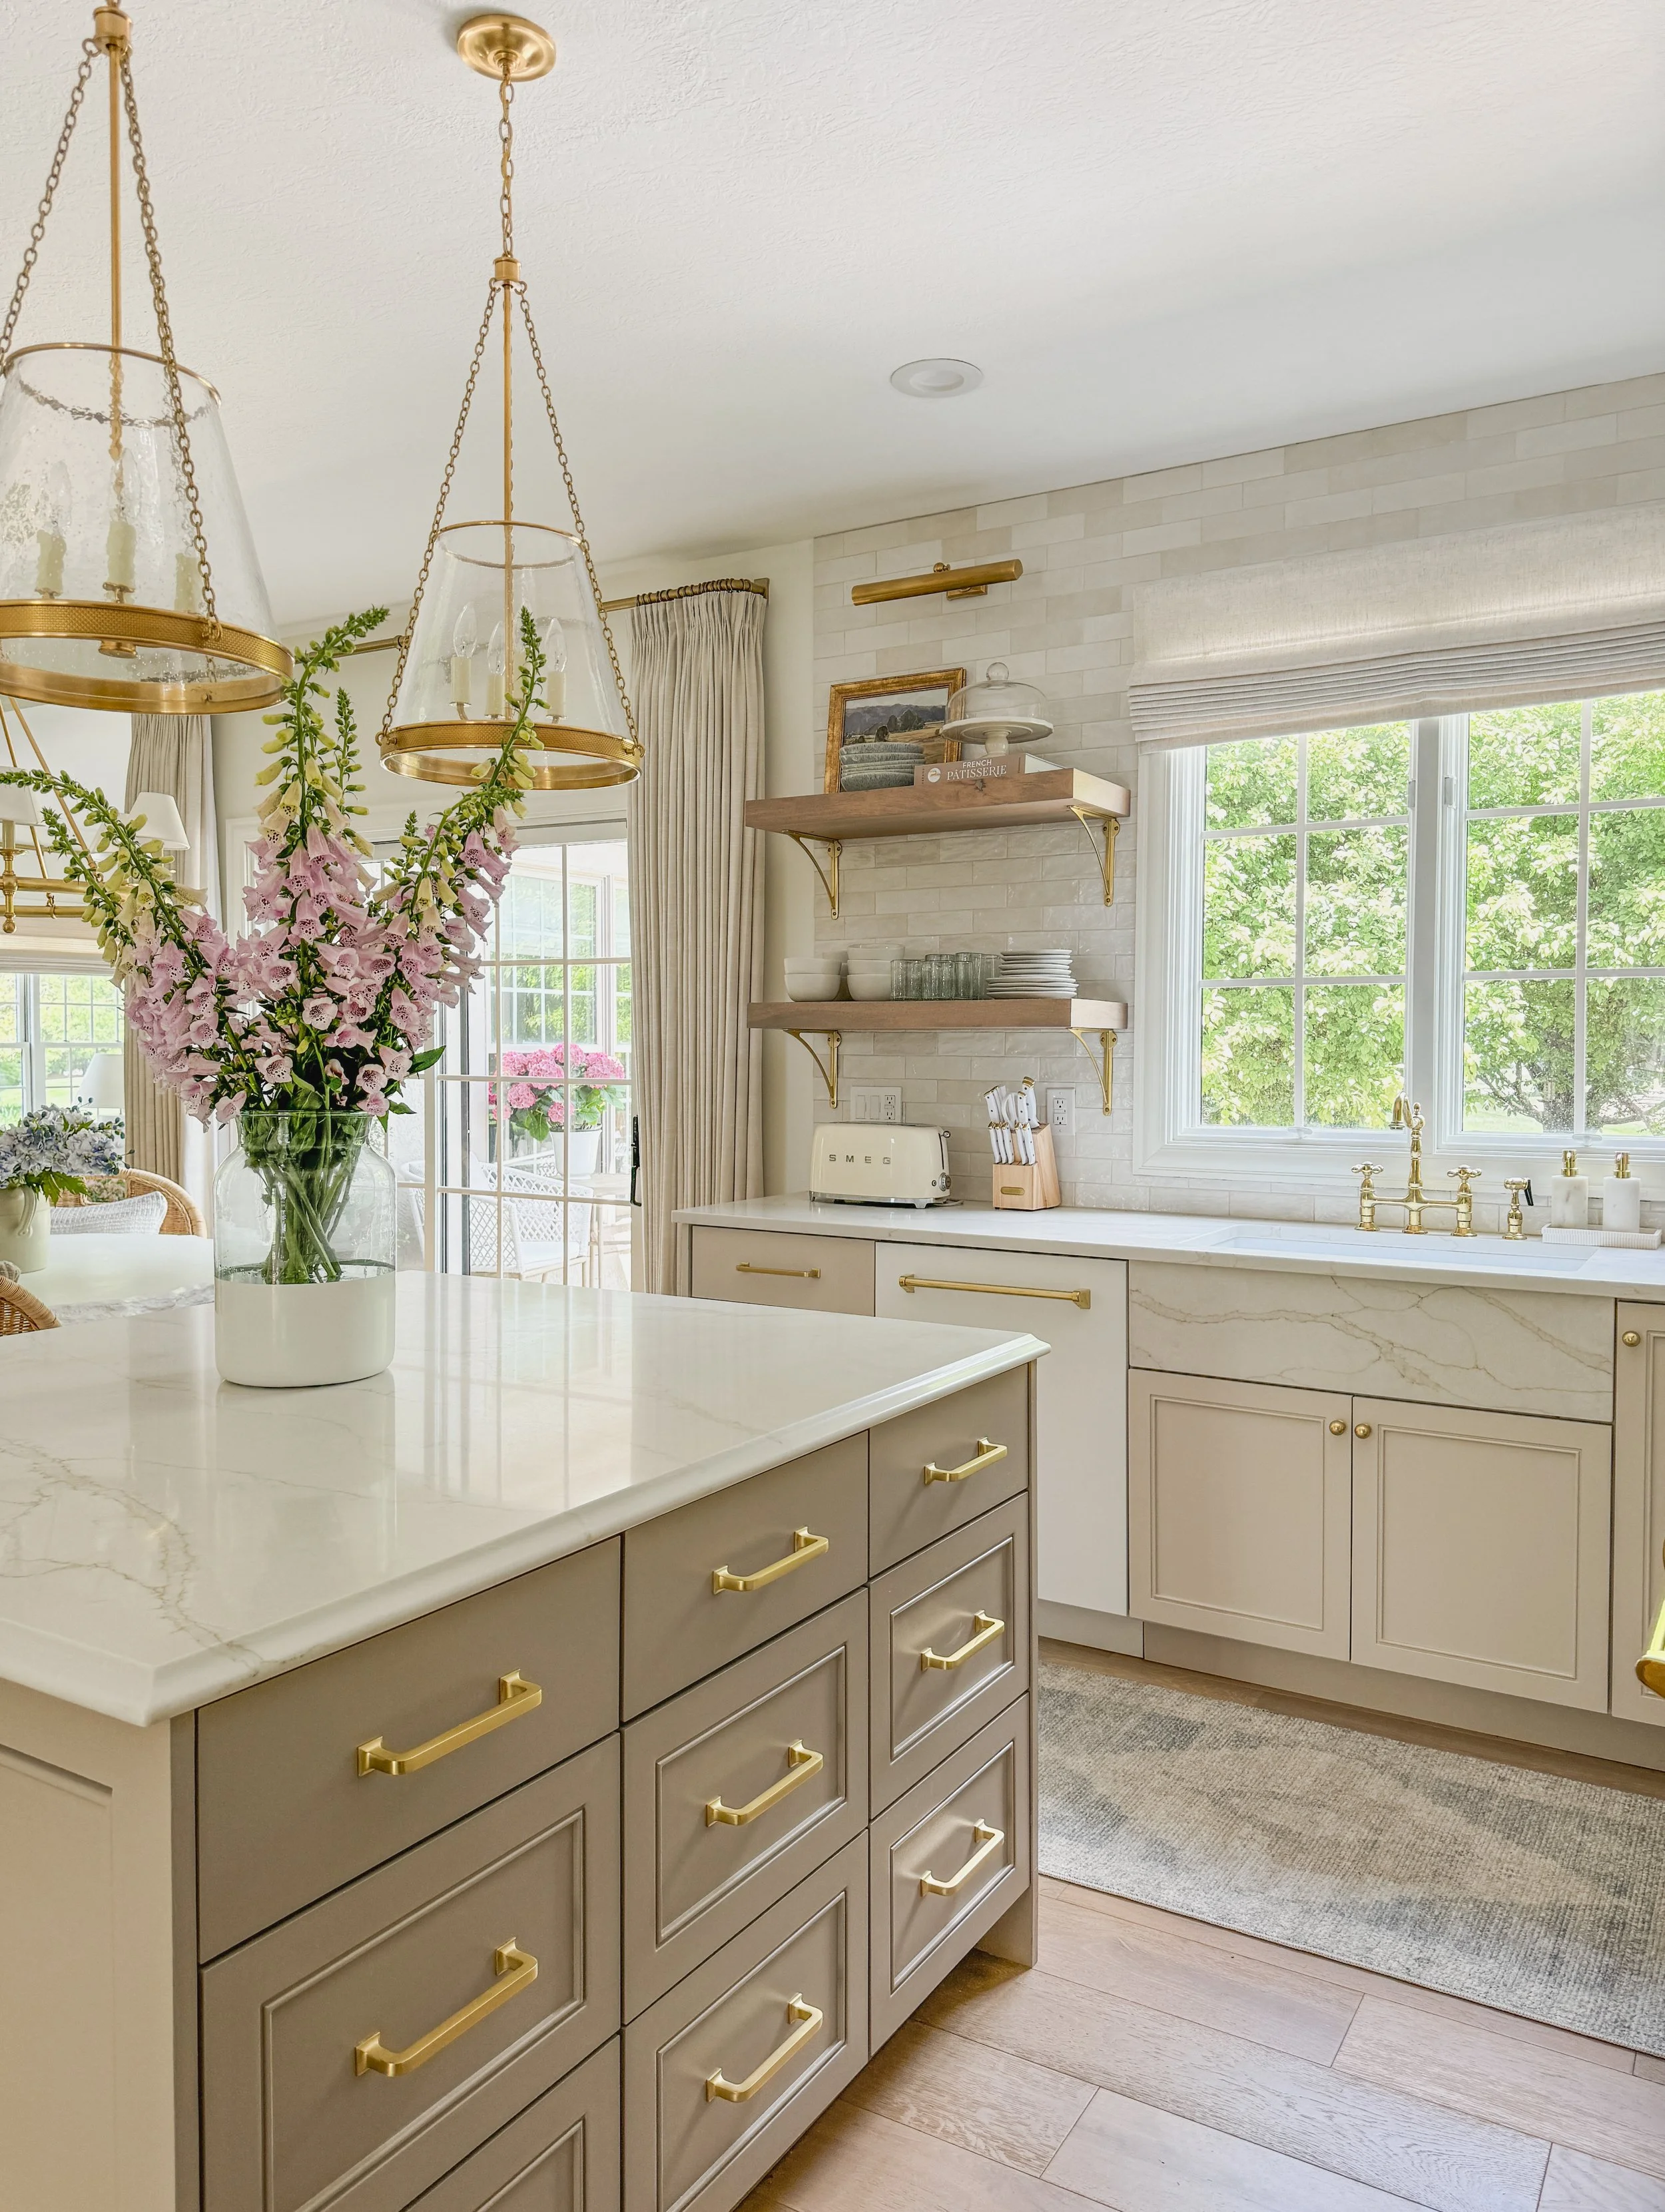
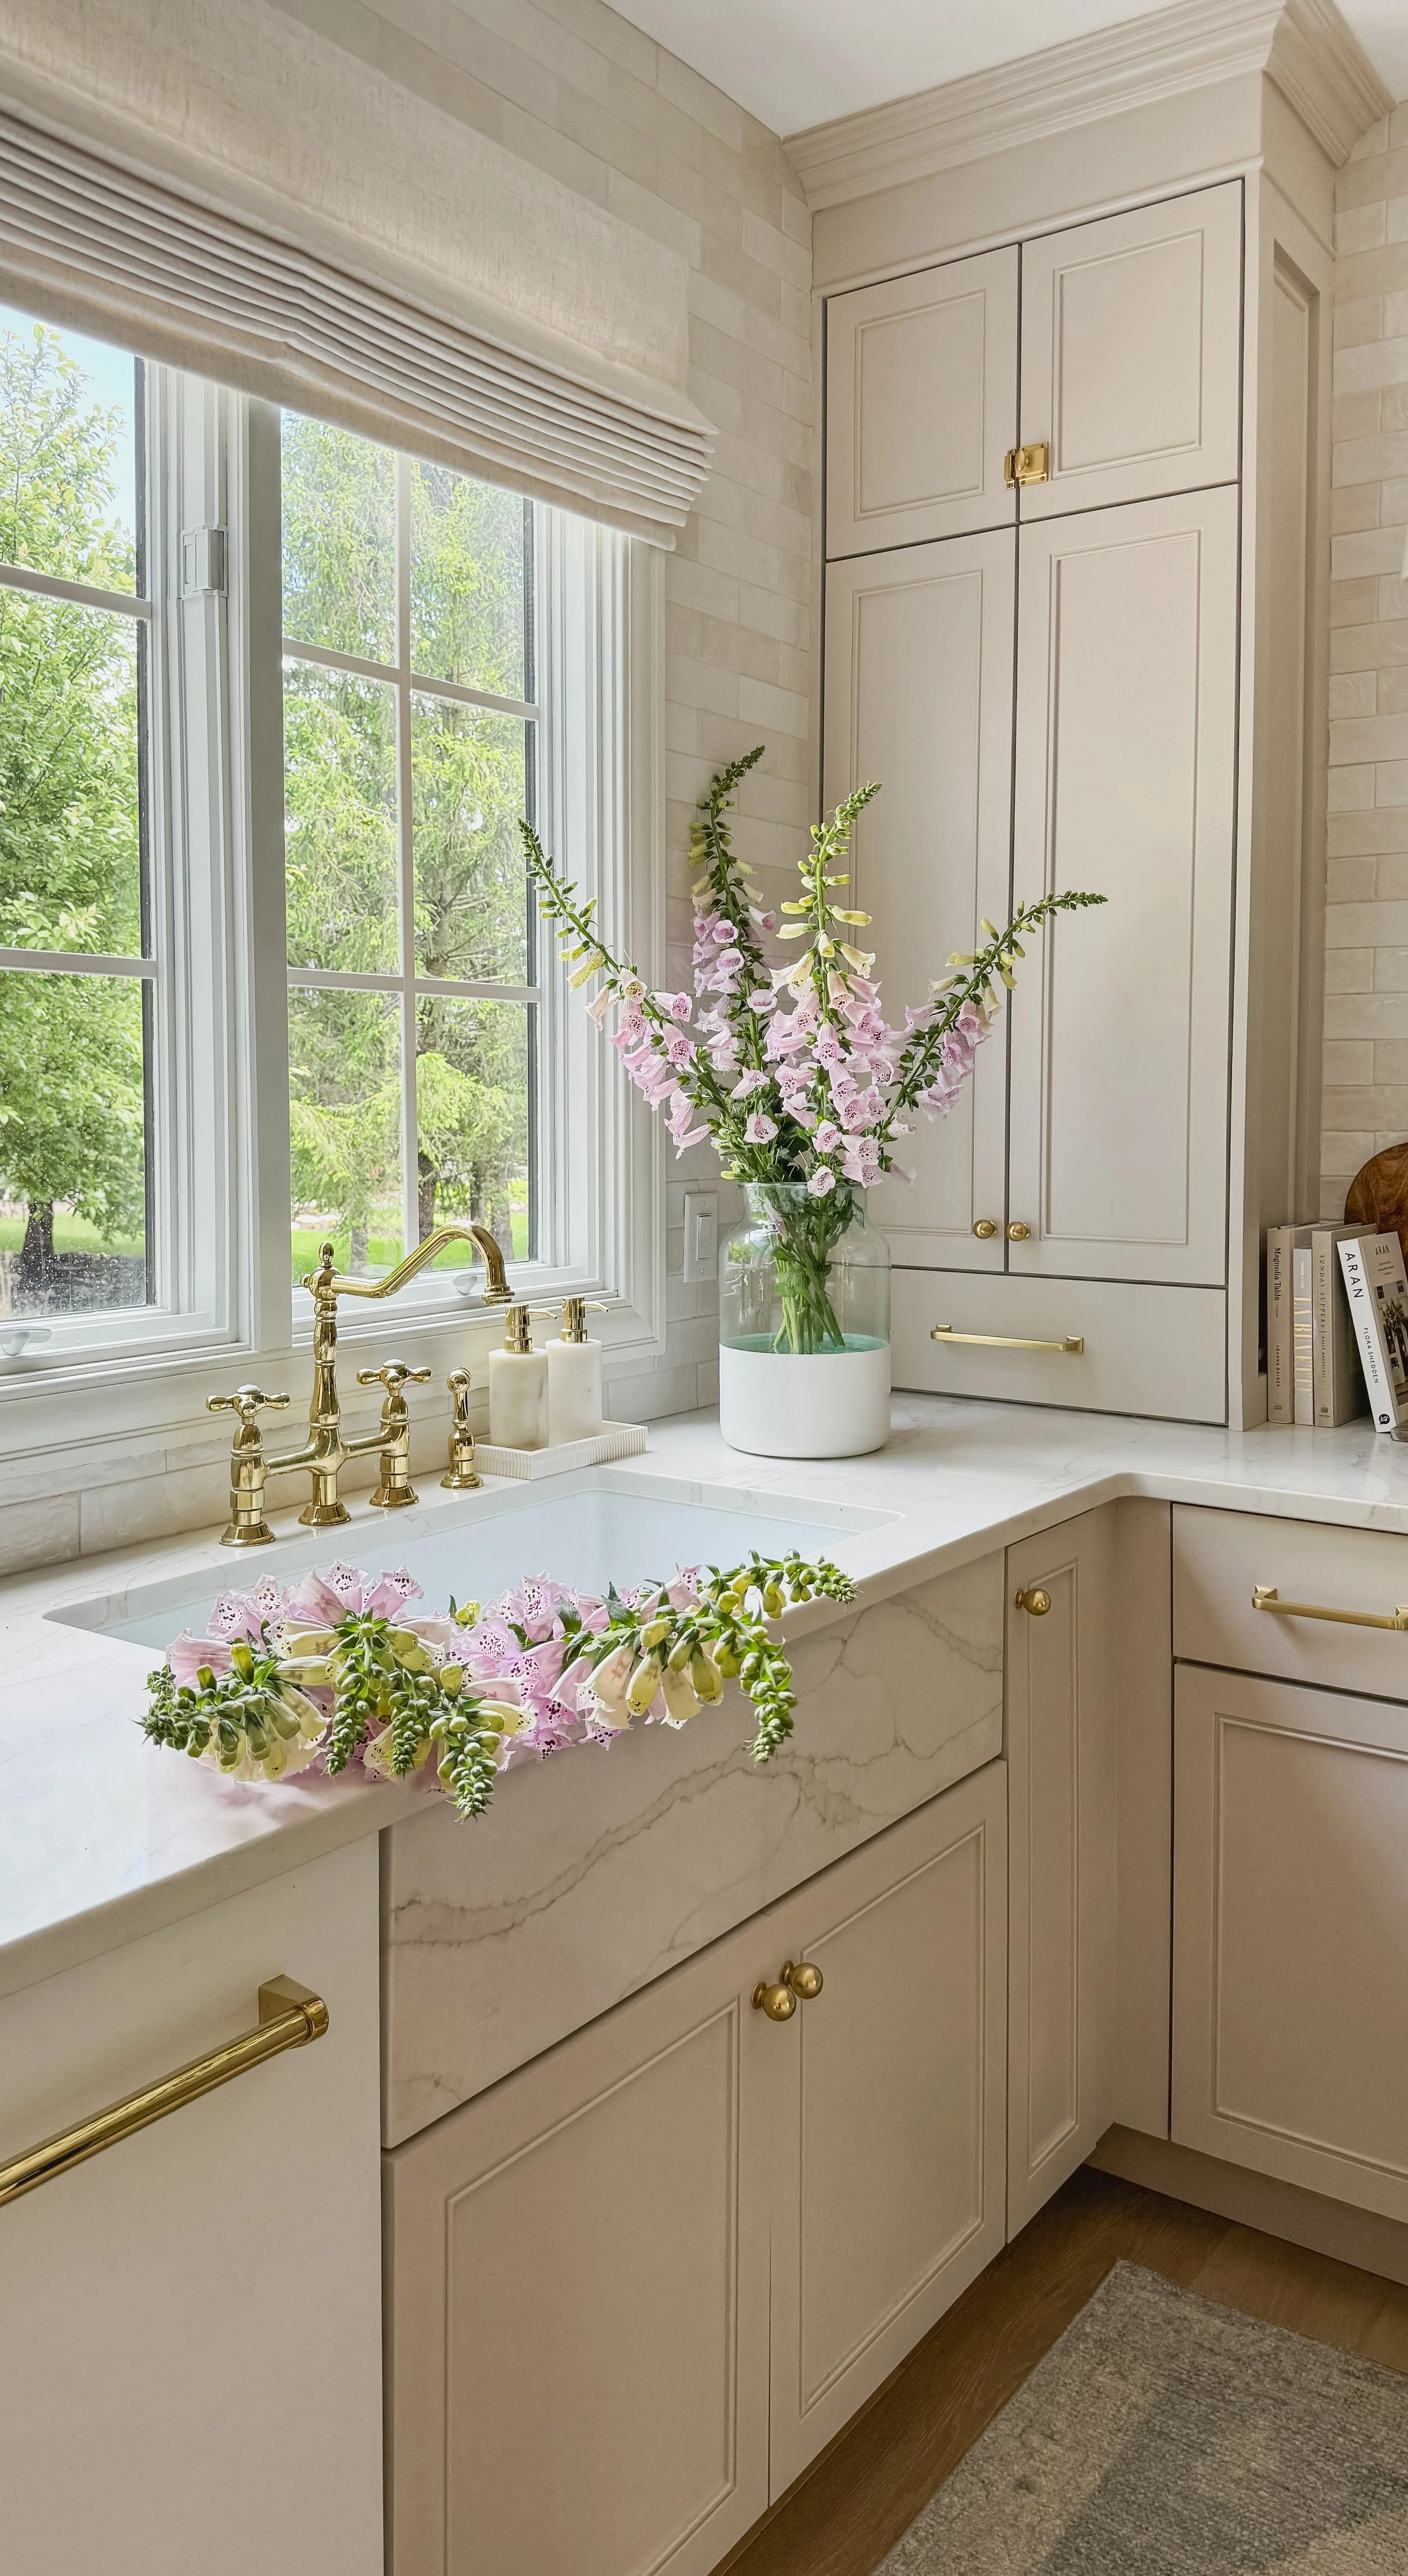
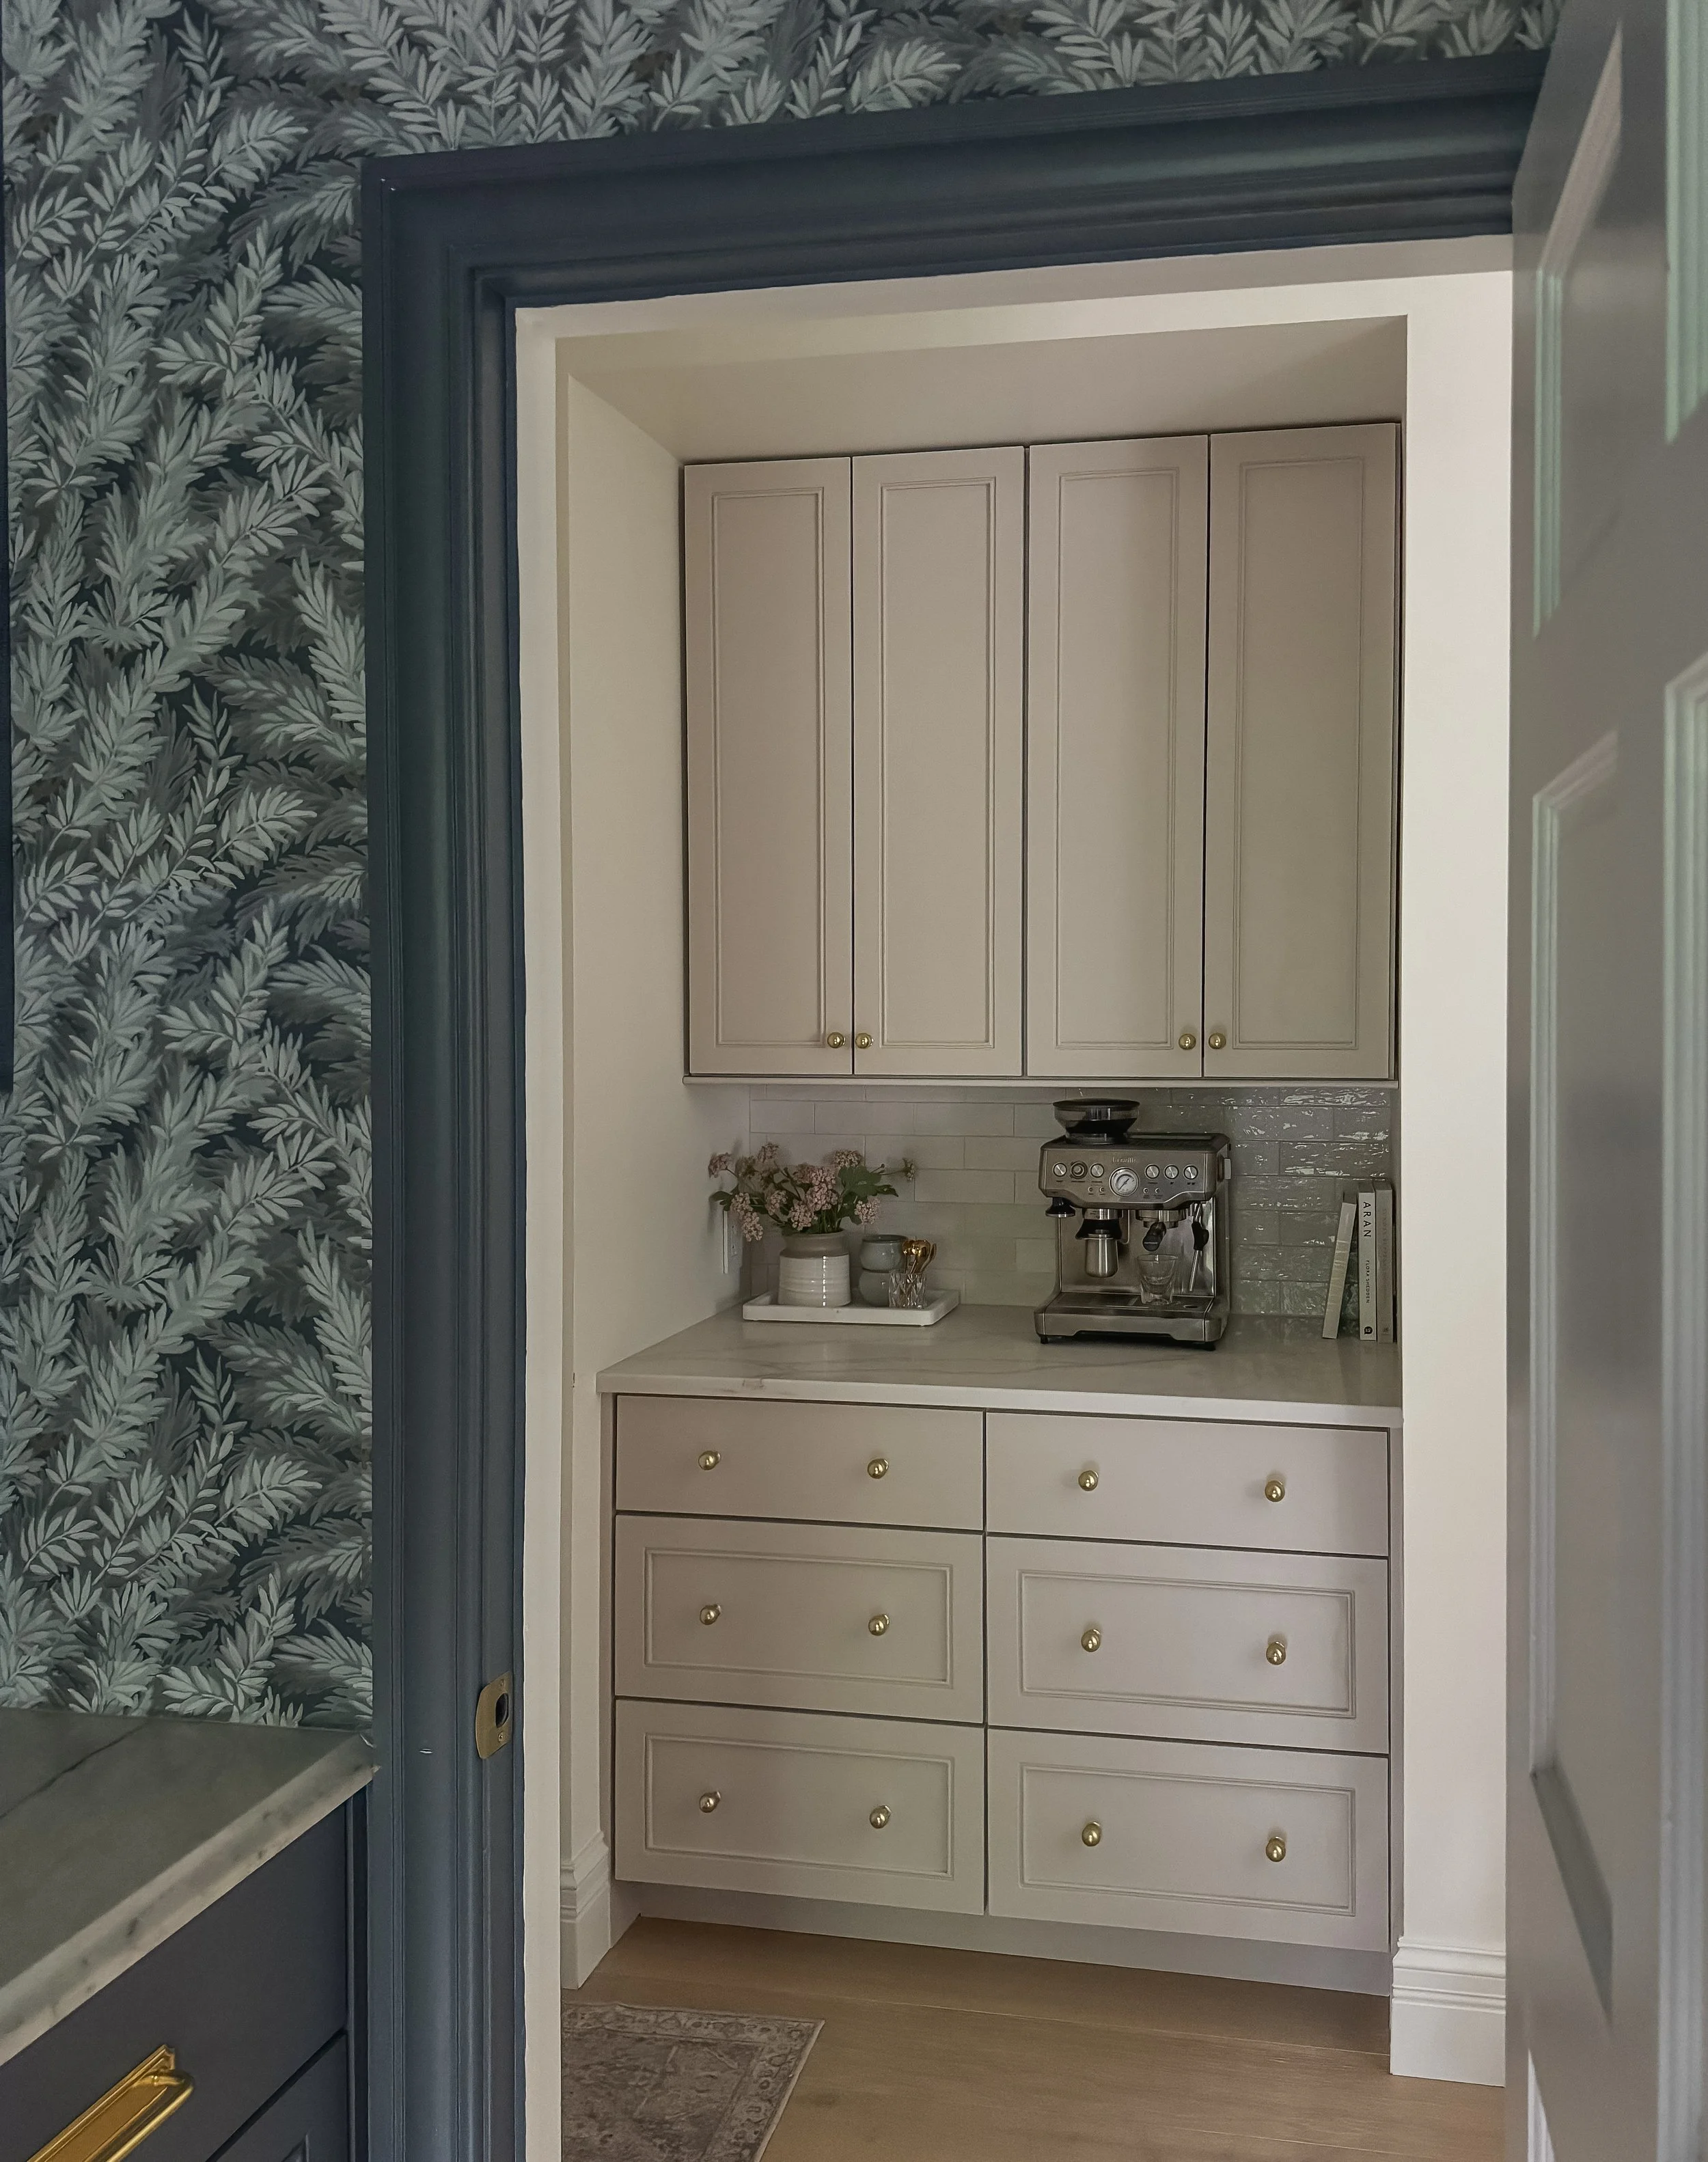
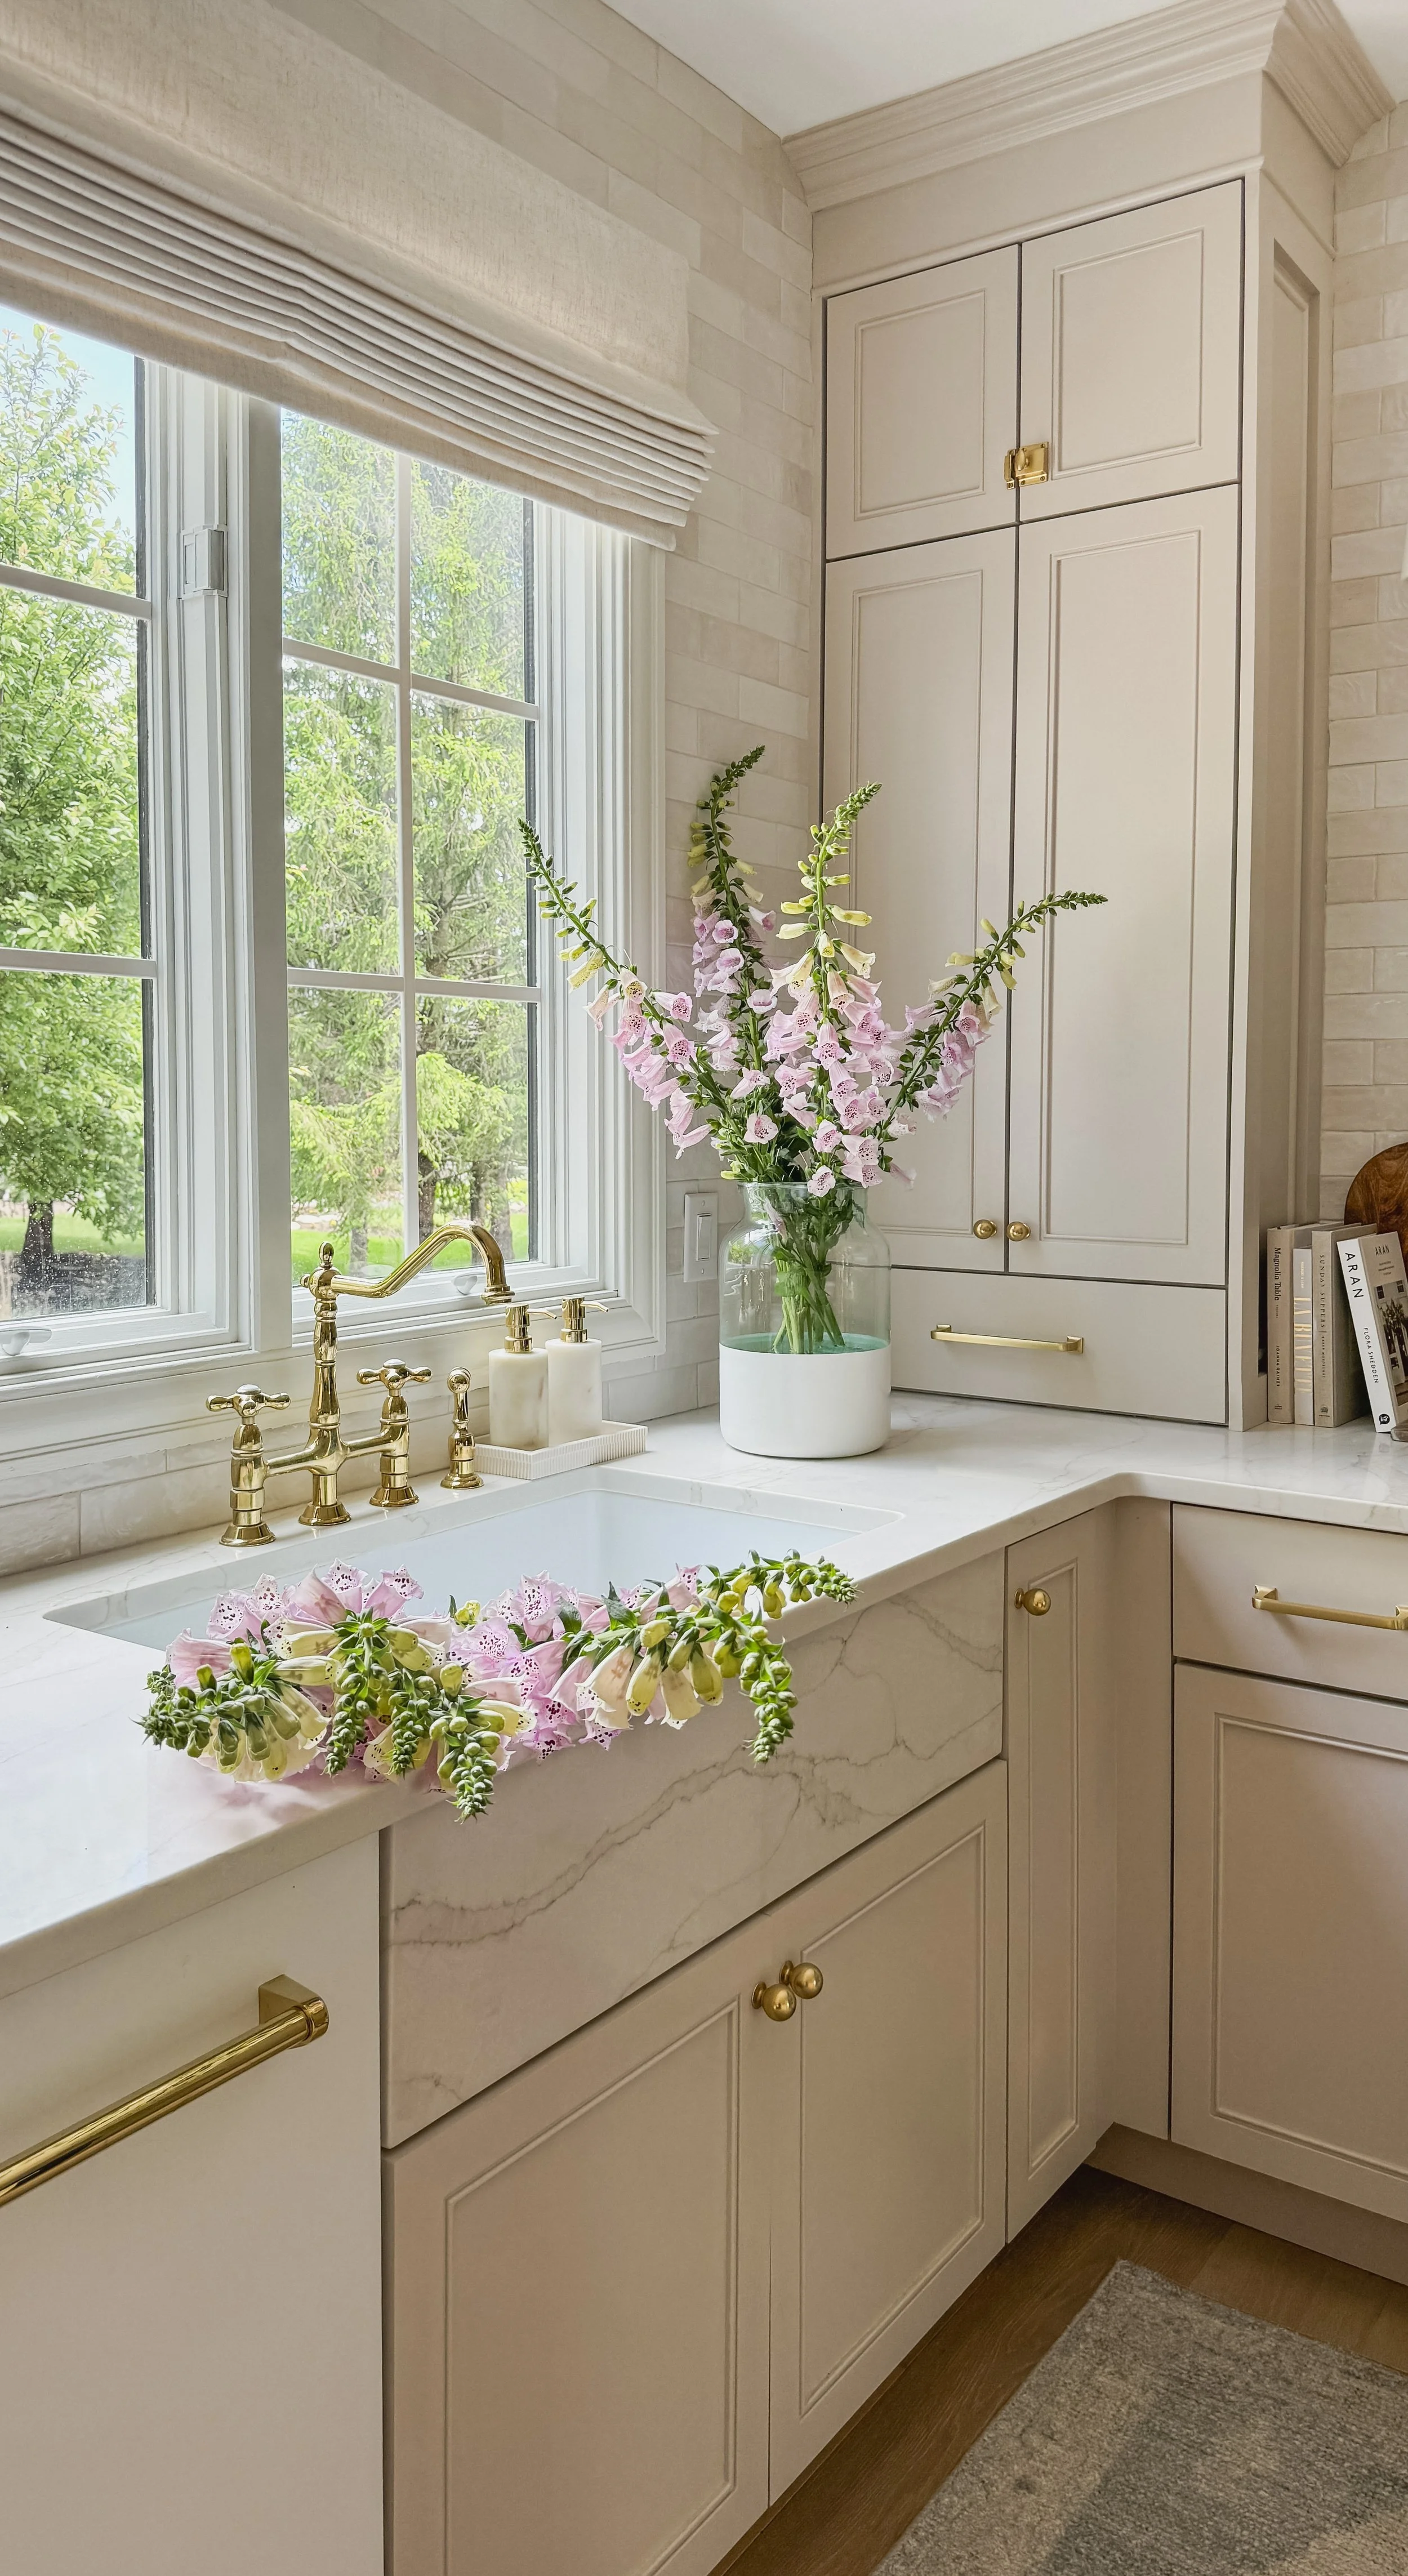
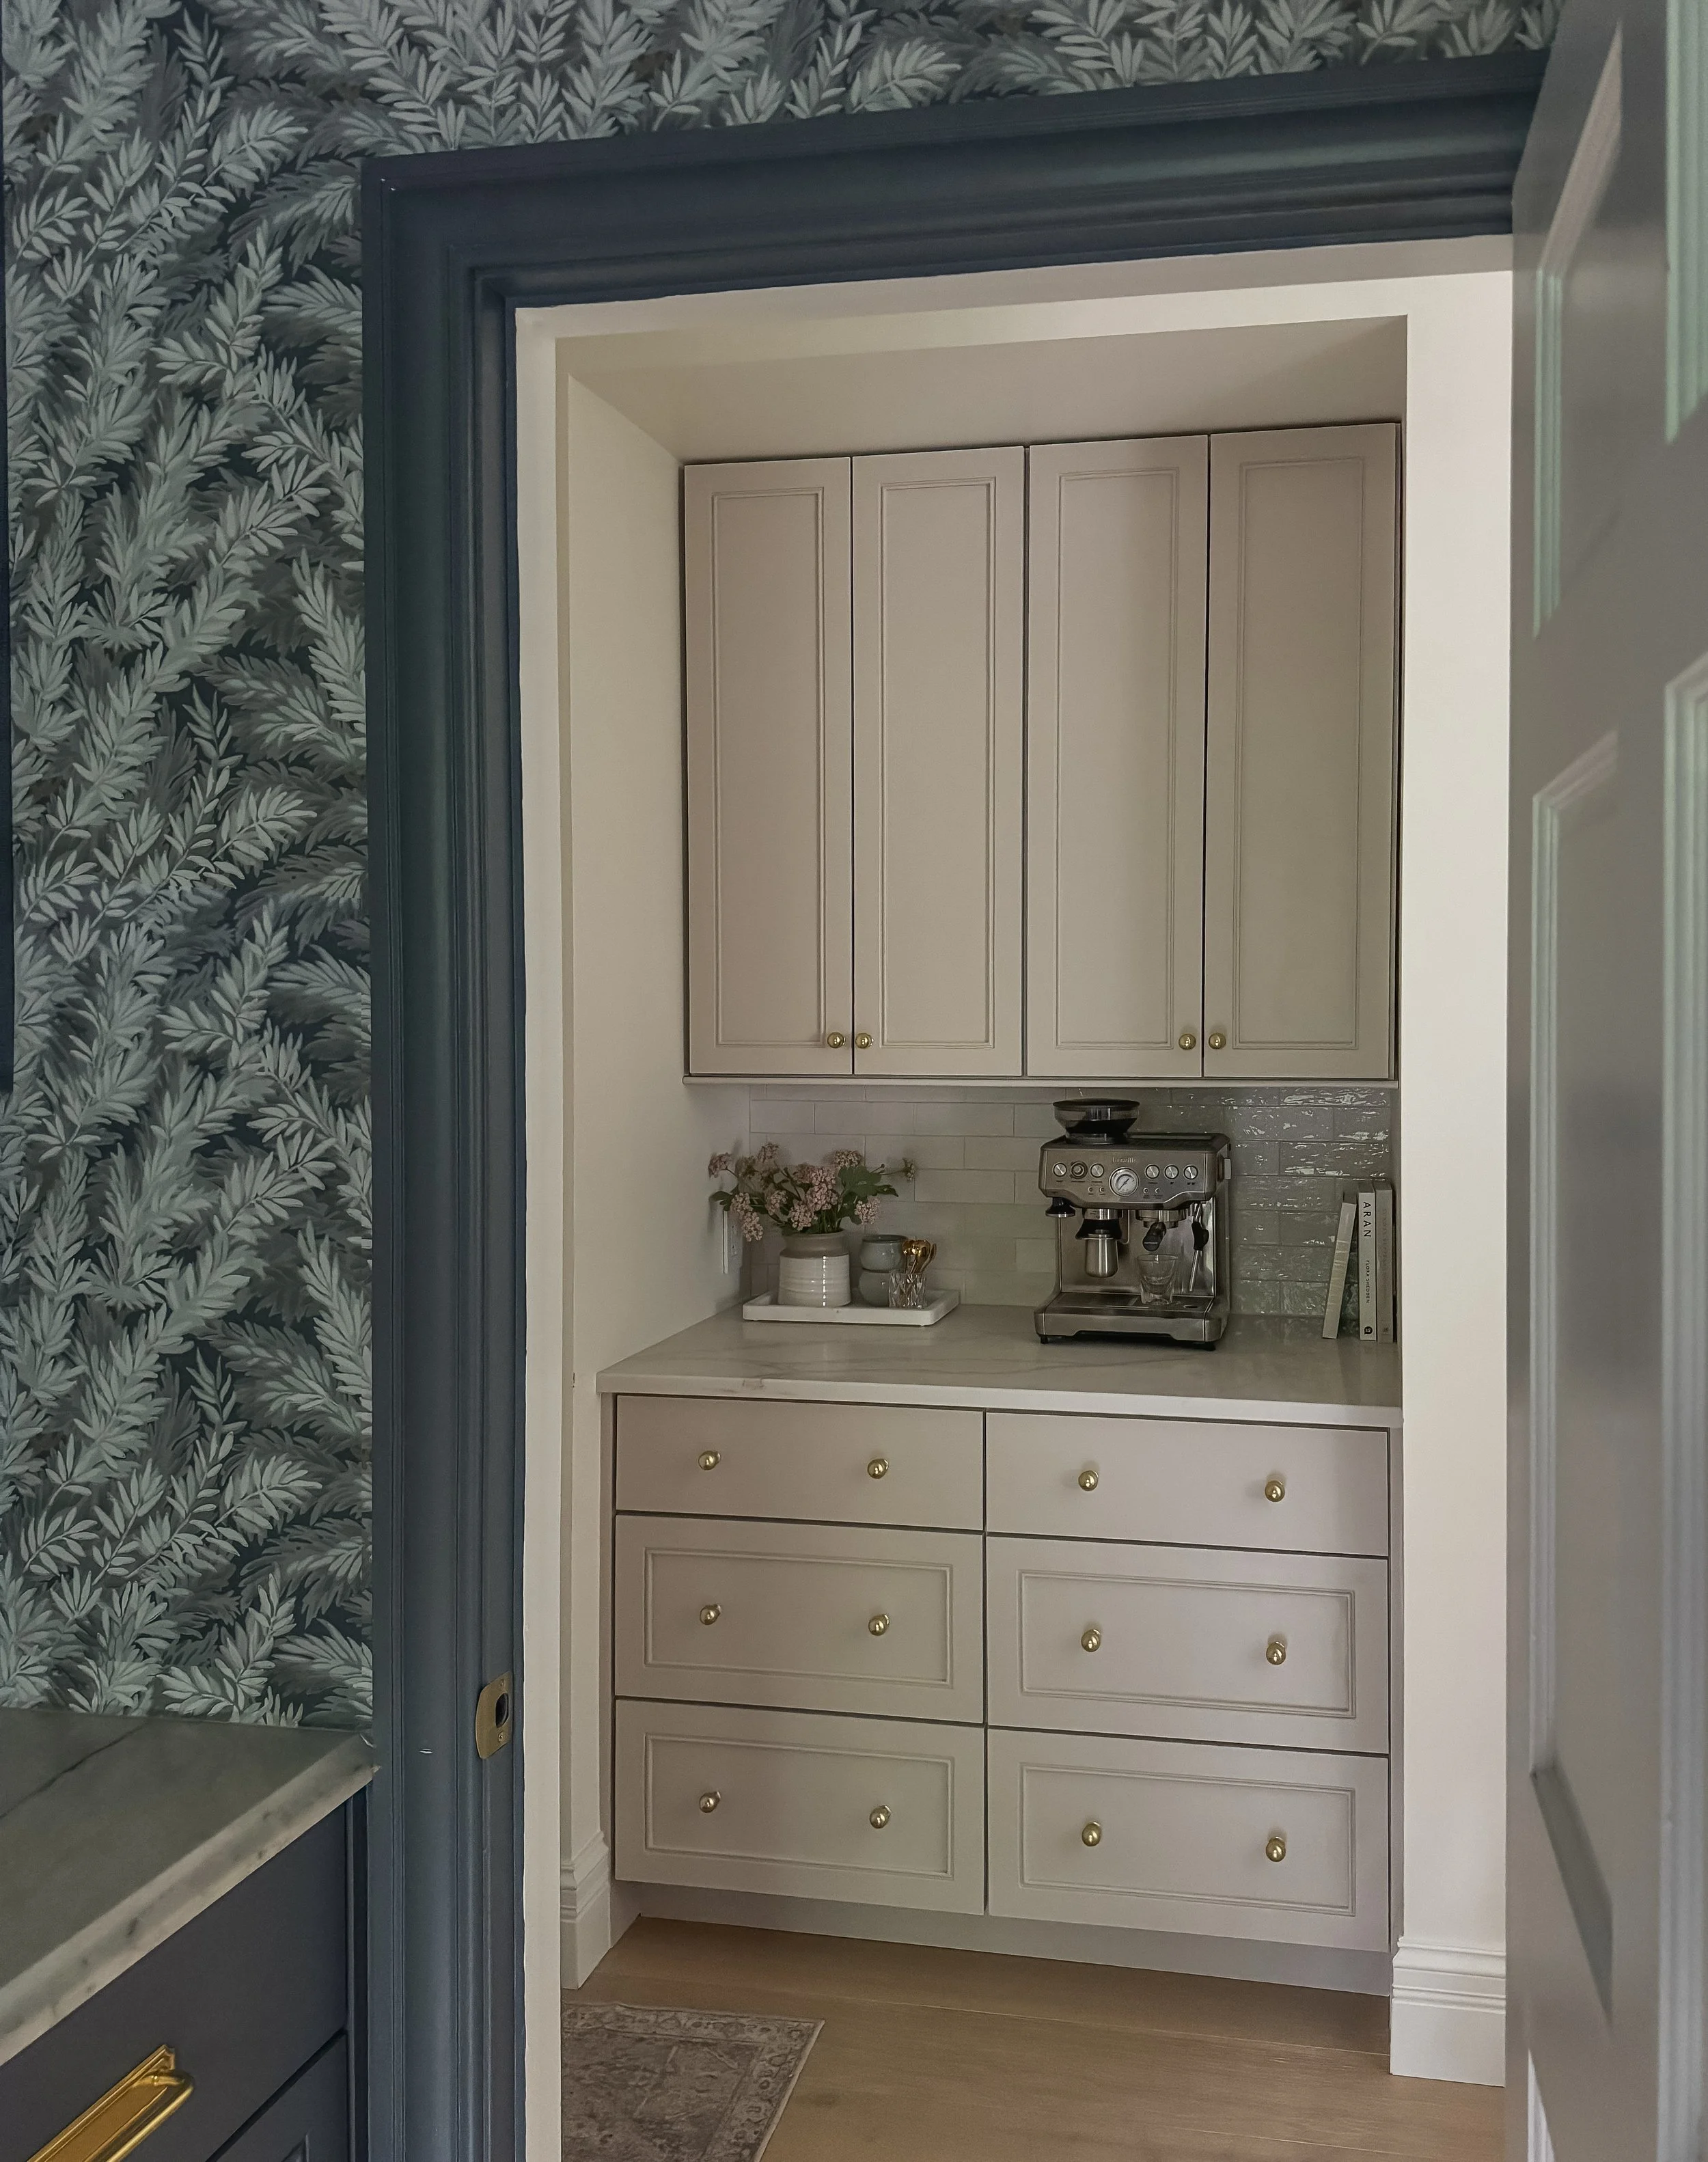
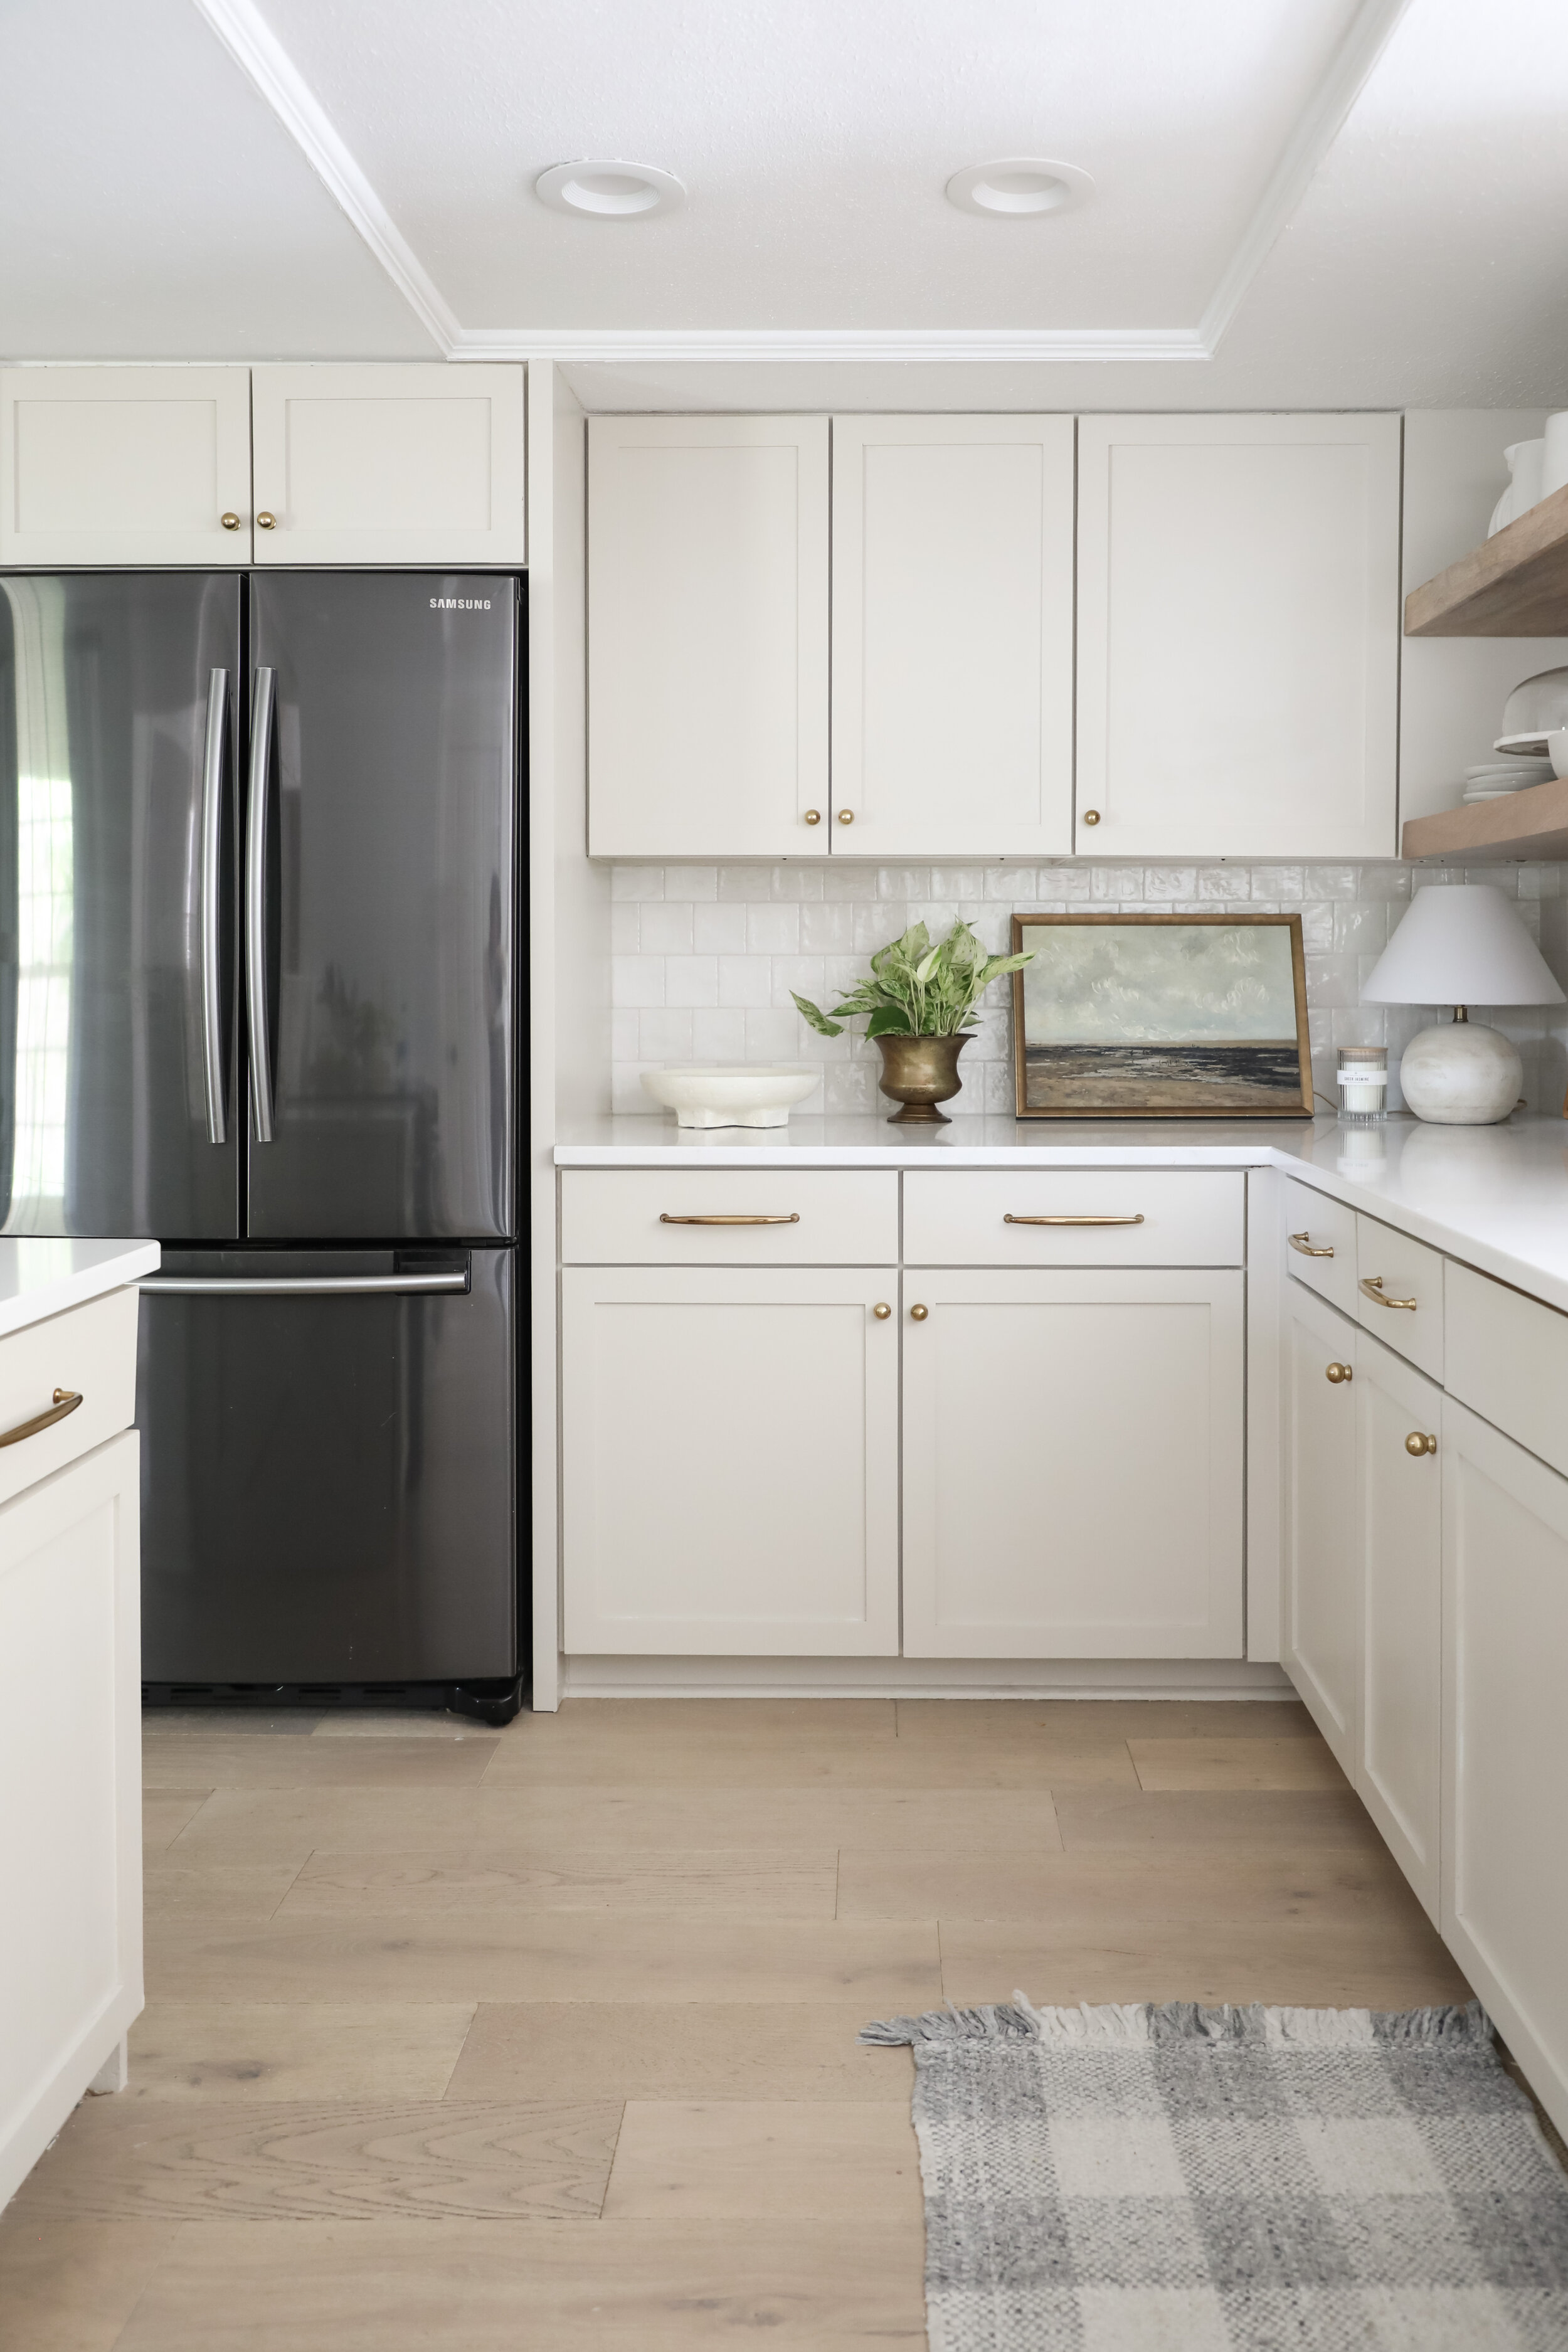
I used these two colors on my kitchen cabinetry. The island is painted Utterly Beige, and the perimeter cabinets and coffee bar are Realist Beige. Both colors are great neutrals with cool brown undertones. They do lean slightly purple/pink in some lighting, which I like and ties in with my flooring that also have a pink/purple undertone. My kitchen gets a lot of of natural light, so these colors are deep, rich tones.

Sherwin Williams - Utterly Beige

I have also painted my media room that’s just off the kitchen in the same color as the kitchen island—Sherwin Williams Utterly Beige. This is a more accurate representation of just how deep and rich this paint color truly is in a room that isn’t completely drenched in natural light. I love the moody vibe and warm pink/purple undertones of this color.

Sherwin Williams - Wall Street

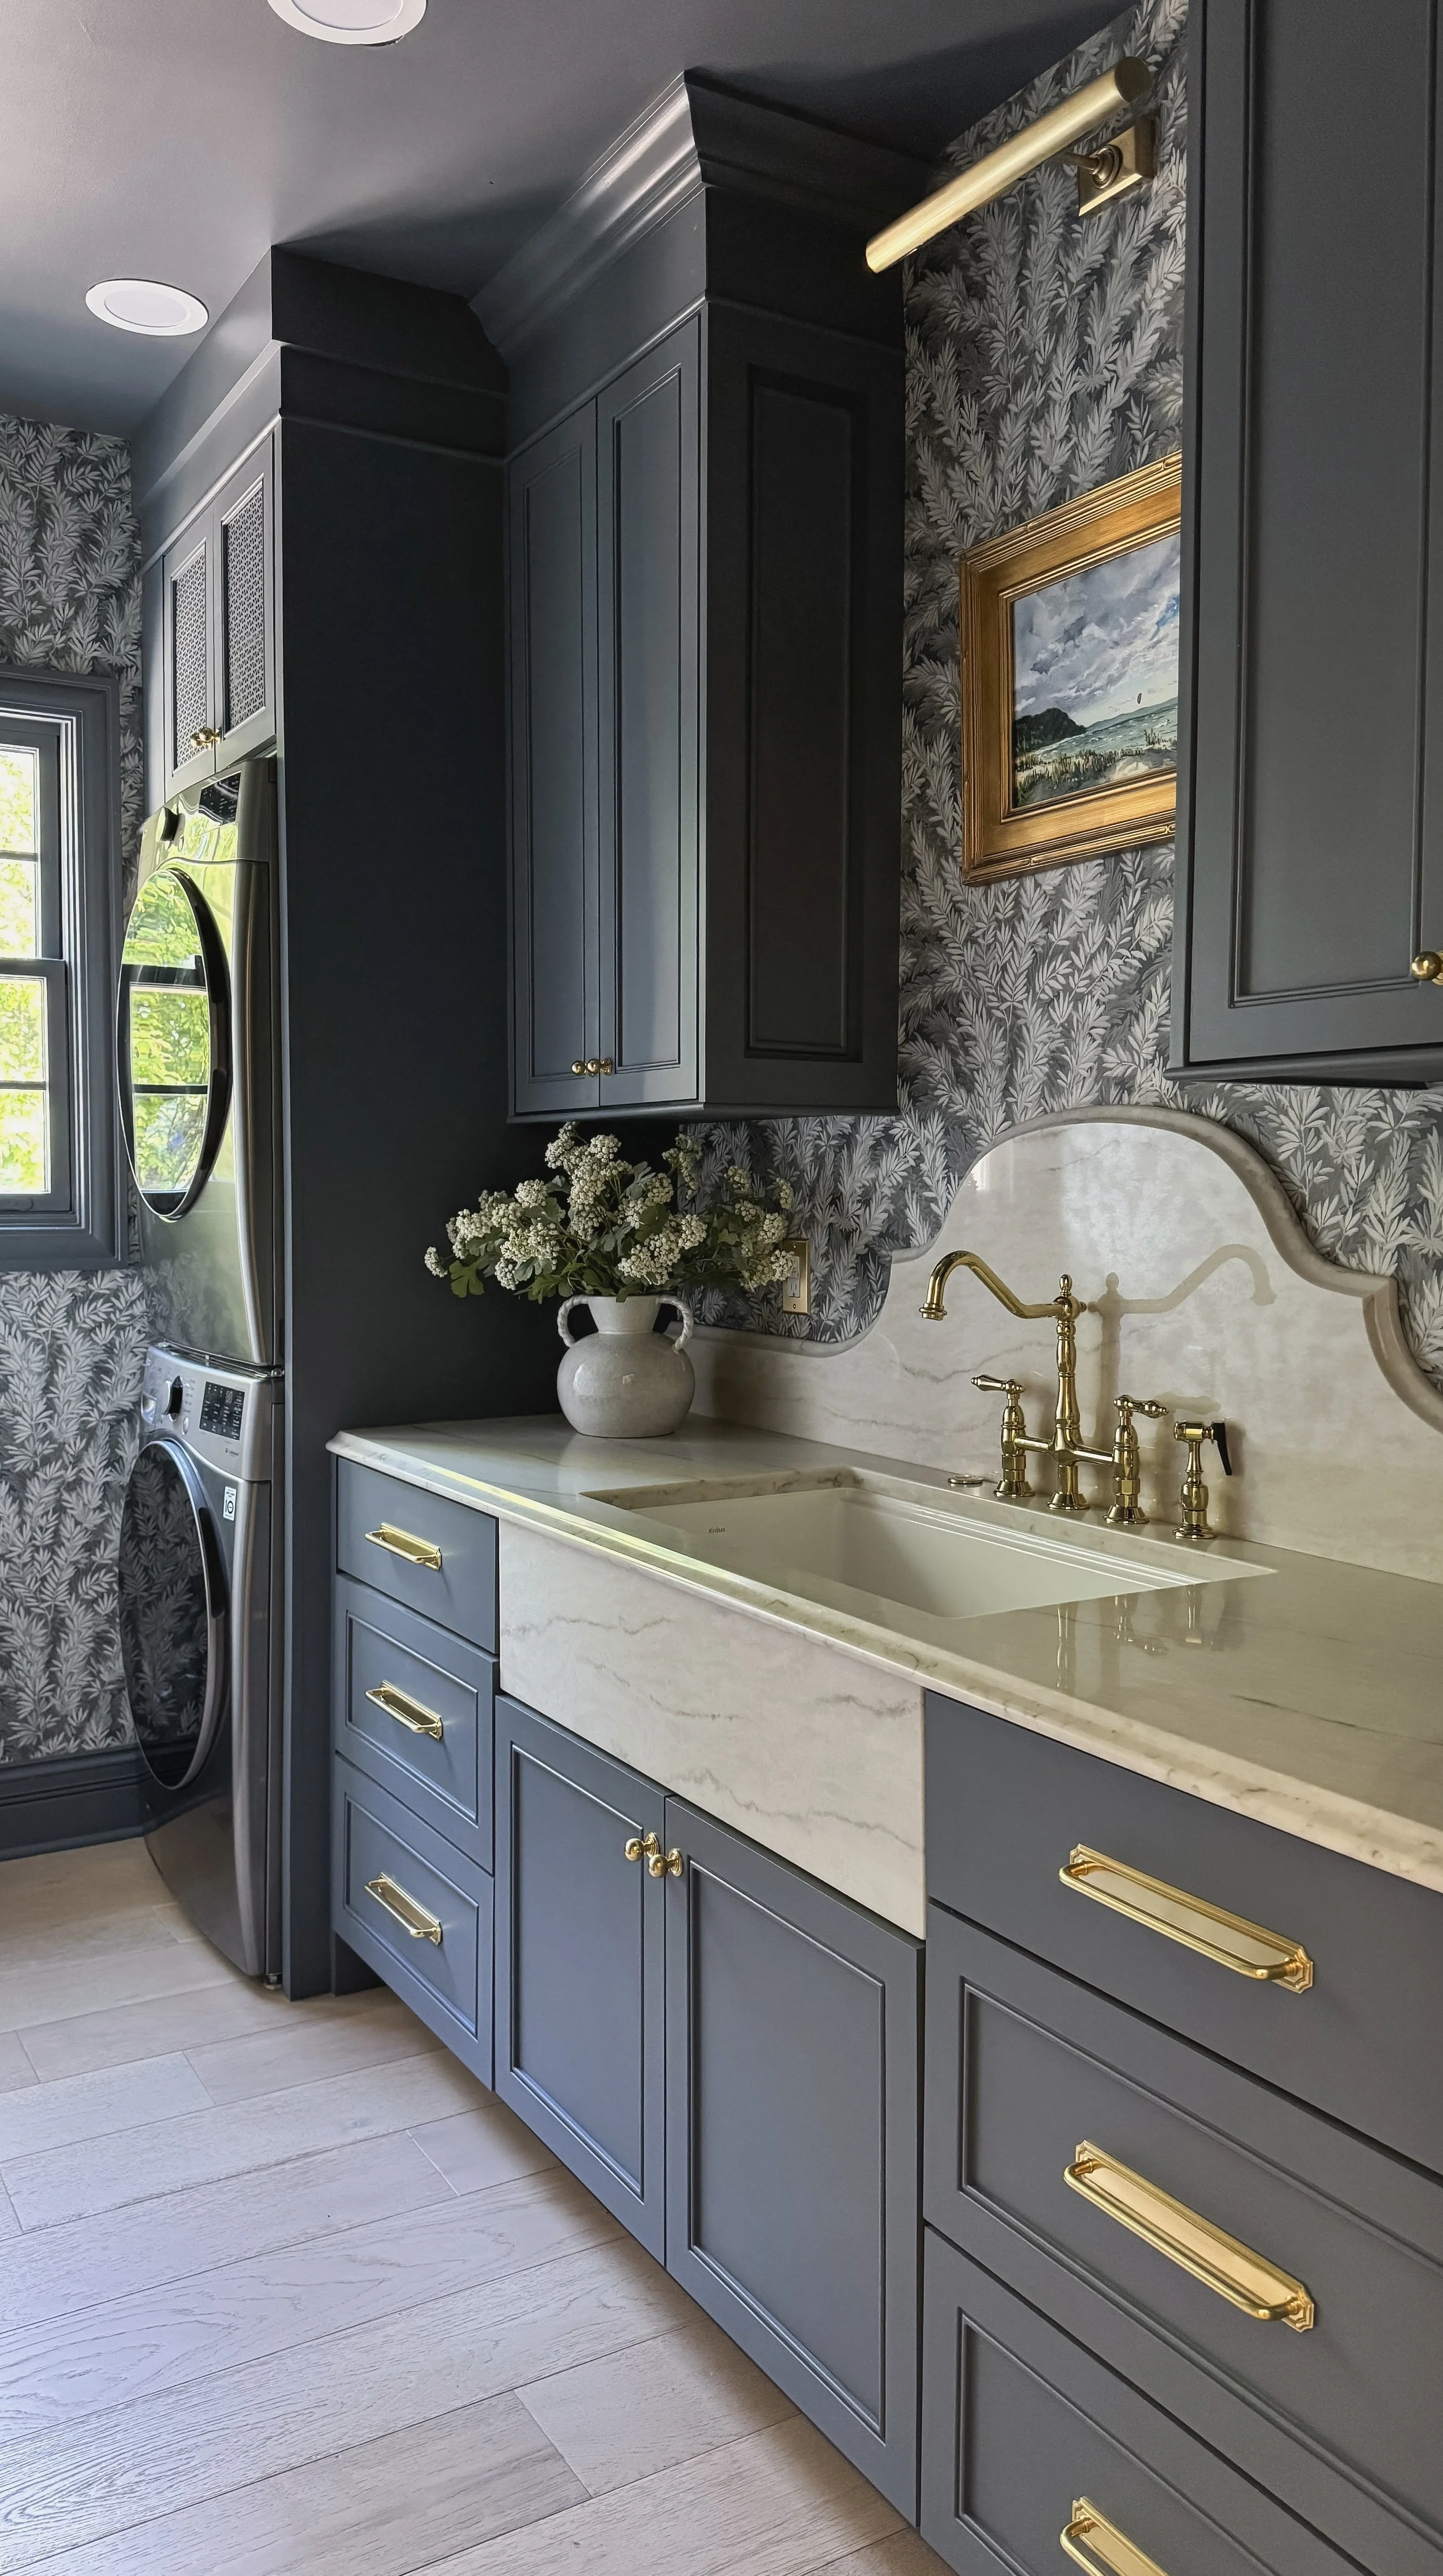
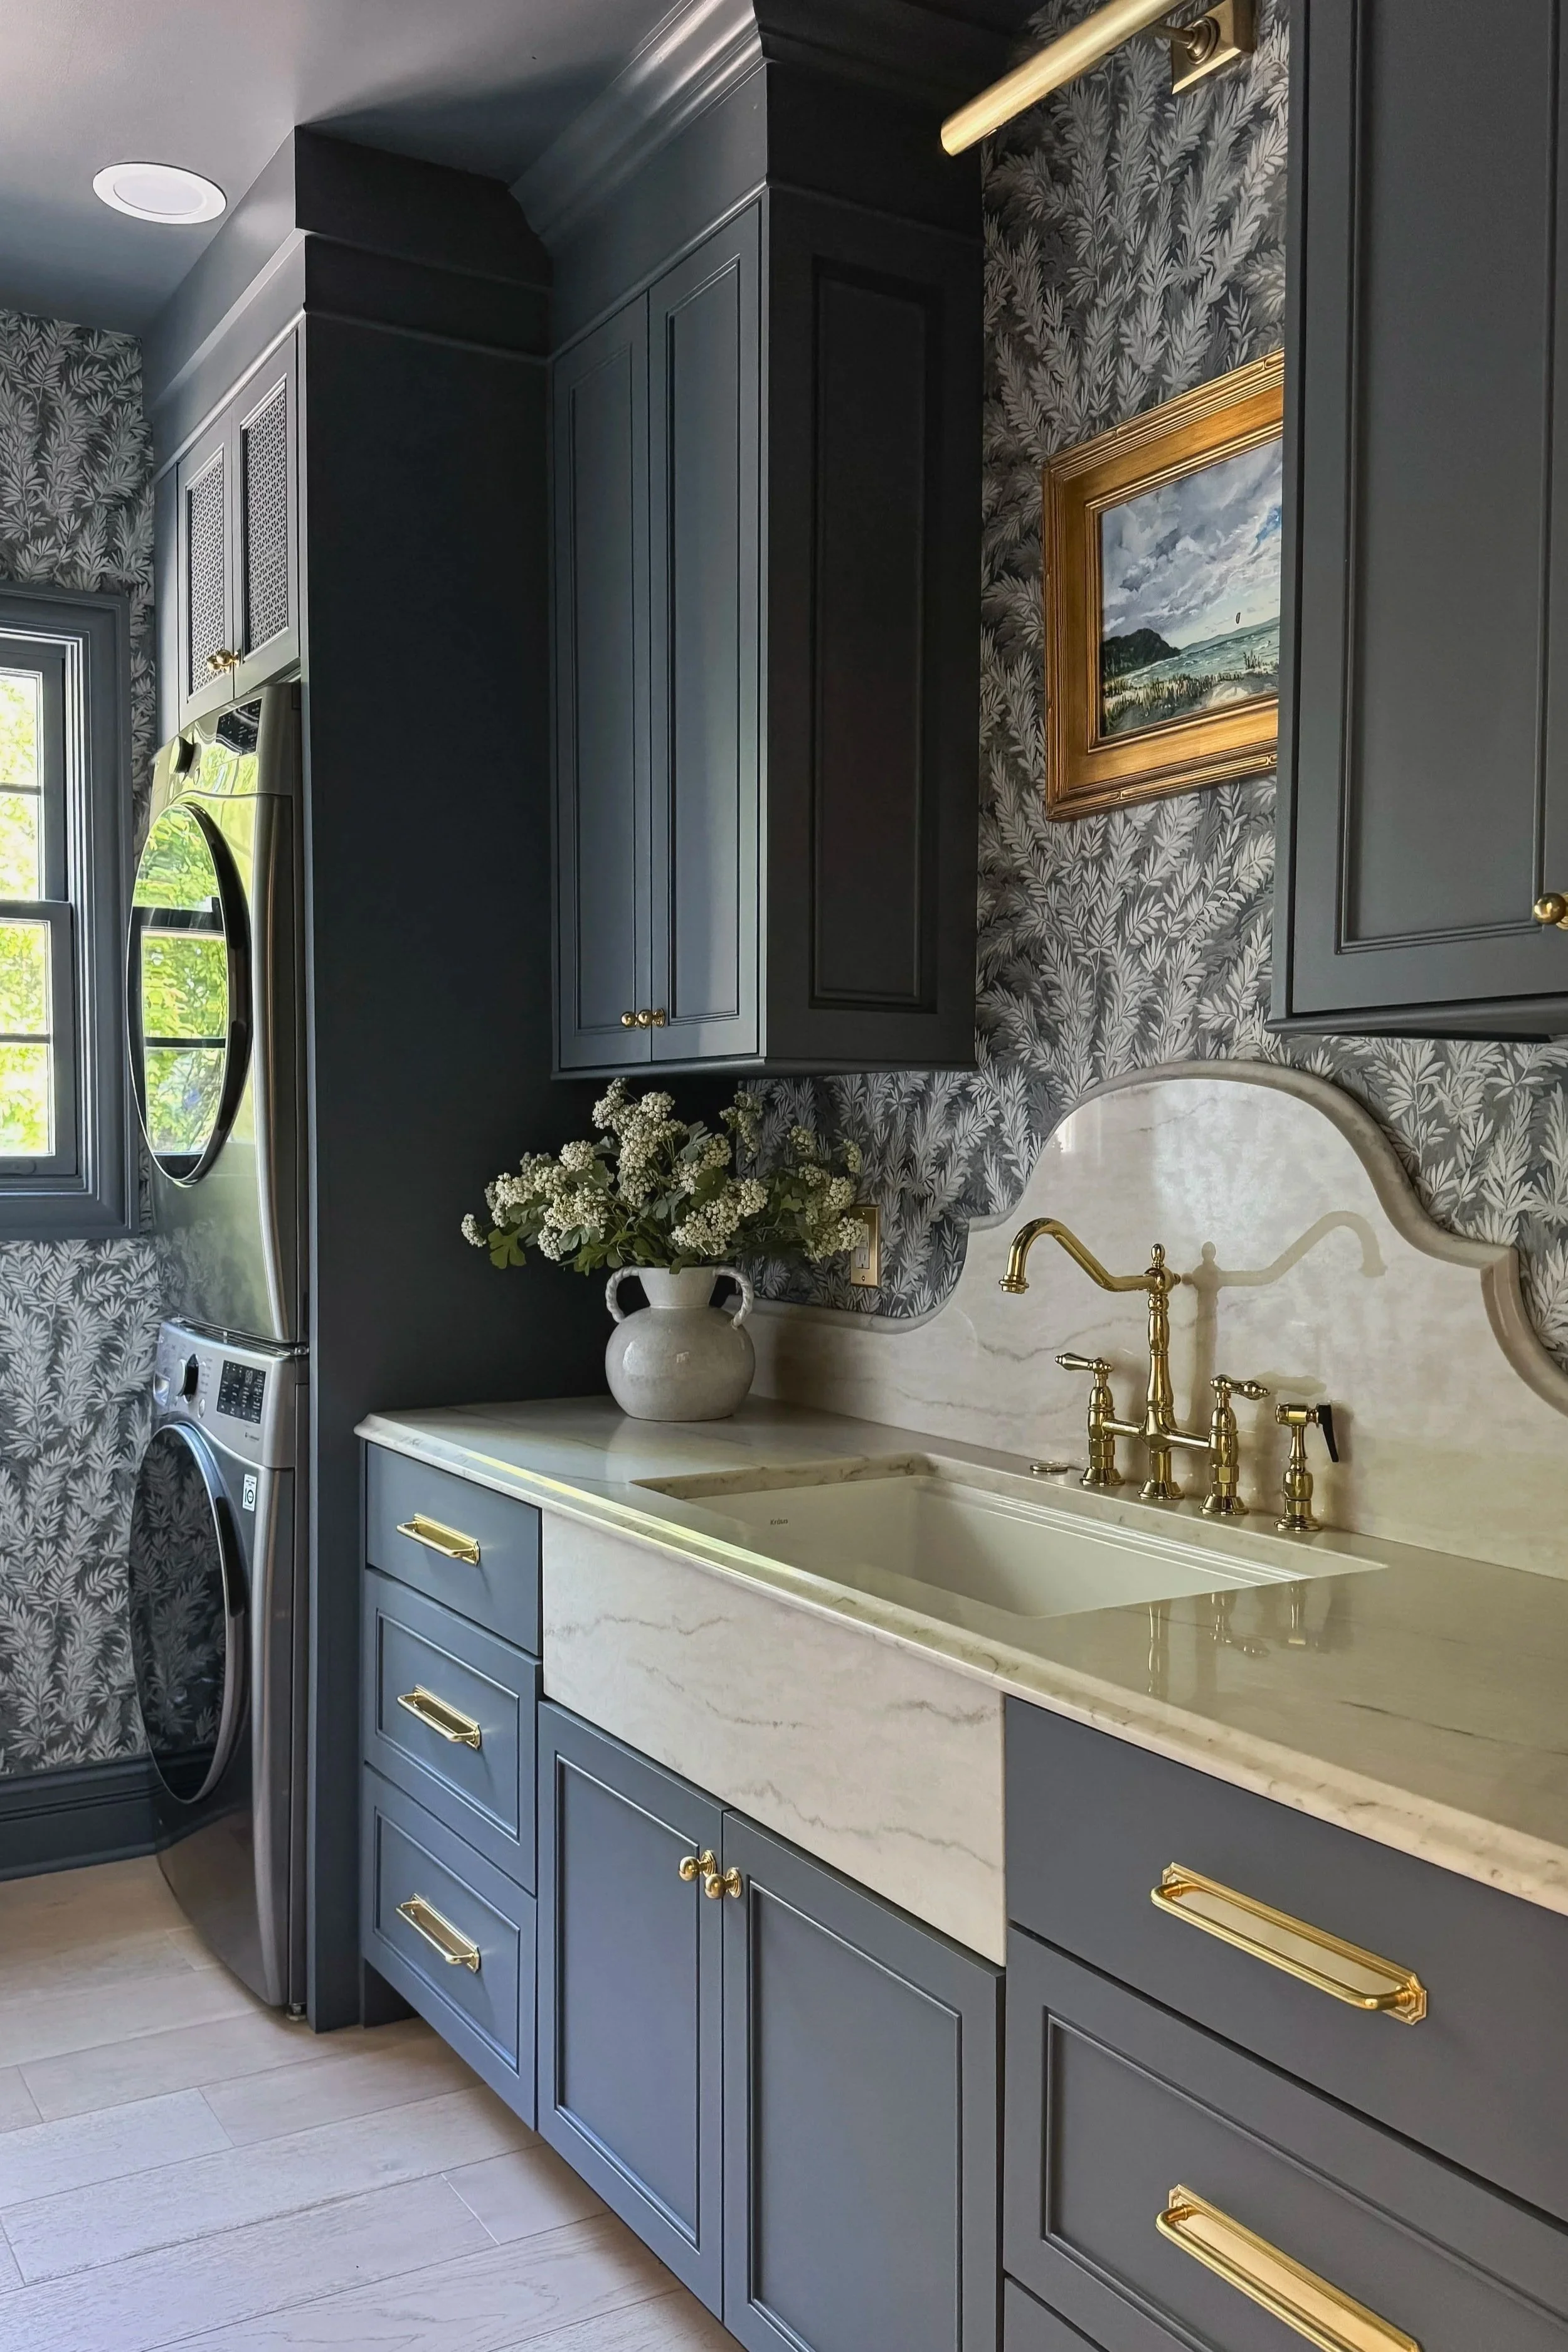
I used this color for my laundry room and think it pairs so well with the wallpaper I chose for the space. This space gets very little natural light and I wanted to really lean into that instead of fighting against it for a light and bright feel. It’s a deep, sophisticated charcoal gray with blue undertones.

Sherwin Williams - Dove Wing

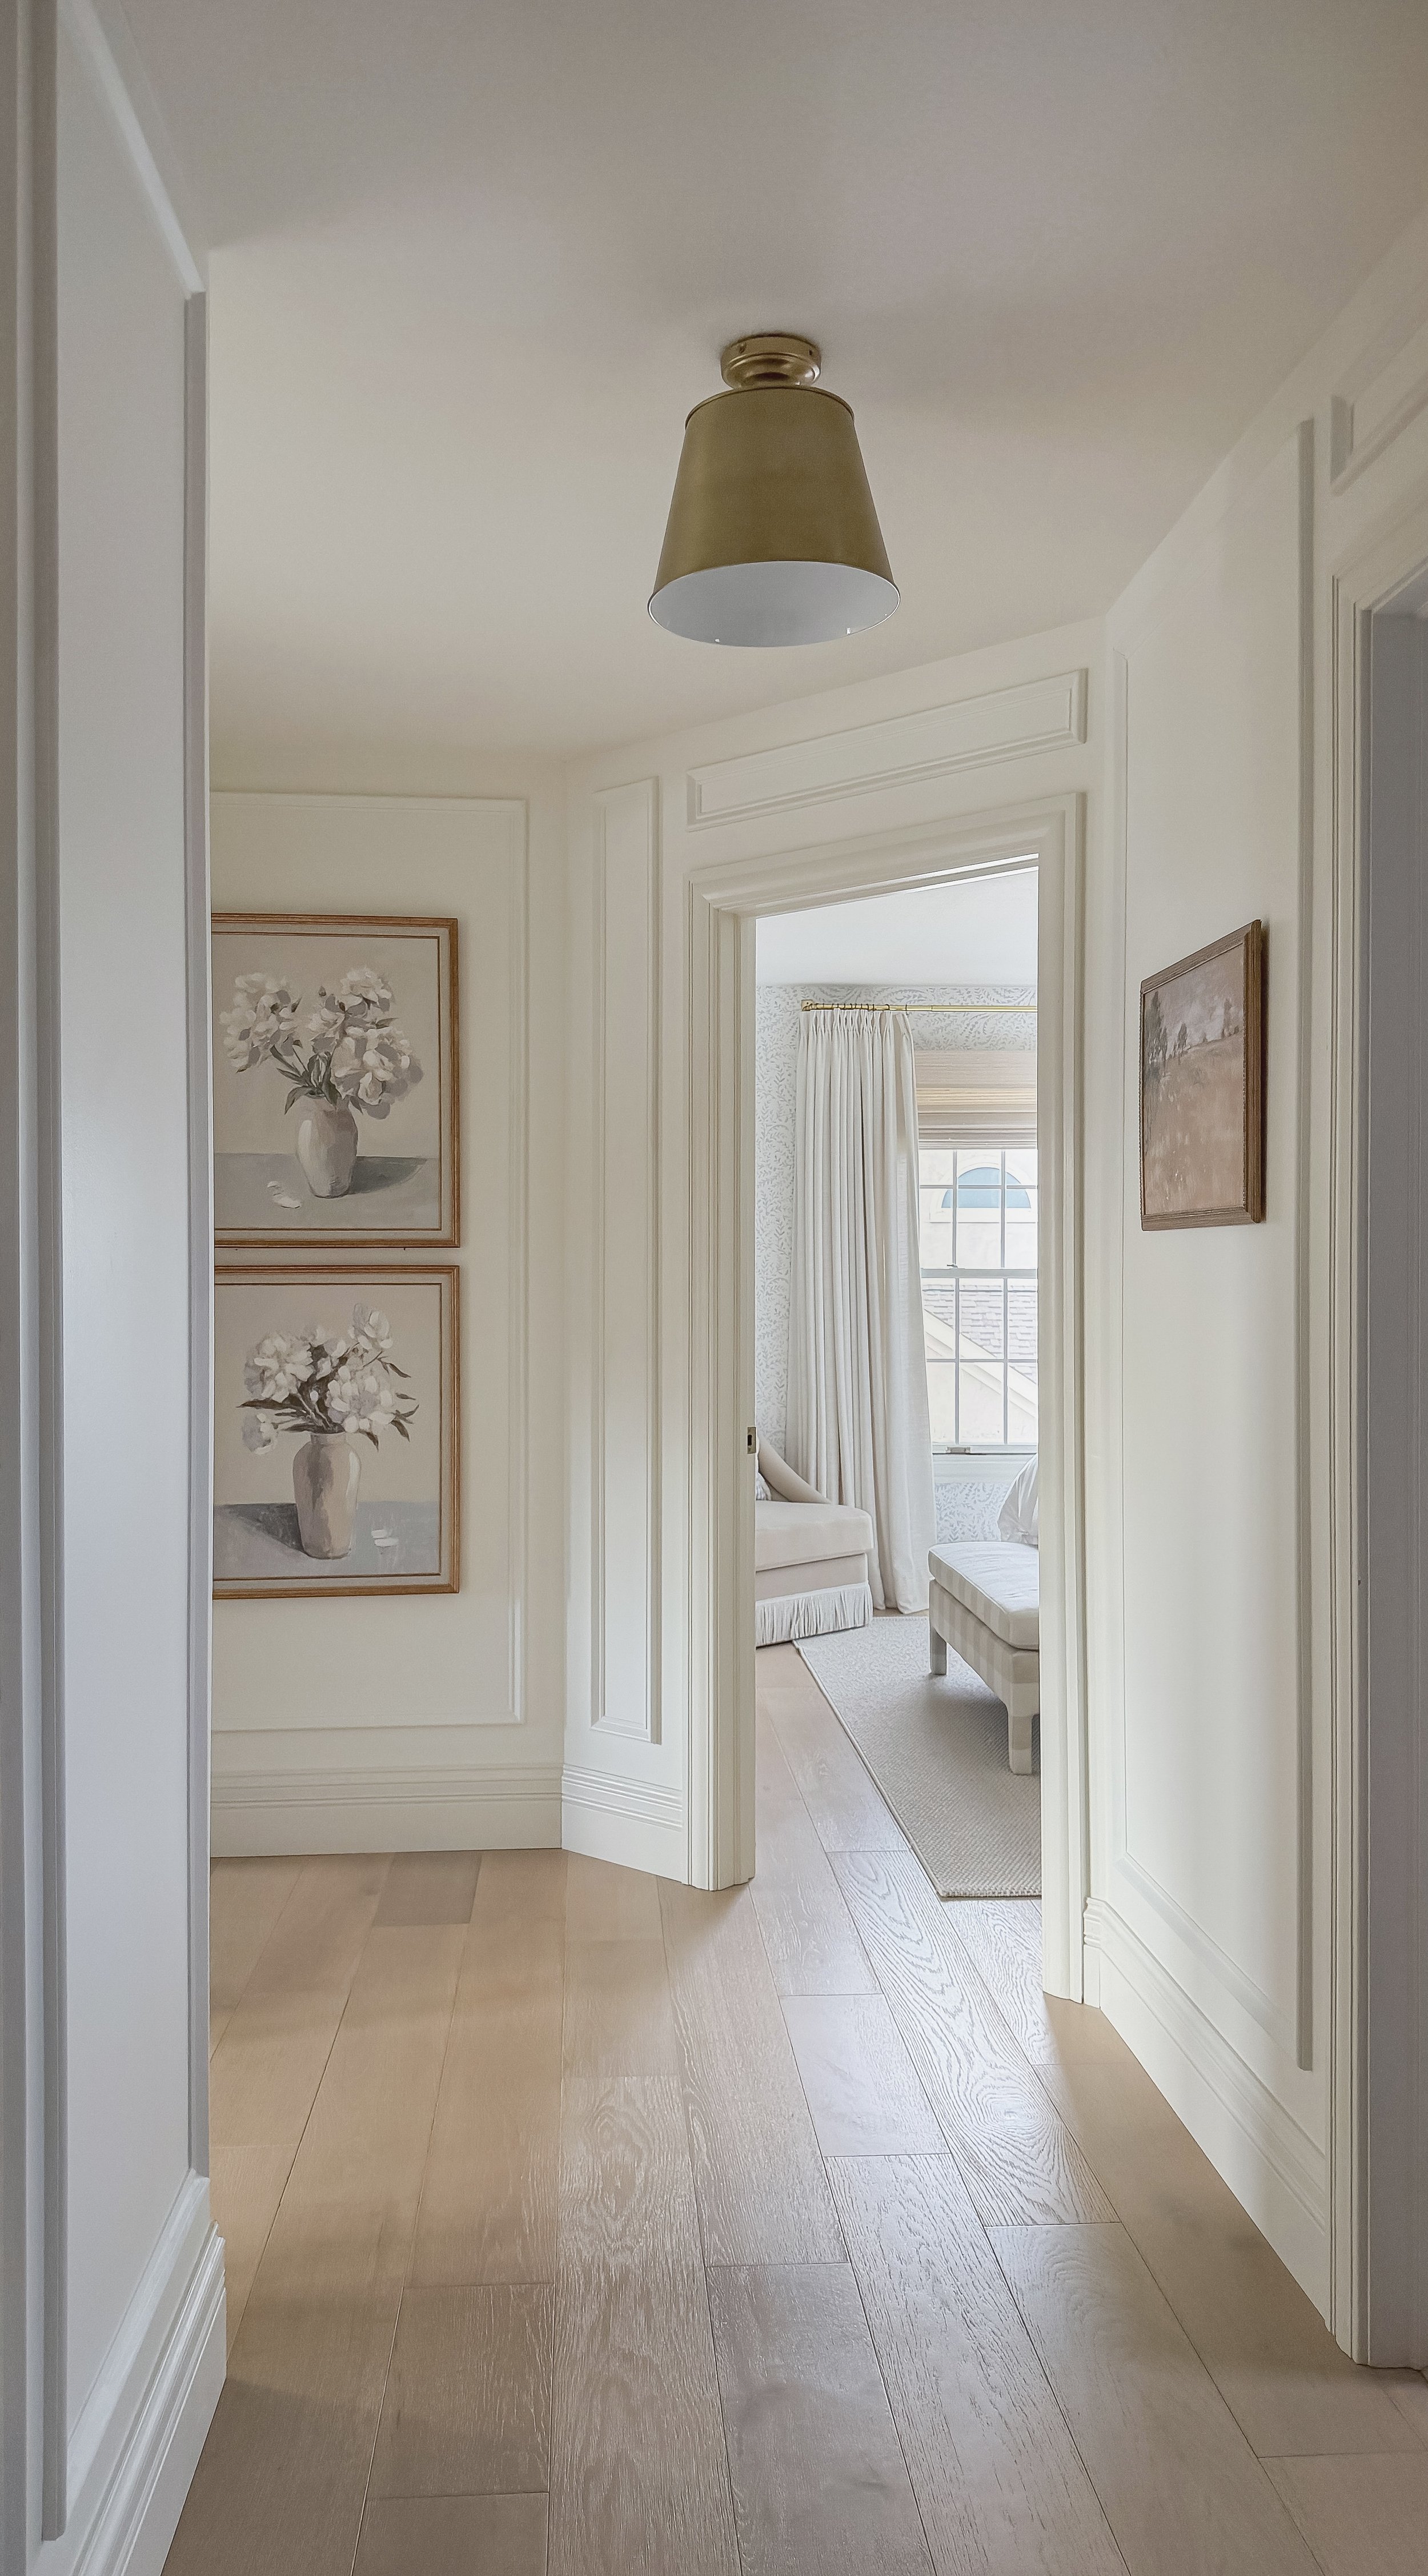
I used this color in my upstairs hallway and on the trim in my guest room. It’s an inviting warm putty tone that pairs beautifully with Sherwin Williams Greek Villa. The contrast between the two colors is incredibly subtle and can really only be appreciated in areas with less natural light.

Benjamin Moore - Puritan Gray

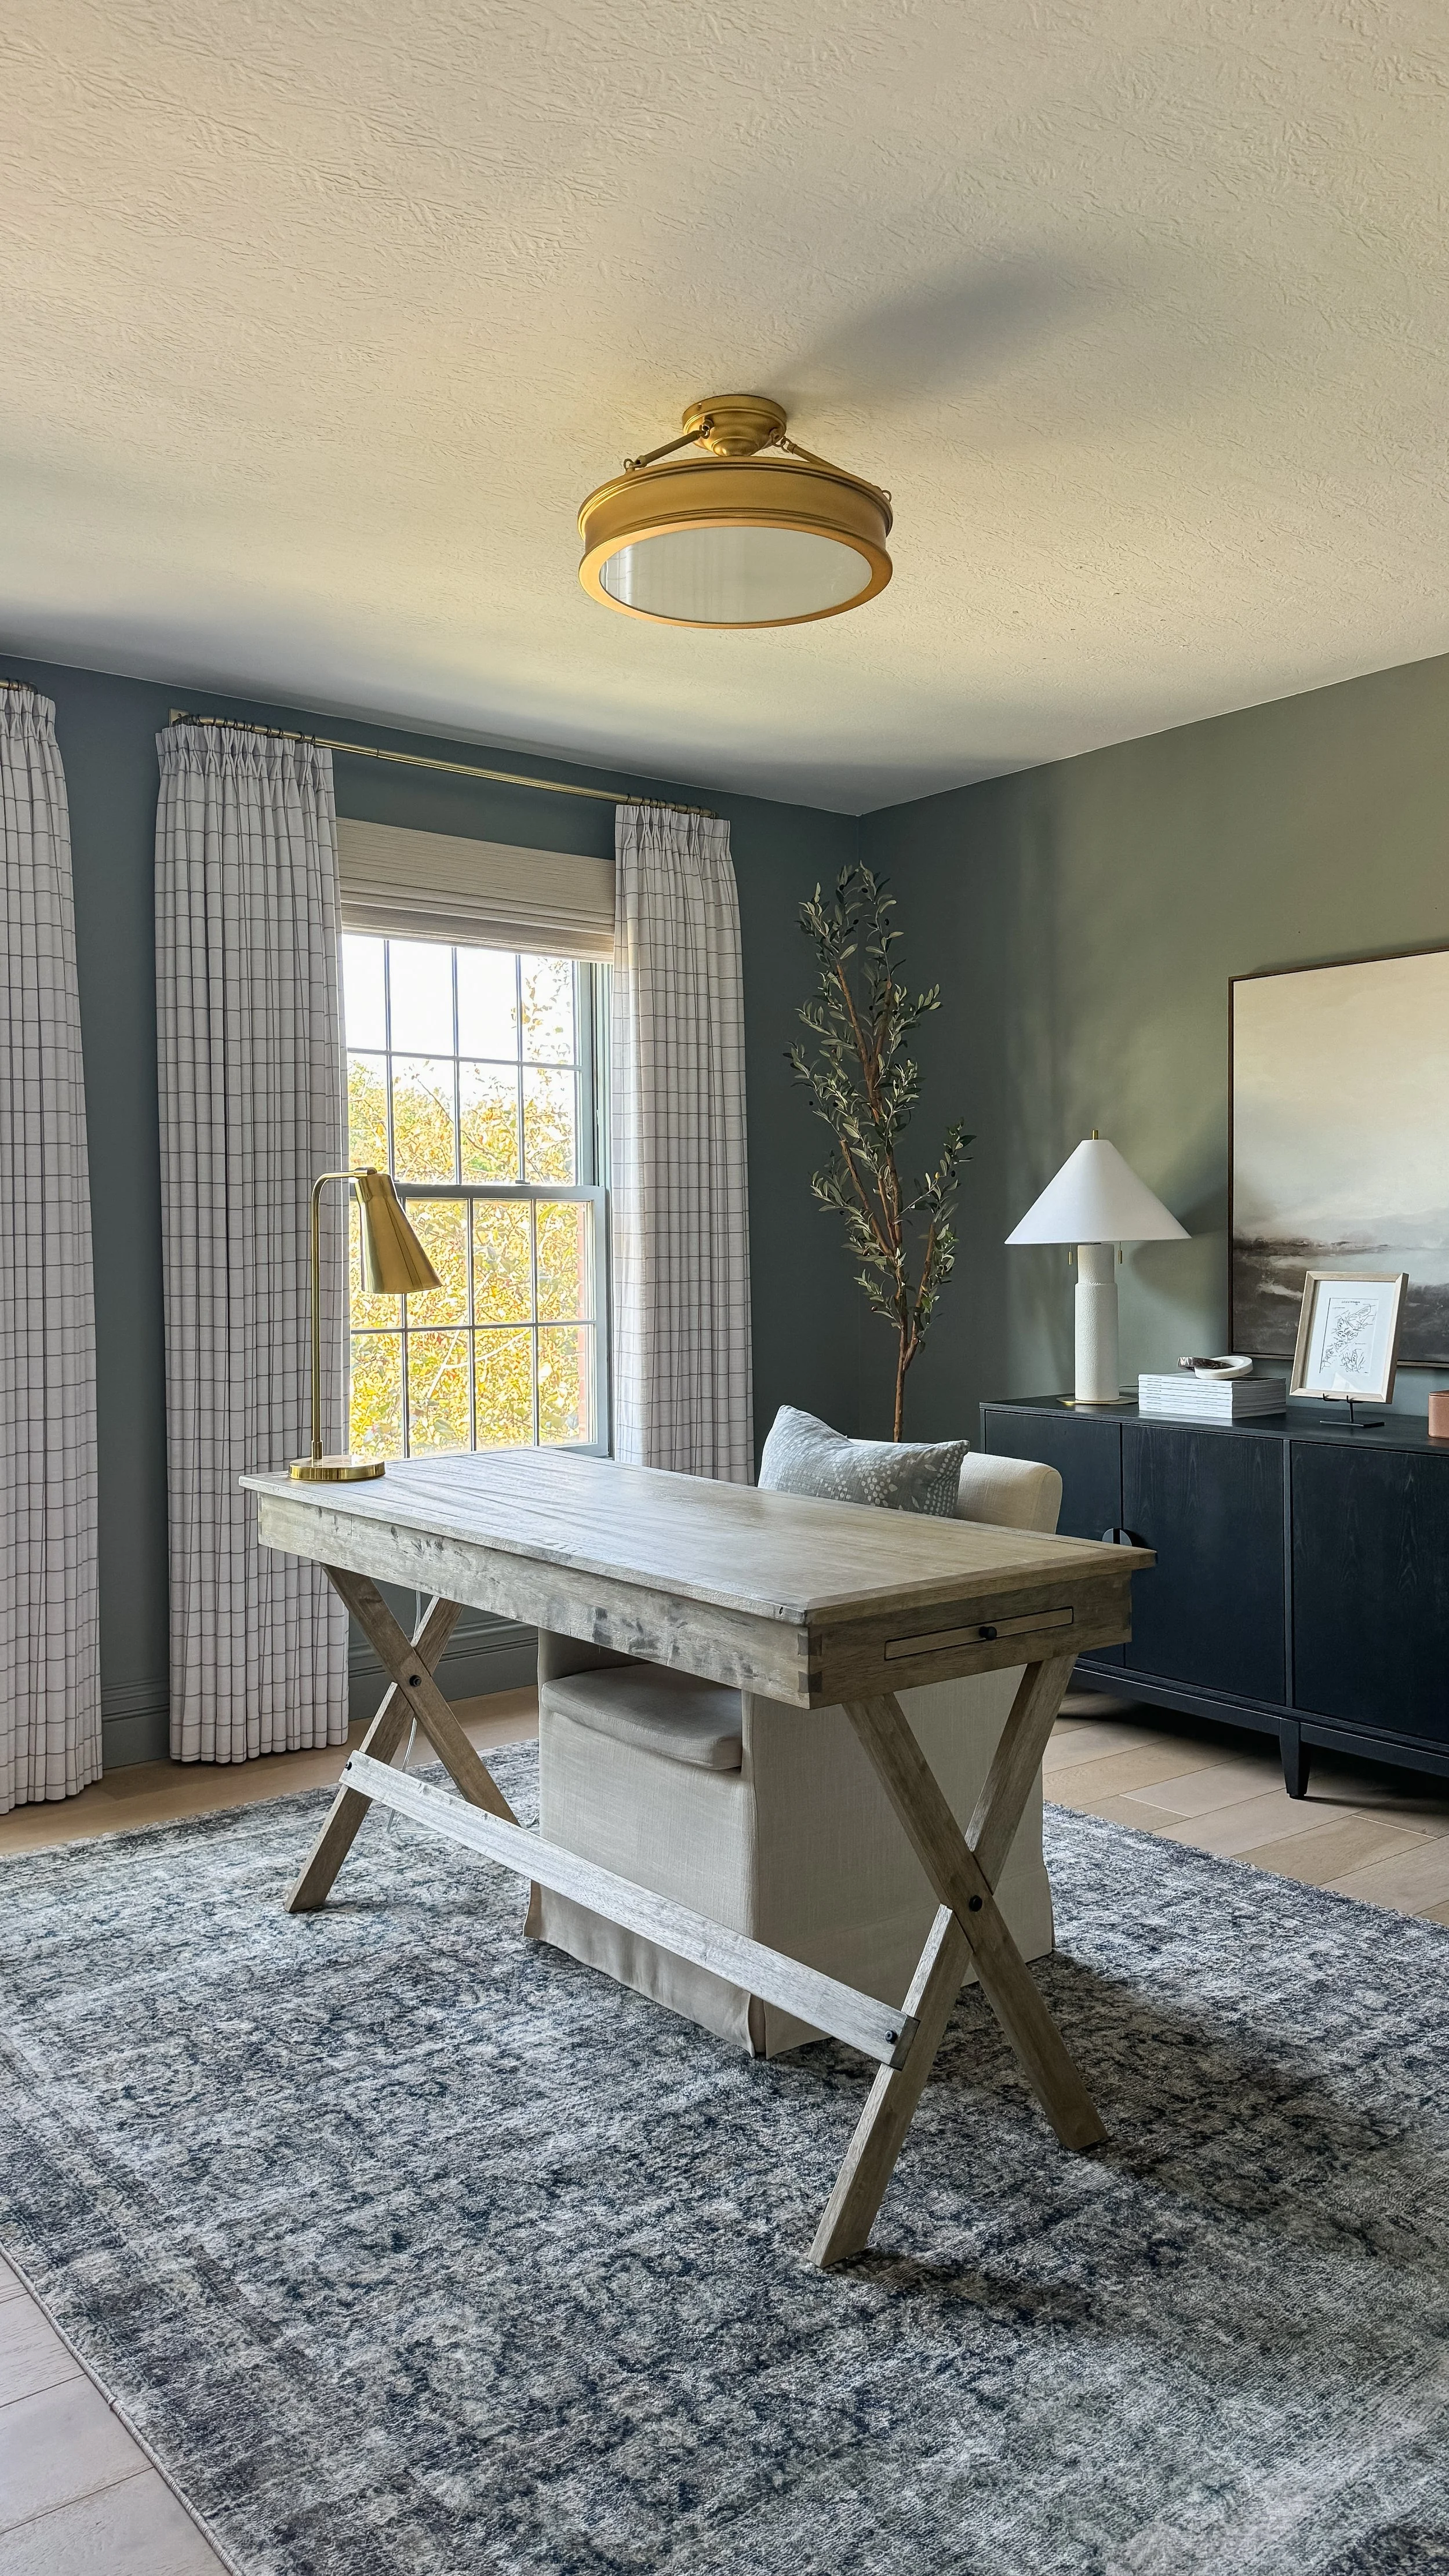
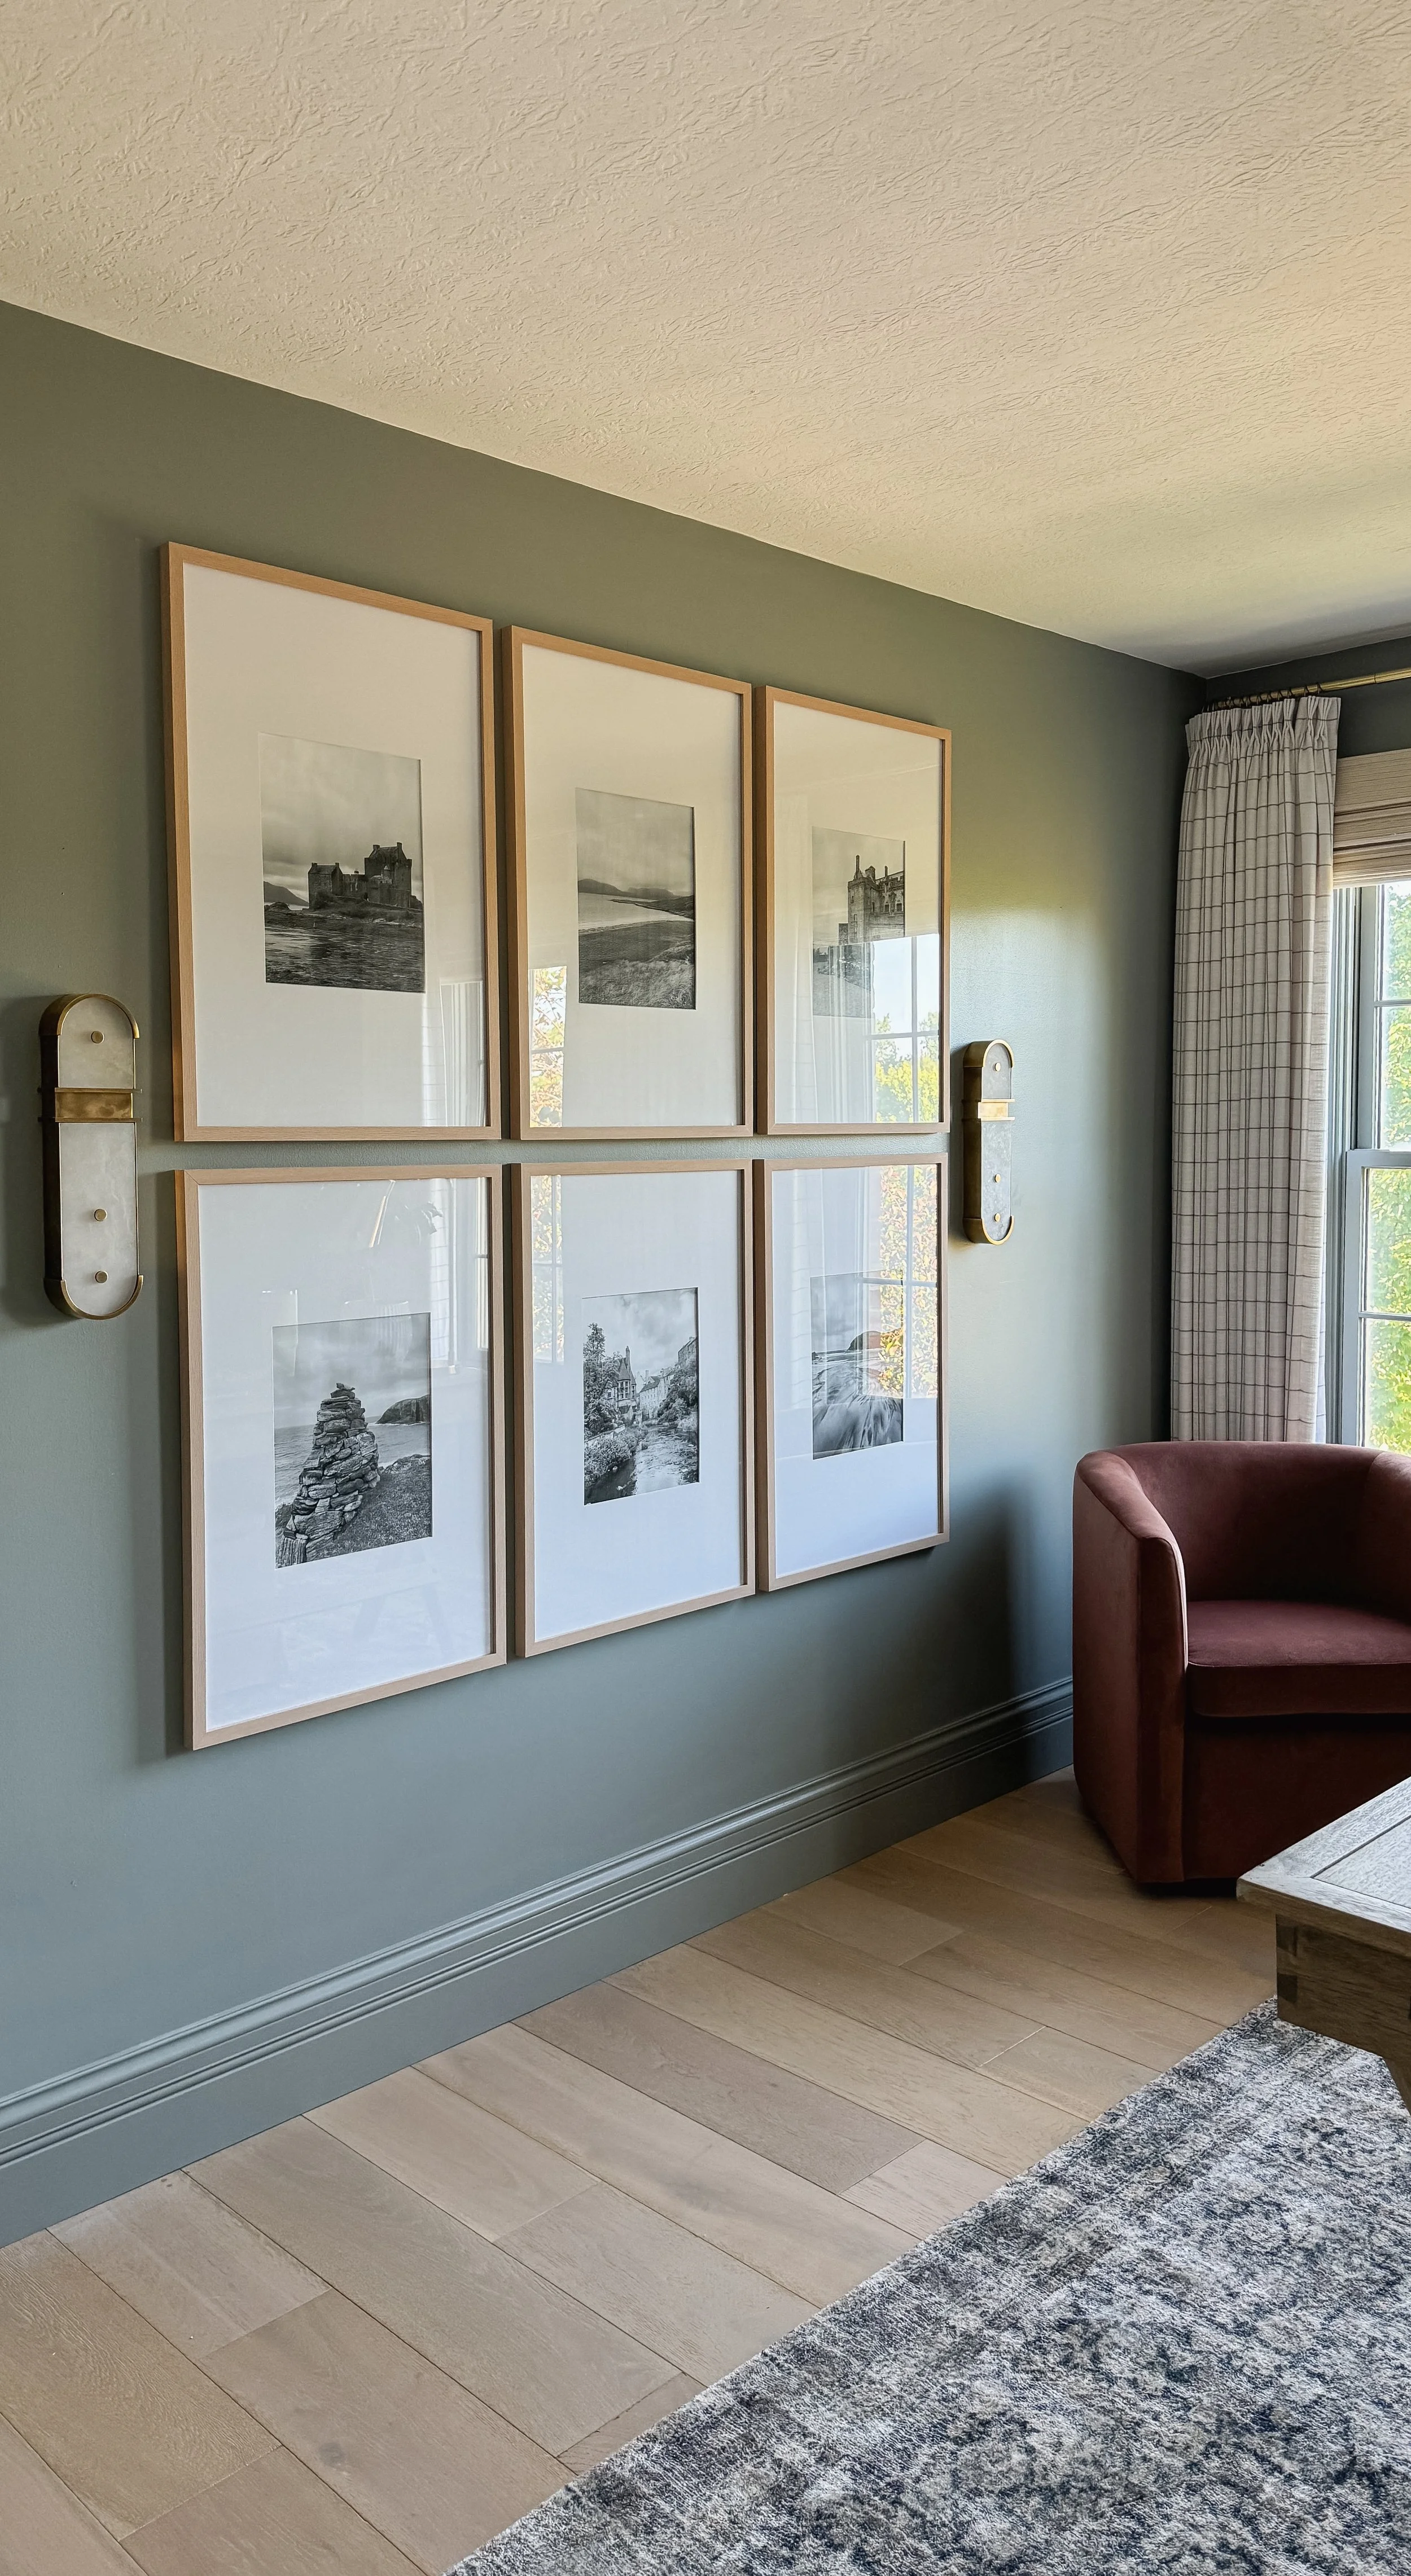
My husband really wanted a moody, country club aesthetic for his office and Puritan Gray fits the bill. It’s a mid-tone hue with a blue/green/gray undertone. It’s a very versatile color that would add a punch of personality to any space and would look fabulous on cabinetry.

Sherwin Williams - Let it Rain

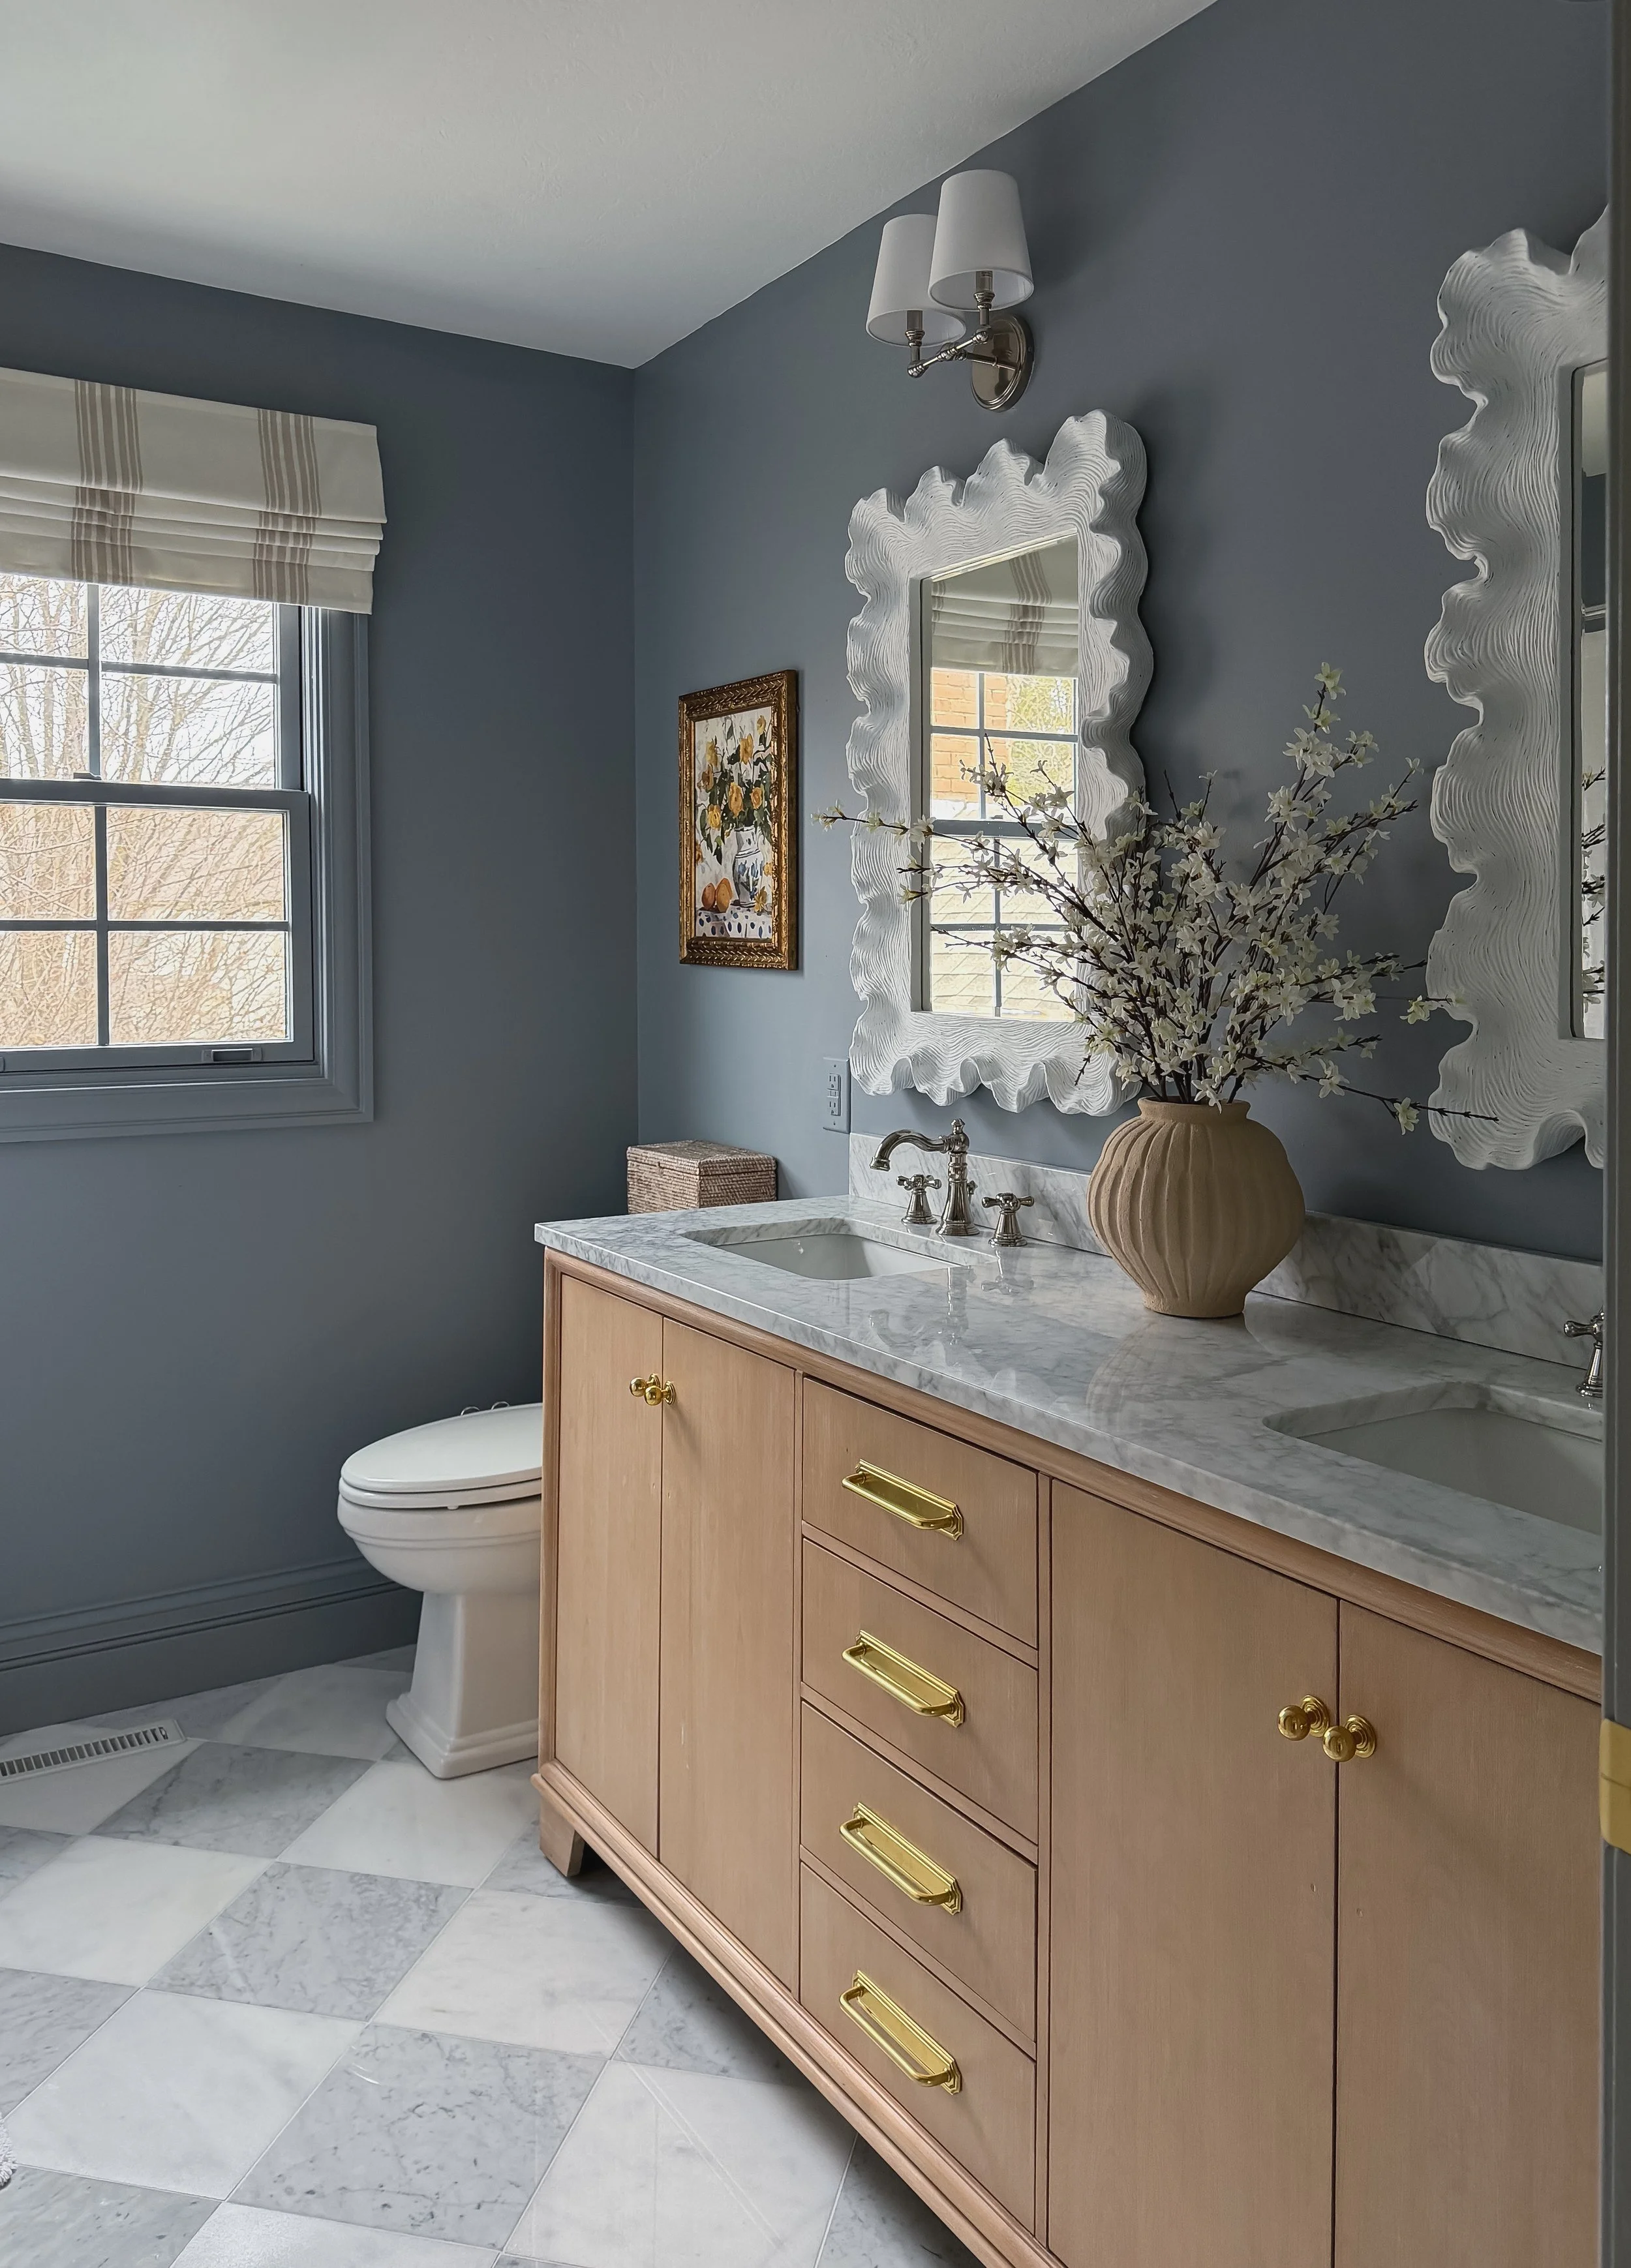
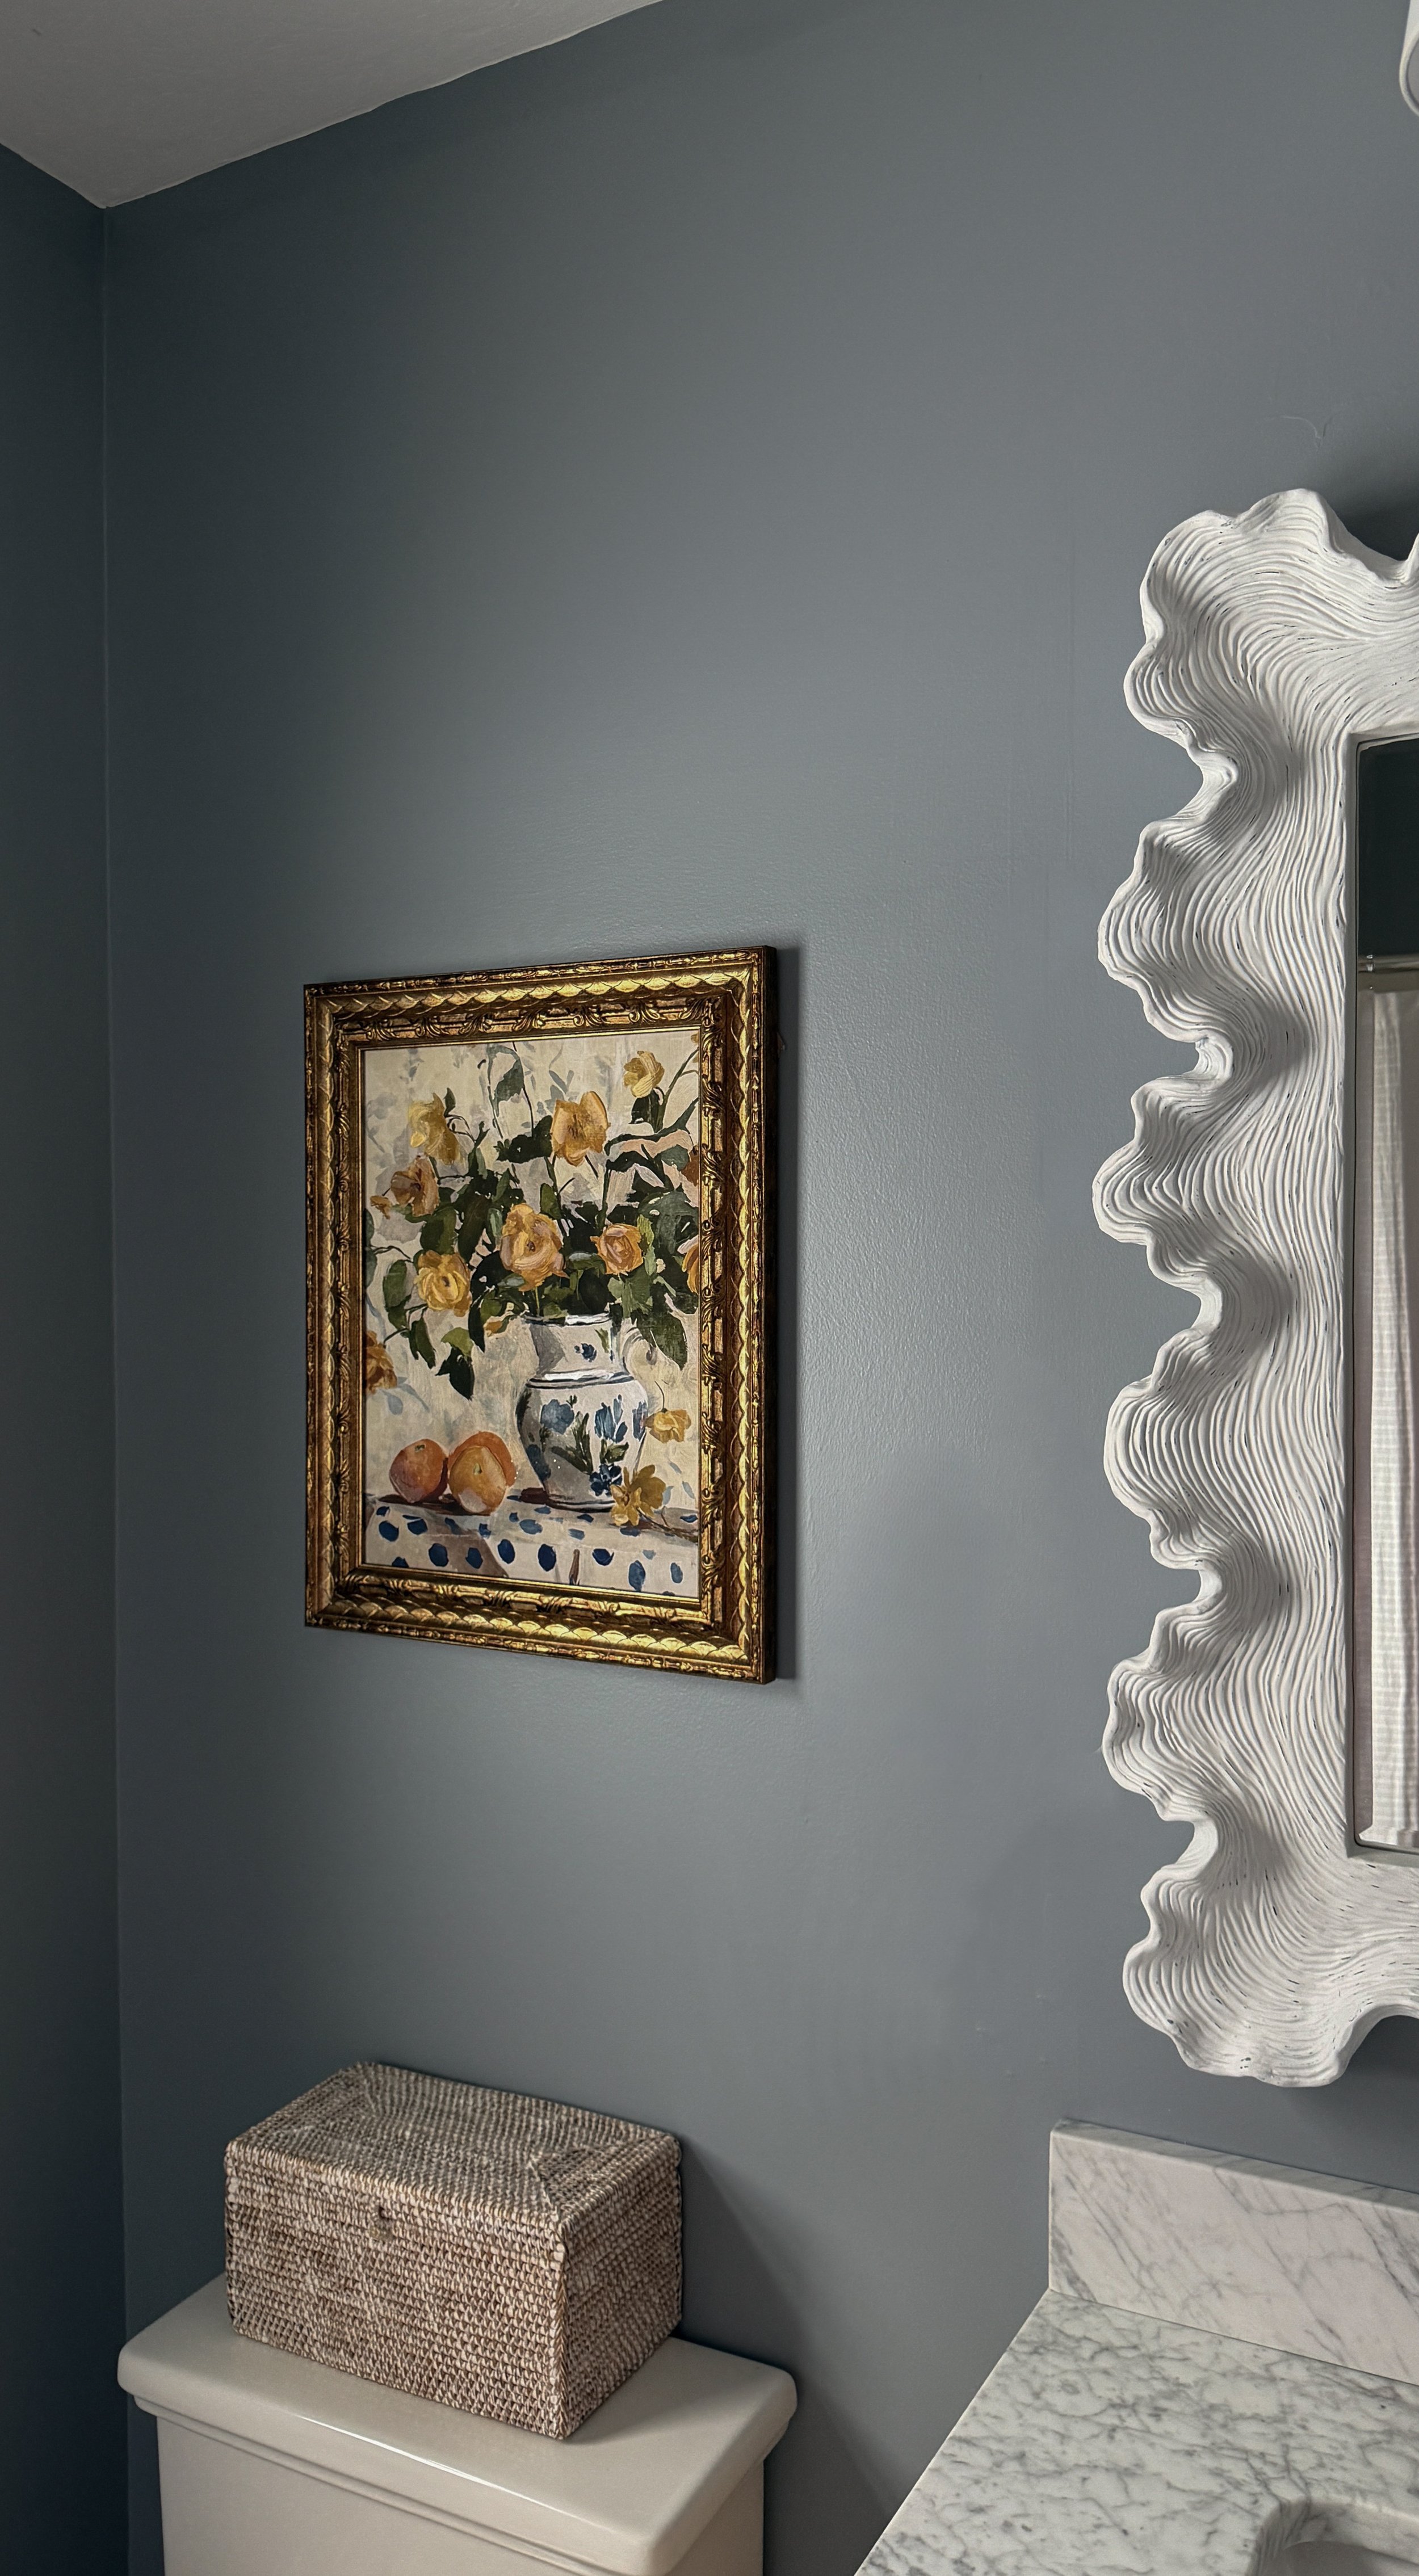
This color is a beautiful cool blue/gray that give this guest bathroom a calm and tranquil feel. The lighting in the space really influences how gray or blue the color appears.

Sherwin Williams - Poetry Plum

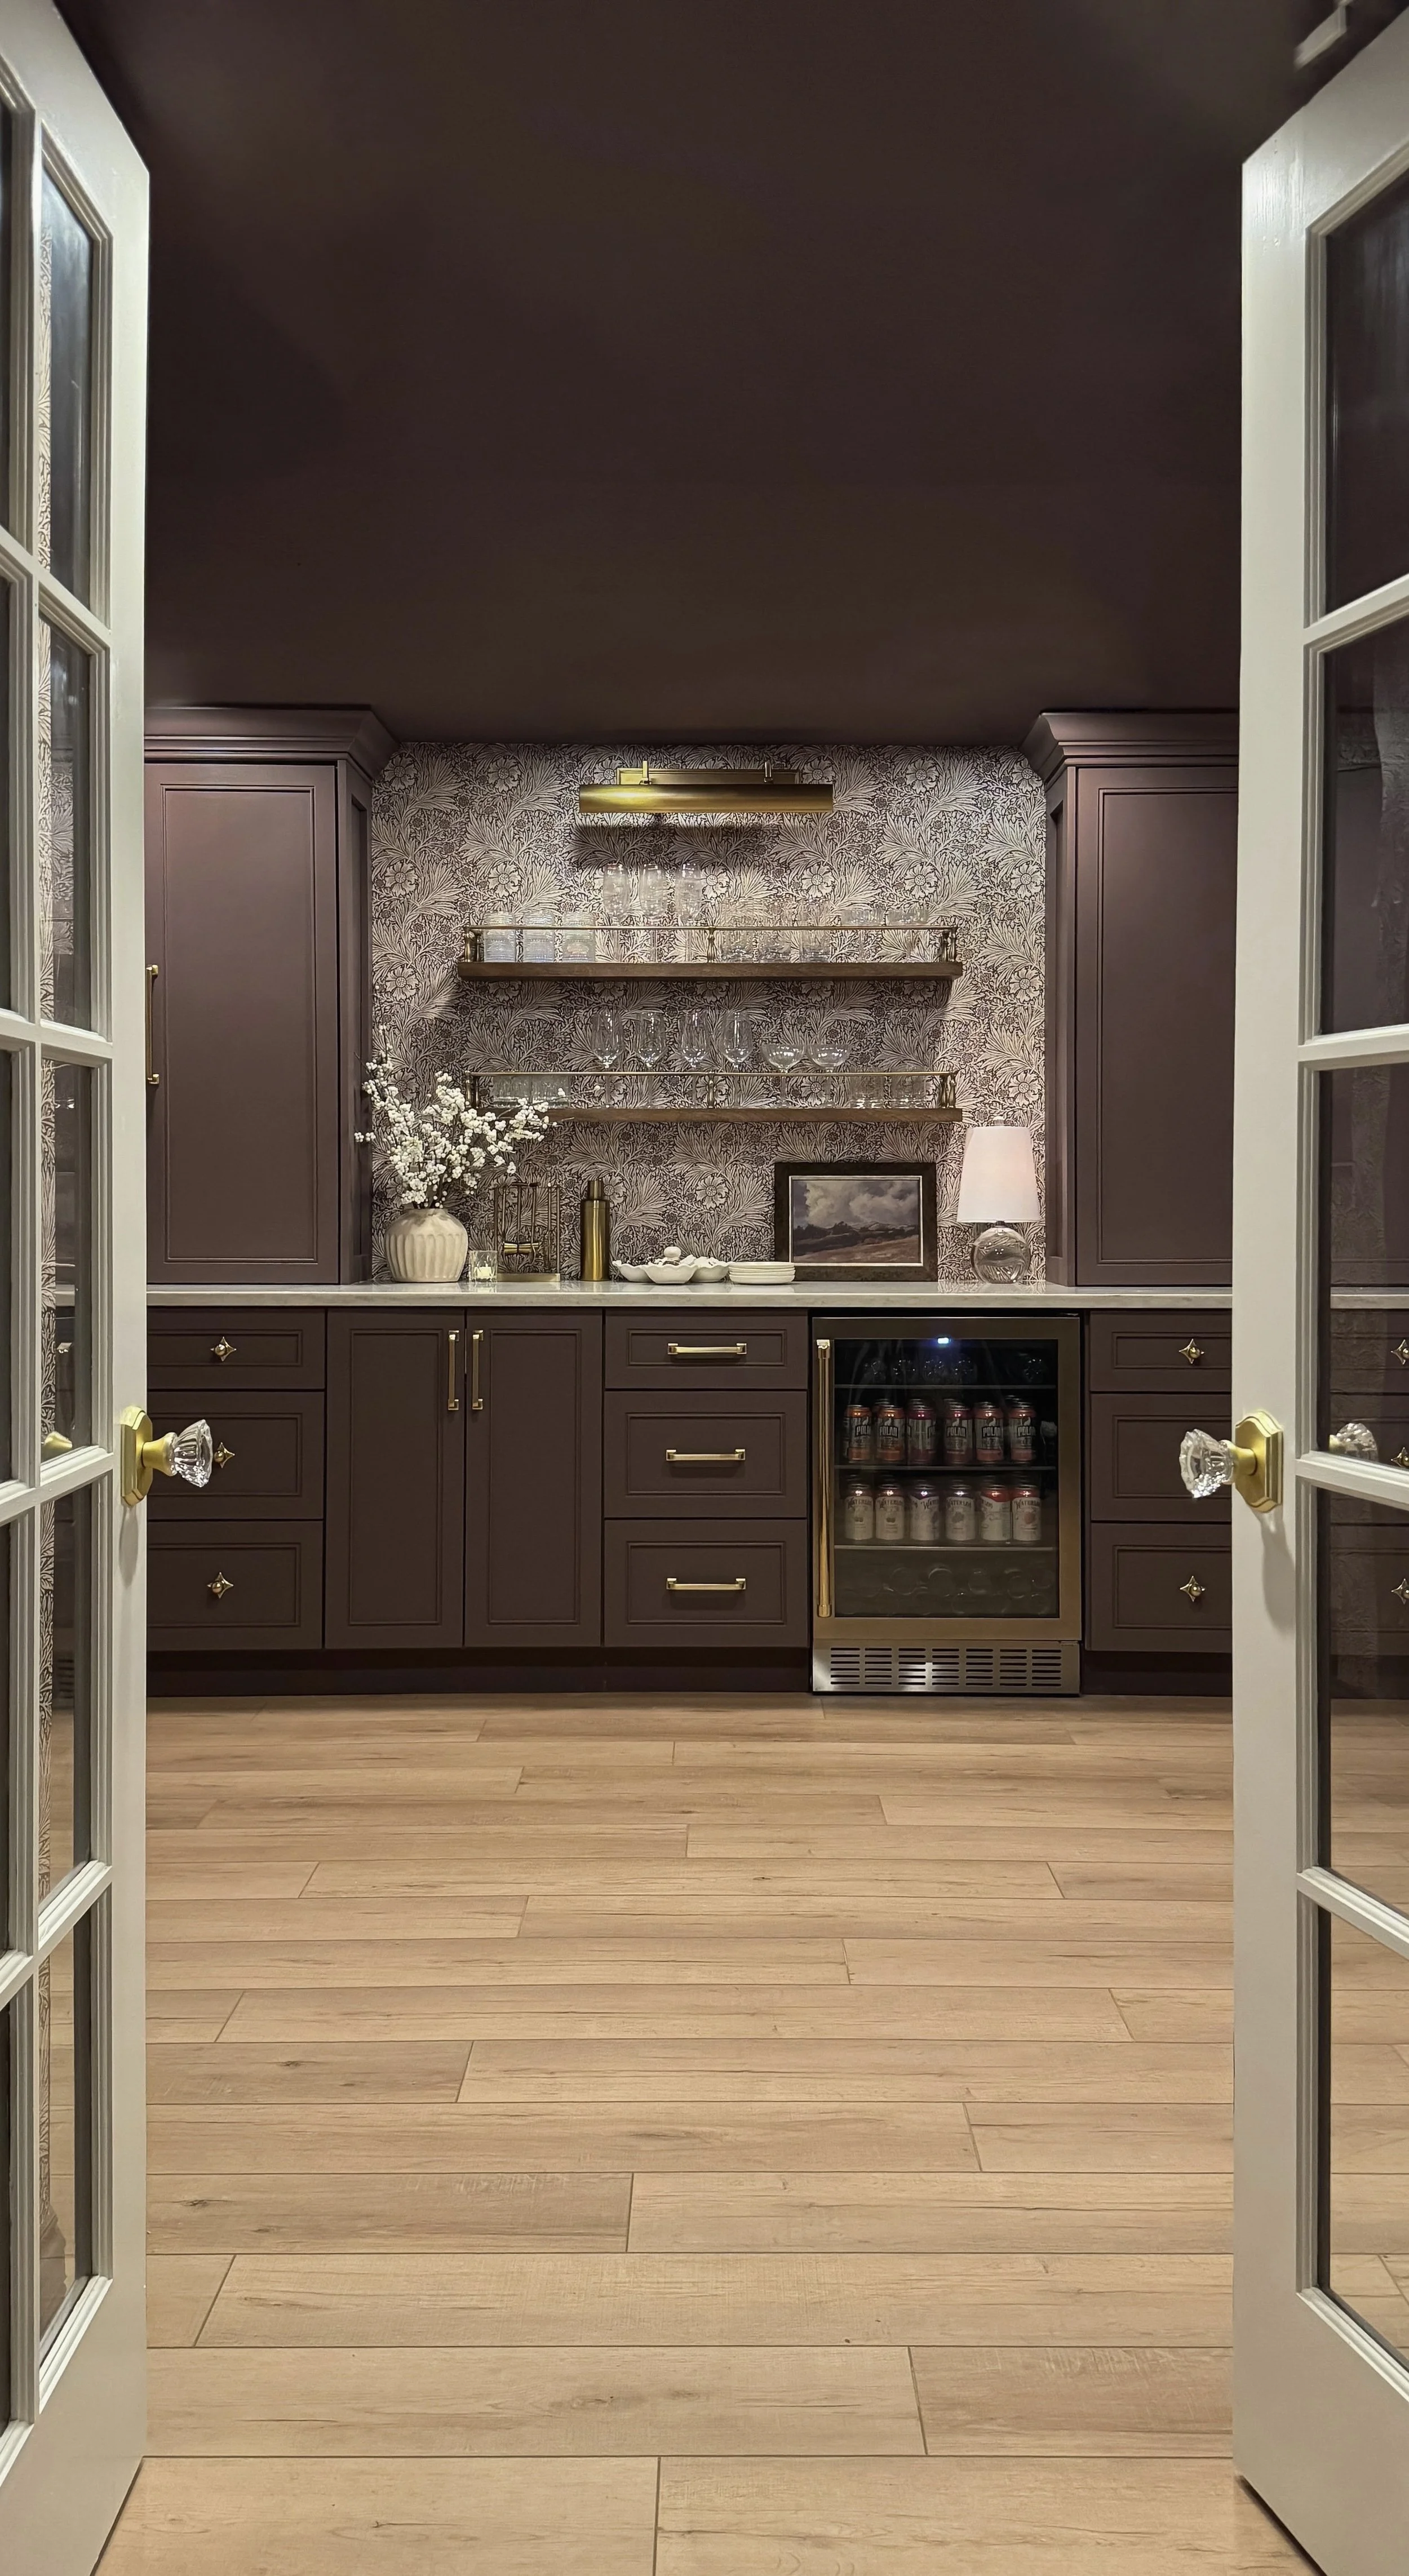
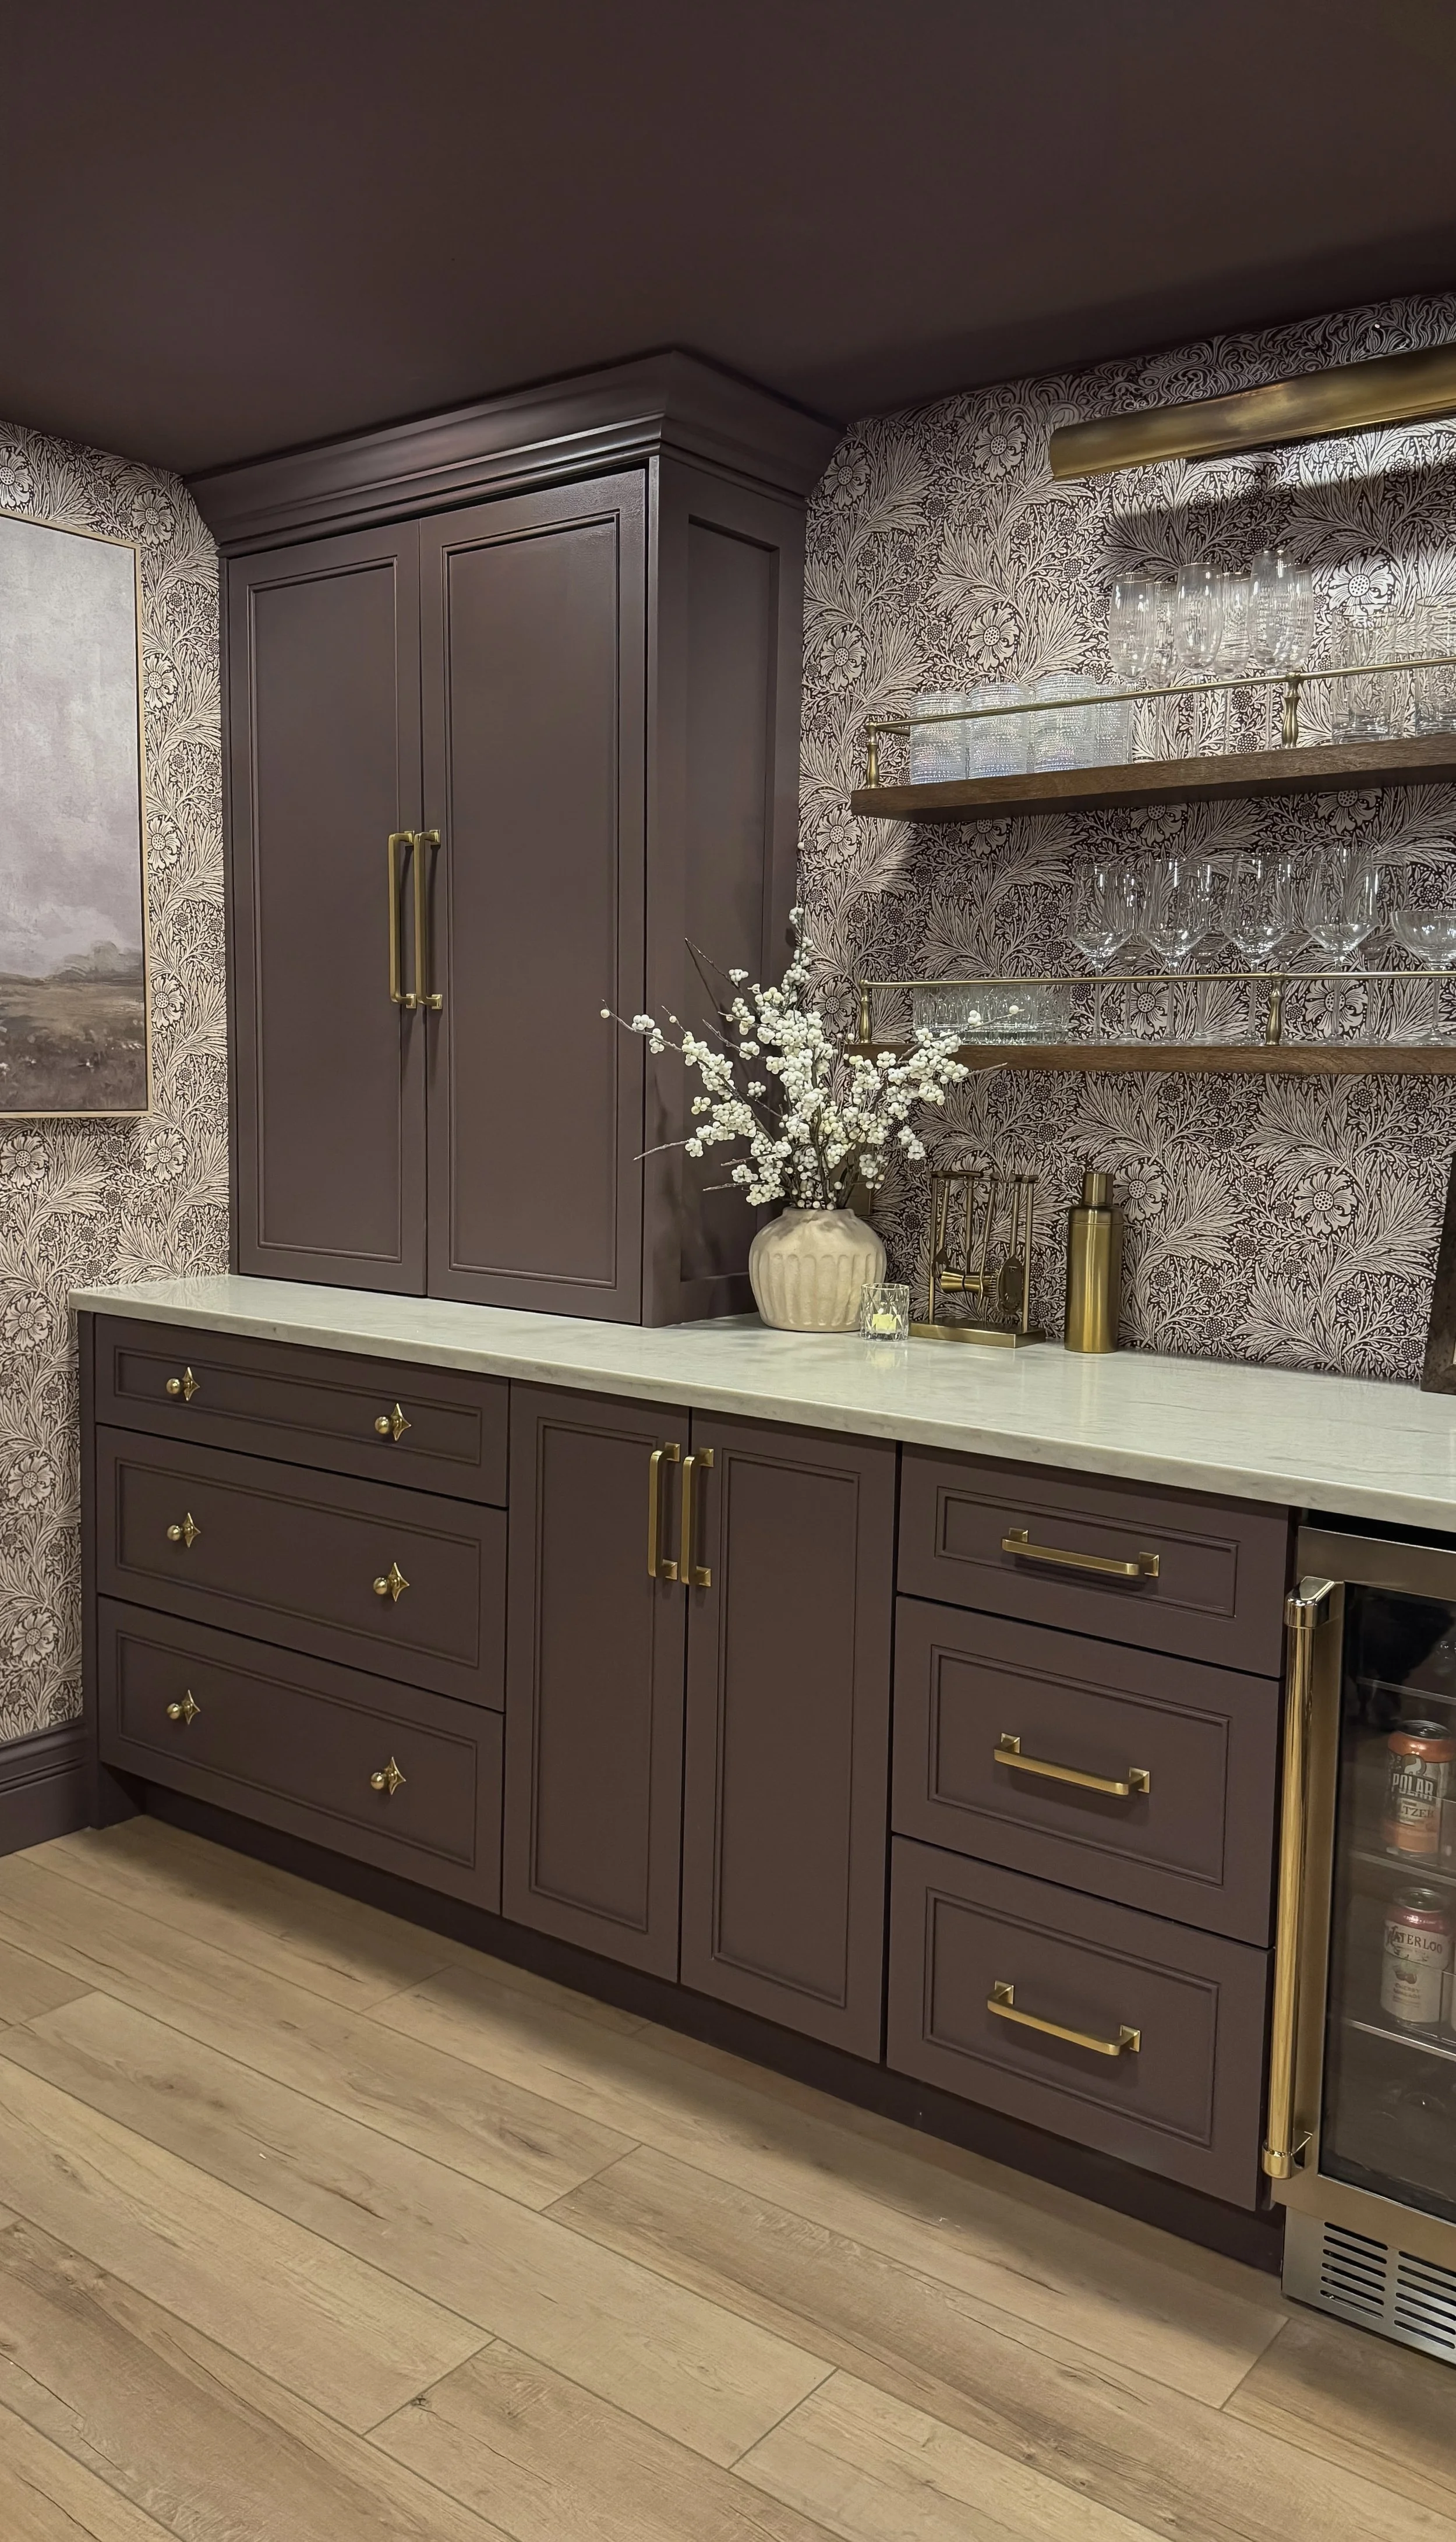
I was so excited to use this deep plum color in my basement bar! It has a strong brown undertone with just a touch of purple. The undertones are more exaggerated in my basement due to to the artificial lighting. I think this color would look a lot more muted and subtle in natural lighting.

Sherwin Williams - Peppercorn

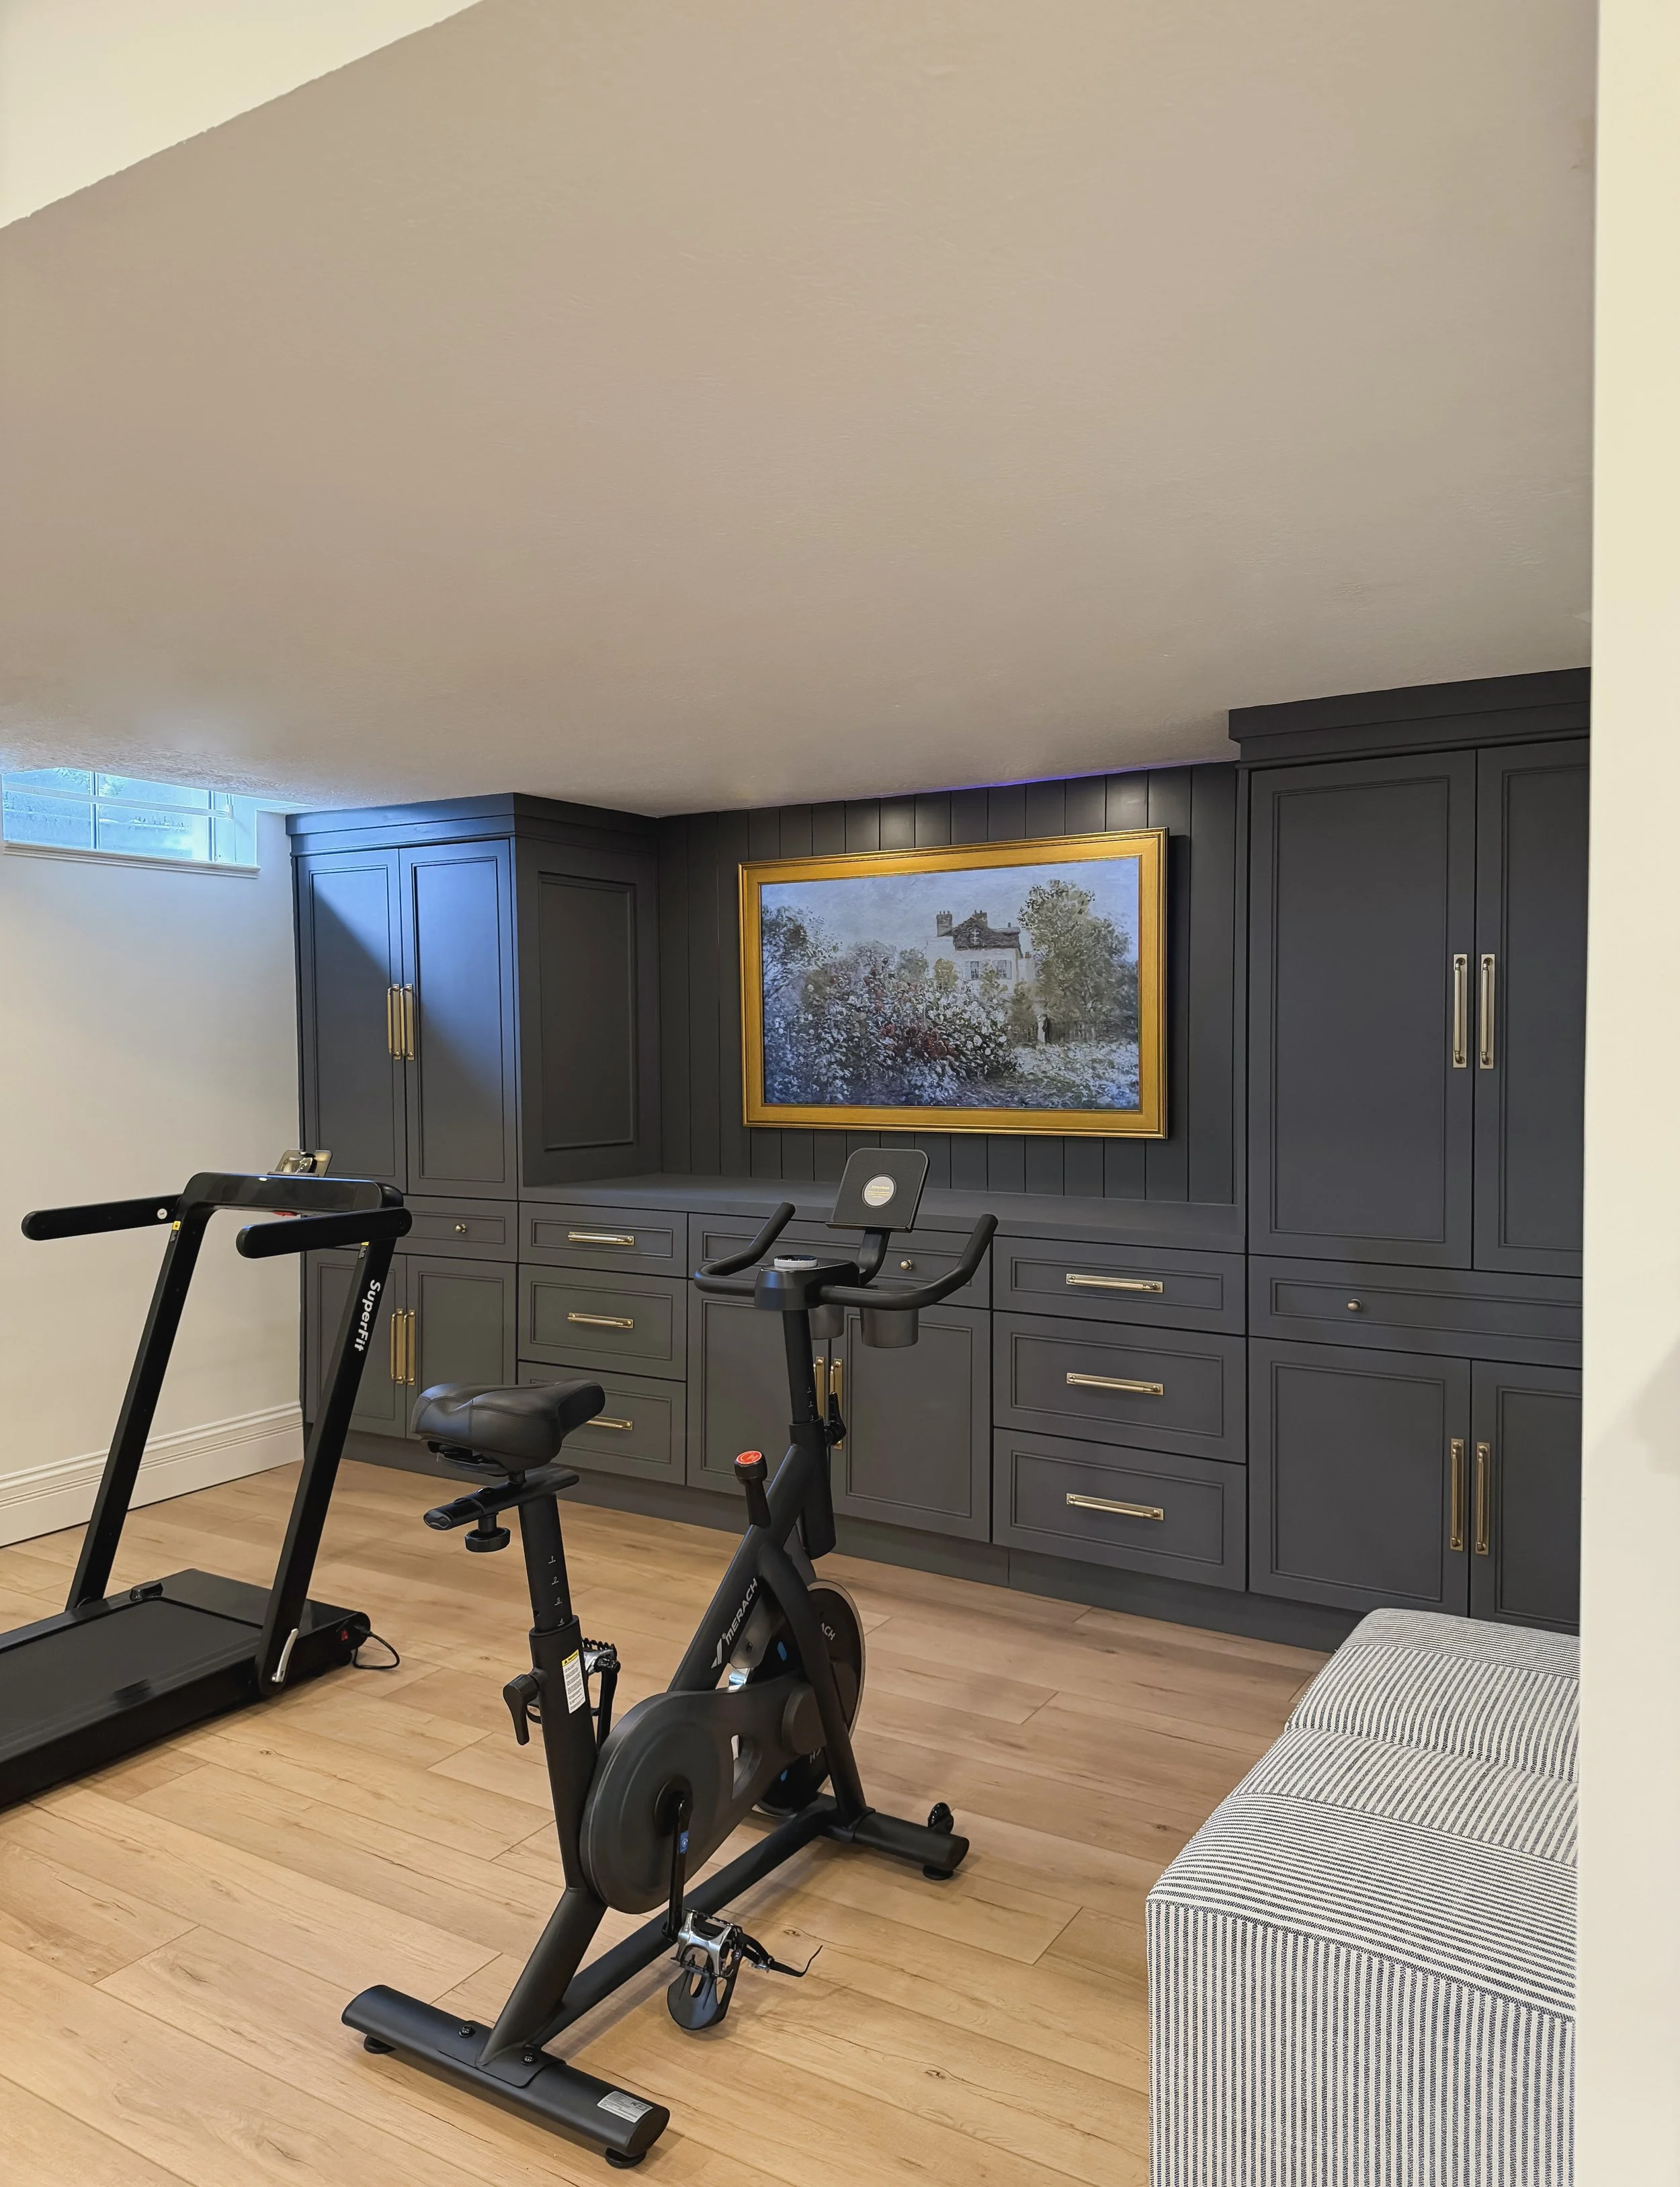
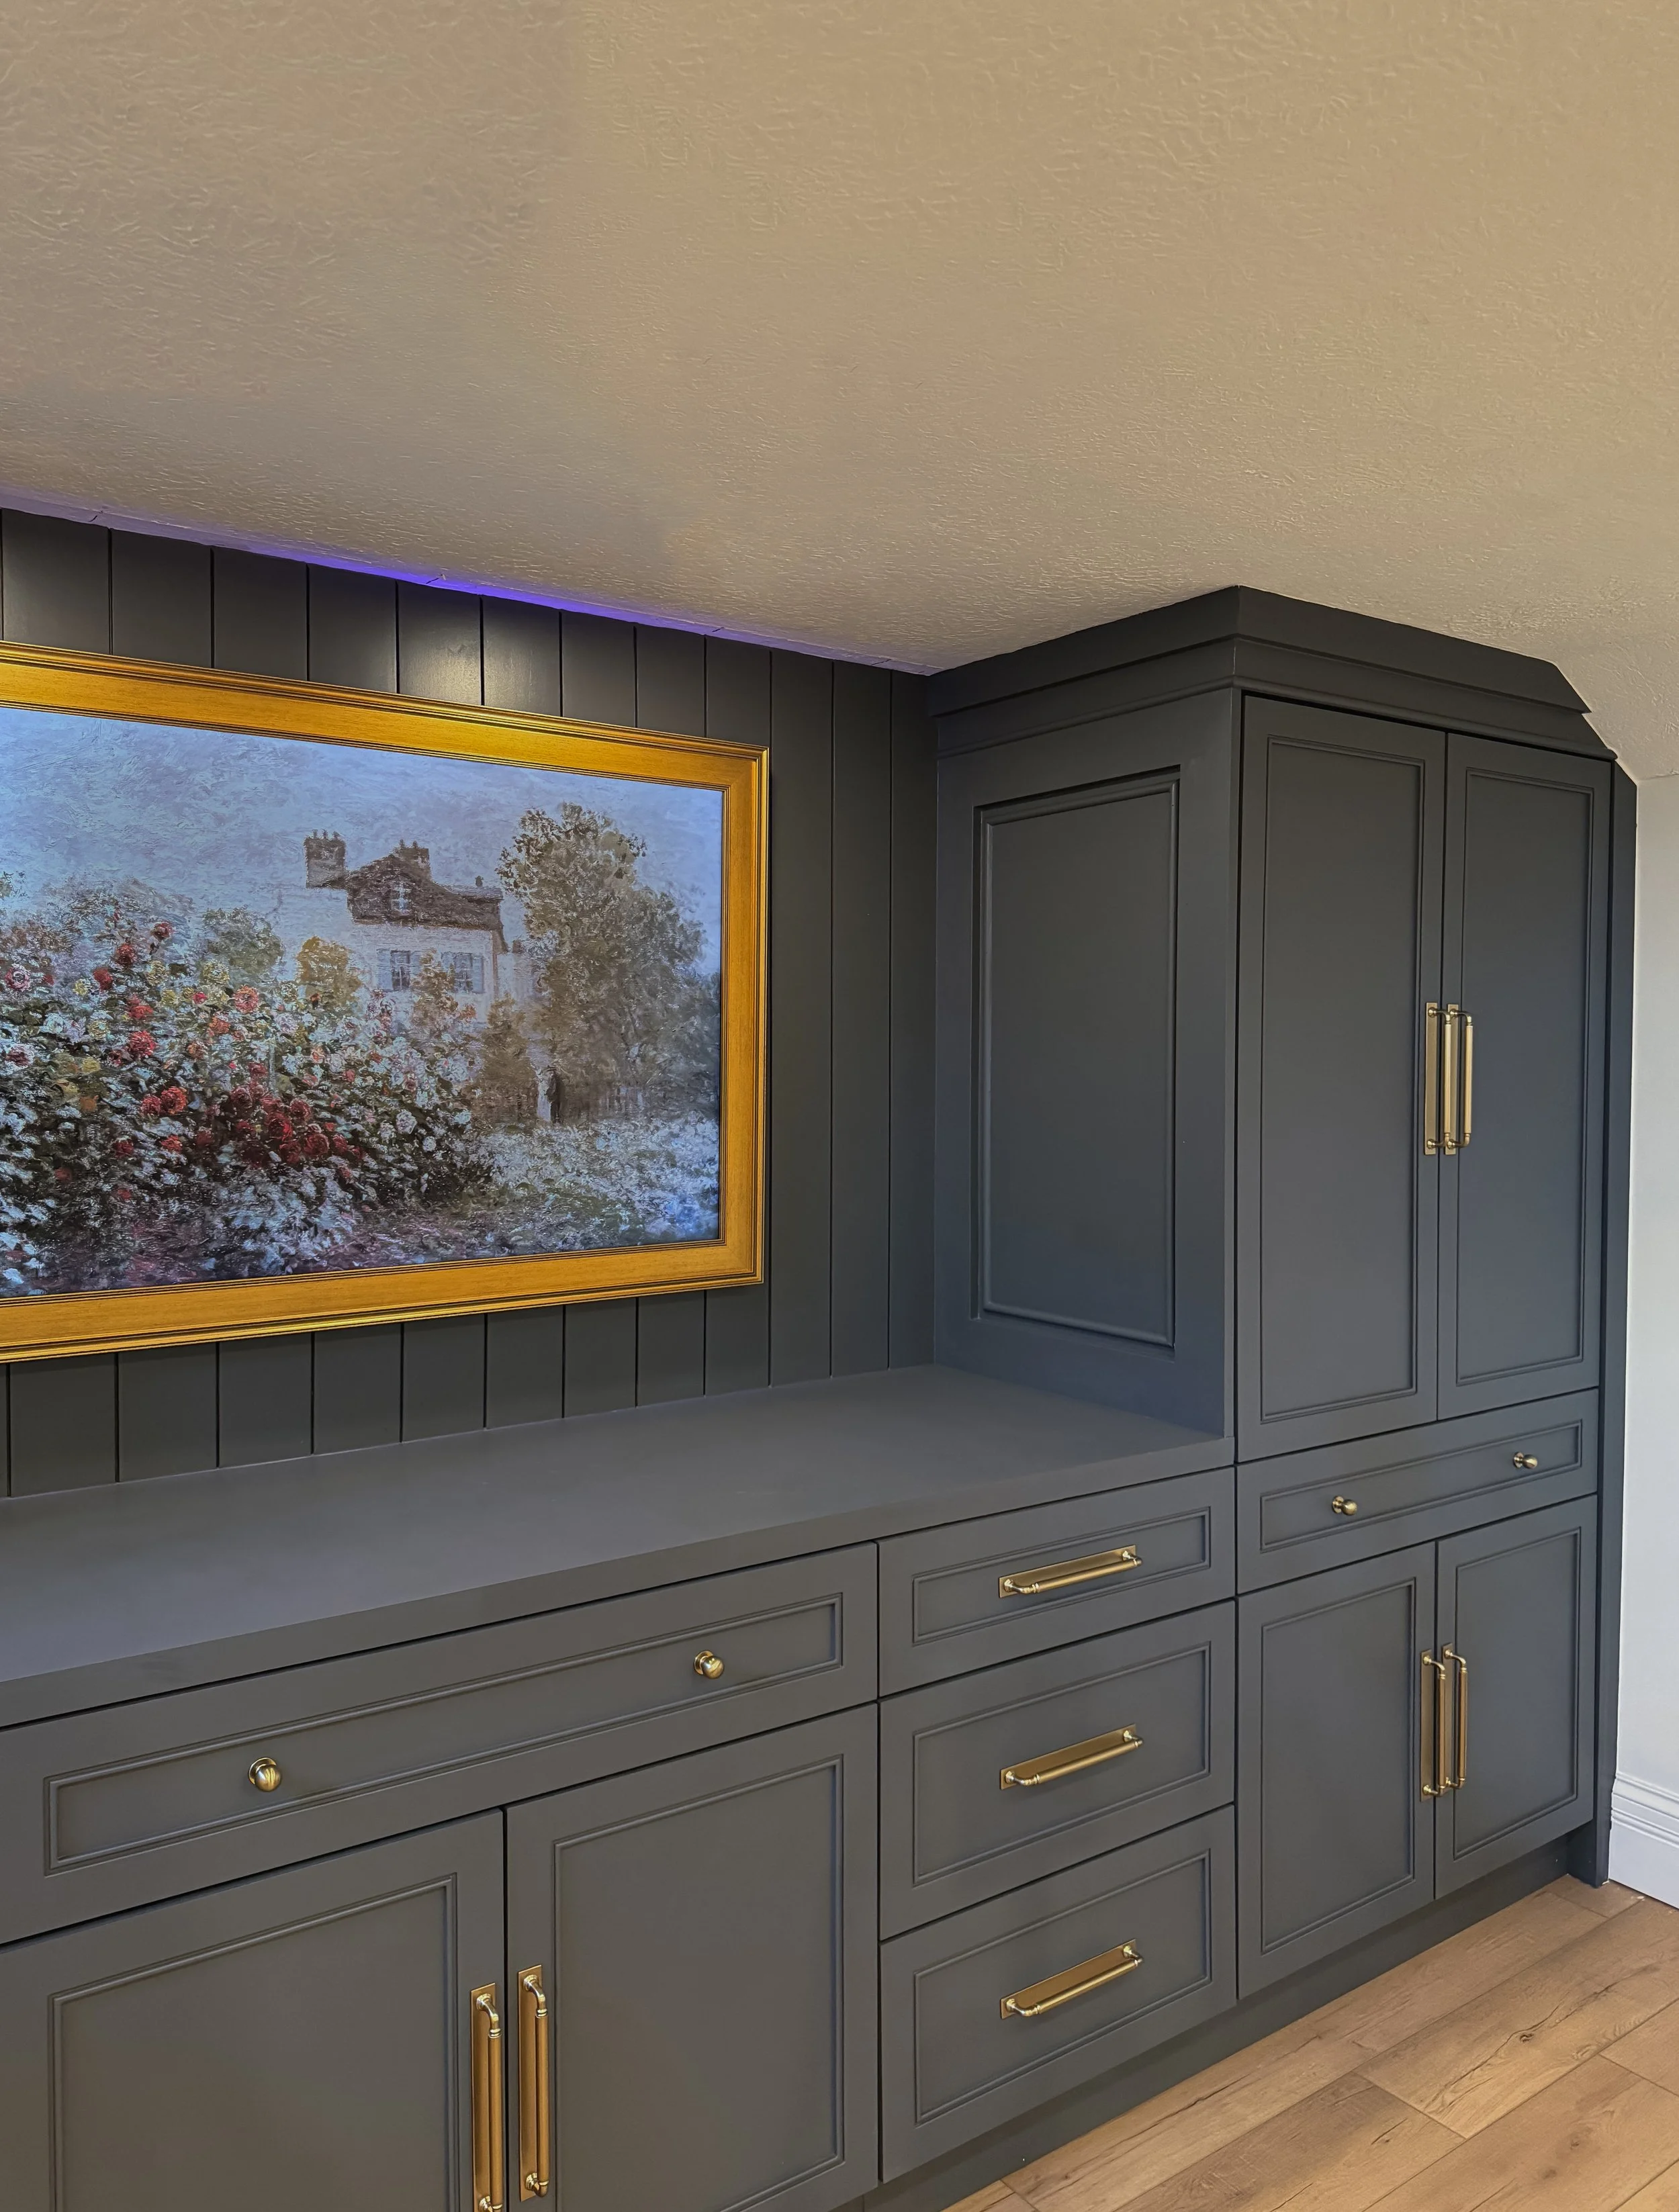
I wanted a dark charcoal gray tone for this media unit I built into my basement and Peppercorn was the perfect match. It’s a dark gray with subtle blue undertones. This space also has almost no natural light so the blue undertones are more present under the artificial lighting. I think this color would appear to be more of a true warm gray in natural lighting.

Benjamin Moore - Westcott Navy & Sherwin Williams - Tony Taupe

The shutters and front door are painted Benjamin Moore Westcott Navy, which is a deep, muted navy blue. The siding and trim is Sherwin Williams Tony Taupe, which is a dark beige with mushroom/gray undertones. I have stucco on the back and sides of my home and have gone a shade lighter to Sherwin Williams Balanced Beige.

Laundry Room Renovation

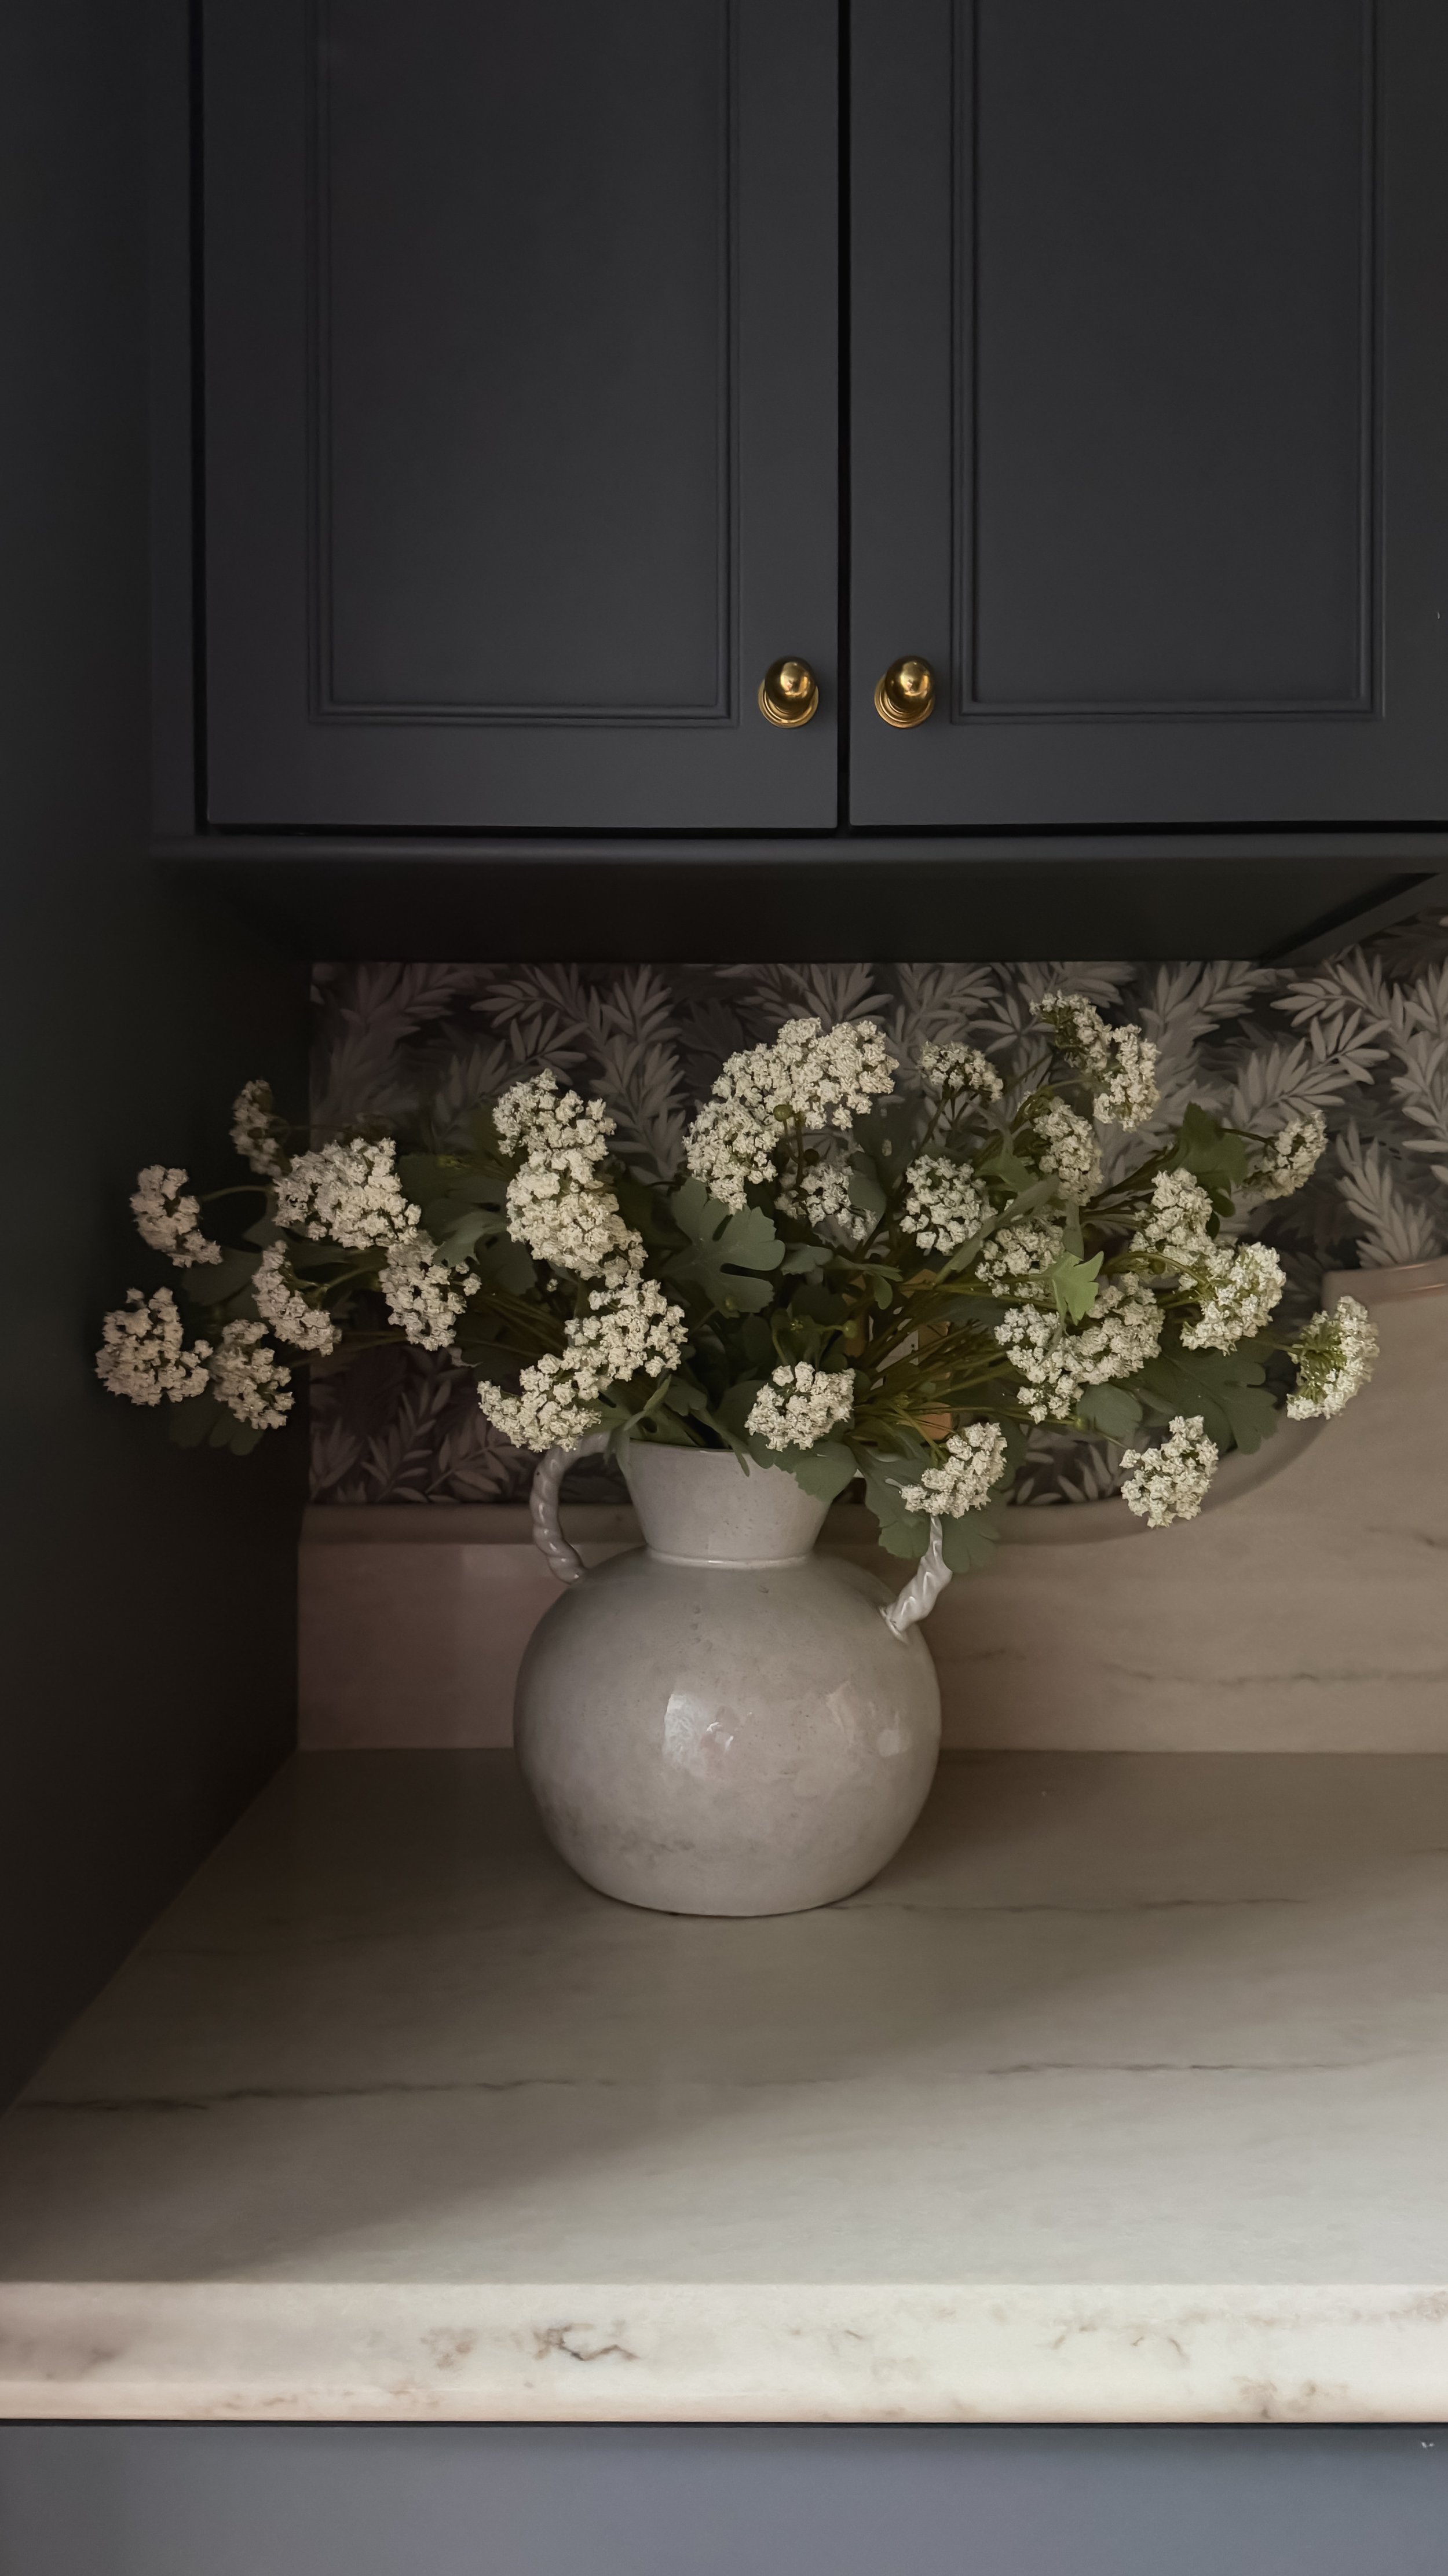
My laundry room renovation is one of my favorite projects to date! I waited to do this project for two years after moving into this home because I wanted to be sure I reimagined this space to be just as functional for us as it is beautiful! I always wanted to get back to a stacked washer and dryer, and was able to stack my existing machines with an affordable stacking kit. The large single basin sink is so helpful to have for various cleaning projects and other messy jobs that I don’t want to do in my kitchen sink. The countertop is a Taj Mahal Quartz from a local fabricator. My husband and I designed the arched backsplash and then had our fabricator custom make it. It probably goes without saying, but it’s my favorite element in the entire design!

We use this area as additional kitchen space/butler’s pantry when hosting since it’s right next to the kitchen and it is so helpful! Overall we’re thrilled with how this space turned out and look forward to using it every day.

Our Guest Bathroom Paint Color

This post is sponsored by Lowe’s, all opinions are my own.

I recently kicked off my spring home improvement projects with this guest bathroom renovation, and this paint color I chose from HGTV Home by Sherwin Williams at Lowe’s was one of the most asked about elements of this design! It’s called “Let it Rain” and is such a pretty deep blue/gray tone. During Lowe's SpringFest sale Buy 2 Get 1 Free HGTV Home® by Sherwin-Williams paints and primers and Cabot® stains via Lowe’s gift card rebate 4/18 - 5/1. I always use Sherwin Williams paint because it covers so well—as you can see I didn’t have to prime, and did one coat in the room! I used satin on the walls, and semi gloss on the trim. 

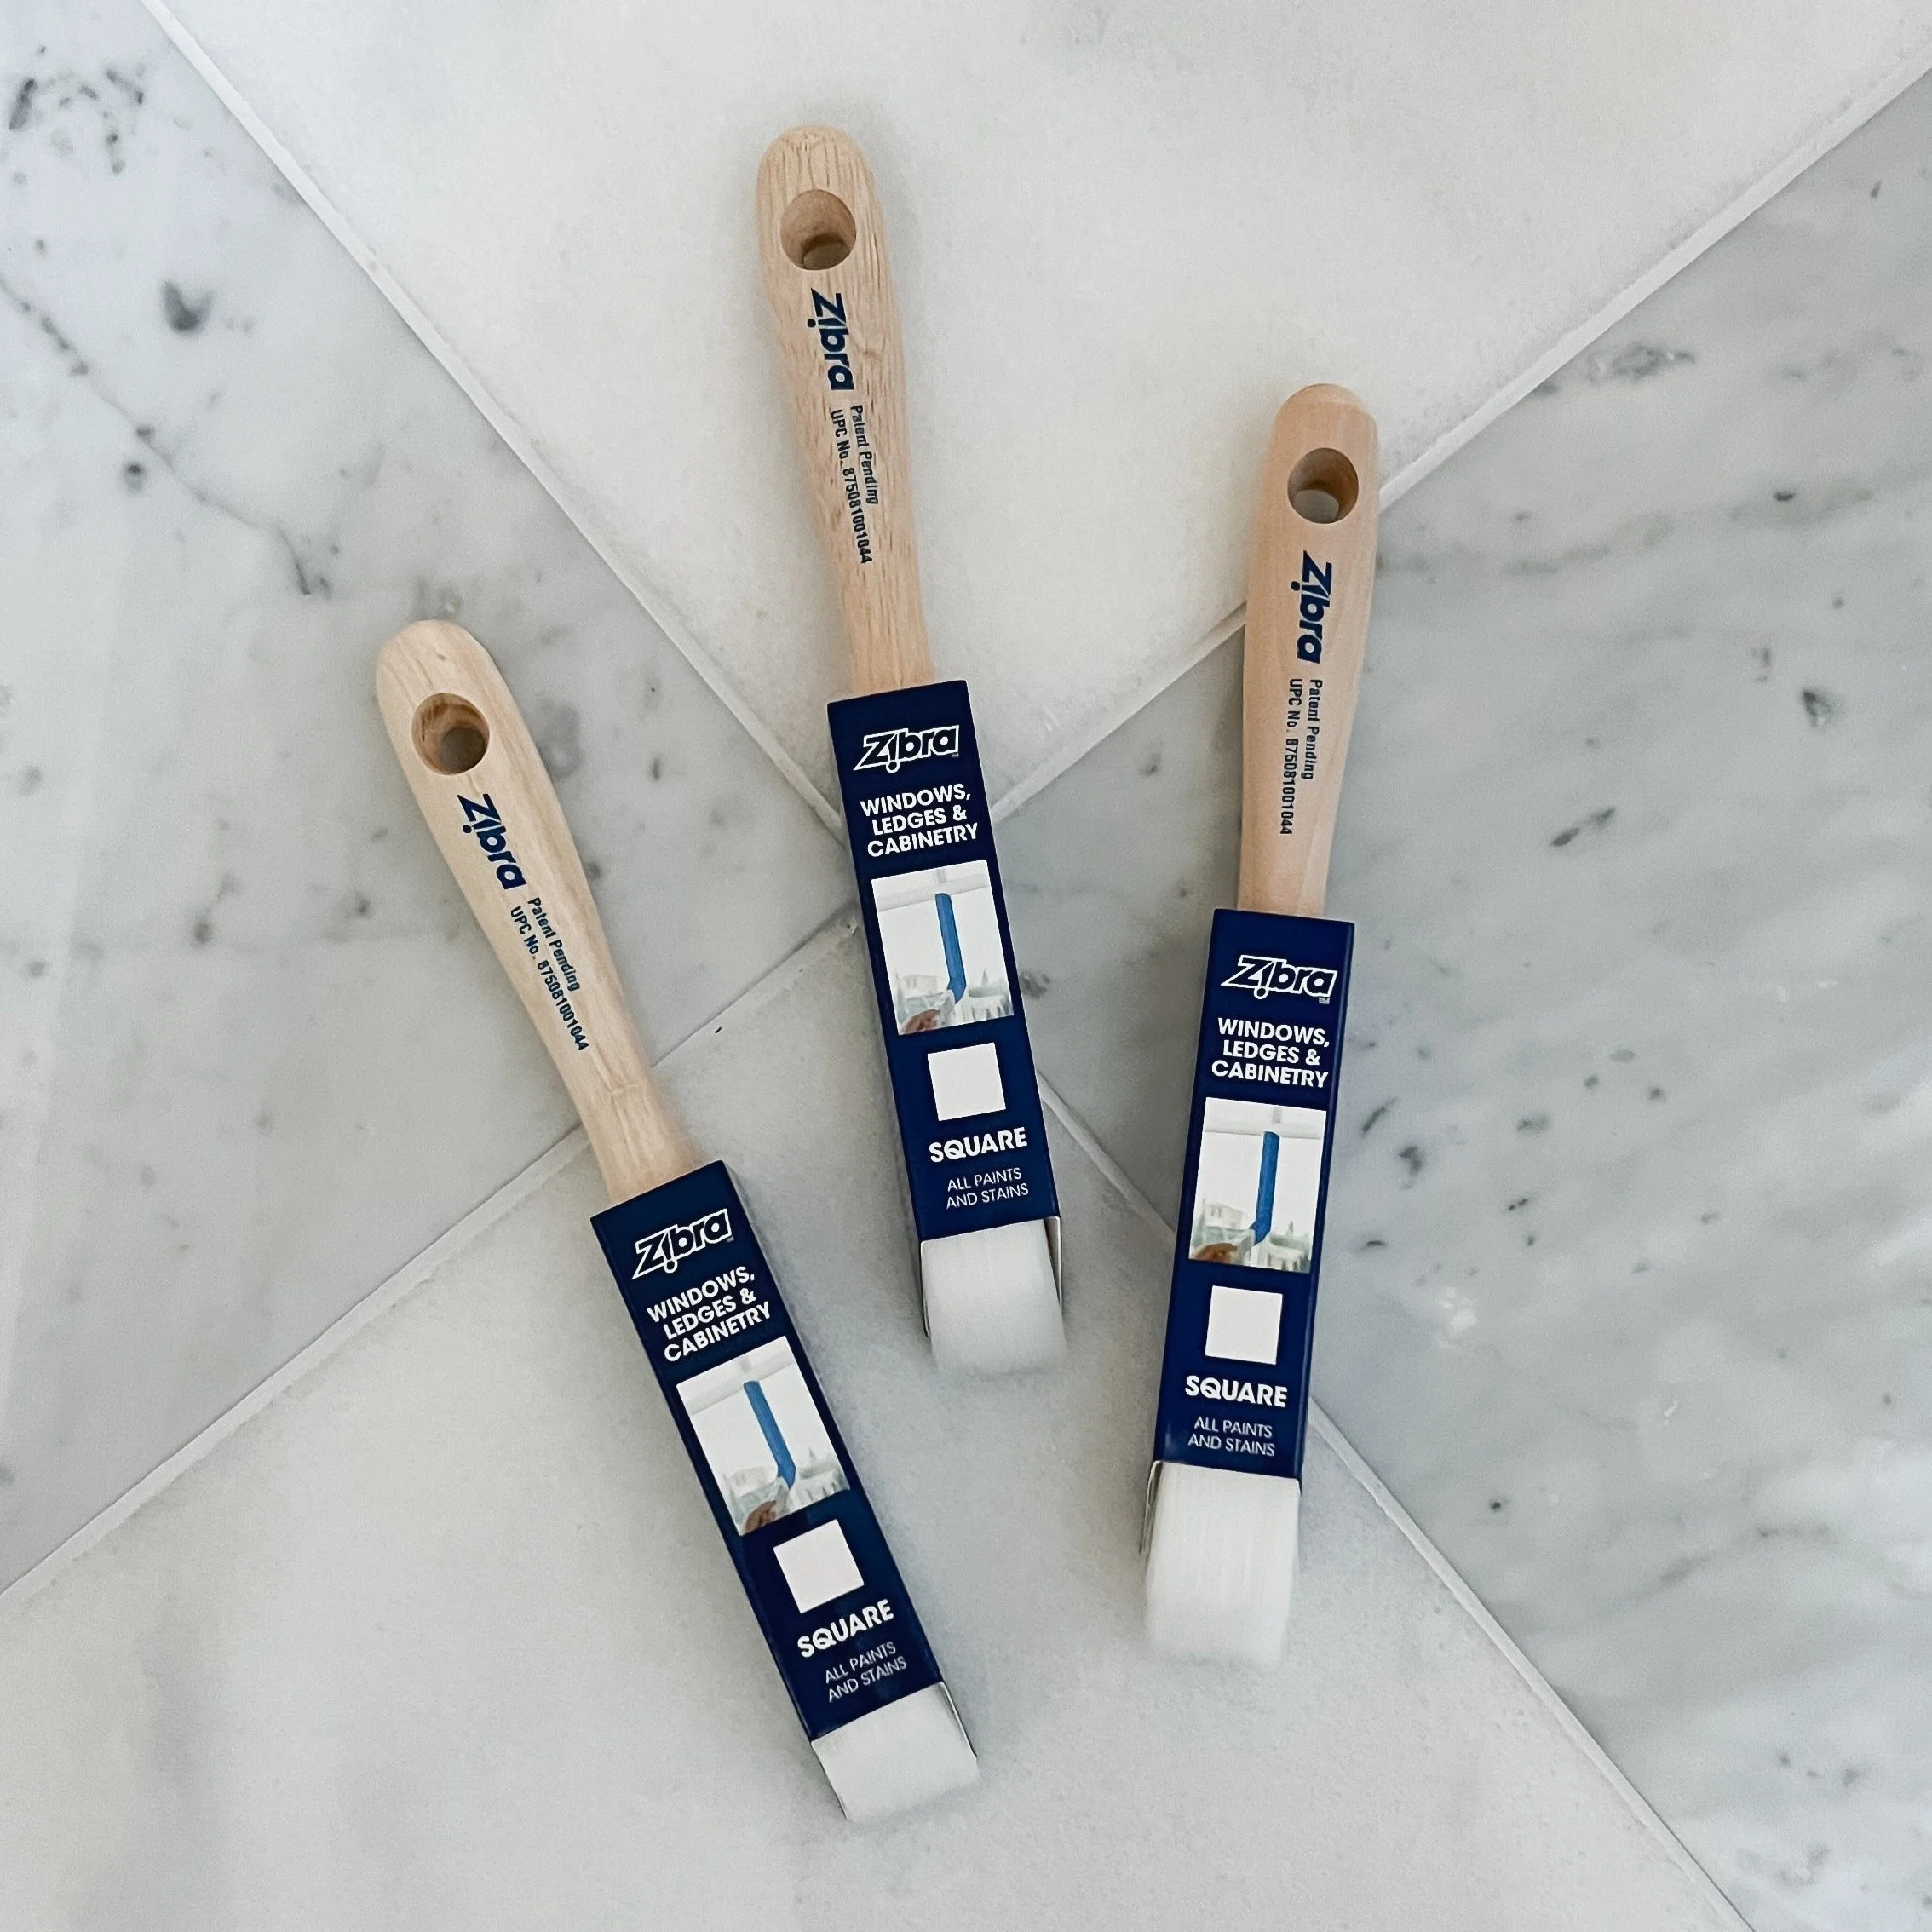
Lowe’s is also my go-to for all my favorite paint supplies and tools, and this square brush has been a life changing find! It really helps you control the paint and get crisp edges. It’s so good I don’t have to tape anymore. It also works great on trim and doors! It’s really an absolute must-have if you’re doing any kind of paint project.

I’m going to link all of my favorite paint supplies and tools below!

Serena & Lily Sale of the Year

The best sale of the year at Serena and Lily is on now! Save up to 40% off regular priced items and up to 70% off sale items plus free shipping! I’m going to round up some of my favorites along with all the pieces in my home that are included in the sale this year.

Our Faux Bois Dining Table and Shore Dining Chairs are both 30% off right now and add such a statement to any space. I really enjoy all the texture the table adds, along with the warmth and dimension the chairs bring as well. They’ve incorporated beautifully into our new kitchen and dining space.

This Fairfax vase is a new item that I just recently purchased that I’ve been loving. I have the large size and it’s really substantial and well-made. I am considering purchasing it in the other two sizes as well! Serena and Lily has always been a go-to of mine for great quality and stylish vases. I’m going to link a few more styles I own or have had my eye on lately!

The Lisbon mirror is an all-time favorite of mine and we’ve really been enjoying it over our mantel in our new home. The Poetto vase on the coffee table is also an iconic Serena and Lily piece that’s worth grabbing during the sale.

I’m going to share a Serena and Lily gift guide full of great pieces for anyone on your list with discounted prices up to 40% off! Happy shopping!

New Year's Eve Entertaining

If you’re planning to have guests over for New Year’s Eve I have a fun entertaining idea to share today! I recently partnered with World Market to create this fun dessert charcuterie board and cocktail that would be perfect for ringing in the new year!

One of my favorite things that World Market sells this time of year is their unique and extensive selection of holiday treats, so I decided to make a dessert charcuterie board that includes some of my favorites!

I started with this wood and marble cutting board, and added in some fun sparkly touches with these large disco ball ornaments. I also bought a strand of this disco ball garland with smaller ornaments and cut them off to place around the charcuterie board. Then I added in all of my favorite seasonal holiday treats until the board was completely filled.

I paired the charcuterie board with a peppermint espresso martini, which felt really appropriate for New Year’s Eve, especially if you have trouble staying up until midnight! I used these pretty coupe glasses, disco ball tray and coasters to serve them in to continue on the sparkly New Year’s Eve theme.

Peppermint Espresso Martini

Servings: 1

Total Time: 10 Minutes

Ingredients:

Instructions:

  • Start by rimming your glass with honey and dipping it into into the crushed peppermint candy

  • In a cocktail shaker, add ice, espresso, vodka, kahlua, and peppermint syrup. Shake vigorously until combined and cold.

  • Pour the cocktail into the prepared glass and enjoy!

Holiday Mantel Styling

My mantel is one of my favorite places to decorate for the holiday season. I generally go with a more minimal look throughout the year, but I love the impact that greenery and a few cozy decor touches can make. This year, my mantel dreams came true with the help of The Home Depot.

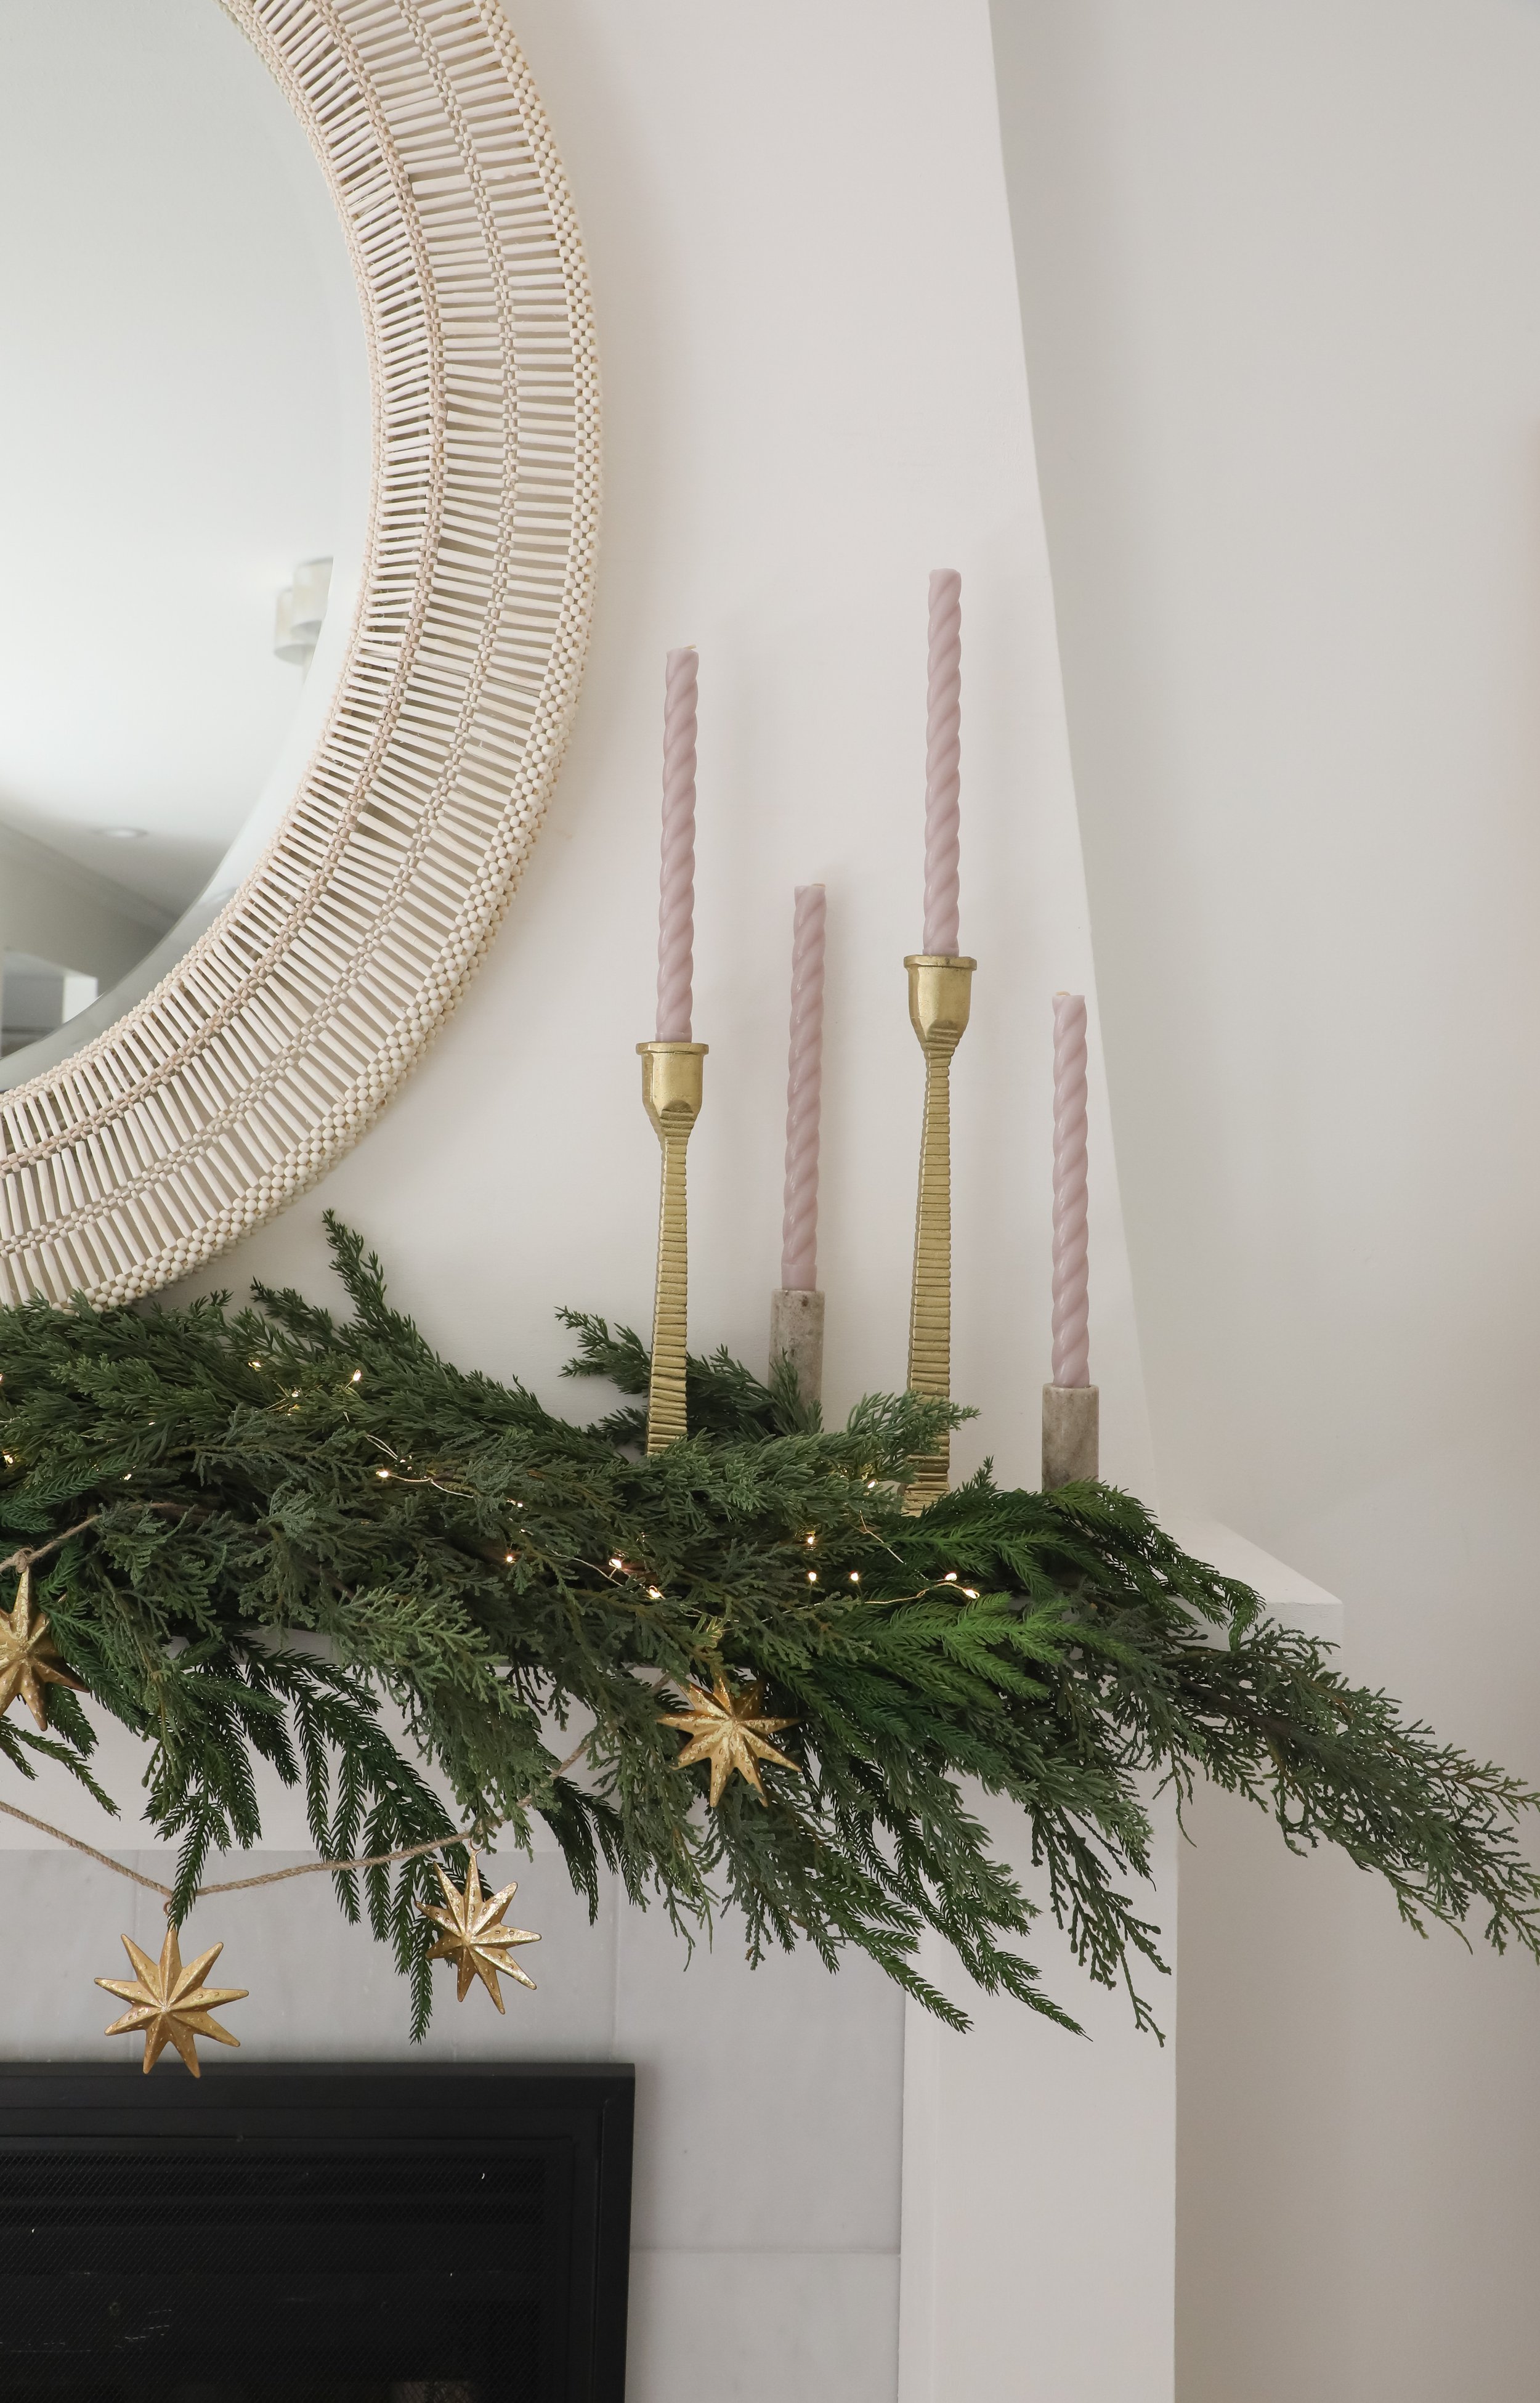
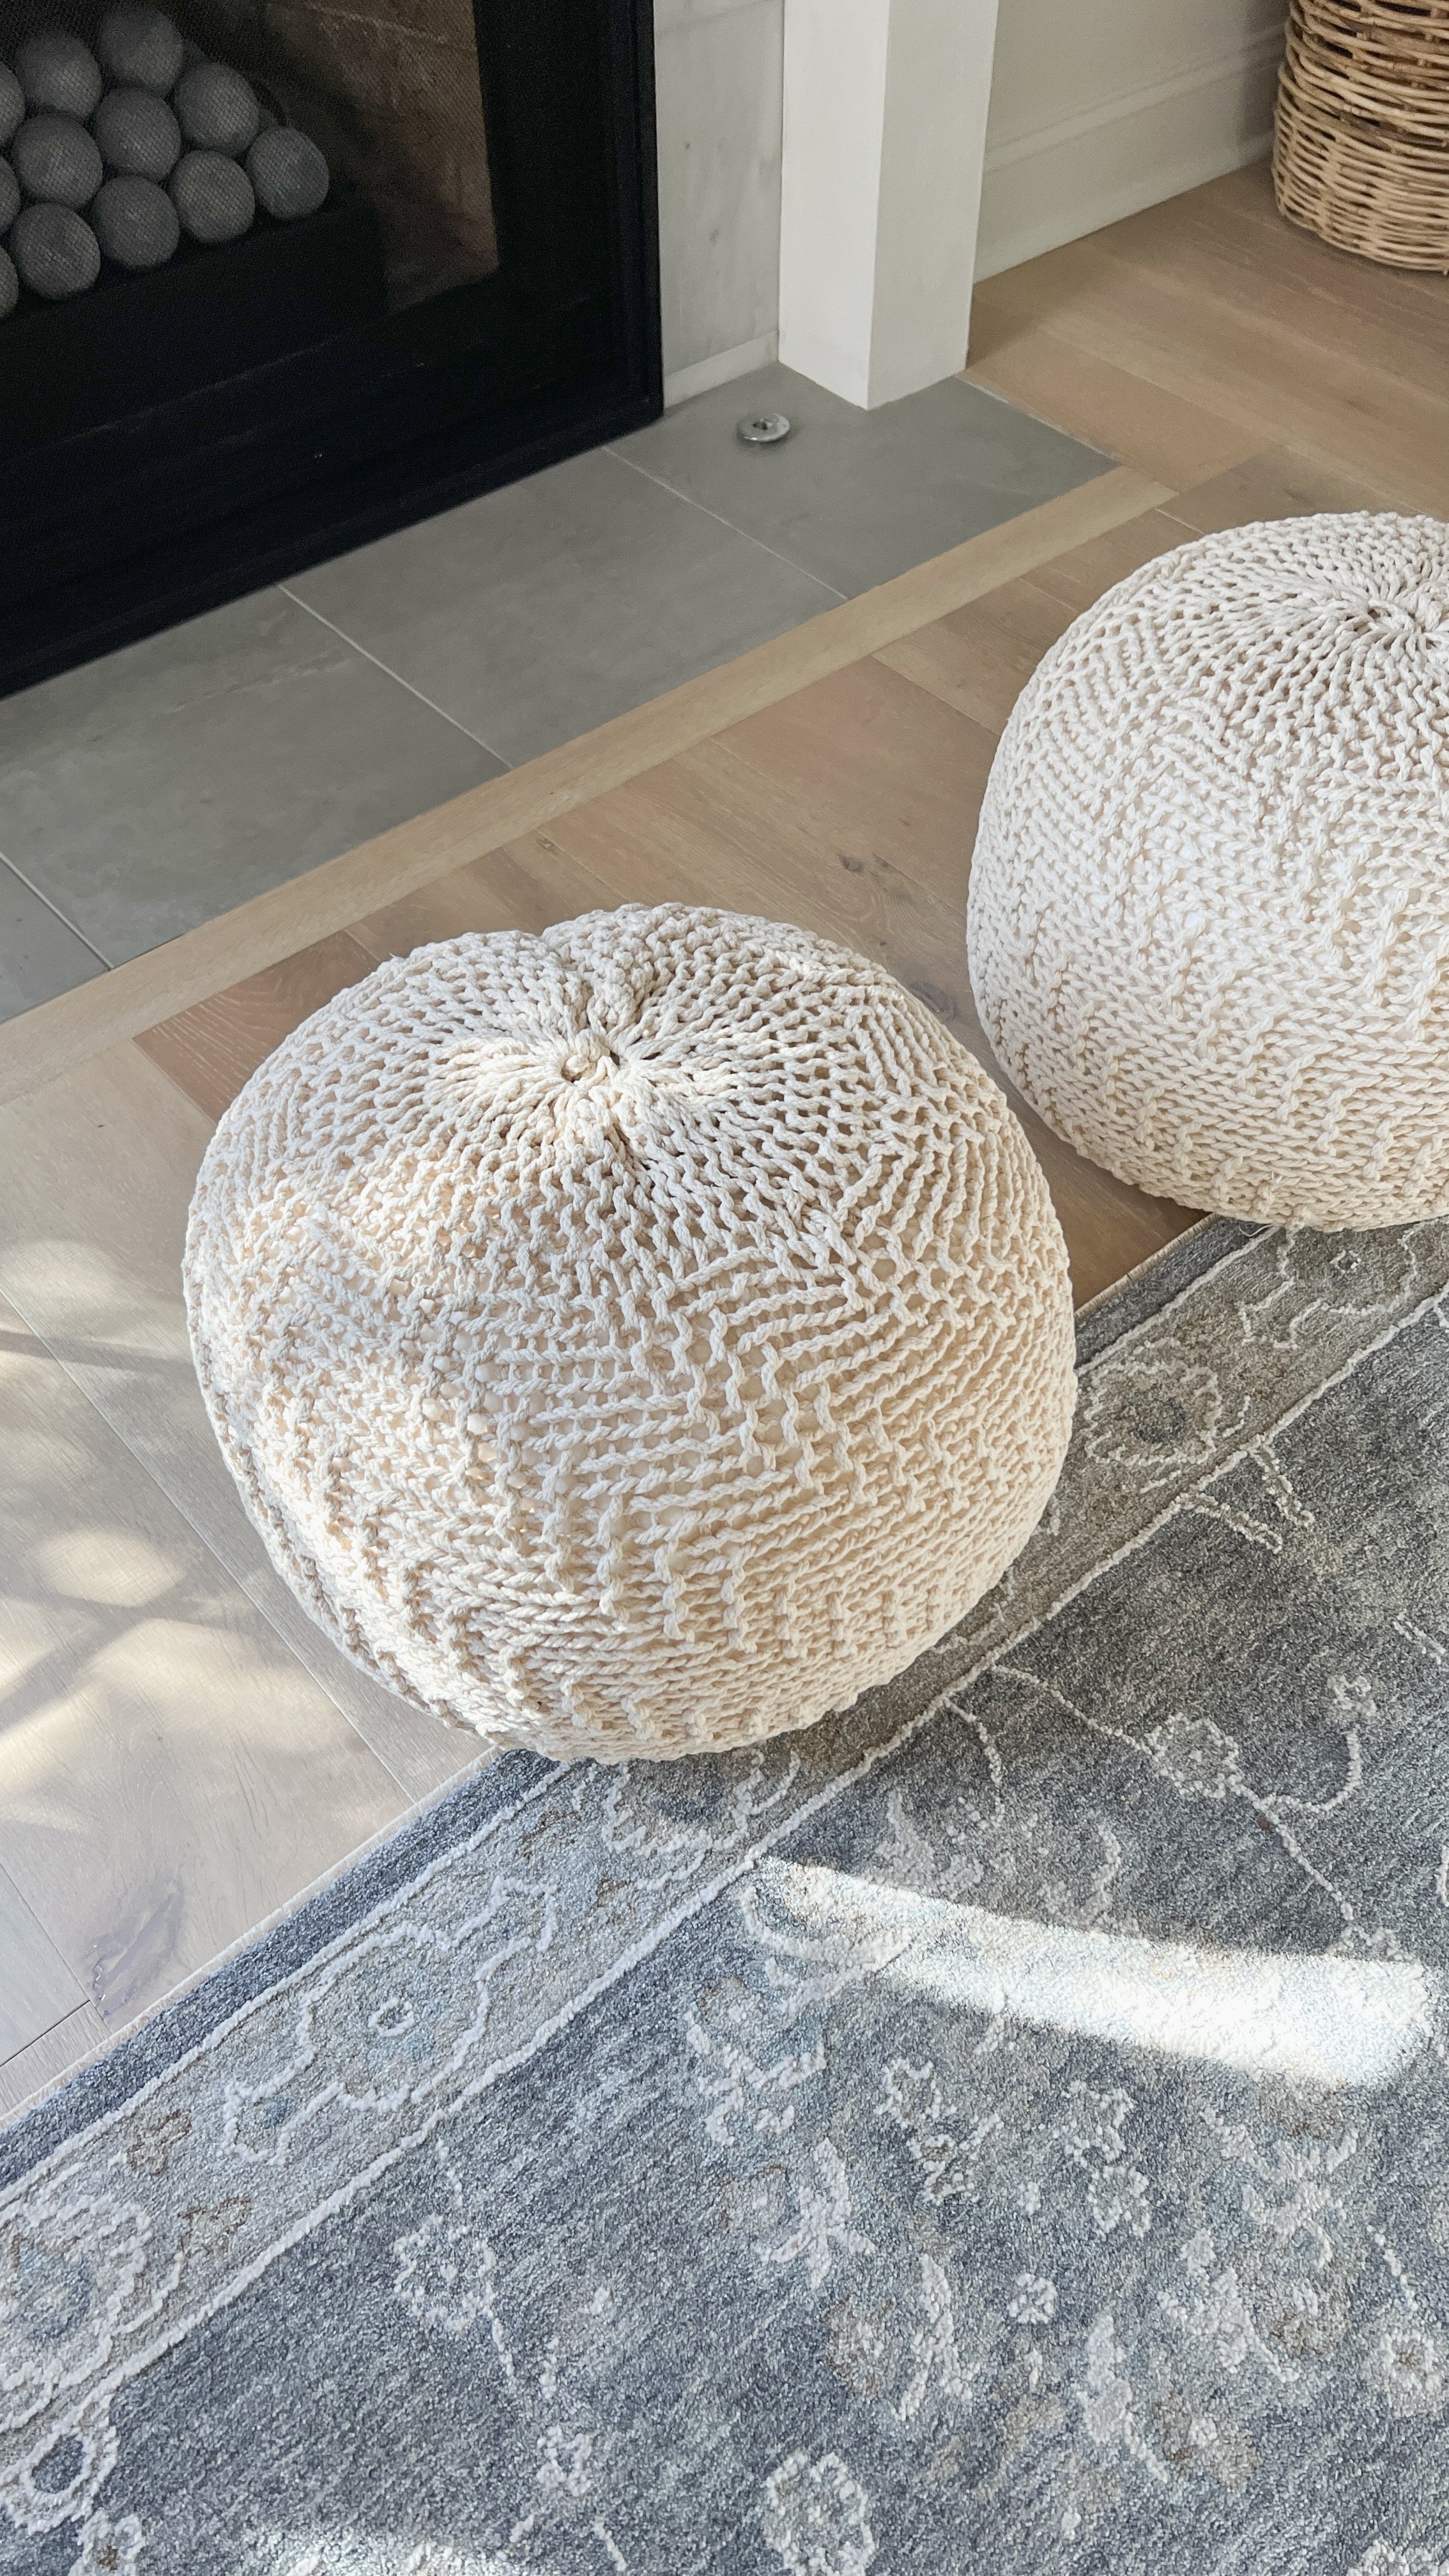
To style my mantel, I first added my favorite faux greenery and a couple strands of garland. Then I added in a set of these metal gold ridged taper candle holders in the 12” tall and 14” tall sizes, along with these marble candle holders in the 3” tall and 6” tall sizes. I love the variations of heights and textures to give our mantle decor a more collected feel. Both sets of candle holders are from the same brand, which is one of my favorites that The Home Depot carries. They are amazing quality, and are pieces that I’ll definitely use once the holiday season is over. To finish the look, I pulled in two of these knitted beige cotton poufs to add some extra seating to the living room, and create a place to cozy up by the fireplace in the evenings.

The Home Depot is one of my go-to sources for home decor. They carry thousands of on-trend products that fit any style with leading brand names in every decor category. Plus, The Home Depot offers free shipping on order of $45 or more with flexible delivery options: free in store pickup, or 2-day shipping to home. And in case something doesn’t work out, they offer free returns at any of their 2,200+ stores! I love their everyday low prices, so I feel confident sourcing pieces from their website, as I know I’m getting the best prices year round.

I’m going to link a few more of my recent decor finds from The Home Depot below!

*This post is sponsored by The Home Depot, all opinions are my own.

How To Make Your Frame TV Look Like Vintage Art

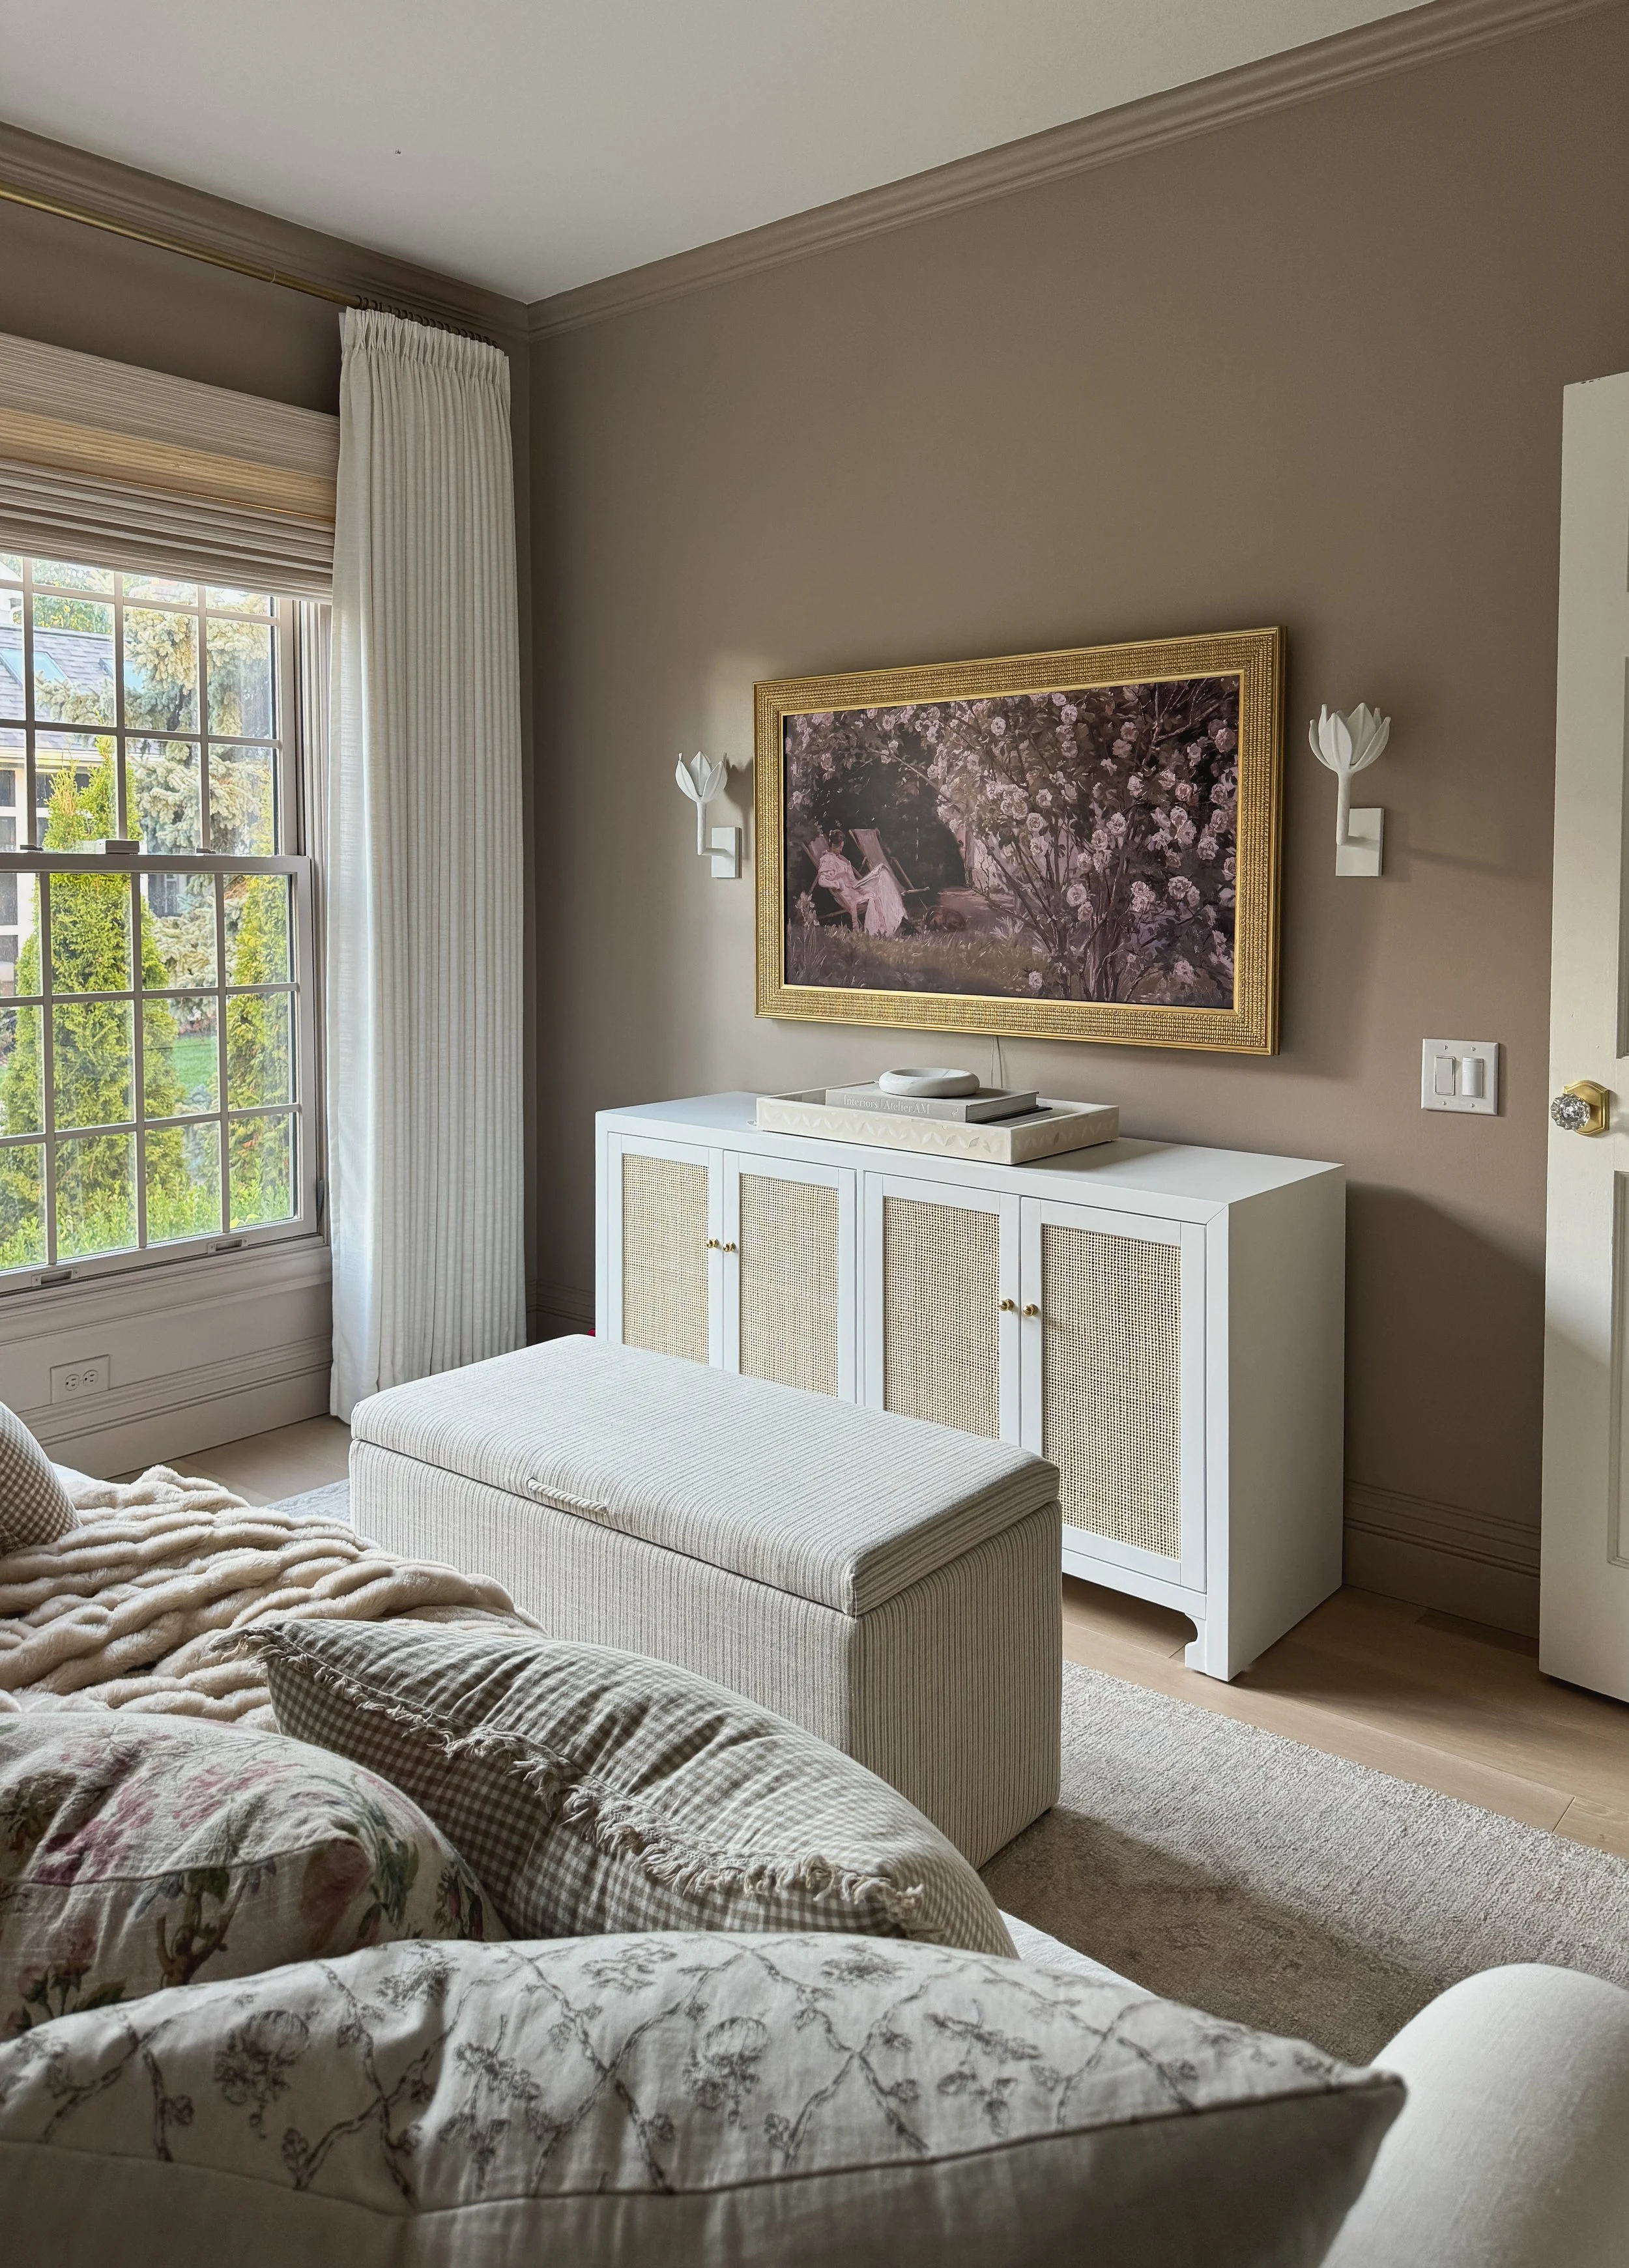
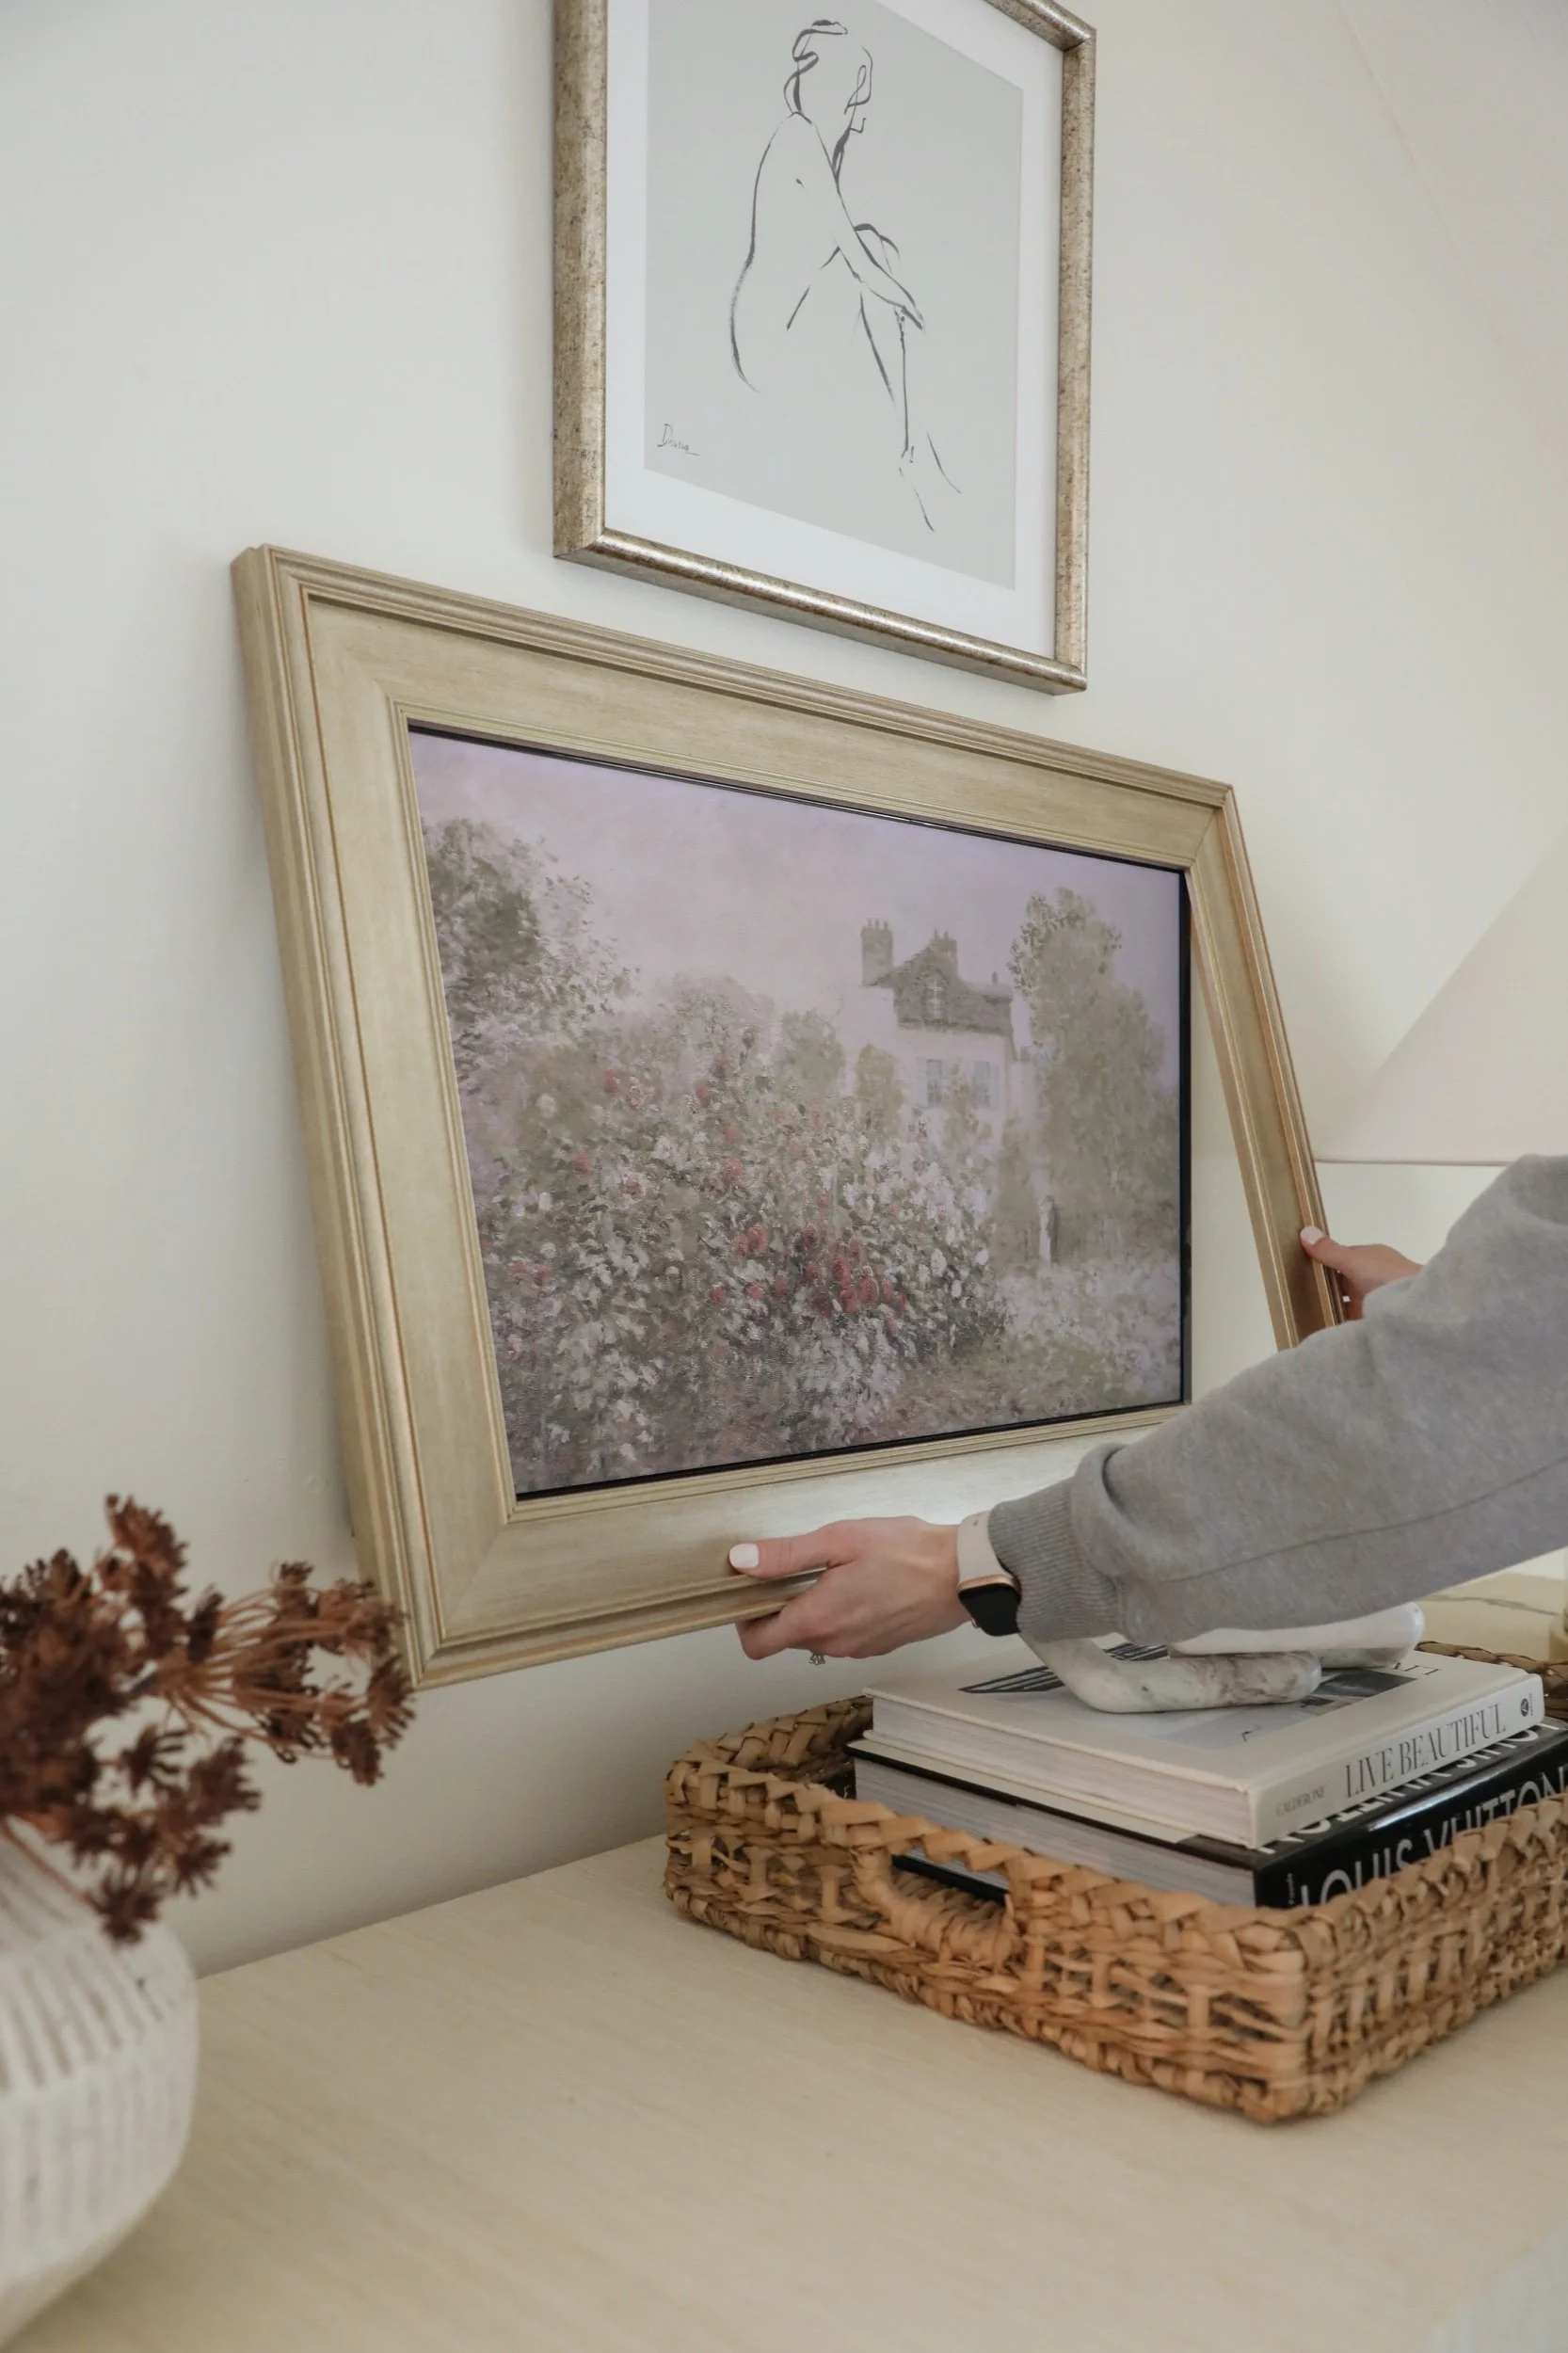
I’ve had my eye on the Samsung Frame TV for several years now, and it was the only TV that I even considered getting when we recently decided it was time to upgrade our TVs. As a designer, I love that the Frame TV takes what normally has a negative impact on a design, and turns it into a positive. We only have two TVs in the house, so we decided to upgrade both at once since (at the time) the TVs were a better price if you bought two or more. Once the TVs arrived, I immediately starting searching for artwork and frames to make them look like real vintage artwork. Samsung makes a few really nice frame options for the TVs, but they don’t make the TVs look super convincing as artwork, in my opinion. I was looking for something that had more of a vintage feel to it that flowed better with the rest of the art in our home.

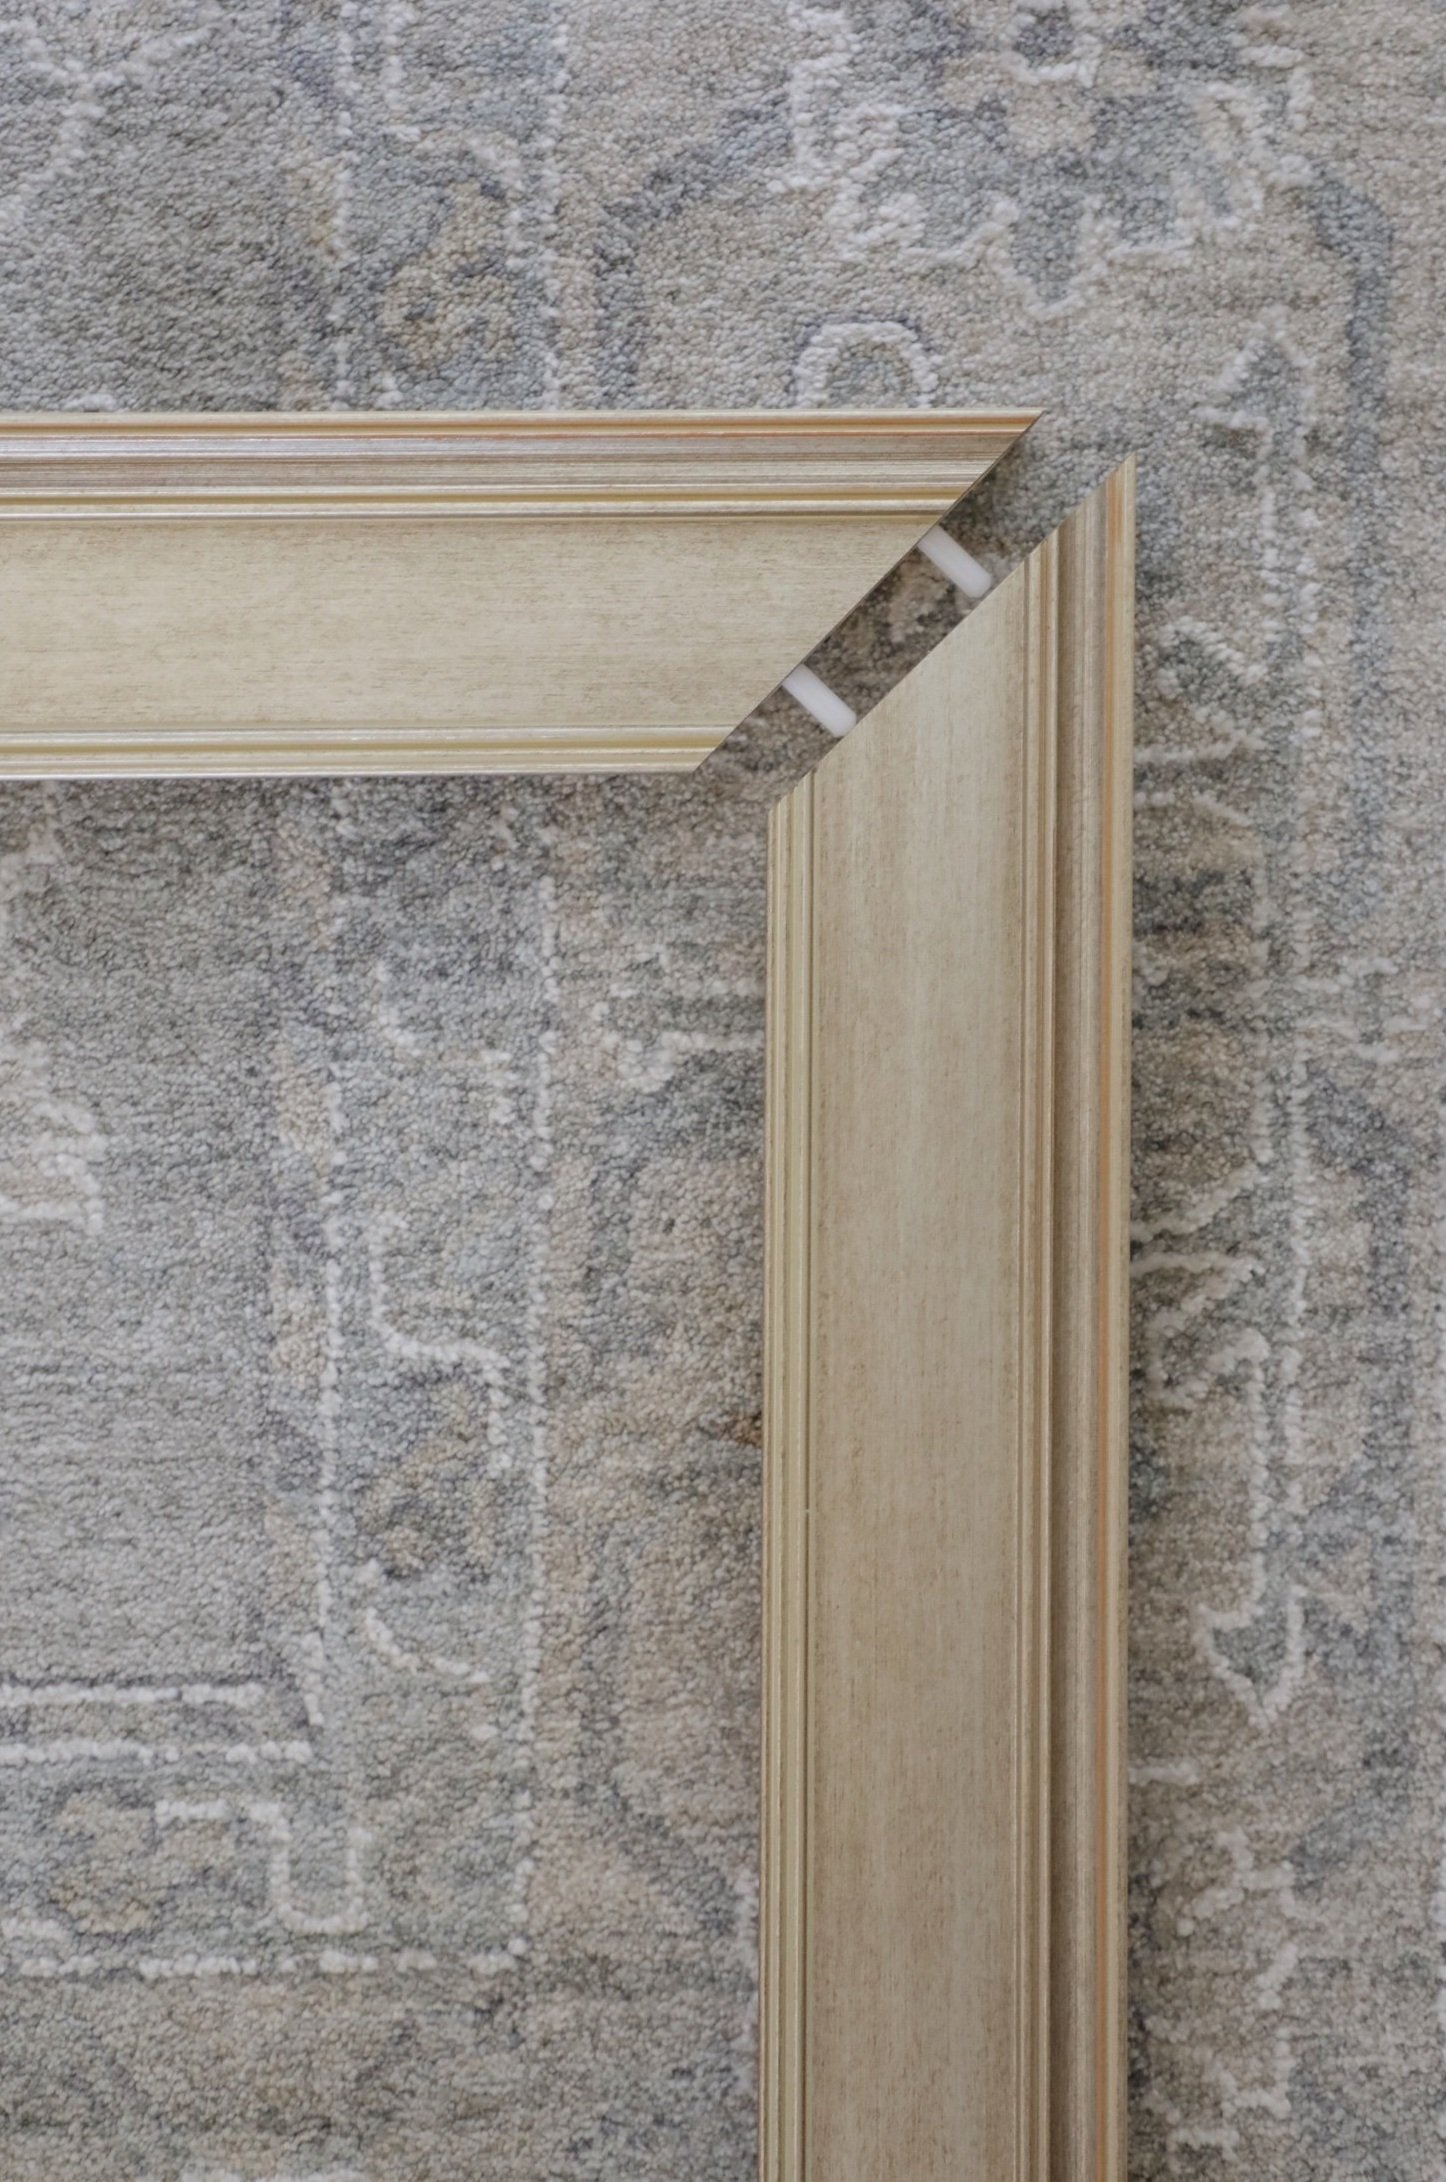
I came across these great vintage style frames, and immediately ordered them in the Warm Silver and Antique Gold to try on the two TVs we purchased. They are a bit of an investment, but so were the TVs, and I didn’t want to cheapen the overall look with a frame that wasn’t good quality. After trying both of the frames out on our TVs I was in love! They are very well made and easy to assemble. They click together with a dowel and magnet system that takes about a minute to put together! After that you simply hang the frame from the brackets at the top of the TV, and snap it into place with the two bottom latches.

The side profile of the frame is finished really well, so it makes the Frame TV look like art from all angles! This is a 32” Deco TV Frame in the Warm Silver finish. The frame is very substantial at 3” thick!

If you aren’t sure what frame you want to go with, samples are available for less than $2 per sample! I will link them all below.

I like to search Etsy for super affordable digital download art prints. They’re typically only a few dollars, if that, and are quick and easy to upload to the TV from the Samsung Smart Things app. From there you can choose if you’d like a mat or border on the art. I chose to use no mat or border as I think it looks more like a vintage canvas art piece that way. I’m going to link a few of my favorite vintage art prints below!

Serena & Lily Shore Dining Chair Review

Last fall, our dining room got a major upgrade with a new Serena and Lily dining table and chairs. Since then, it’s become our new favorite hangout room in the house! That was my entire goal for the project, as I really wanted to maximize every room in our small home. Since we’ve been living with and using our new furniture for a few months now, I thought I’d share a bit about how we’ve been liking our new Shore Dining chairs.

The chairs in this space were the main driving factor for wanting to make a change, as I wanted something that was comfortable enough for us to spend hours sitting in them in the evenings. We have my parents over for dinner often, and we wanted to create a space where we could have a meal and be comfortable enough to sit and talk afterwards for a couple hours. The Shore Dining chairs are definitely the perfect fit for just that! The deeper seat and padded seat cushion are very comfortable. I’ve added in a decorative throw pillow to each chair to provide some back support, which makes these chairs super easy to lounge in for hours. I love that they are deep enough to accommodate a pillow, as it also allows me to add another layer of color, pattern, and texture to the space to create a welcoming feel.

My husband and I love doing puzzles, especially in the winter months. We like to do a puzzle every single night, and will sit at the table for hours working on them. The Shore Dining chair is so easy to for us to sit in for long periods of time as we work on puzzles until late in the evening. I’m 5’3”, and I’ve found the seat has plenty of room my legs up in with the blanket on colder nights. Our dining room also gets the most natural light in the house, and has the best view of the backyard, especially in the summertime. I tend to sit here on sunny days and look out the window at our gardens, so having a comfortable place to sit was definitely on my list. Since we used our old dining room so infrequently before, I had considered turning this room into a sitting room. With our new comfortable Shore Dining chairs, I feel like I have the best of both—a comfortable place to sit and enjoy the sunshine, but also a place to have a meal and entertain.

Our dogs love them, too! We each always have at least one dog sitting in our Shore Dining chairs with us. The seat cushion is covered in Serena & Lily’s perennials fabric, which is a really durable, easily wipeable performance fabric. We’re never worried about stains or spills with these cushions. They are machine-washable, and will stand up to years of use and plenty of entertaining. The Shore Dining chair cushion covers come in a variety of colors and patterns, which is another great way to add in some personality to the space, or change up the look from season to season. I’m going to link a few of my favorite Shore Dining chair cushion covers below.

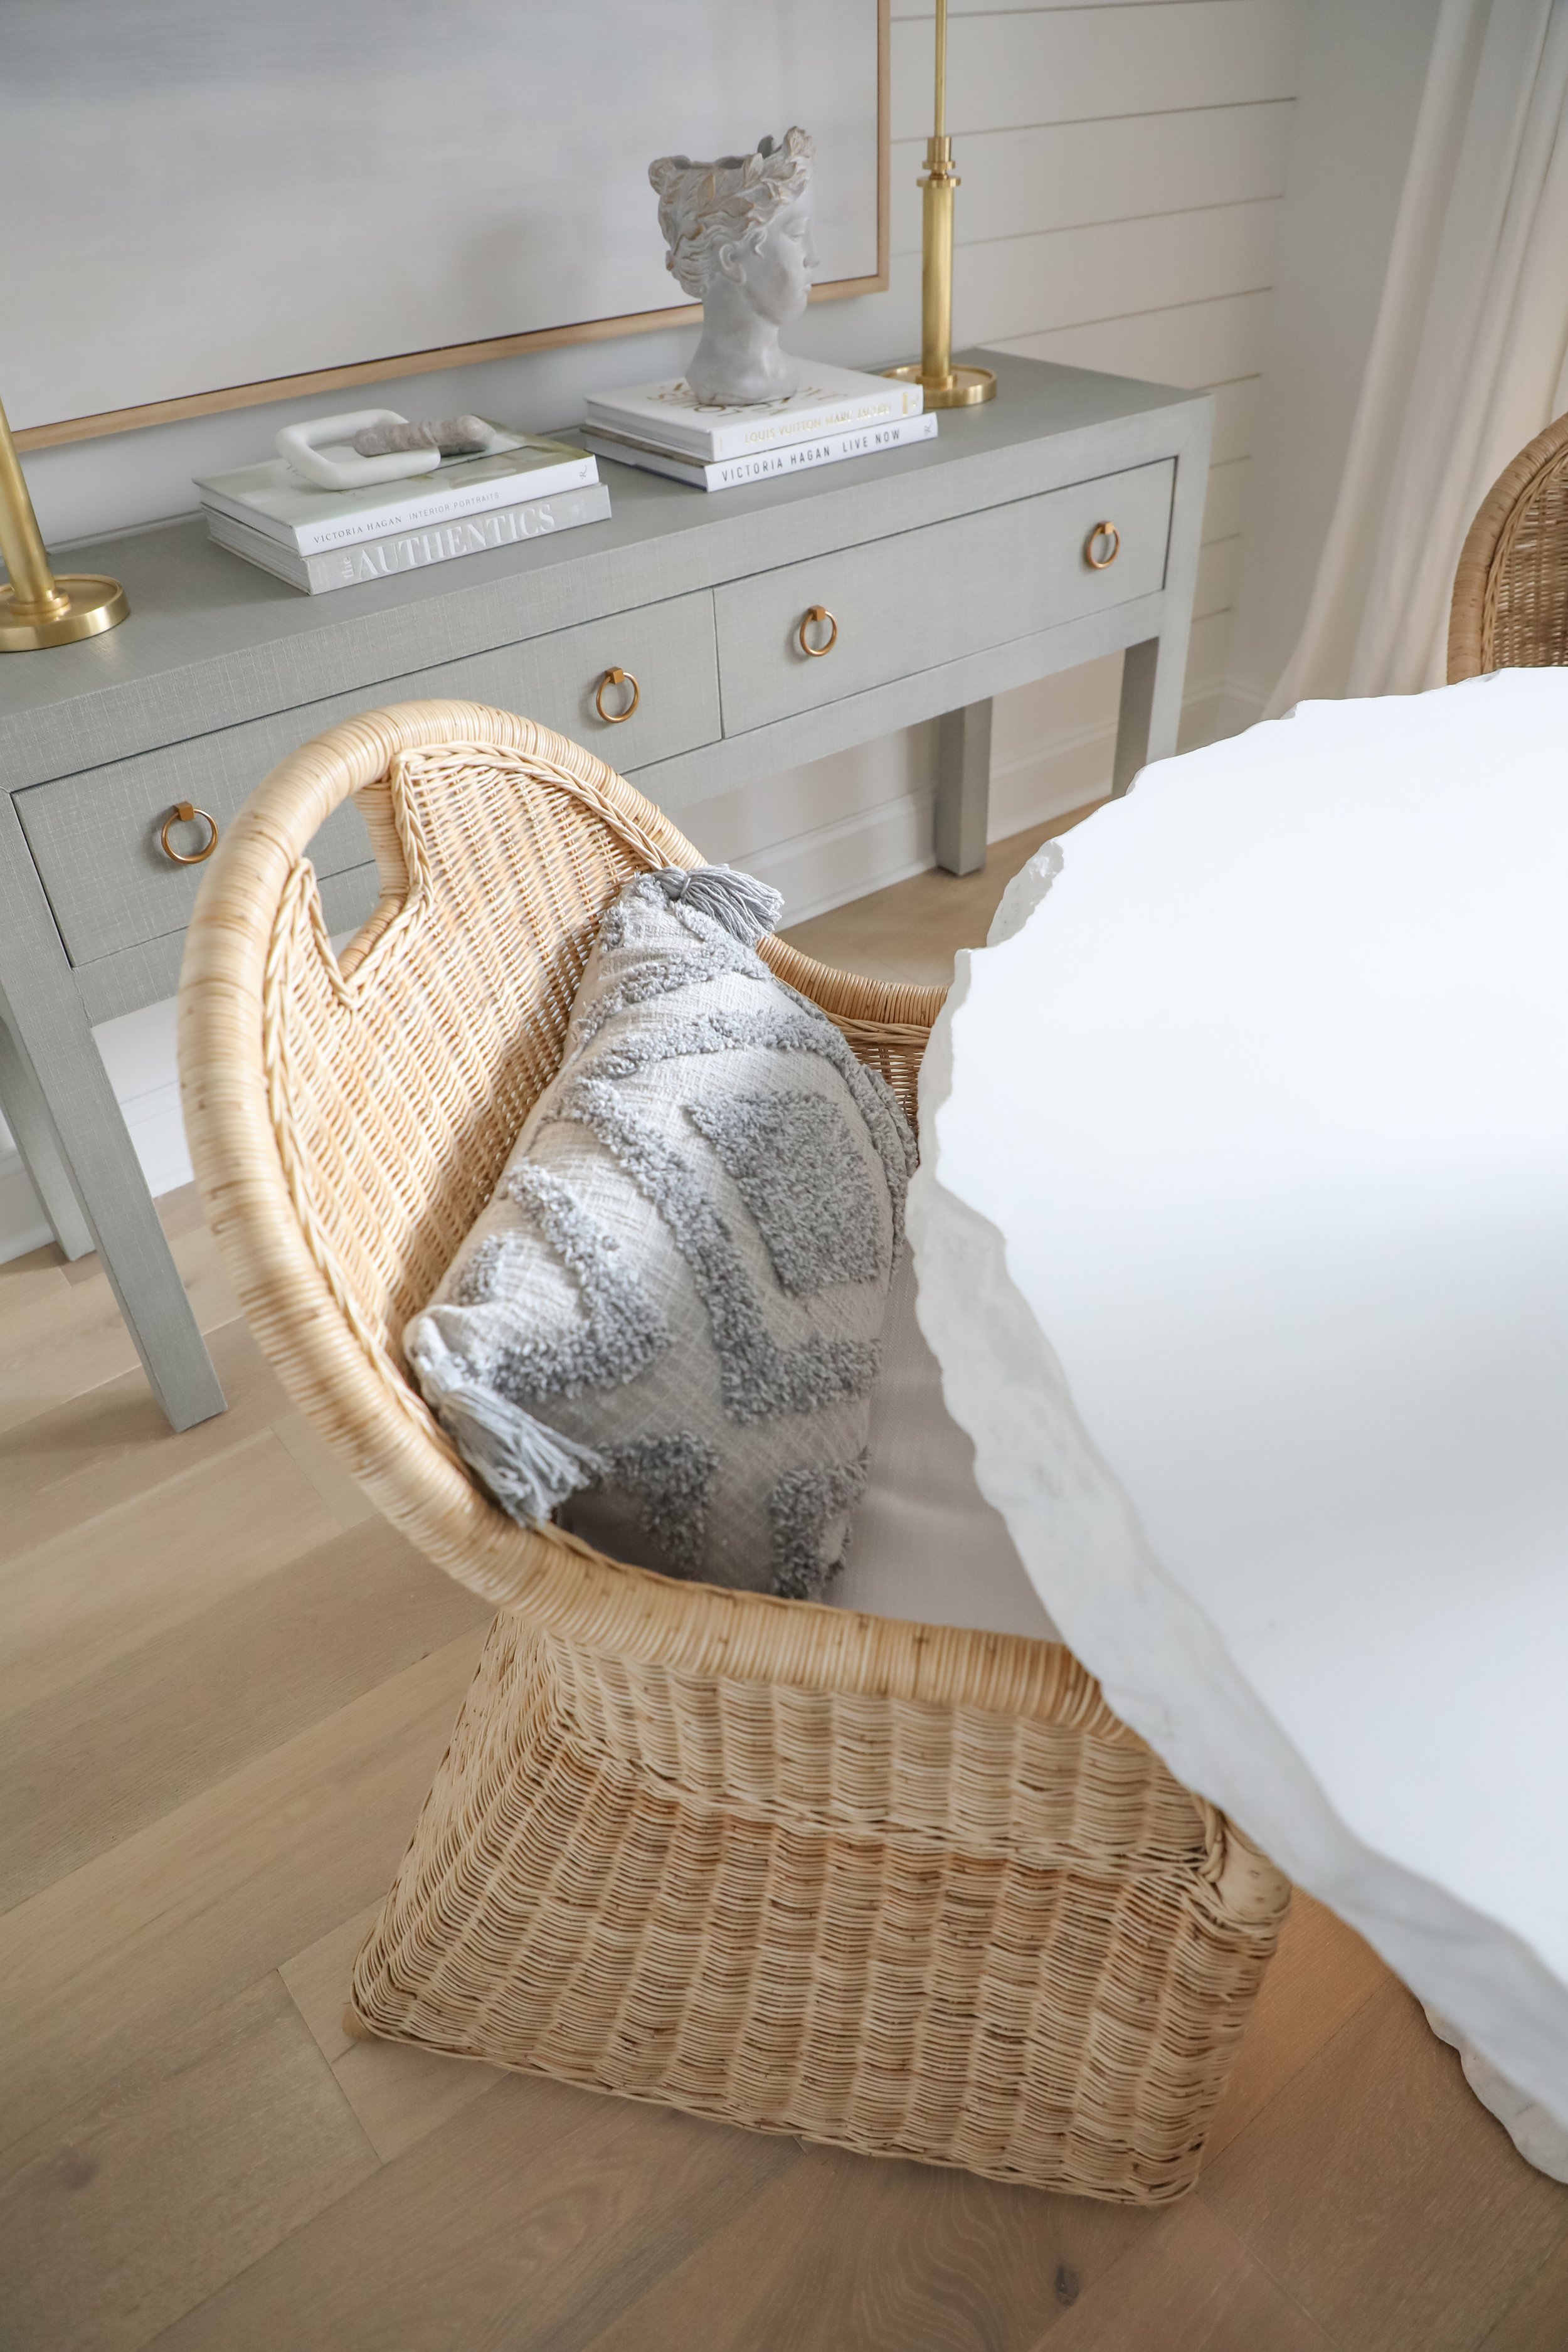
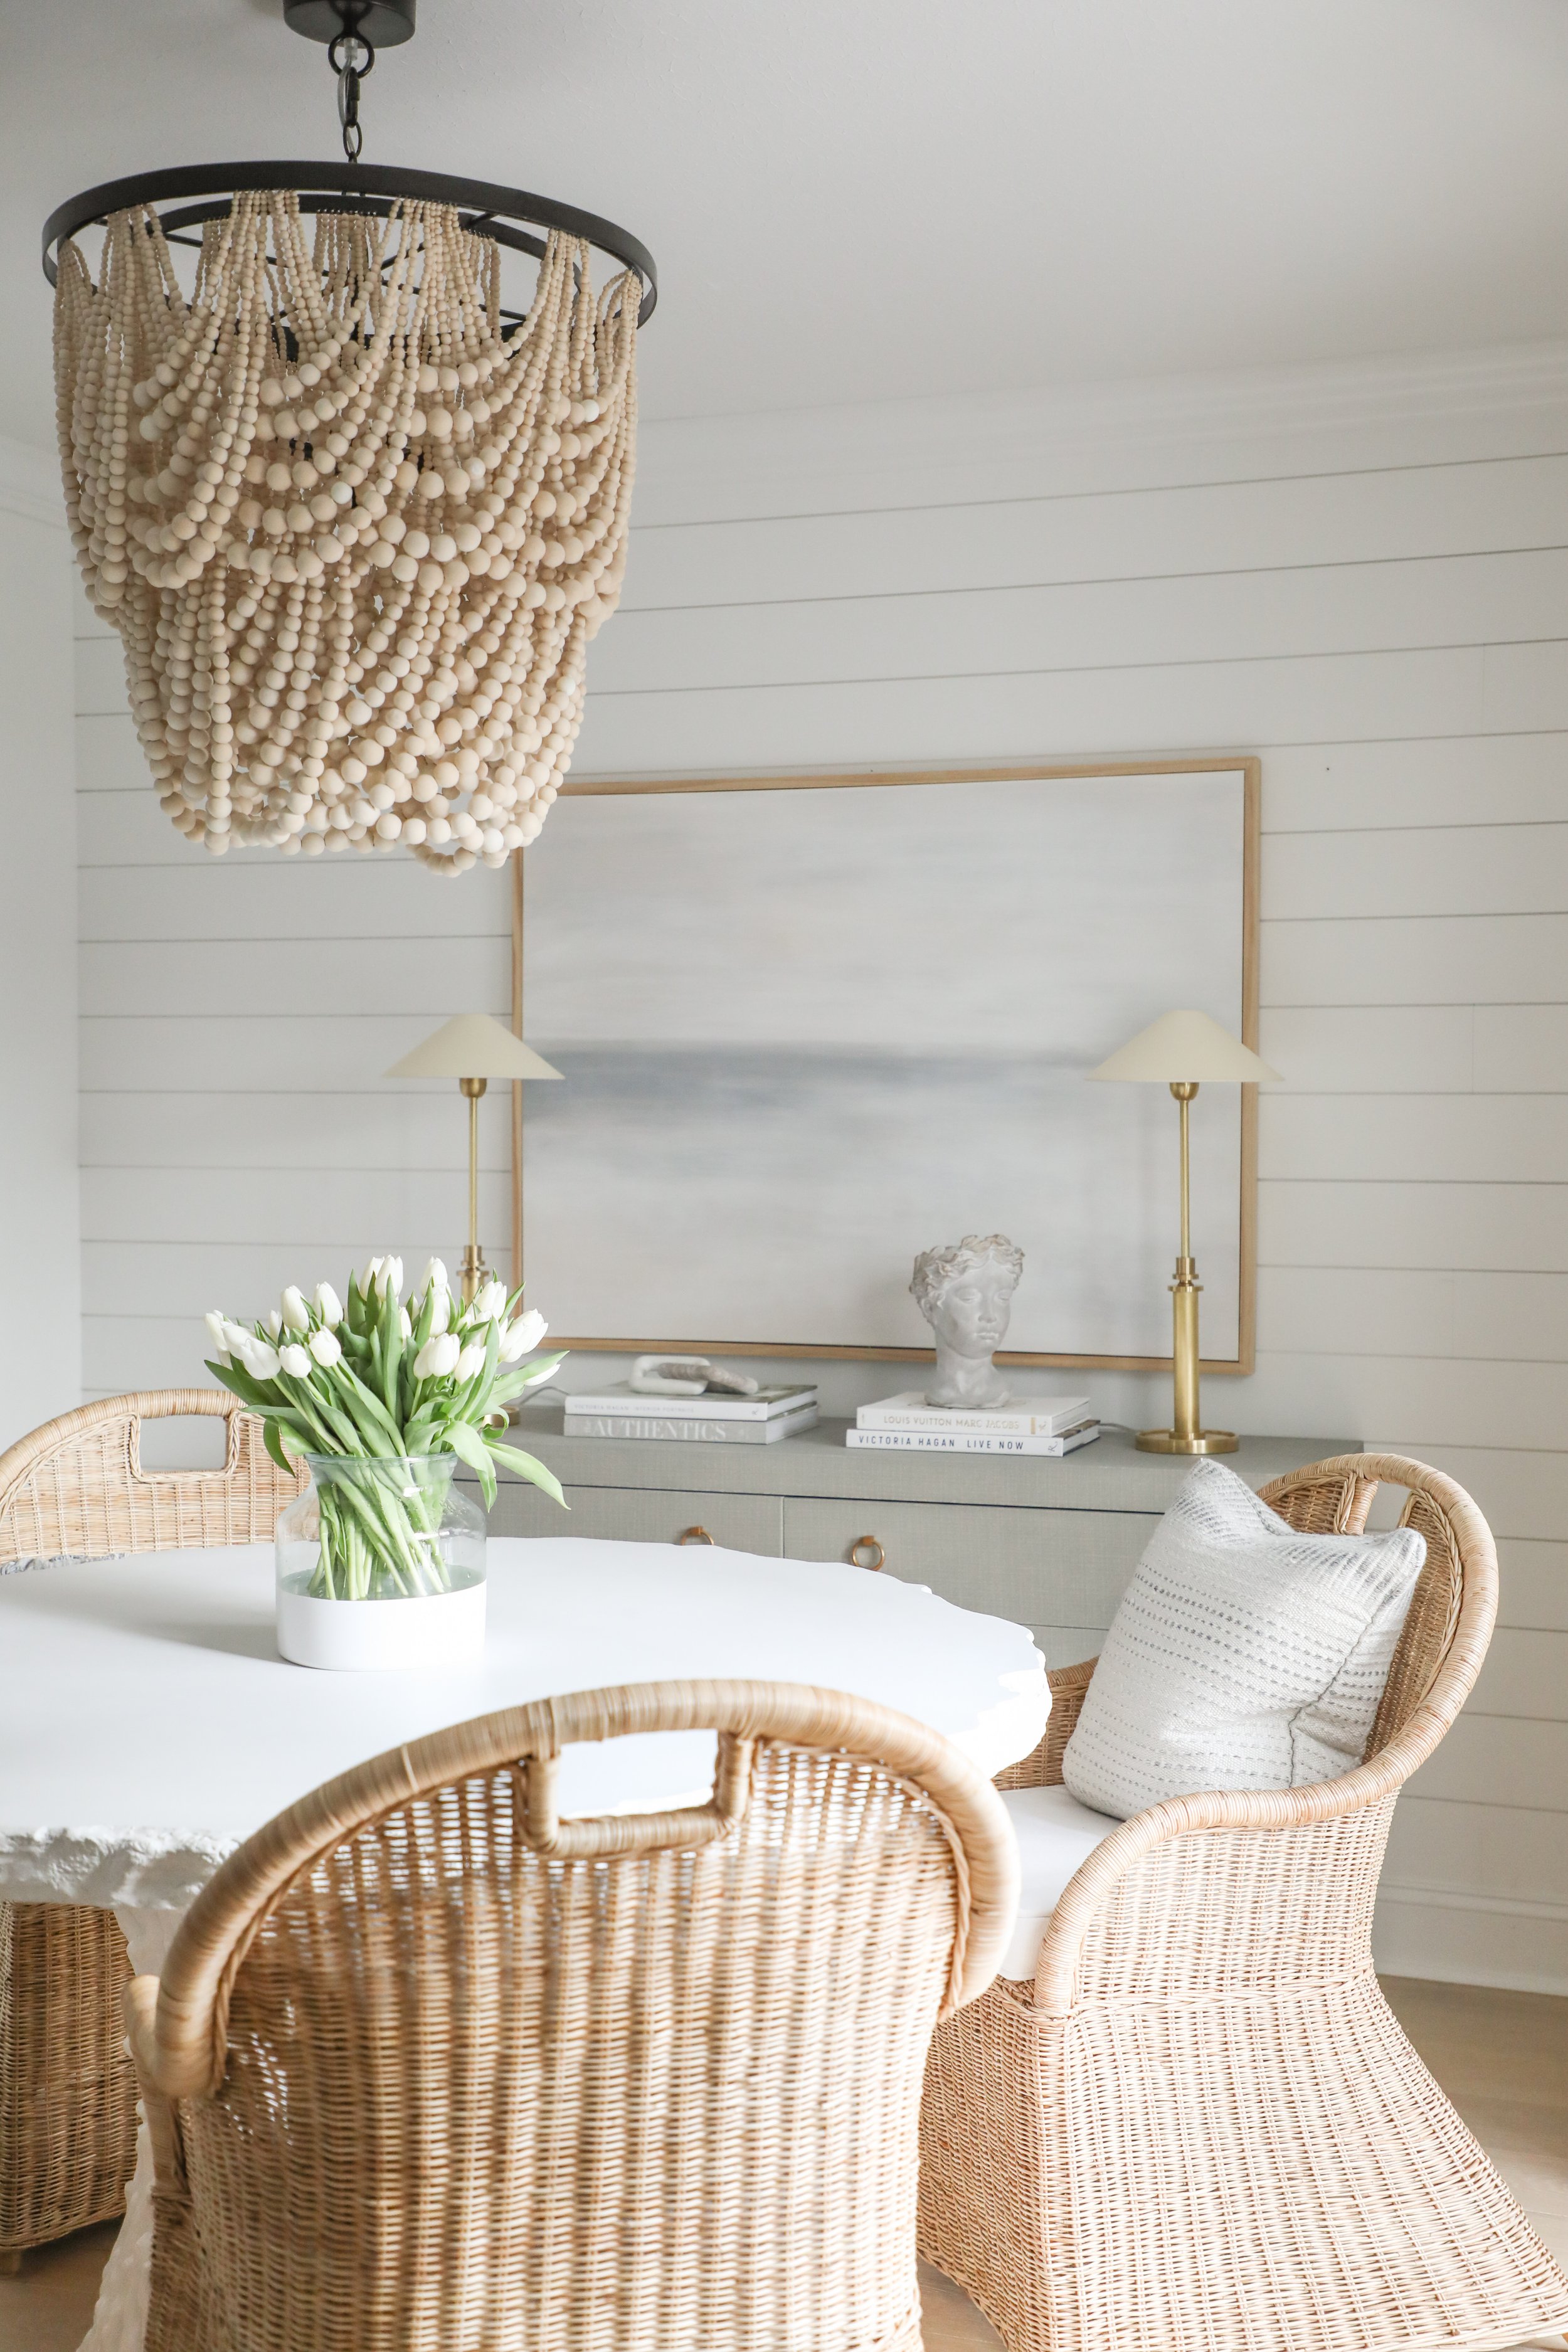
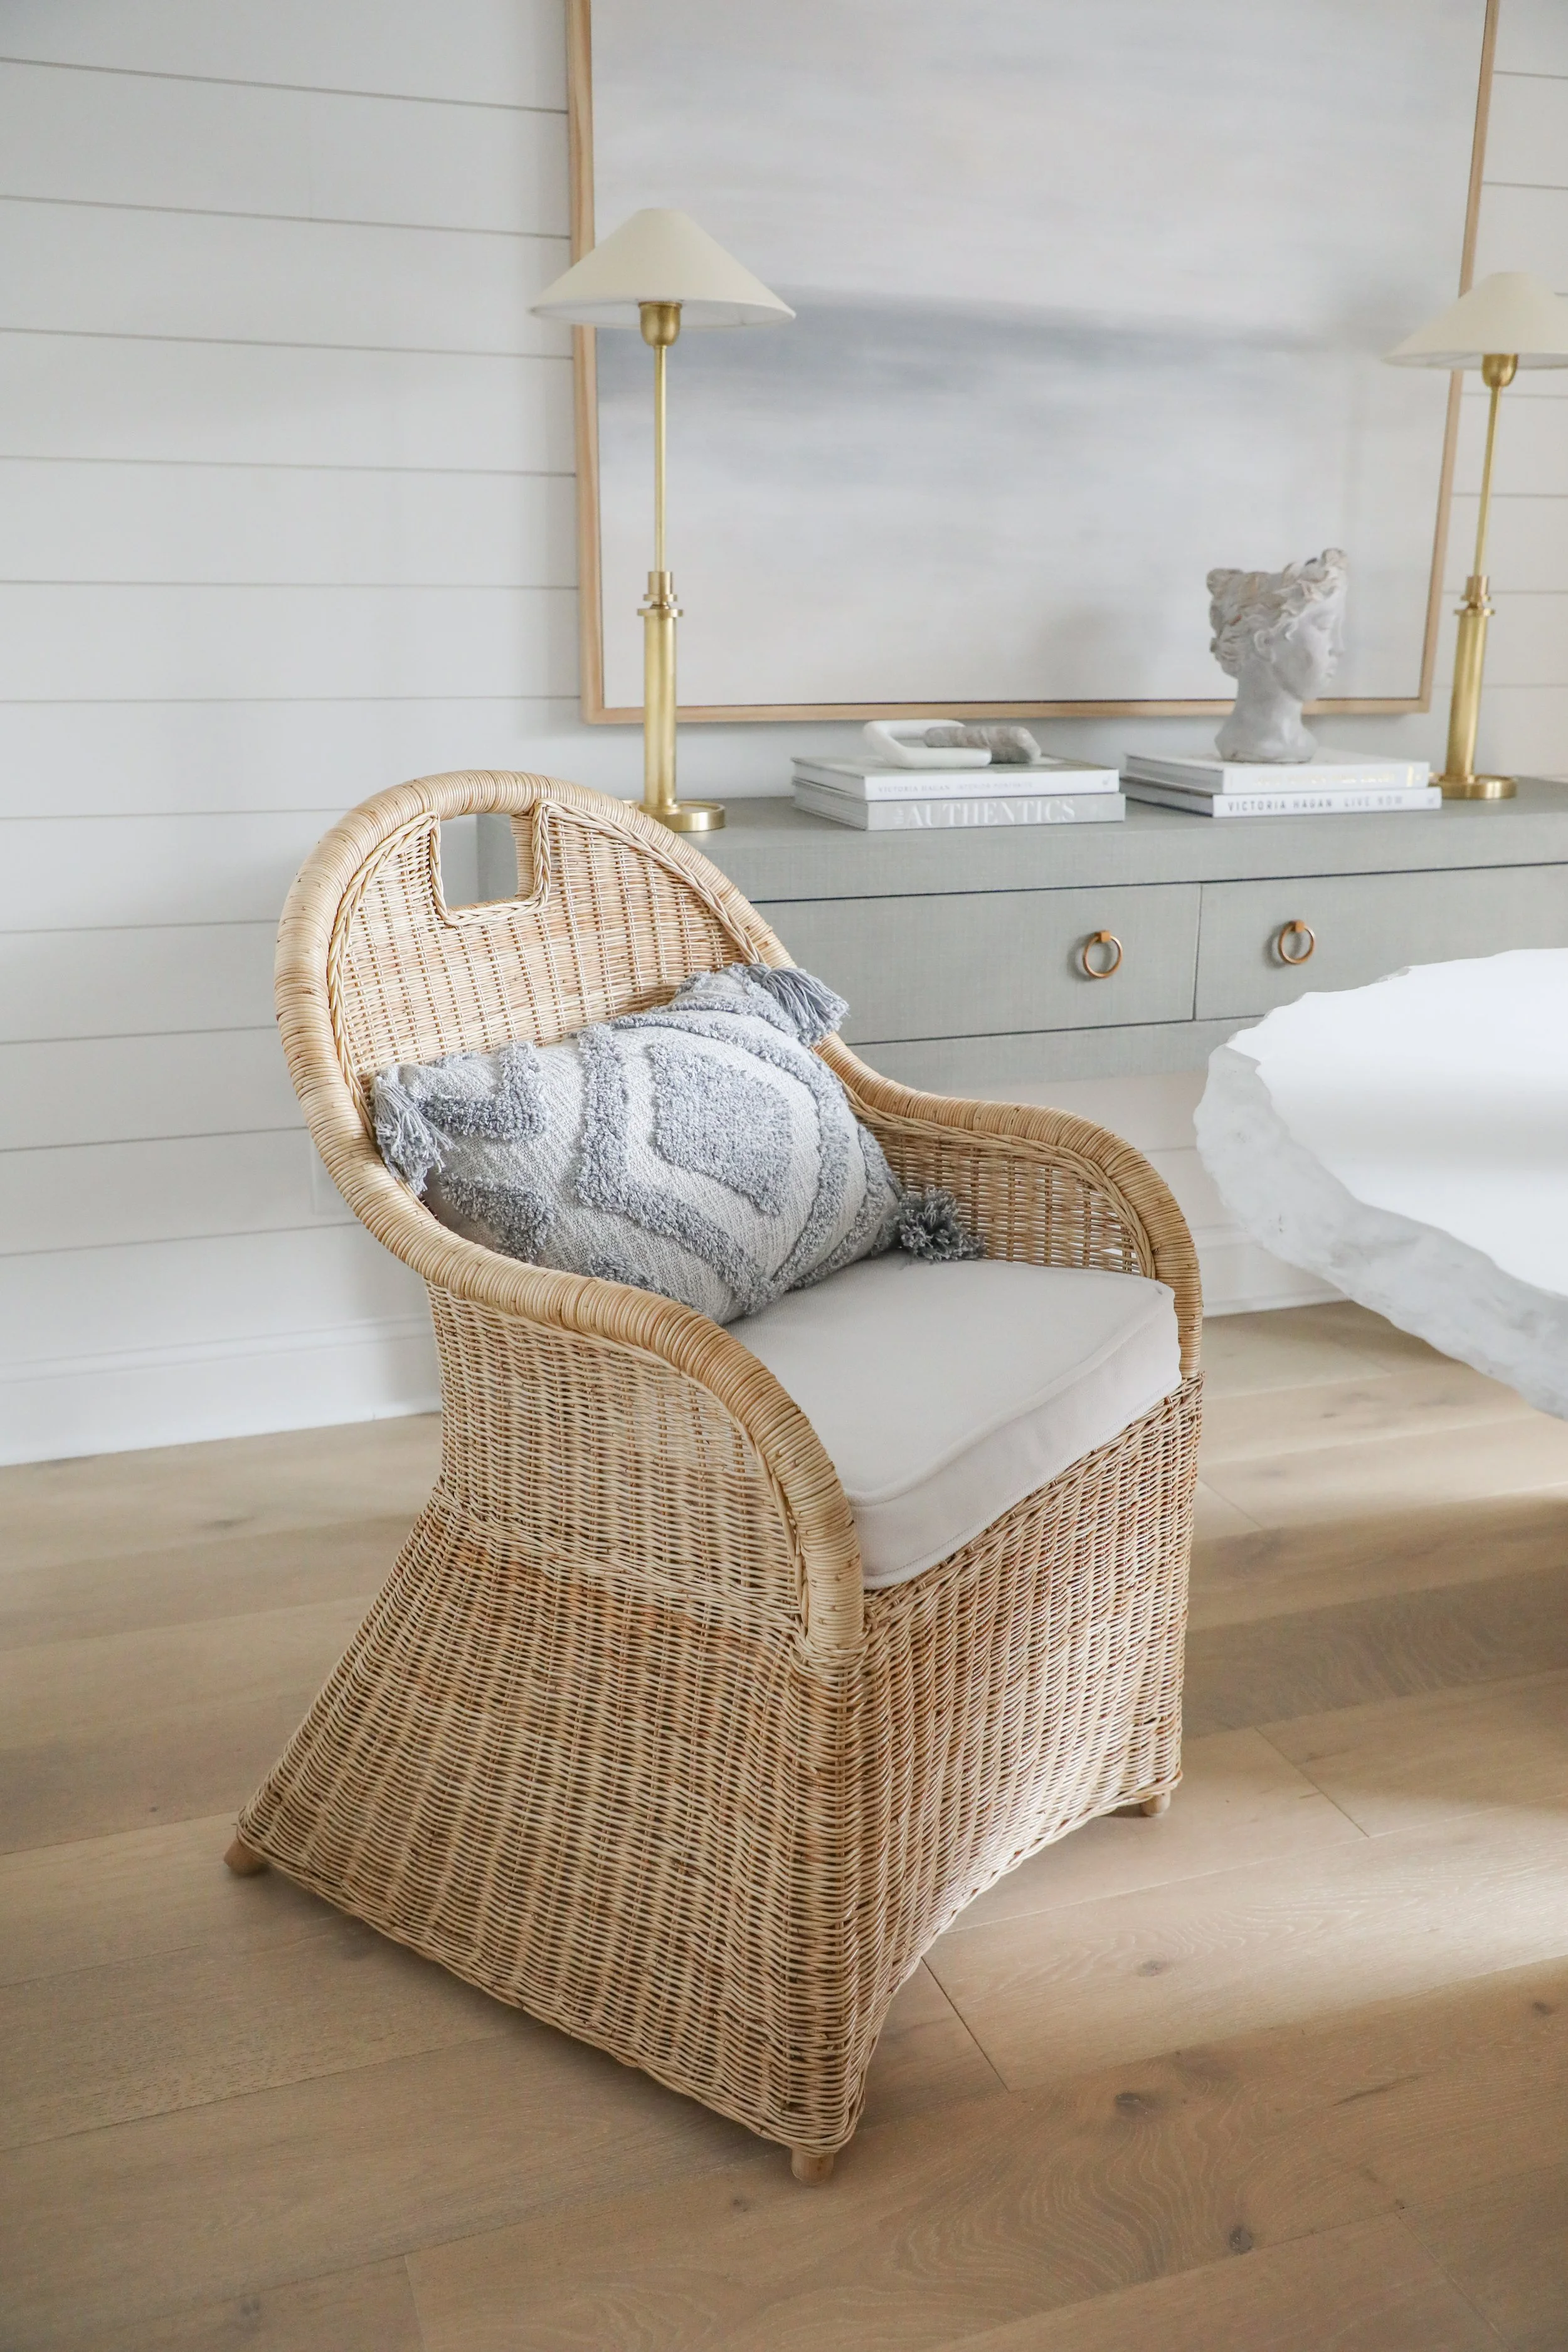
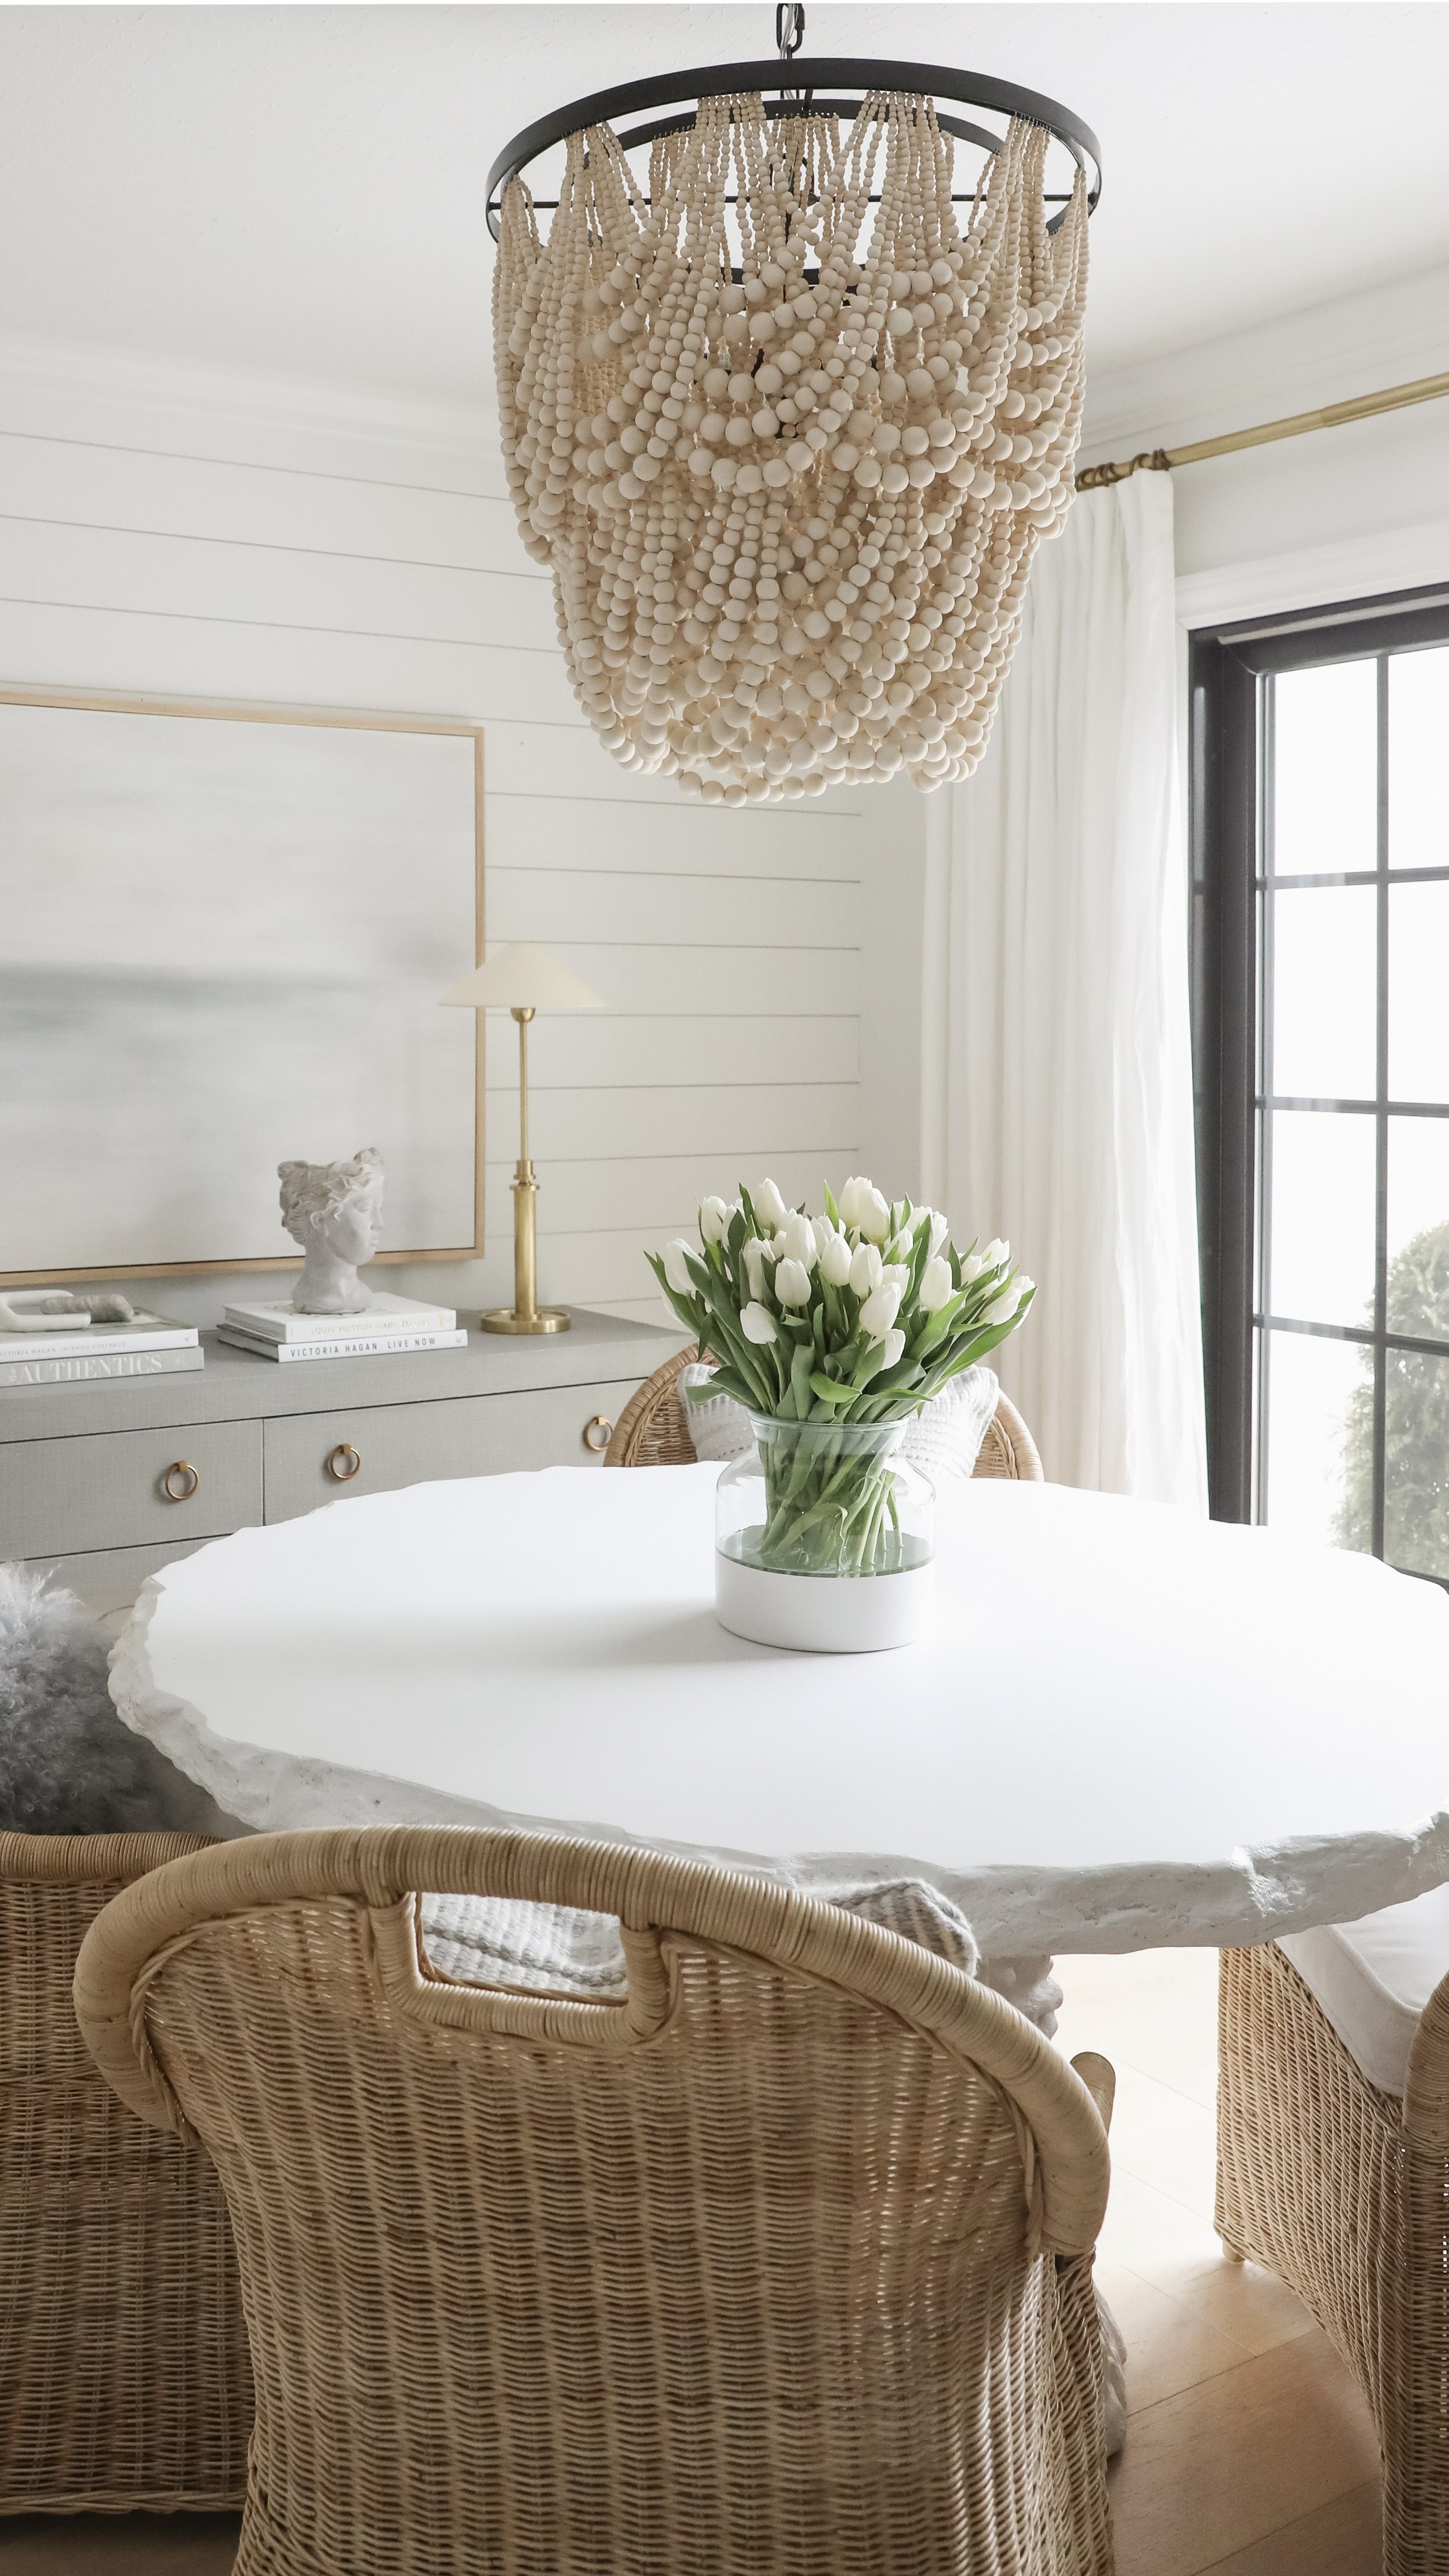
Apart from their comfort and functionality, the Shore Dining chair is beautiful! I really love the curves and silhouette of the chairs. They has a really unique look that is sure to elevate any space. The woven rattan frame feels warm and inviting, and keeps the space feeling casual. The handle detail at the top of the chair makes them easy to pull out or push in to the table, and they’re light weight enough to do so with just one hand. I really love the pairing to the Shore Dining chairs with our Faux Bois dining table. They both have a natural feel to them that keeps our dining space inviting but unique. The Faux Bois dining table is truly a work of art! The gathered twig base is such a beautiful detail that makes the table feel almost like a sculpture.

Overall, we’re very happy that we added the Shore Dining chairs to our dining room this fall. We were able to enjoy them over the holidays and have spent countless hours sitting in them this winter doing too many puzzles to count! They’ve not only made our dining space more enjoyable, but have also made it more functional as well. Since we live in a smaller home, it’s really important to us to have each room serve multiple purposes. Since adding in these new Serena and Lily pieces we can definitely say that, and we’ve spent many many more hours in our dining room over the last few months because of it.

Right now Serena and Lily is having their Spring Design Event, where everything is 20% off! If you’ve had your eye on something special, now is the time to bring it home! Use code: HOME. I’m going to link a few more of my favorite Serena and Lily dining pieces below!

*This post is sponsored by Serena and Lily, a brand I love. All opinions are my own.

Holiday Entertaining with Serena and Lily

Today I’m sharing a holiday tablescape idea and some new updates to our dining room! I’ve been having so much fun decorating and entertaining around our new table the past couple months, and I’m so excited to share this new look with you all today in partnership with Serena and Lily!

Today is also the start of their VIP preview for the Black Friday Sale, where everything is 25% off—including sale! Use code: HAPPYDAY at checkout.

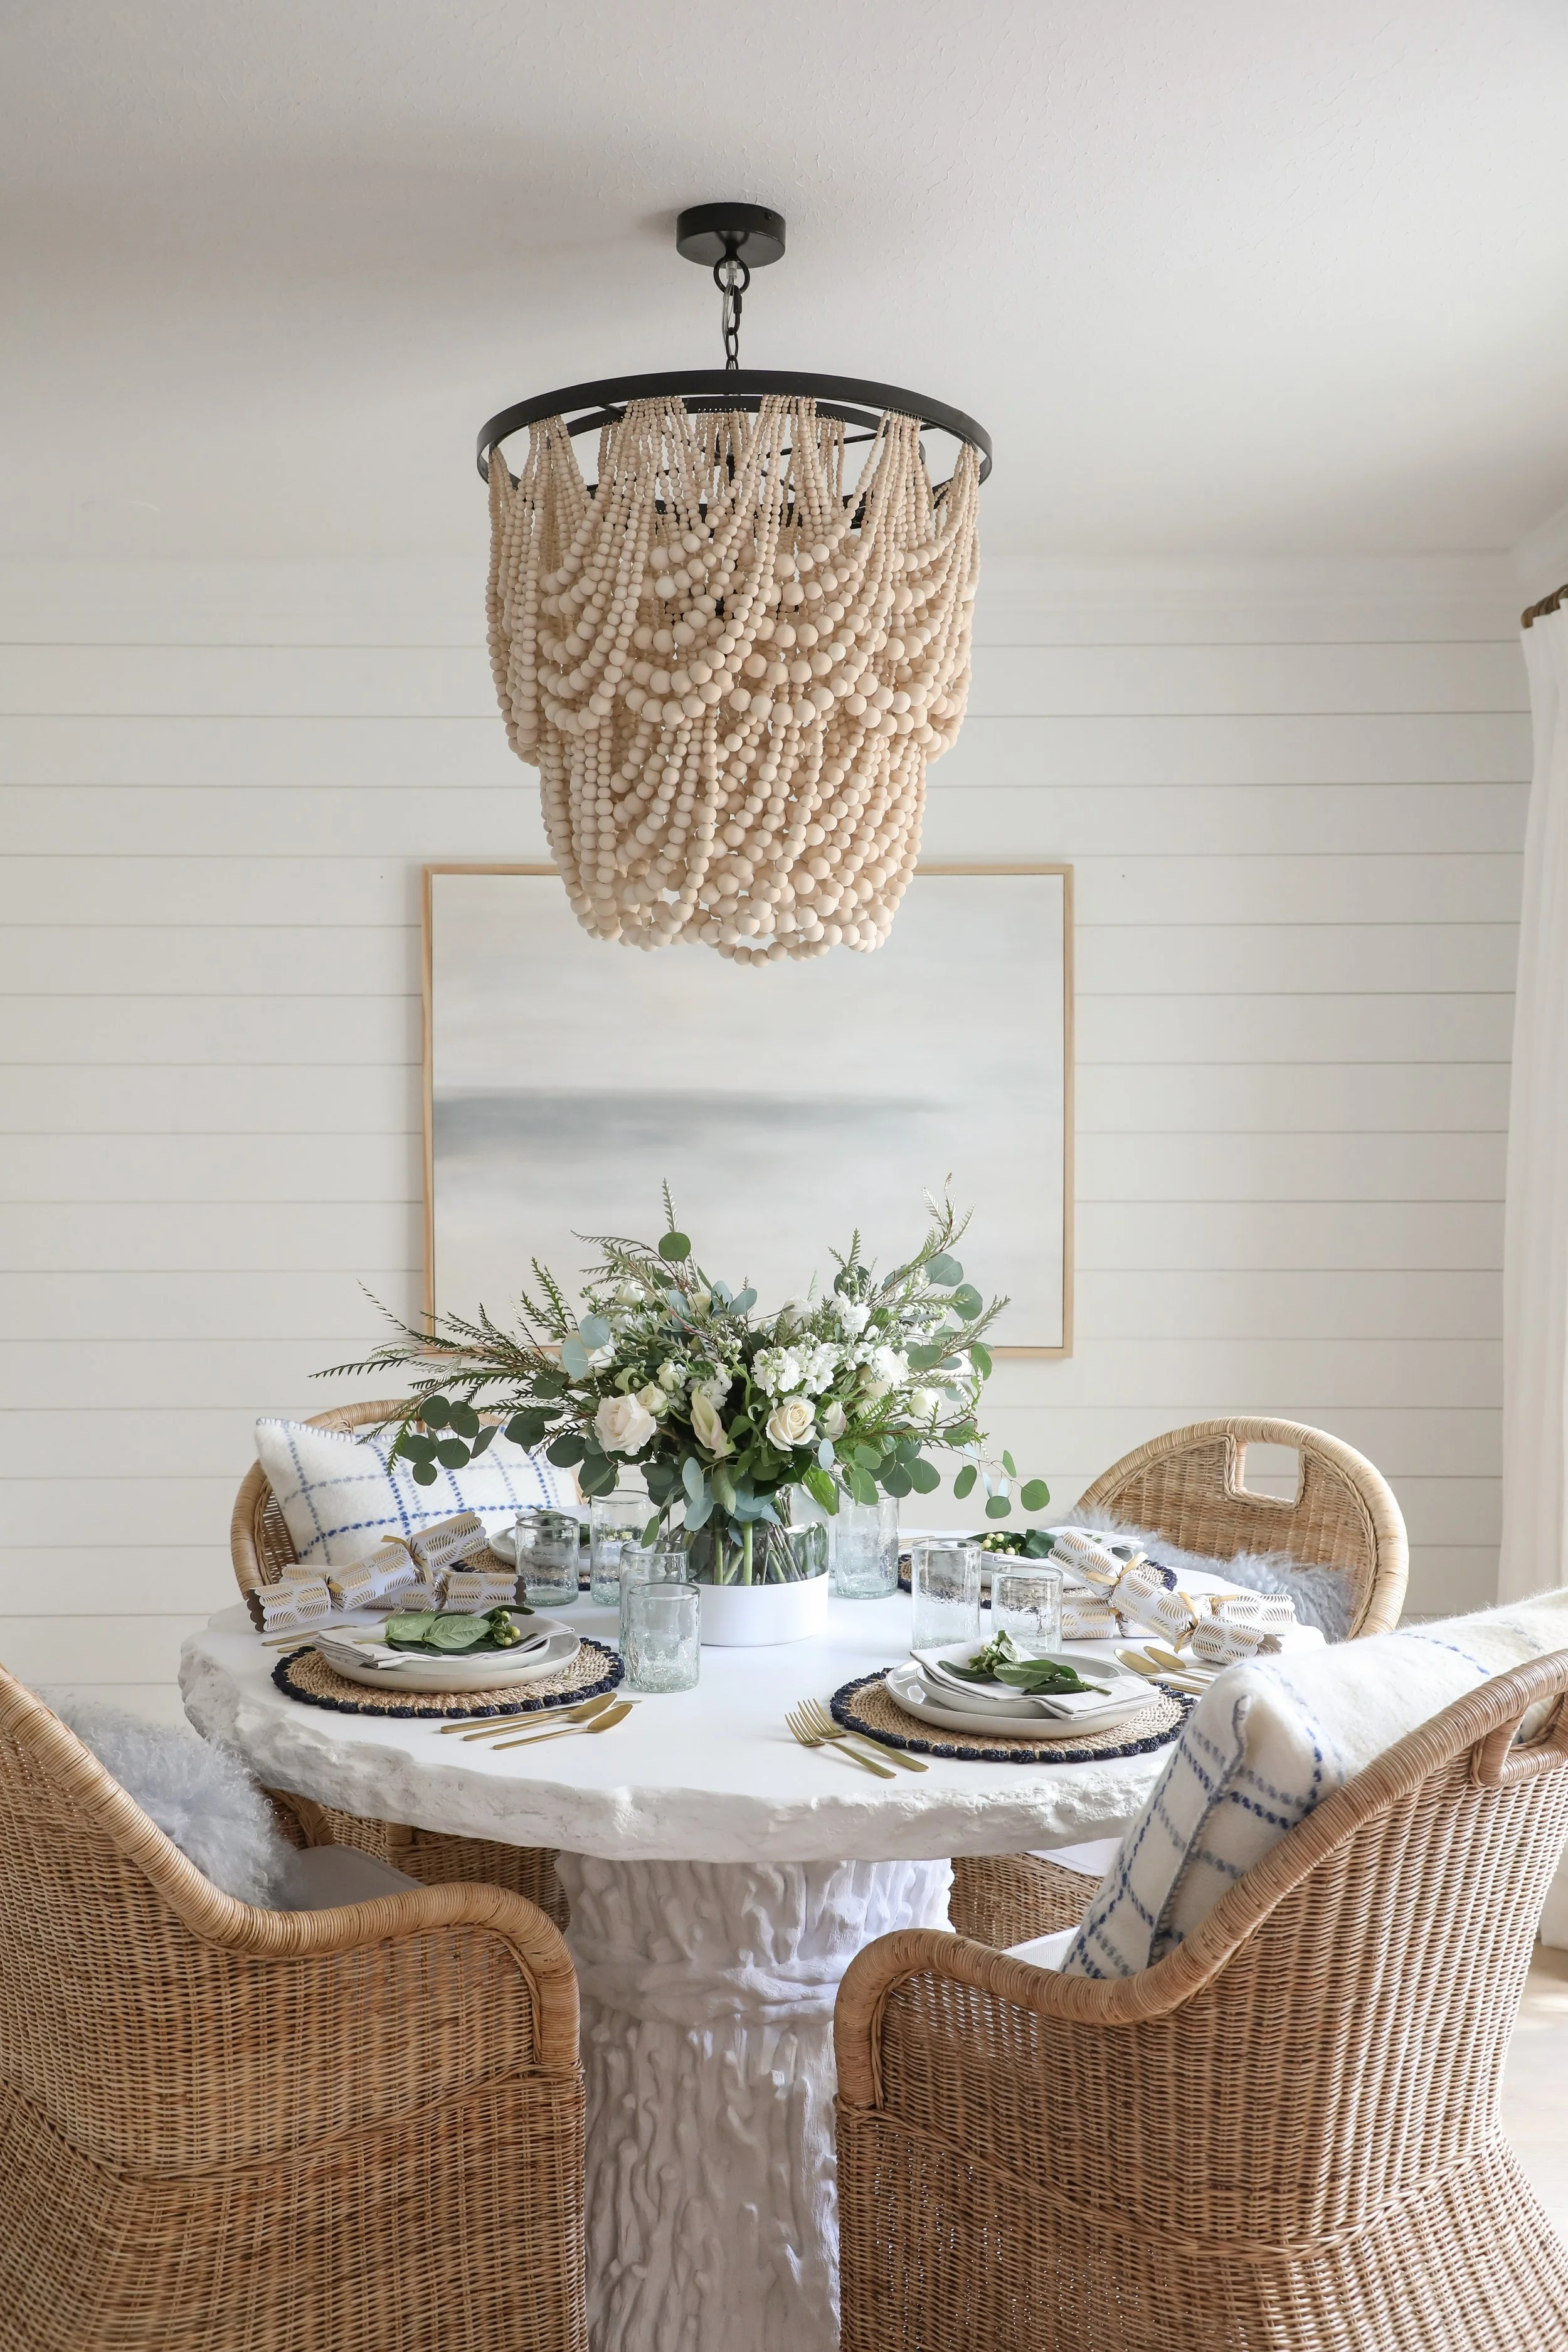
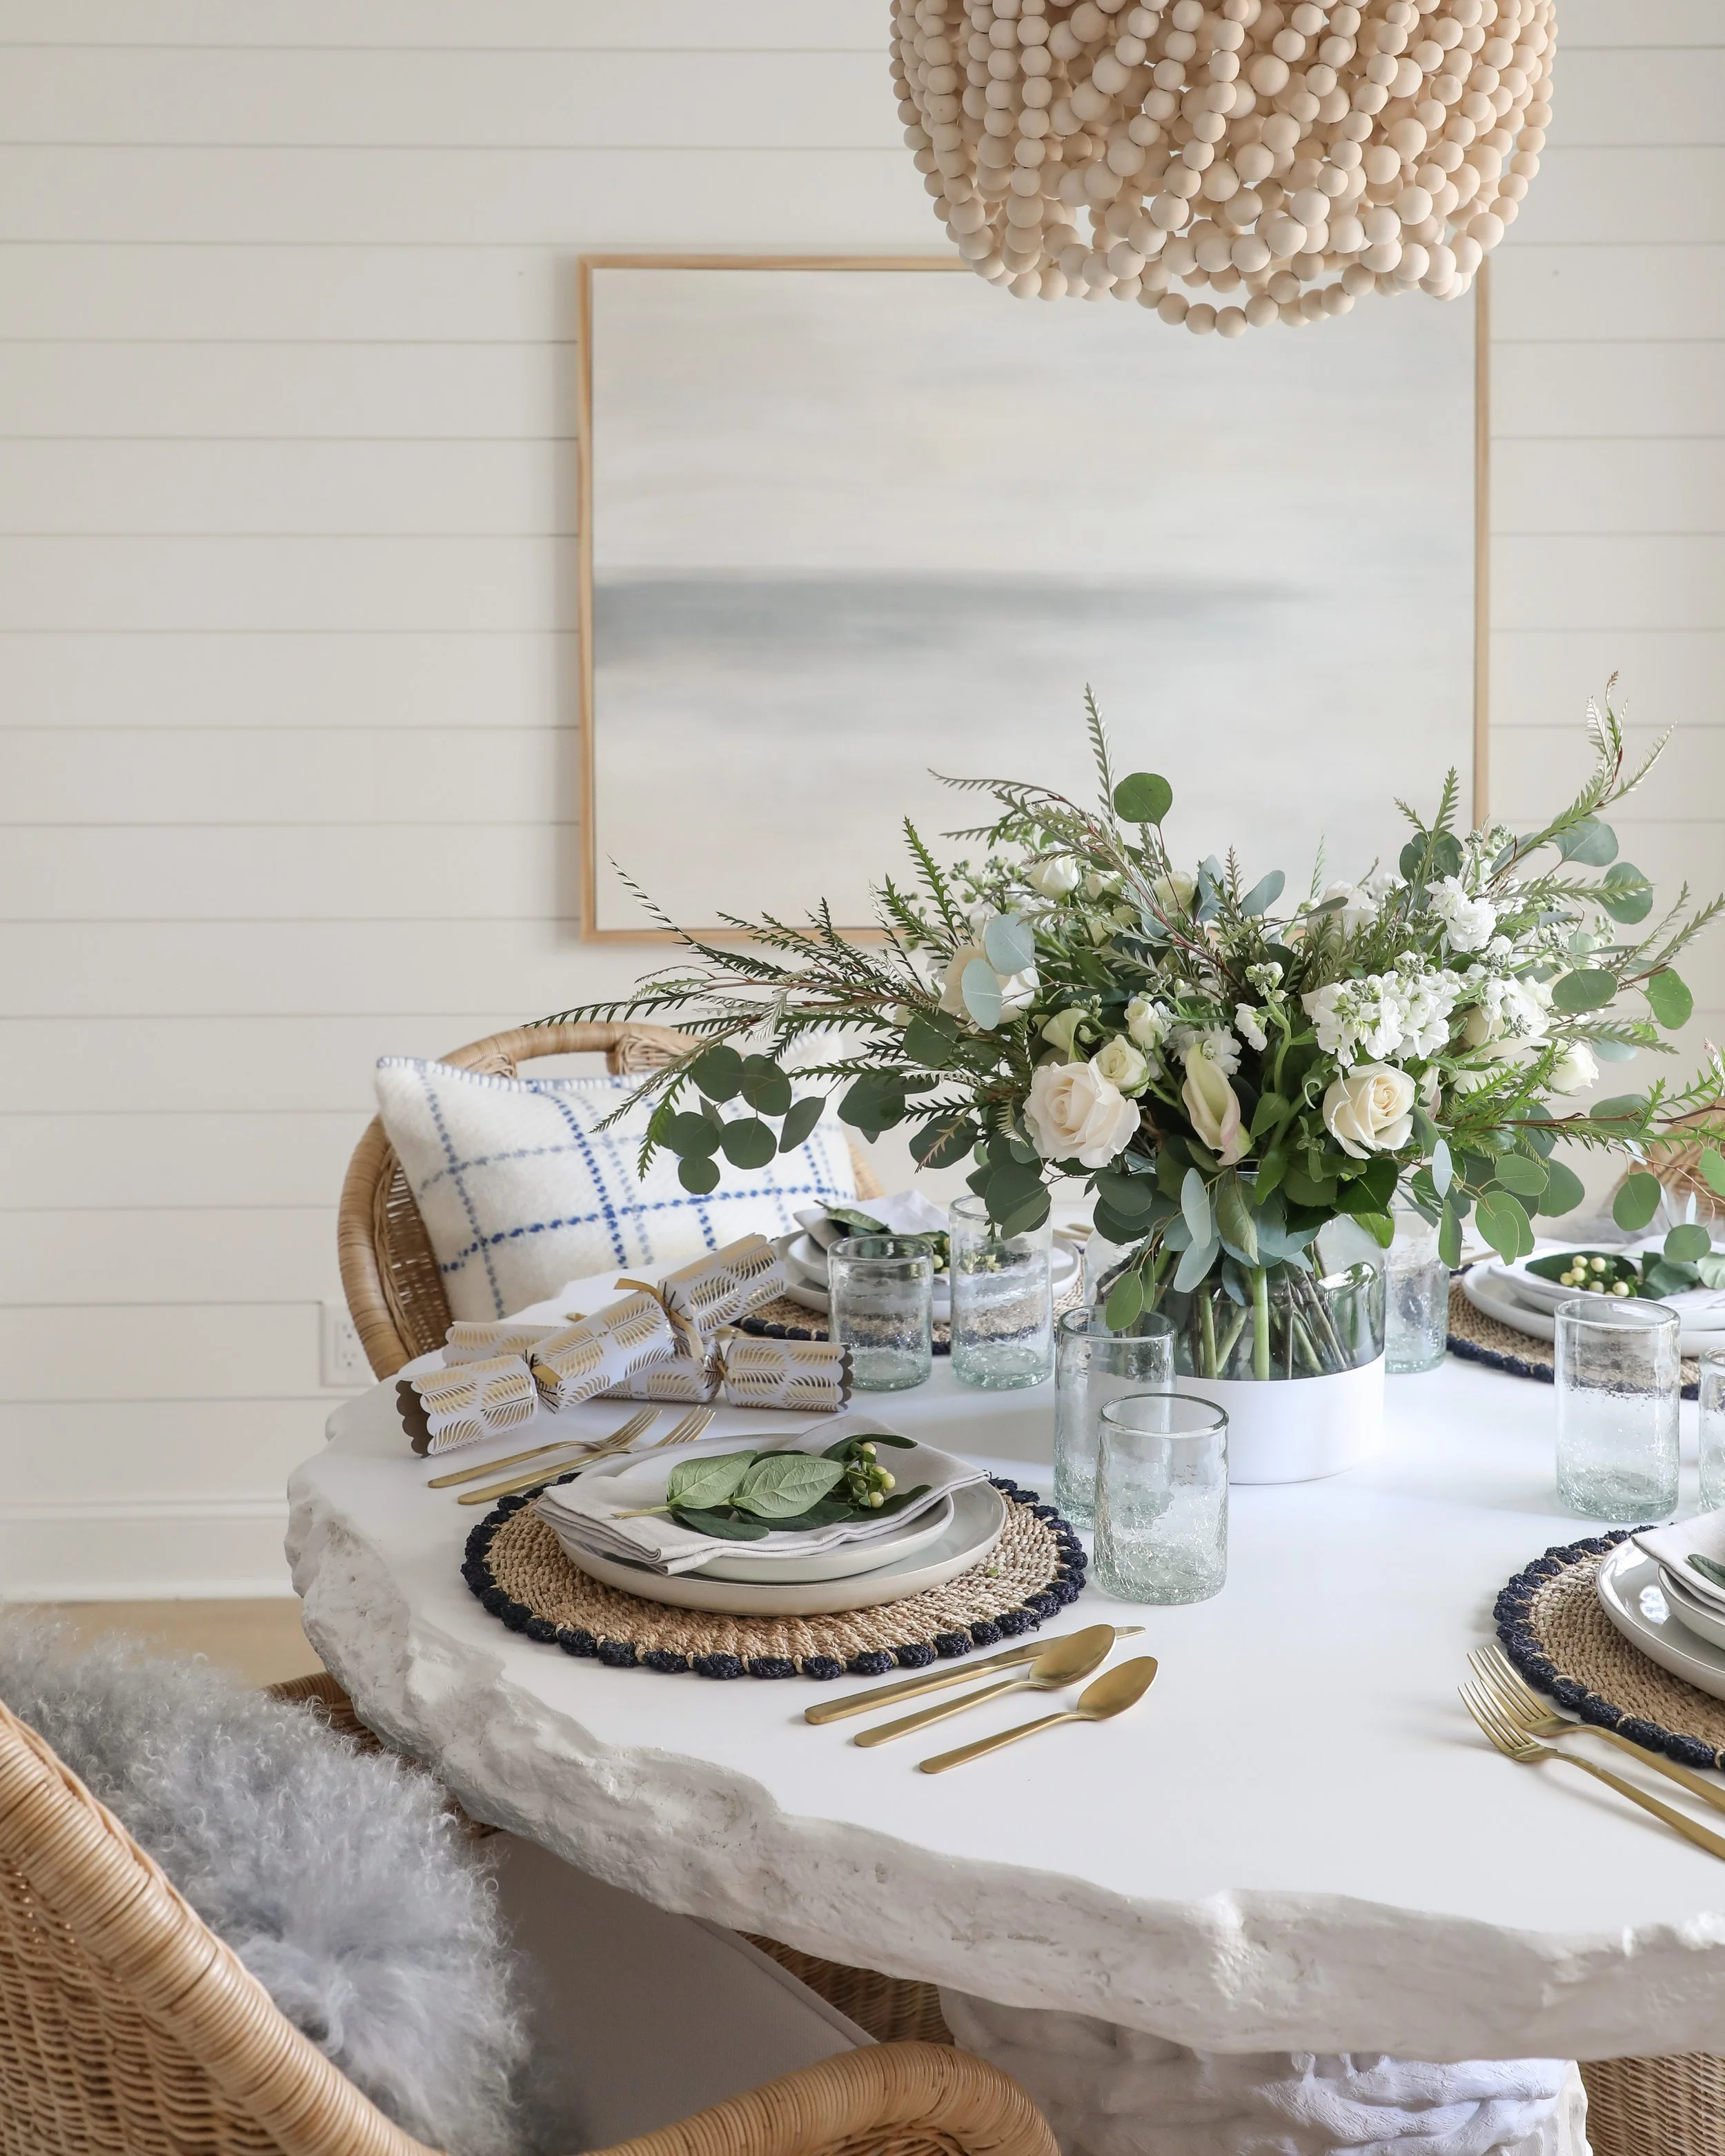
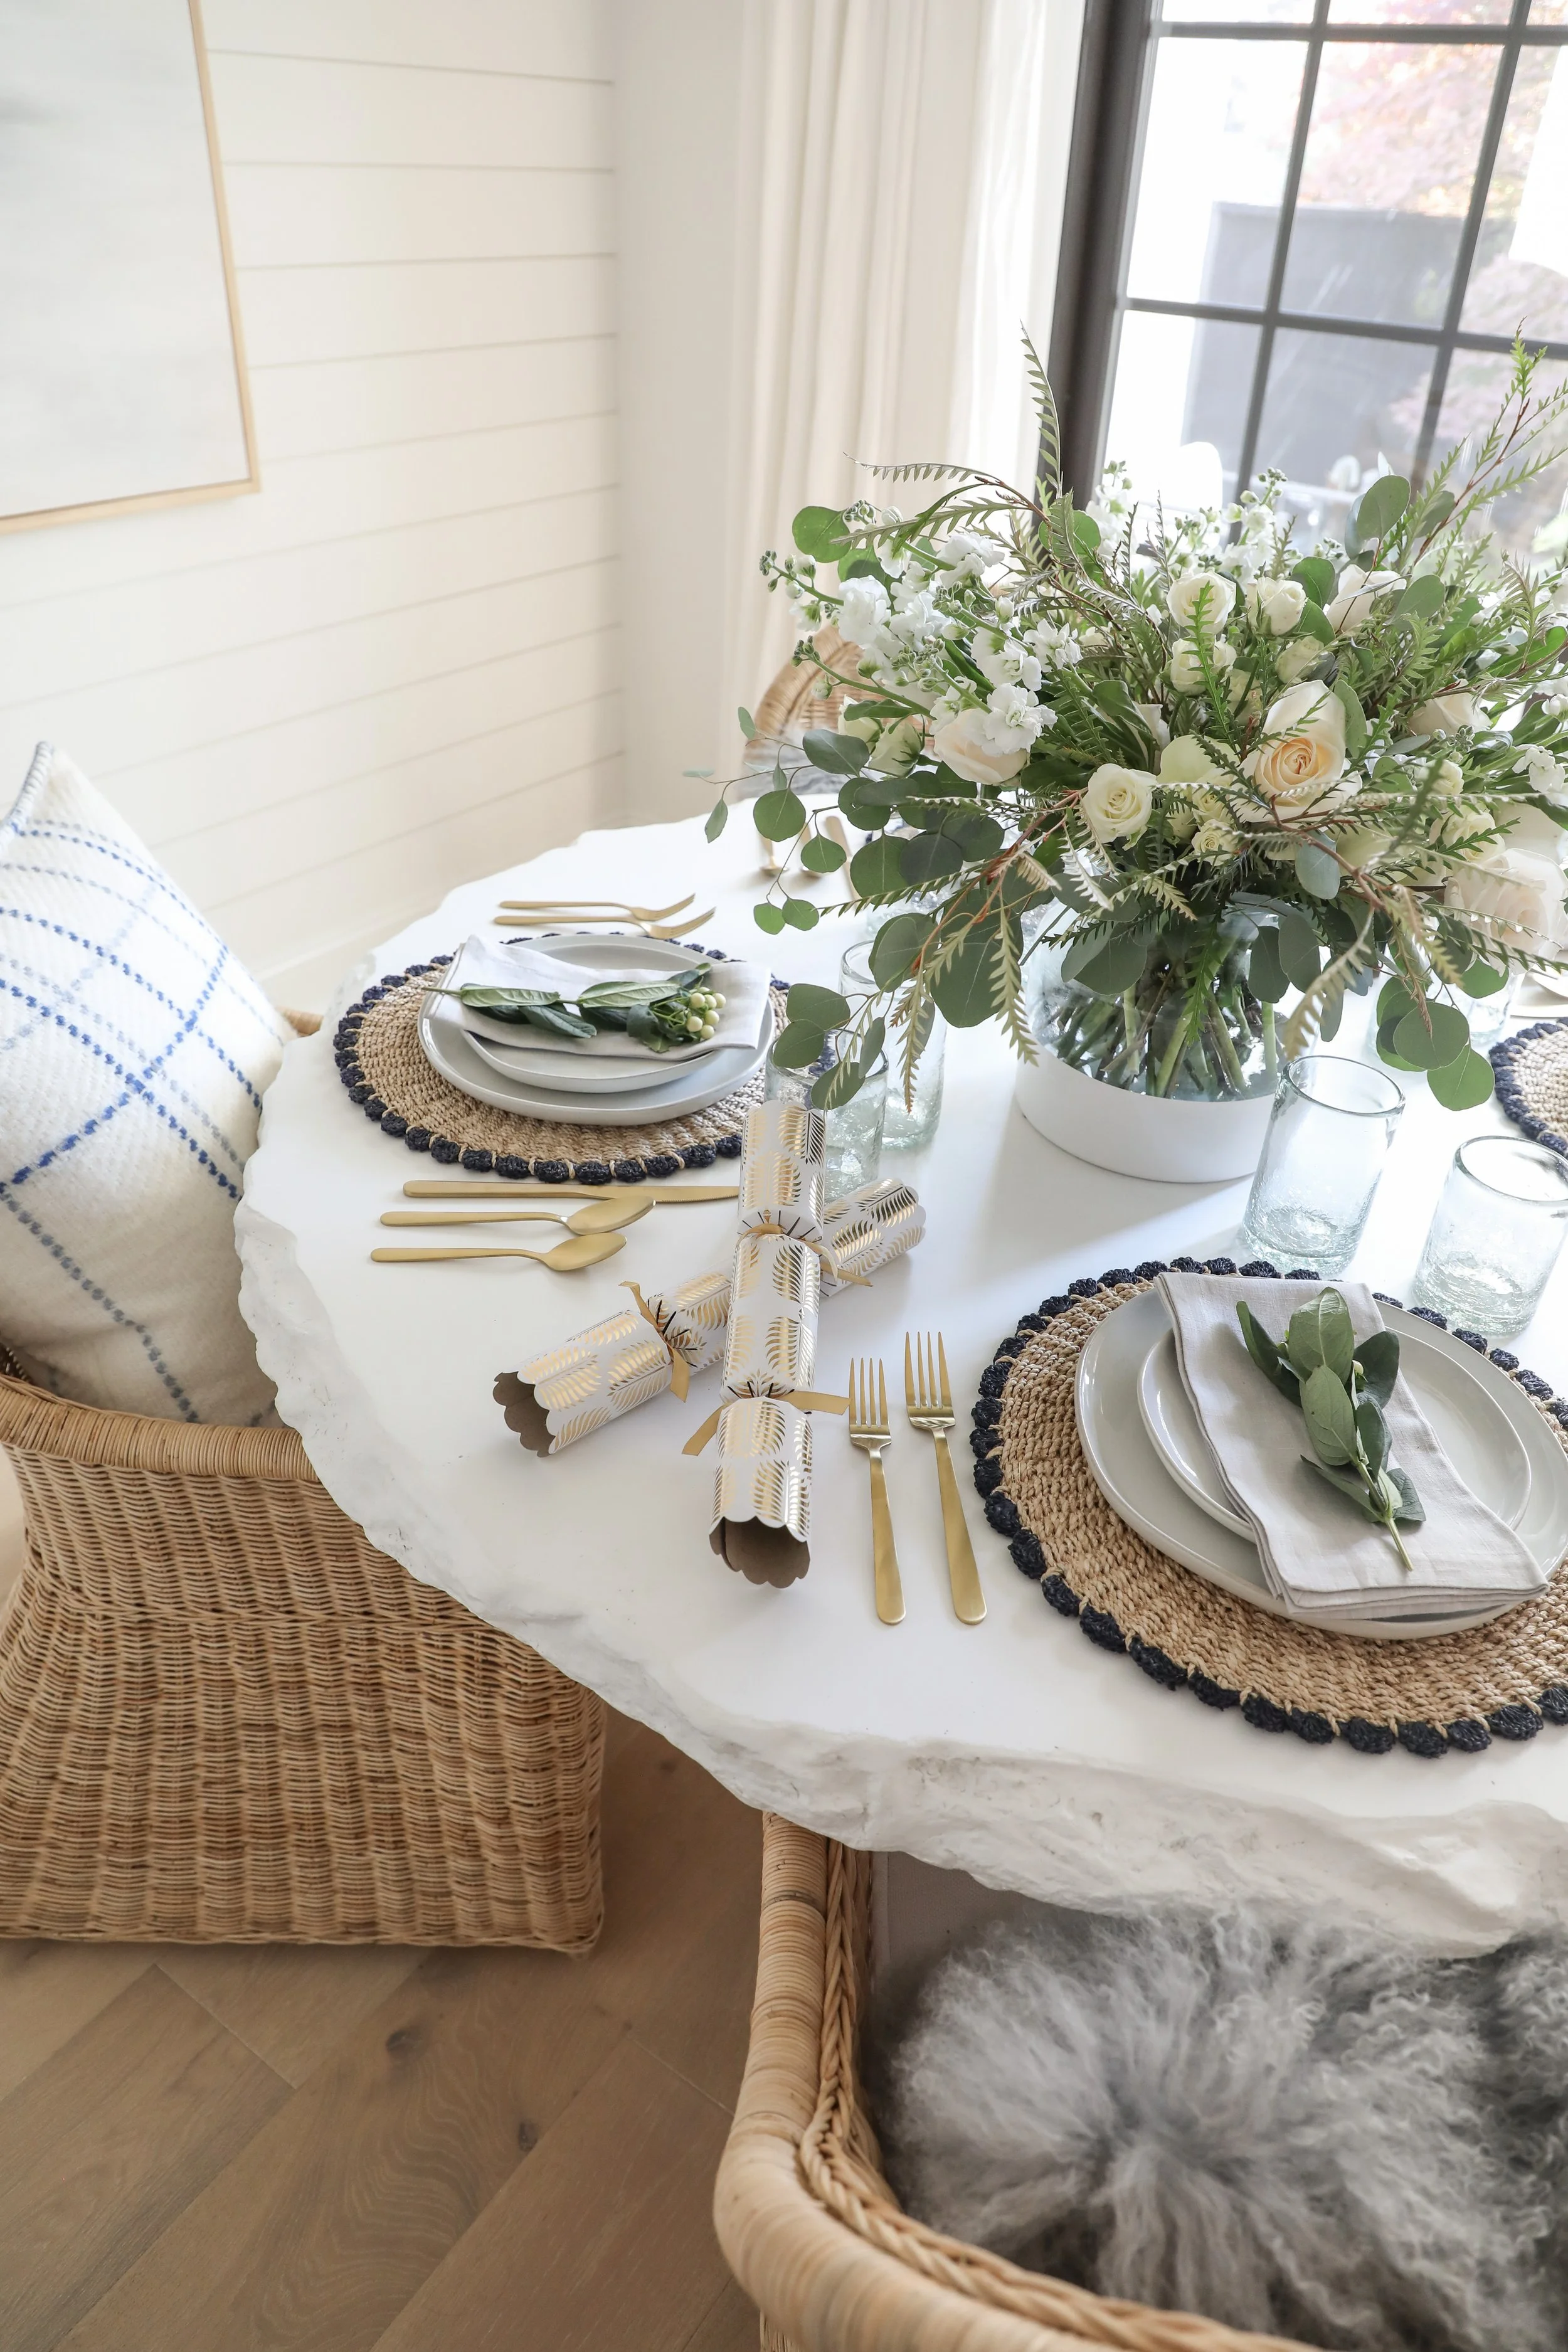
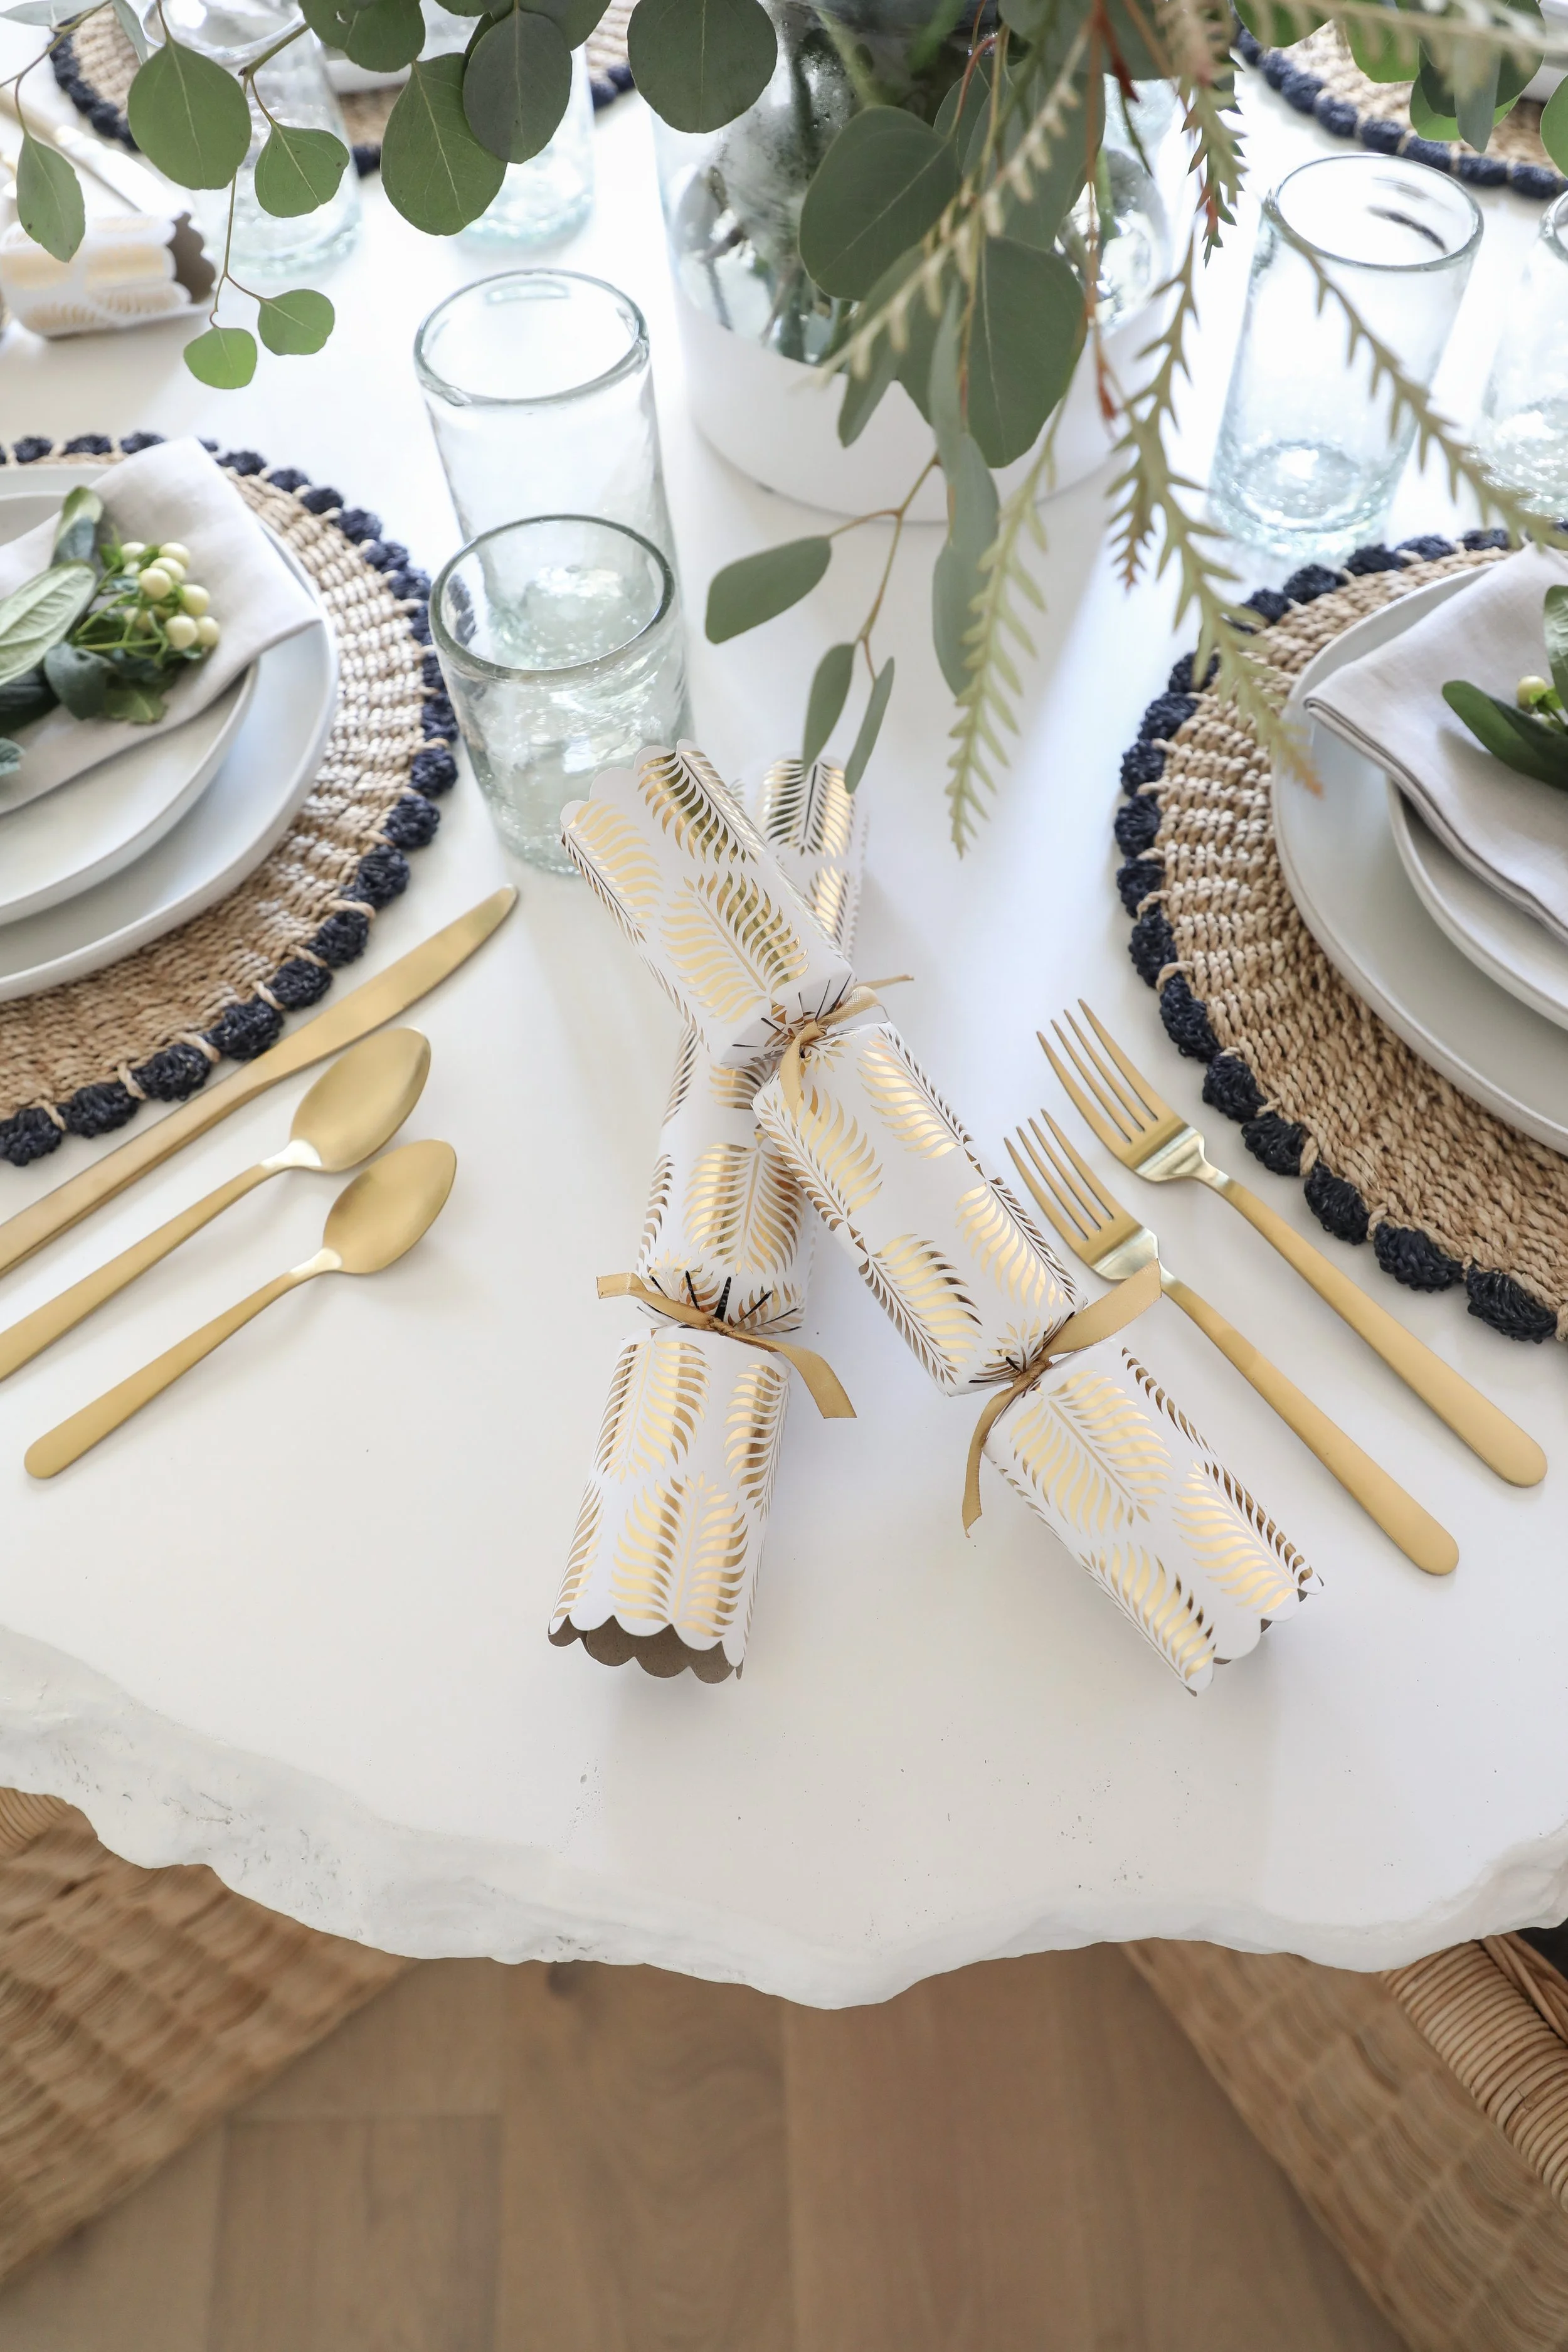
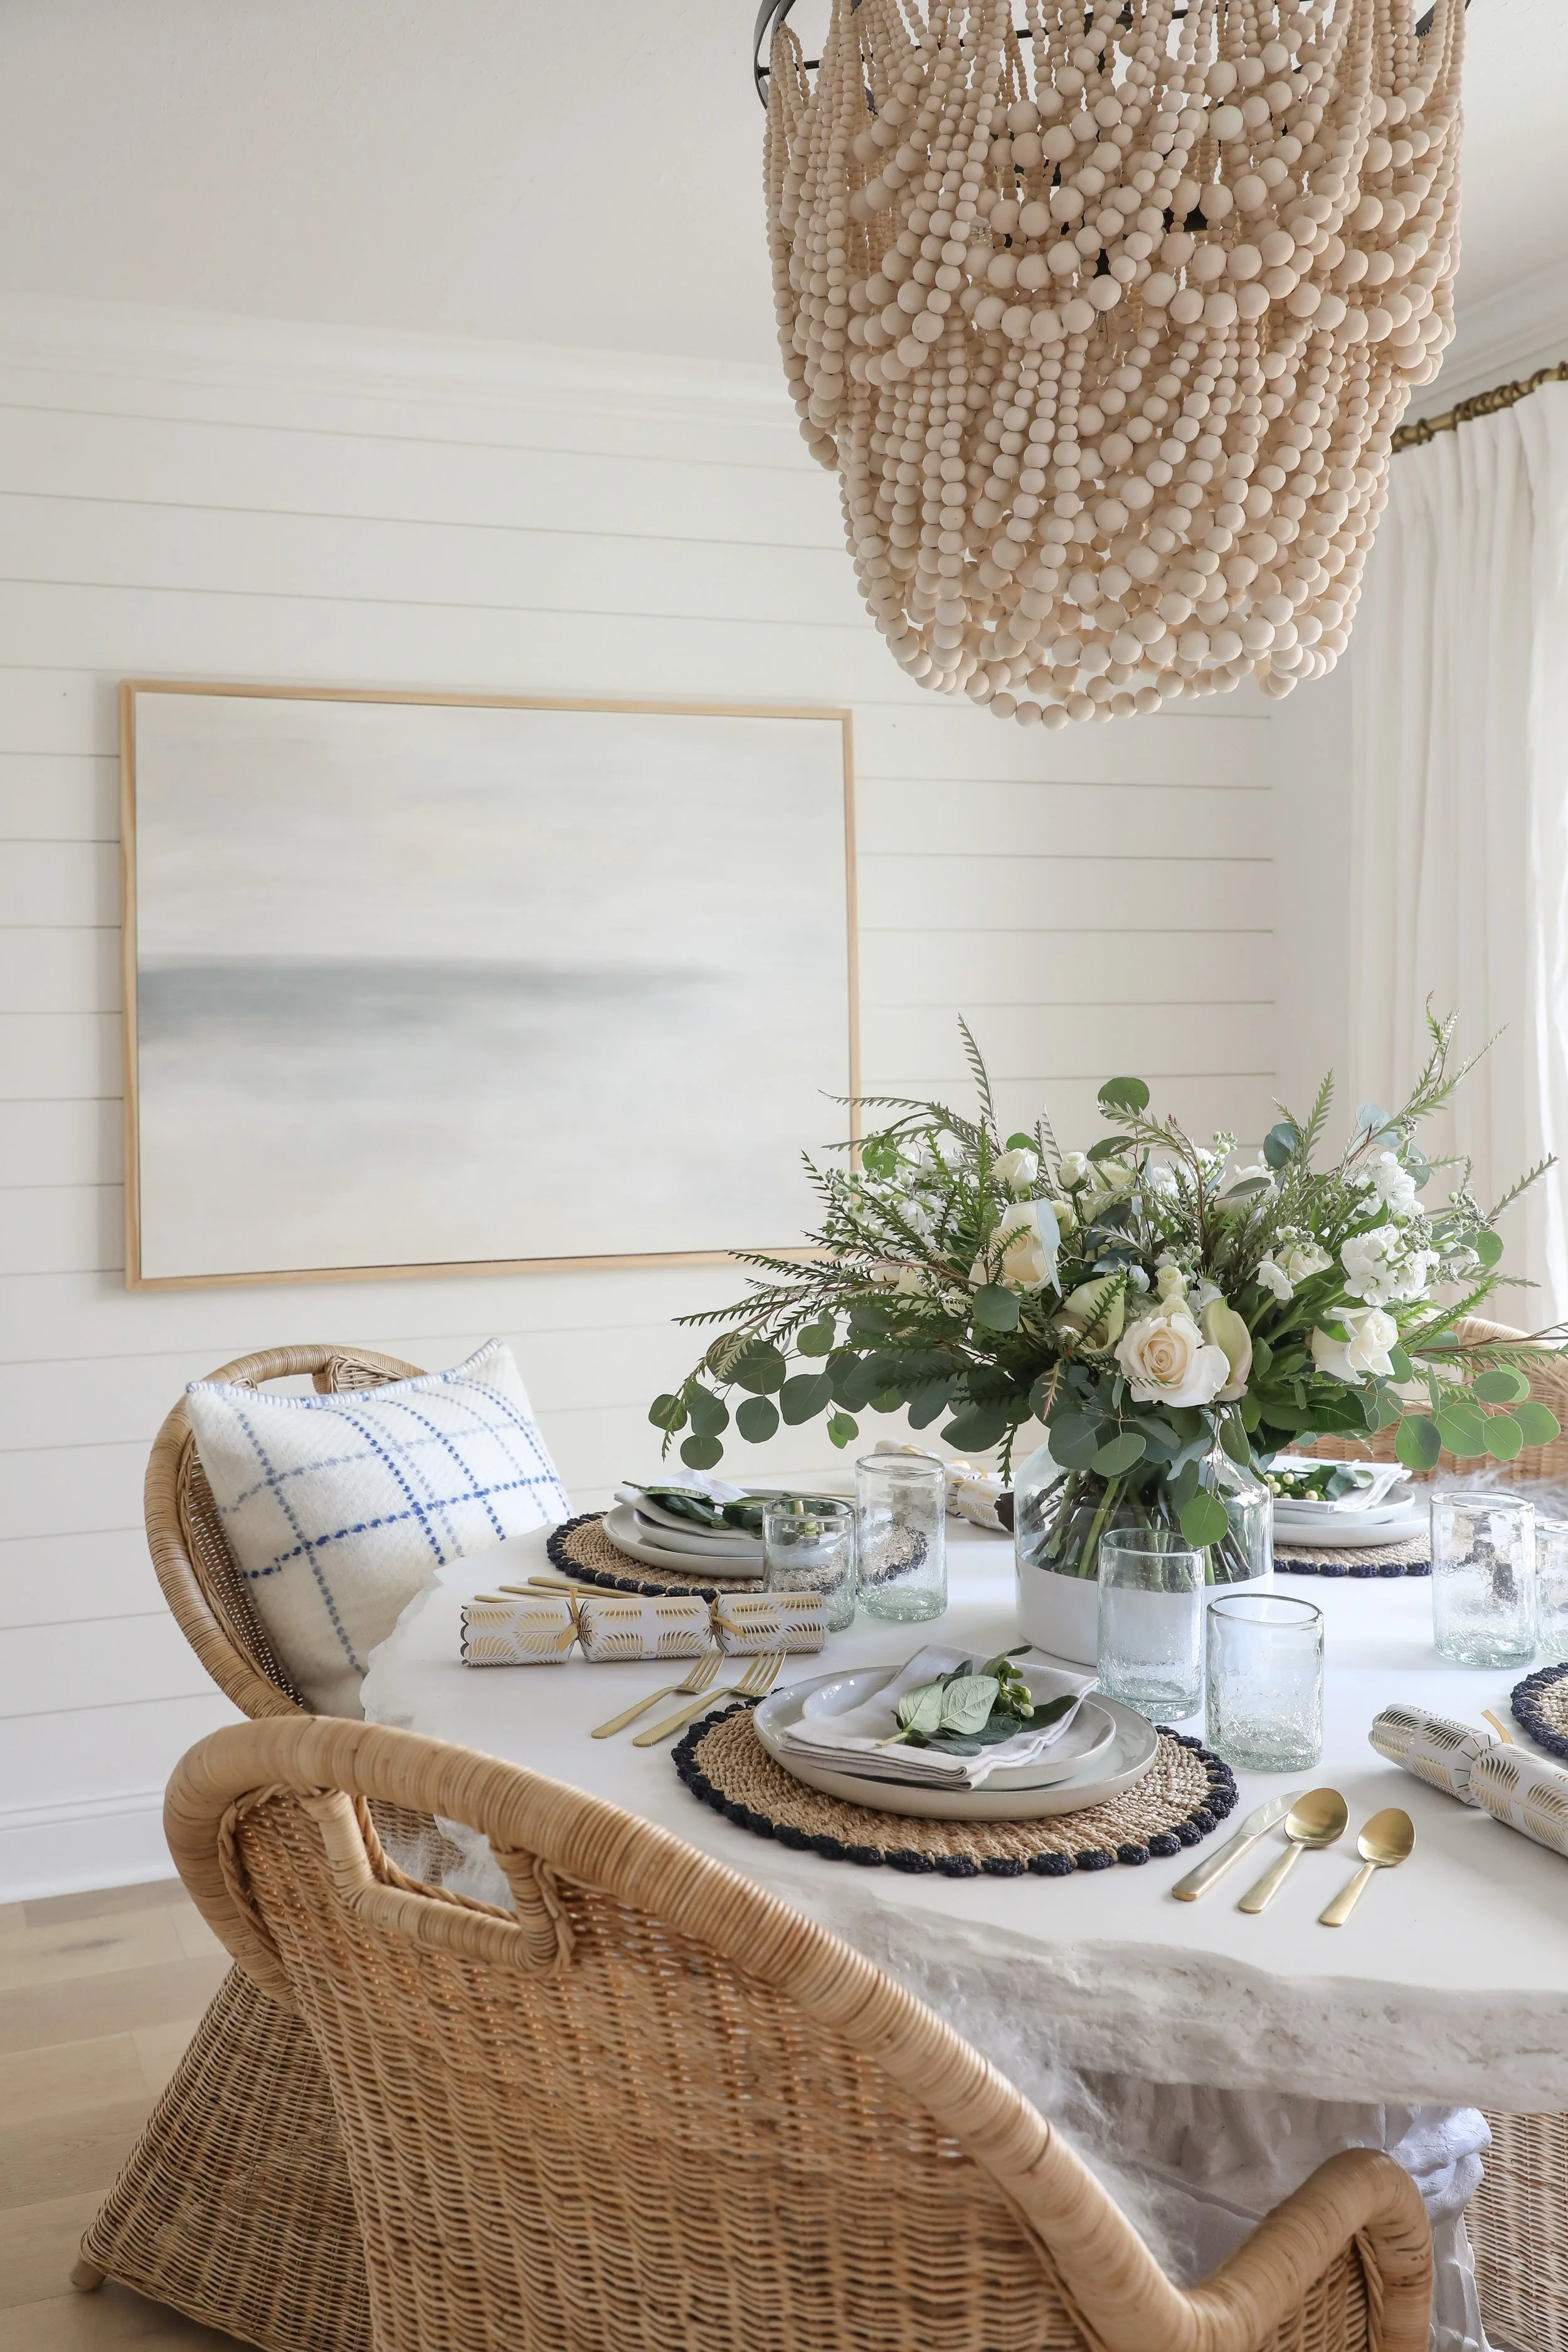
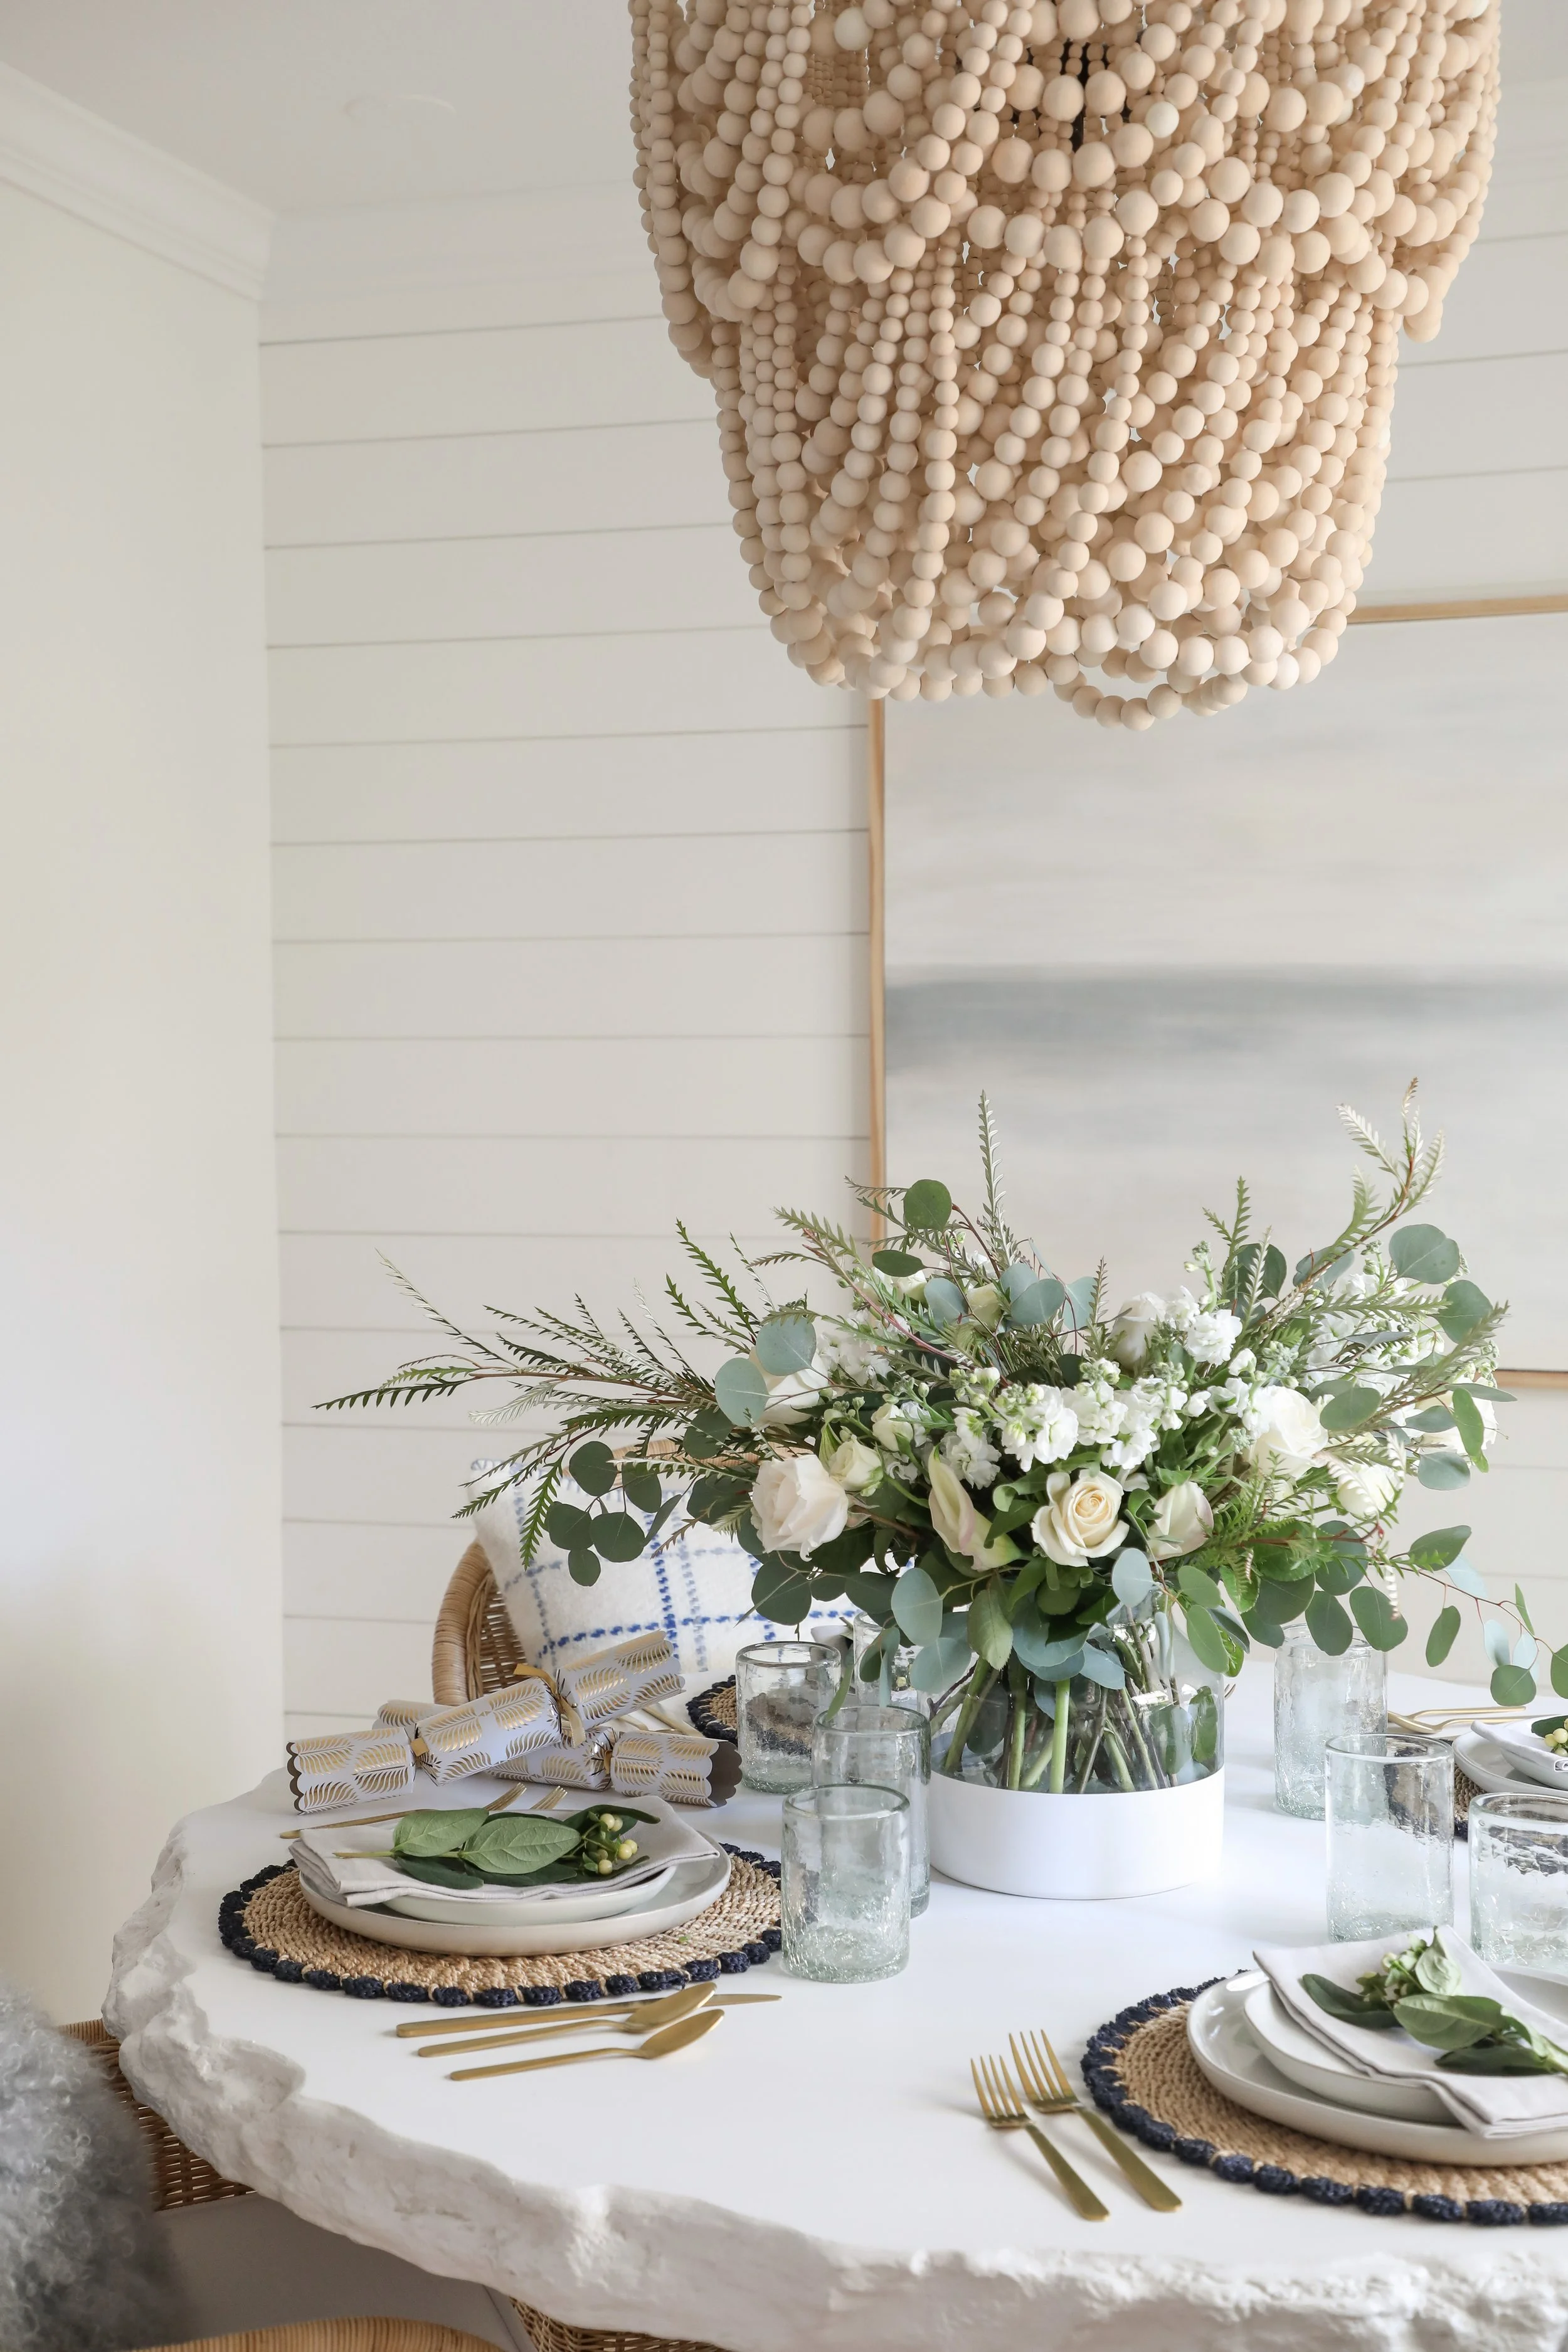
For my holiday table setting I’ve started with the Poetto Vase with fresh flowers and seasonal greenery. I’ve added in the Catalonia Placement in Navy, and then layered in my plates. I love the navy scalloped detail on the edges. The combination of the natural abaca with the touch of navy brings some warmth to the all white backdrop of the Faux Bois Dining Table. On top of the plates I’ve added in the Salento Linen Napkins in Fog. I’ve added in some Holiday Crackers around the table and love the touch of gold and pattern they bring to the tablescape.

To cozy up our Shore Dining Chairs I’ve brought in the Silverwood Pillow Cover and the Stratton Pillow Cover, alternating them around the chairs. I love that they not only add in more color and texture to the space, but also make the chairs more cozy so that everyone feels comfortable enough to sit around the table for a while.

I’m so happy with the way this holiday tablescape came together, and am looking forward to hosting small gatherings here with family this holiday season. I hope this has brought you some inspiration for your gatherings this season! I’m going to link a few of my favorite hosting pieces from Serena and Lily that are sure to make your home feel extra special this season!

*This post is sponsored by Serena and Lily, a brand I love. All opinions are my own.

Fall Tablescape

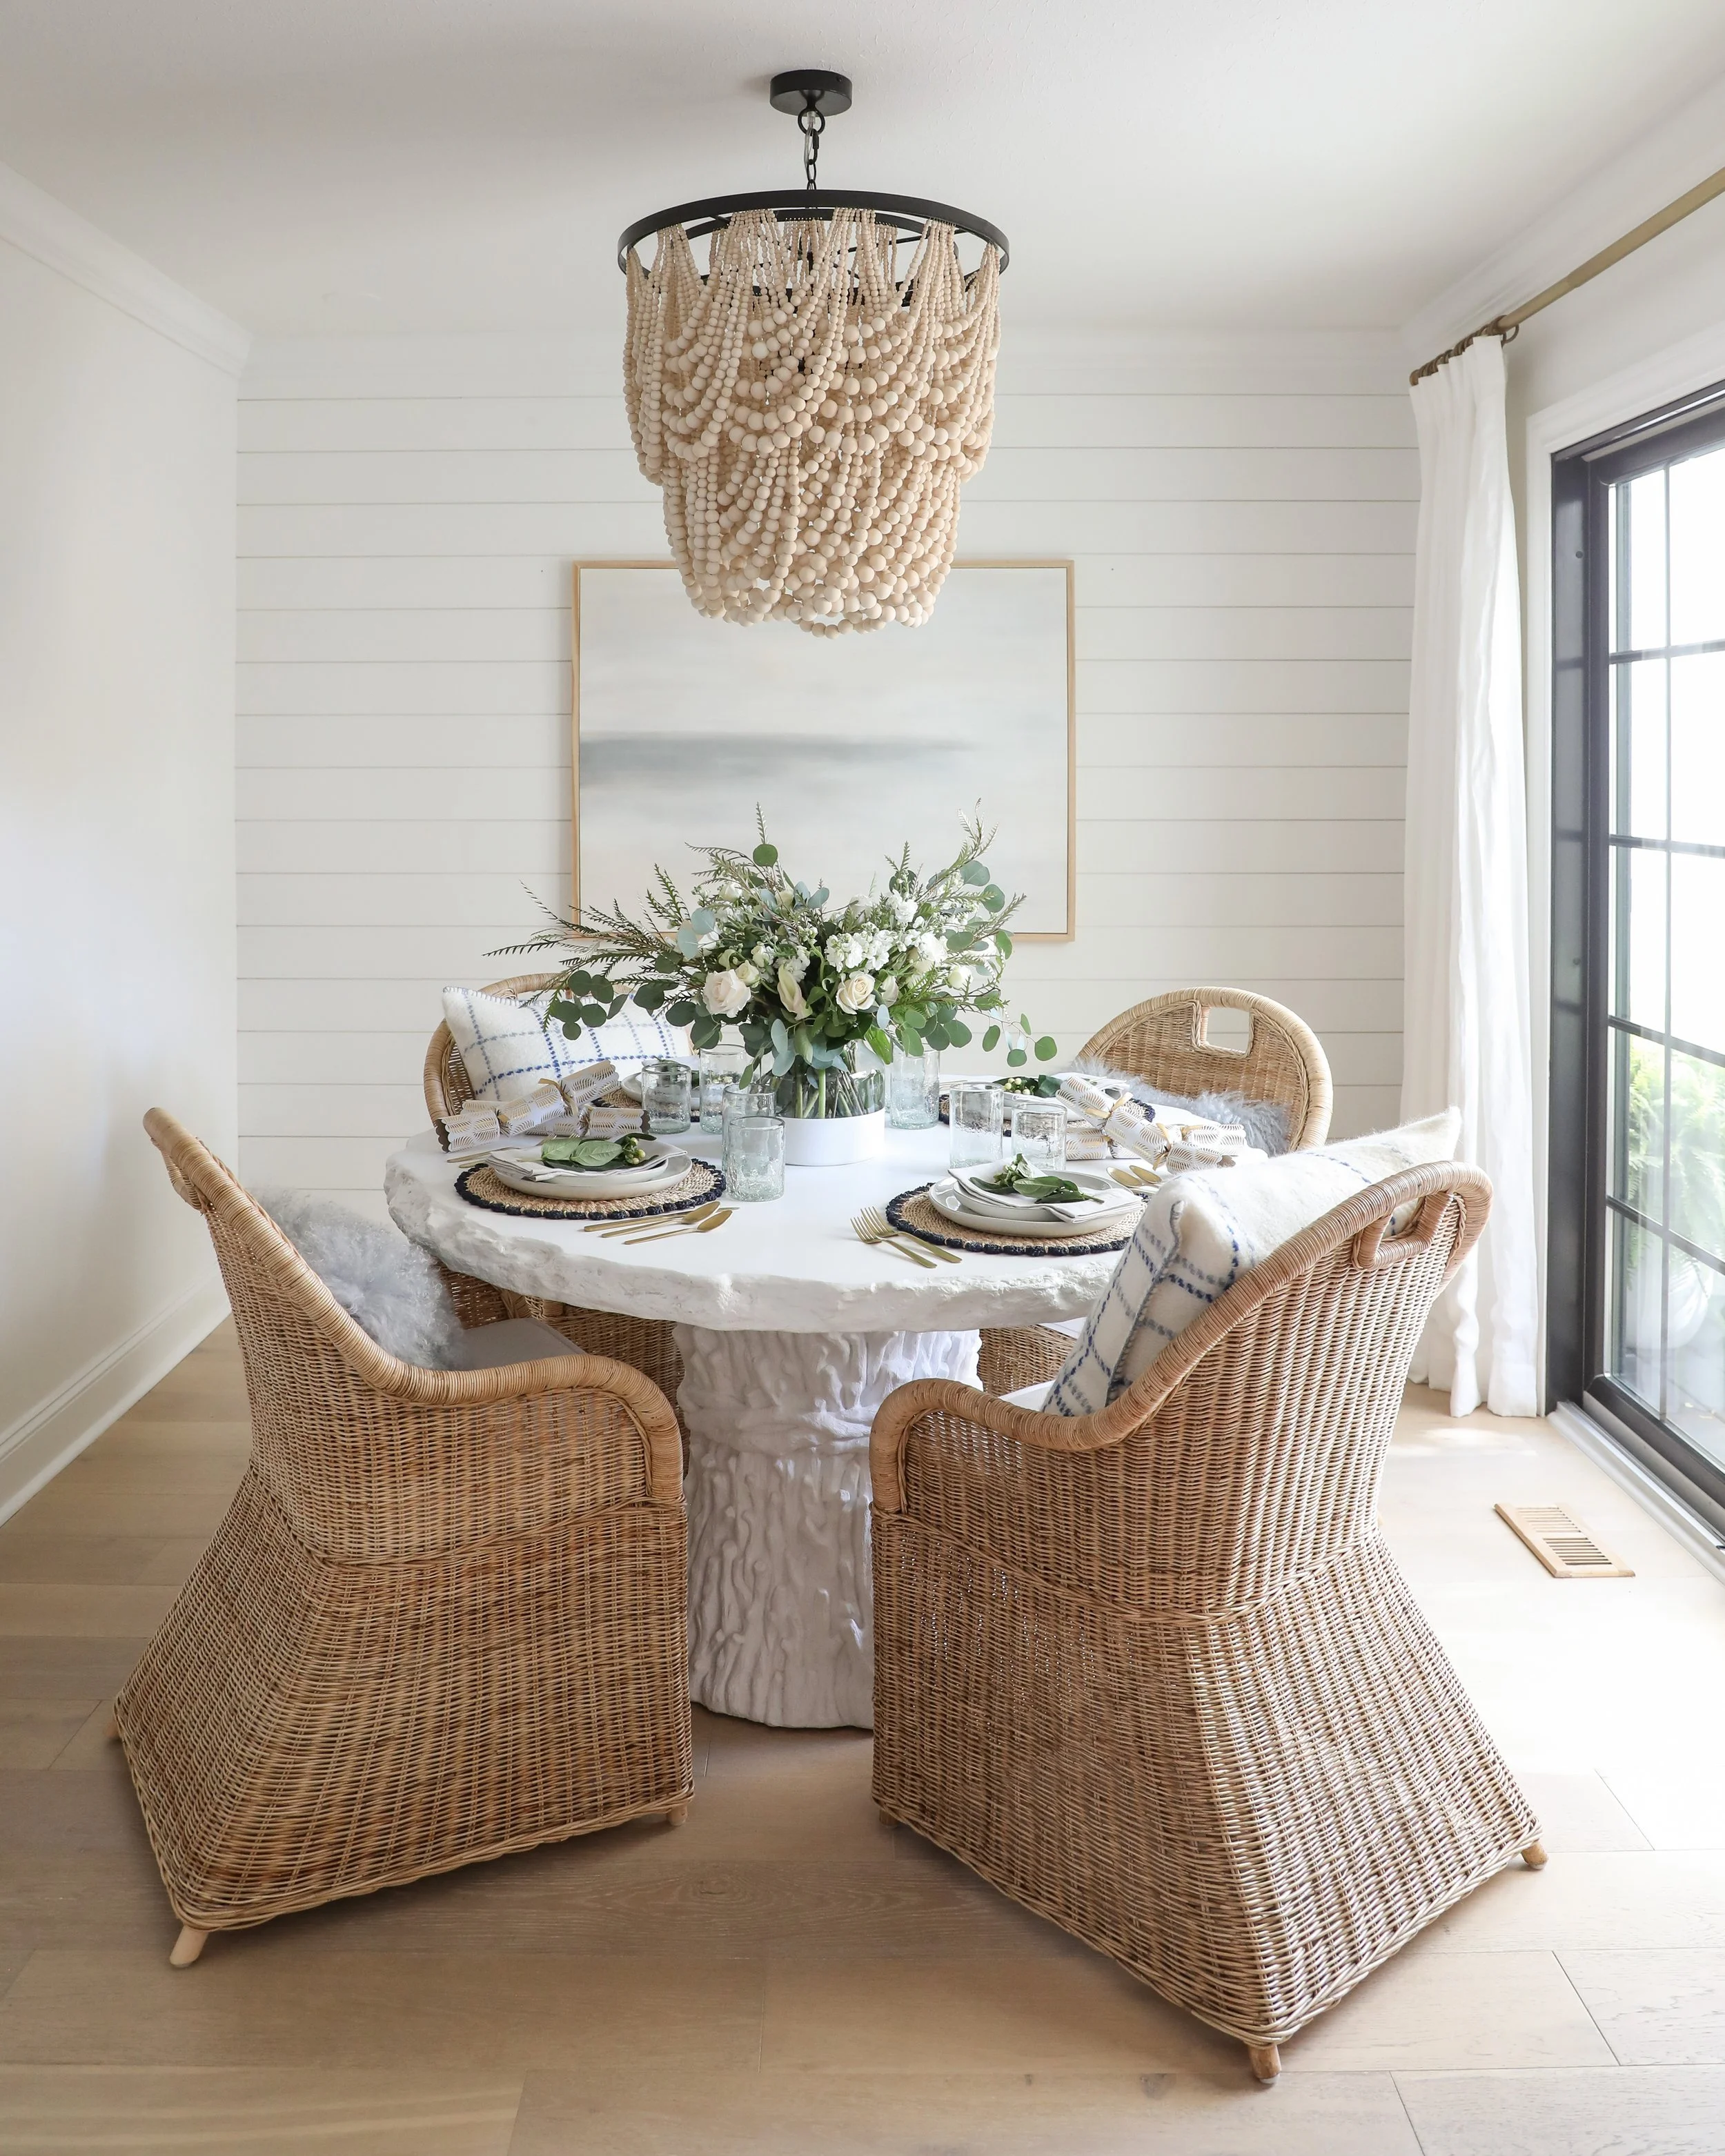
From the moment our new Serena and Lily Faux Bois Dining Table and Shore Dining Chairs arrived I couldn’t wait to style them! Today on the blog I’m sharing a fall tablescape idea that I plan to use for my family this Thanksgiving. Our table before this was an apartment sized table, so regular sized dinner plates, placements, and decor didn’t really fit. Since our new table is 55” in diameter, I have plenty of room for all the tabletop decor I need to put together a beautiful tablescape for four!

I kept my tablescape fairly casual since my husband and I prefer the more comfortable feel of a relaxed holiday meal. I started with some simple whitewashed wooden chargers to add in a touch more warmth to the space and tie the dining chairs into the all white table. I’ve layered in some of our everyday plates, and elevated the look with the Salento Linen Napkins in Fog to make things feel bit more special. I always like to add in a touch of nature so I’ve done a small sprig of fall foliage on top of each napkin. I love the simple but thoughtful feel it adds to the table.

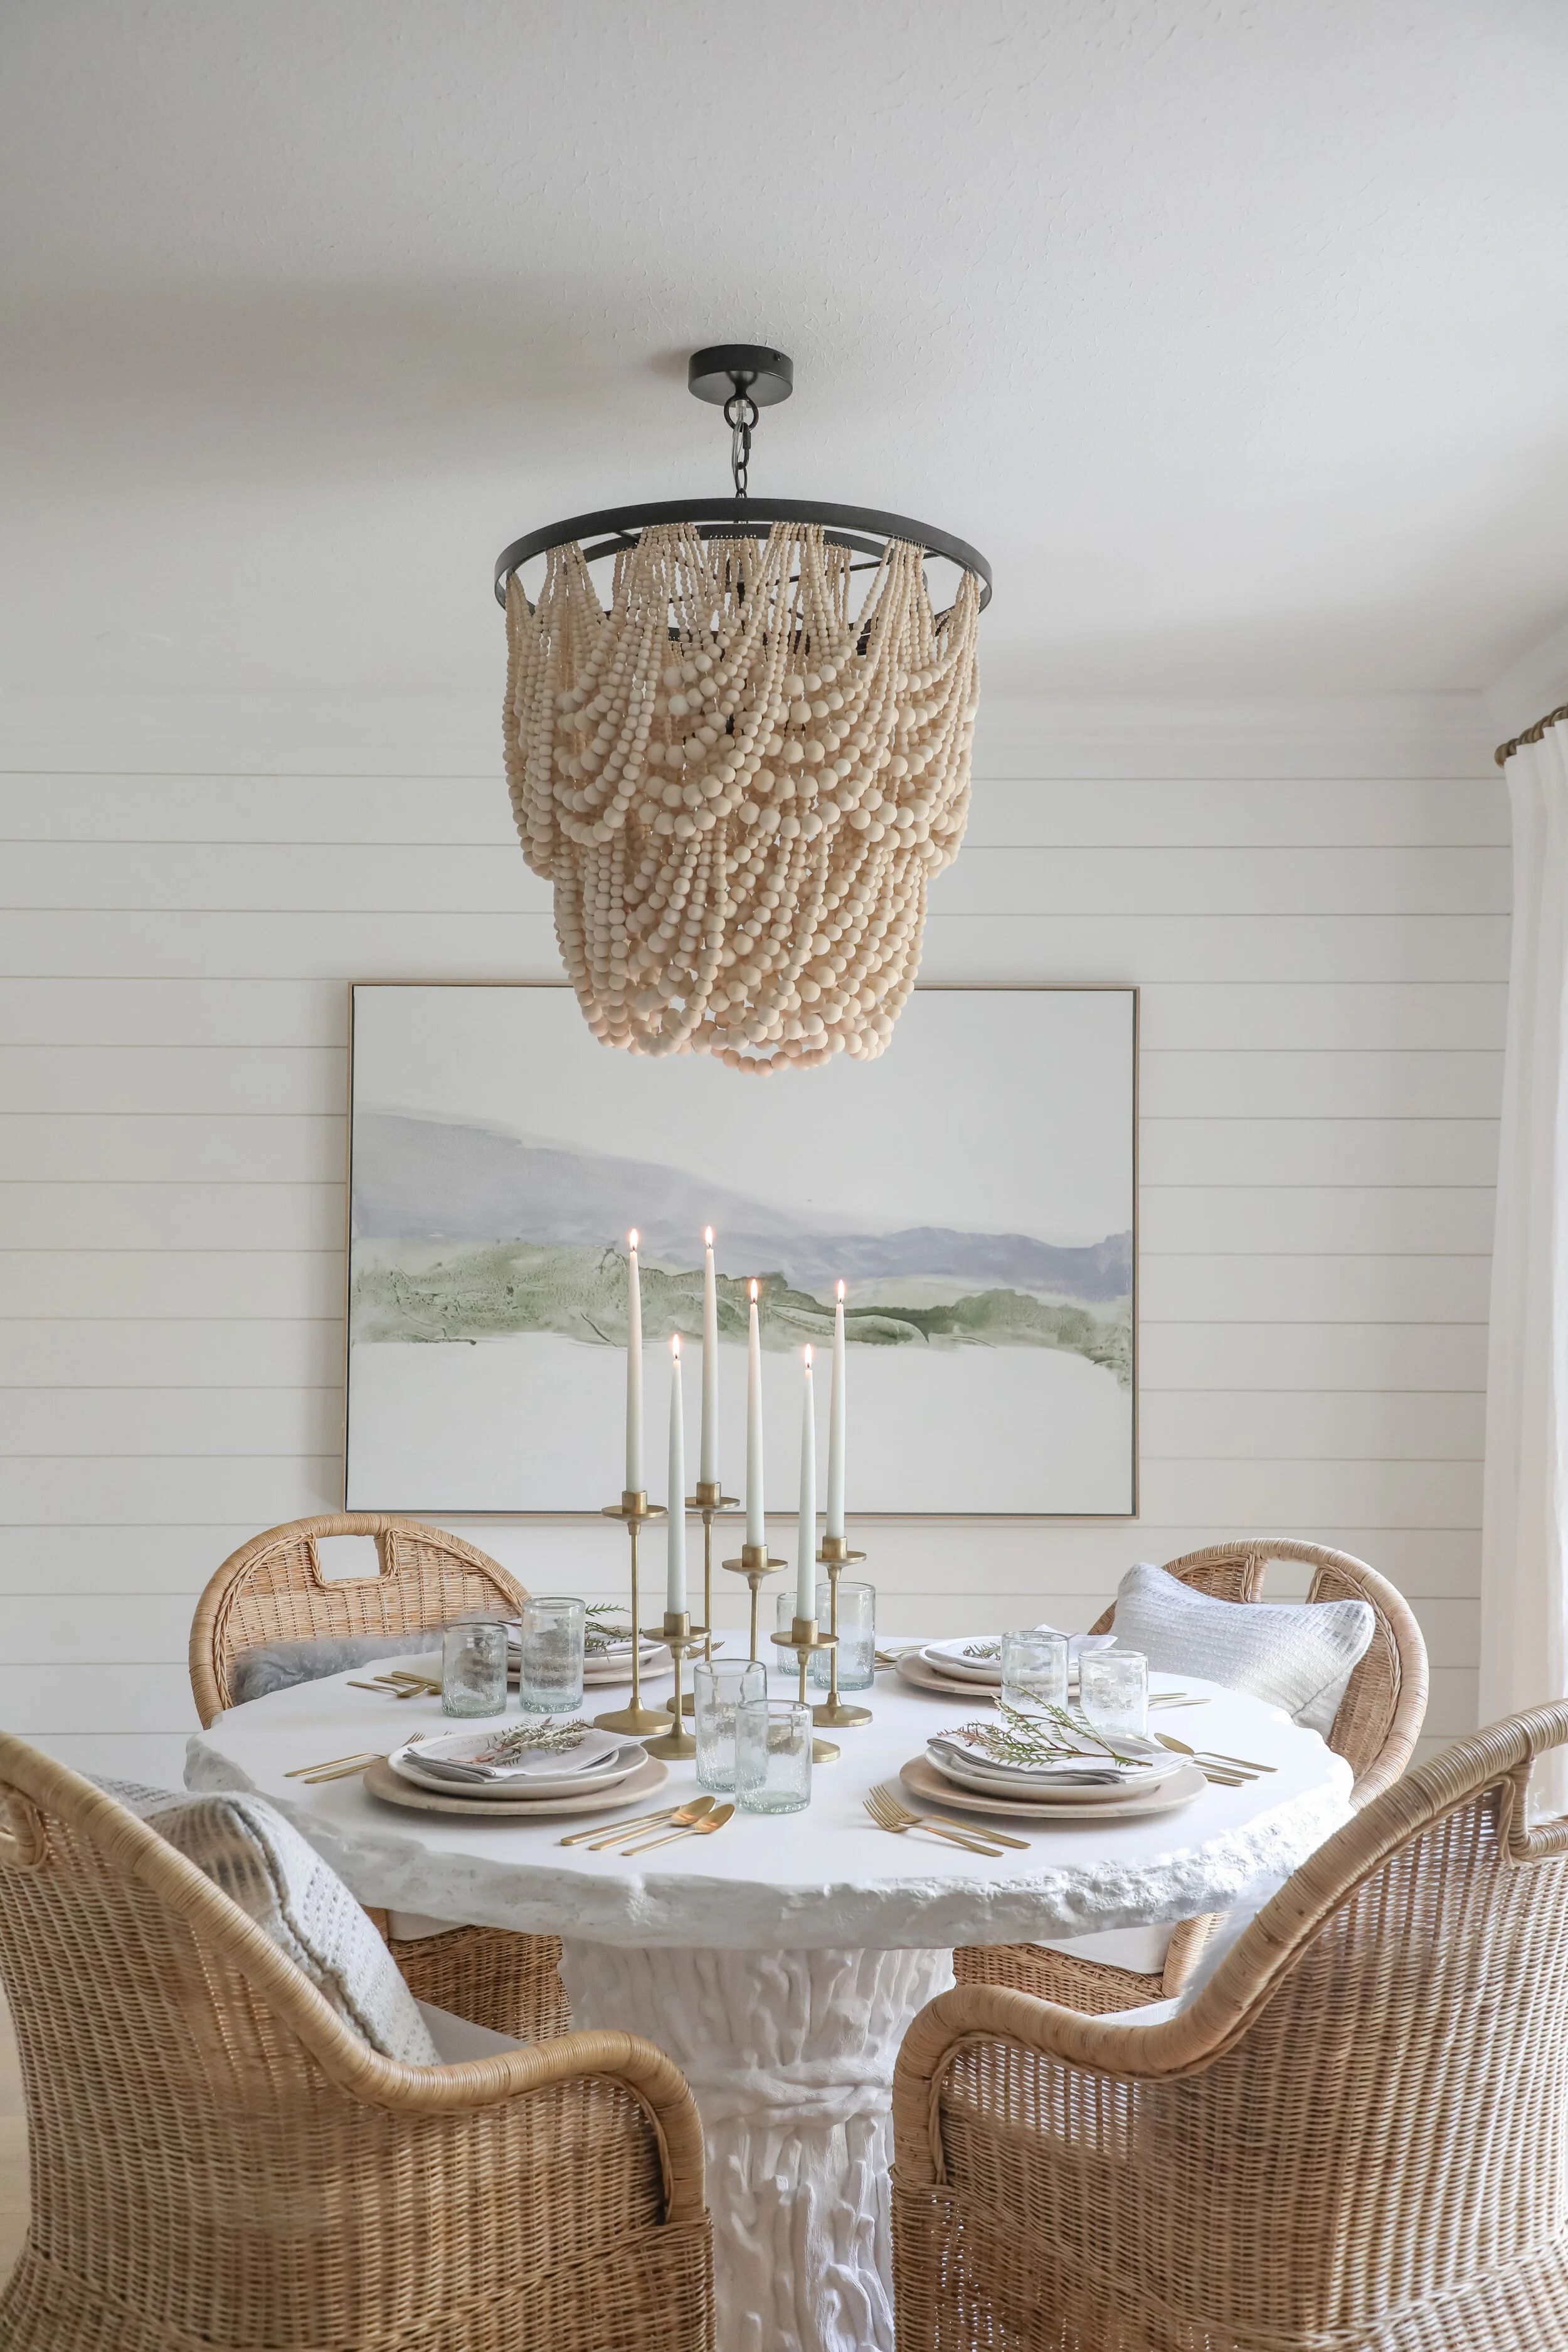
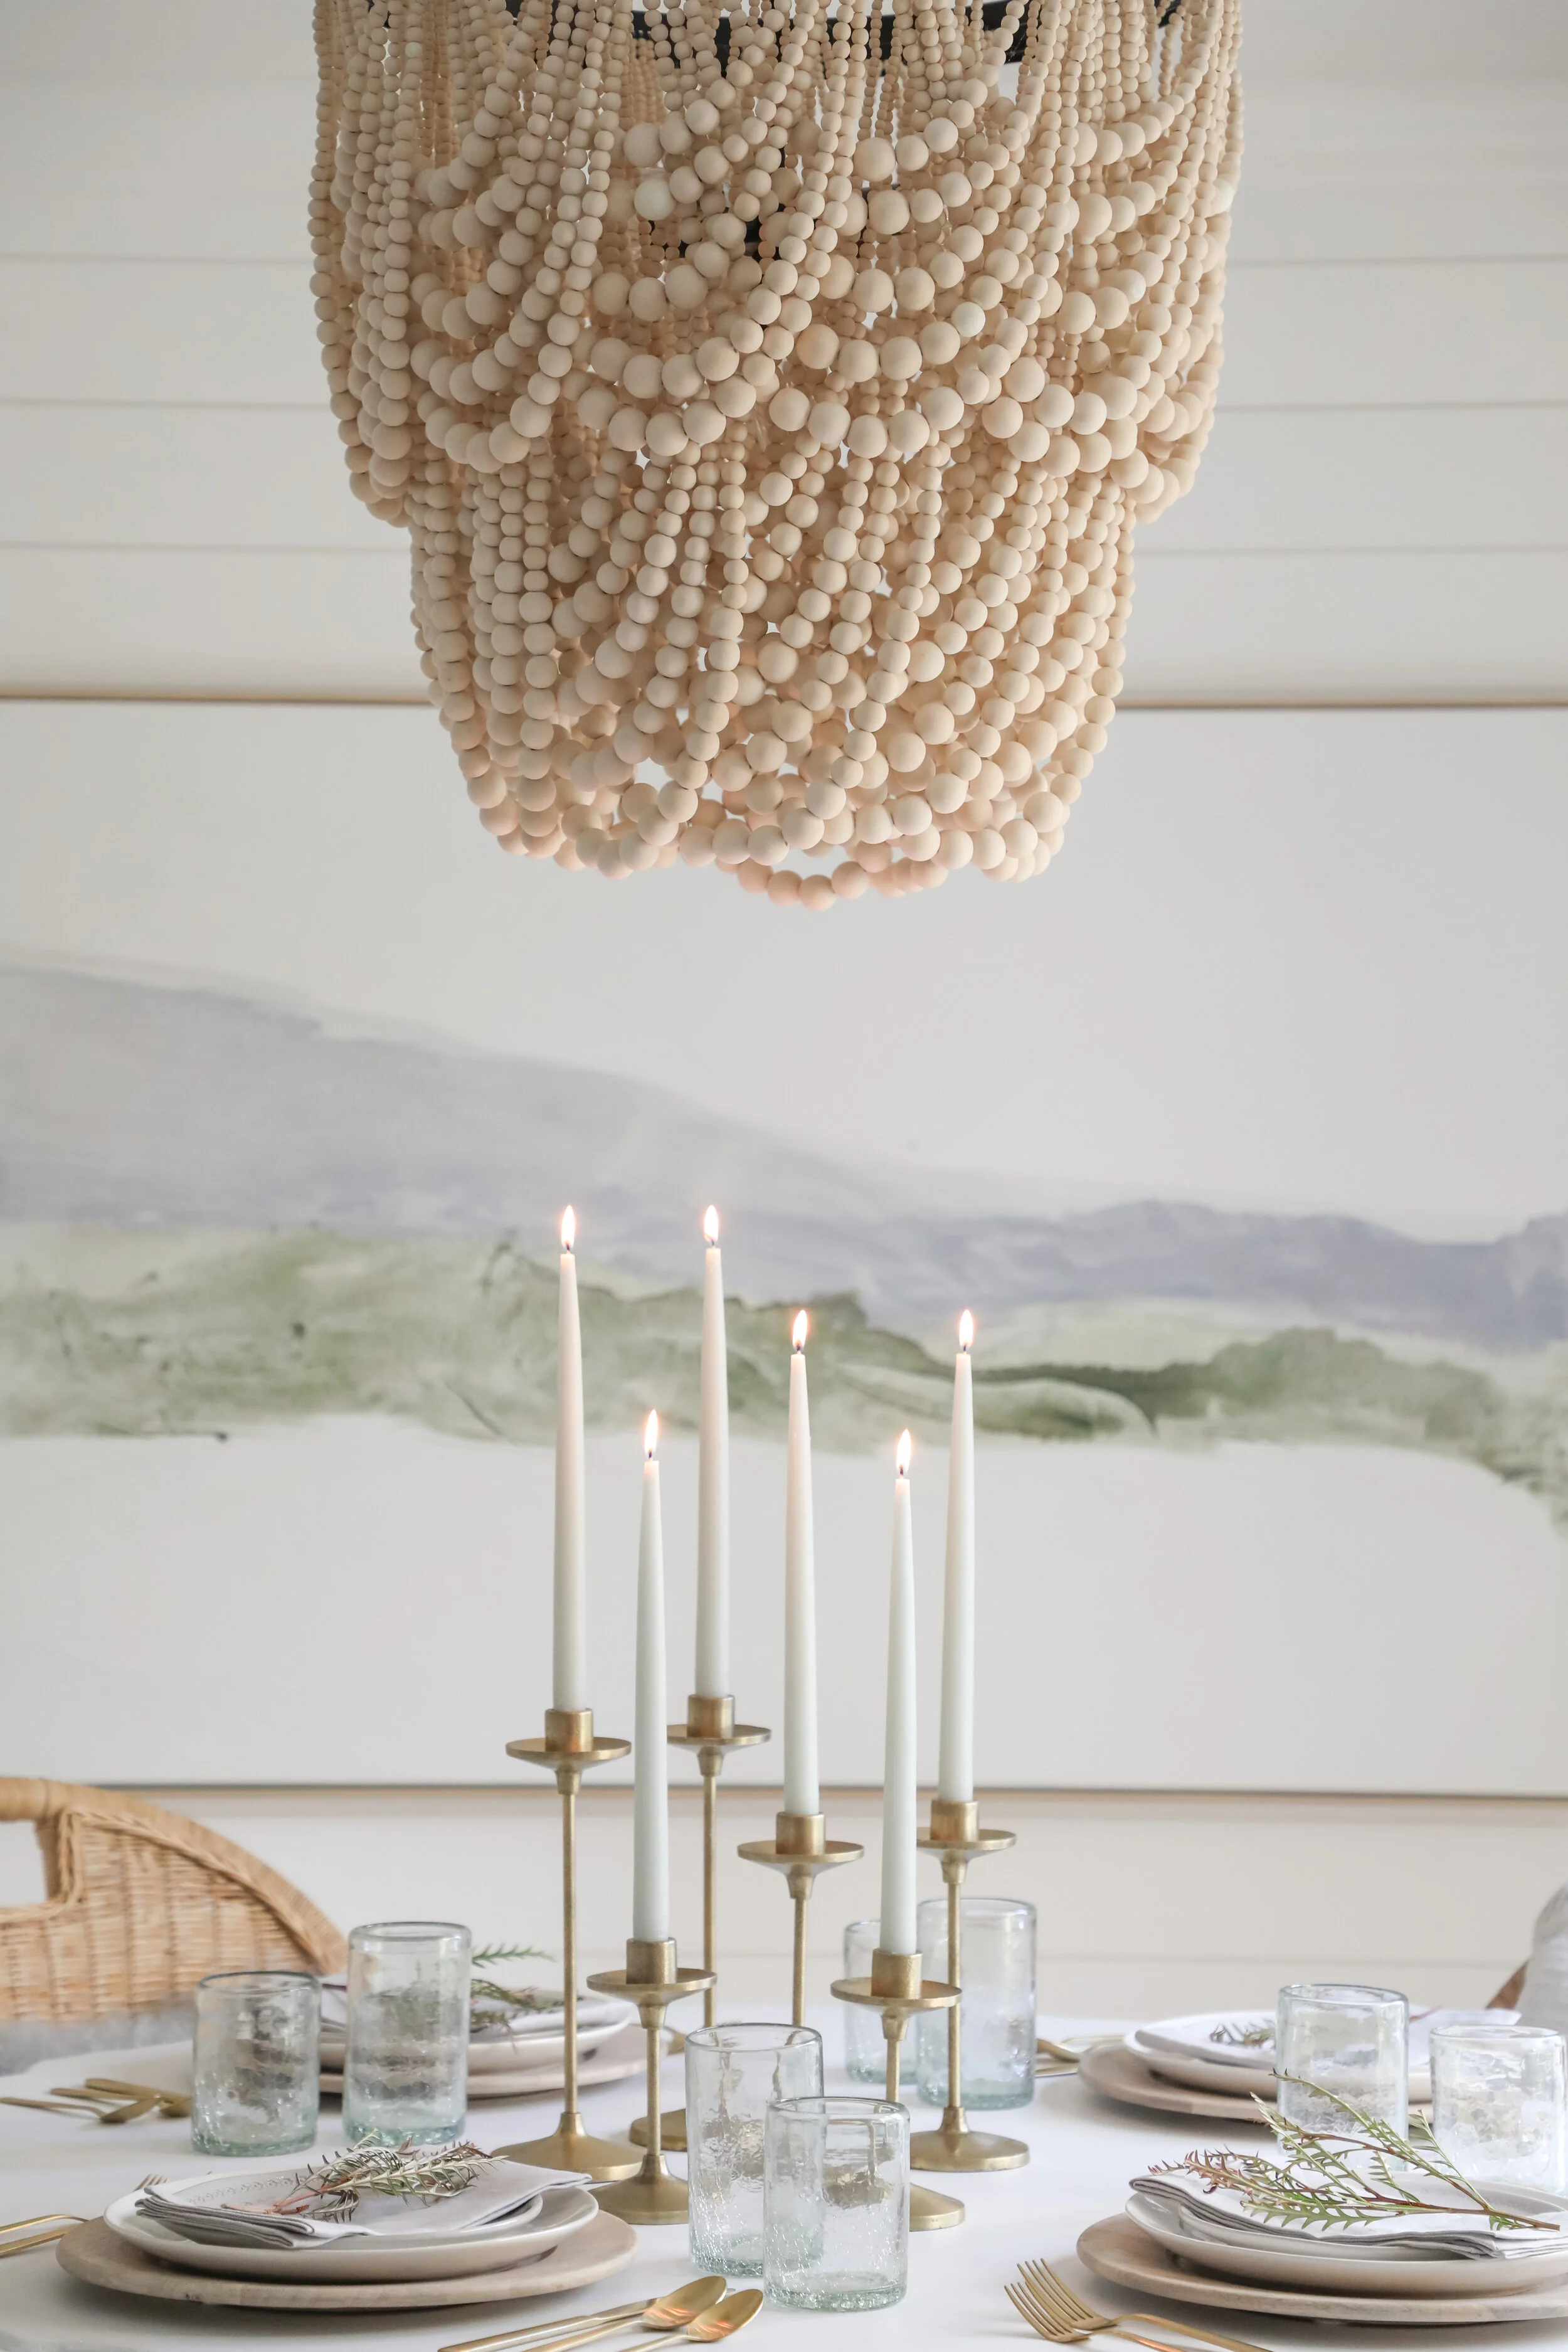
In the center of the table I’ve created a focal point with a set of Taper Candles in Fog in simple brass candle holders. I always love to include candles whenever I can in any tablescape to create a warm and inviting atmosphere. I believe these thoughtful details always make for a more memorable meal. I love the soft gray blue color of the fog candles, which give the space just a touch of color. The Taper Candles paired with the coordinating Salento Linen Napkins in Fog really give this tablescape an effortless yet custom feel.

The Faux Bois Dining Table and Shore Dining Chairs really shine in this fall-inspired tablescape. The faux twig table base and natural edge of the tabletop really help contribute to the one-of-a-kind feel this space has. Putting together this fall tablescape was so much fun, and certainly a dream come true for me to finally have the means to host a family meal with a table that has plenty of space for everyone to relax and enjoy! I hope this simple styling idea has inspired you this upcoming holiday season!

With about five weeks to go before Thanksgiving, there’s still plenty of time to upgrade your dining space with new furniture or decor. I’m going to link a few of my favorite dining furniture and tabletop decor below!

*This post is sponsored by Serena & Lily, a brand I love. All opinions are my own.

Dining Room Updates with Serena and Lily

I’m so excited to reveal our new dining room with you all today! This space has been on my list to update for quite a while now, and I’m so happy to share our beautiful new table and chairs from Serena and Lily!

F8433AE1-A1A4-4598-B12B-4756FE91F789.jpeg

Since we live in a small home, it’s very important to us that every single space is not only comfortable and functional, but it’s one that we’re excited to use and spend time in. We wanted to update our dining space with a new table and chairs that had a more comfortable and casual feel to them. We really wanted something that we’d want to spend time lounging in, rather than leaving us wanting to immediately head into the living room to sit on the sofa after a meal. The view out our sliding doors is one of my favorites, and I wanted to create a space for us to relax and take it in.

From the moment I saw the new Shore Dining Chair I knew it would be the perfect fit for the space! I love the more relaxed look of the rattan frame, with such beautiful lines that can elevate any dining space. The comfort and durability of the easy-to-clean seat cushion made with their Perennials fabric makes it worry free! I have this same cushion on my Balboa Armchair in my office, and it’s been holding up really well.

ED91C72B-37A6-4B38-BD78-908D9228960C.jpeg

With so much furniture on backorder these days I really wanted my online search to only include pieces that were available and ready to ship. Thankfully, Serena and Lily has just incorporated a new feature on their website that allows you to filter for pieces that are available and ready to ship in under 4 weeks! This filter option has been so helpful for me when browsing their site lately for myself and when sourcing for my e-design clients! It really makes shopping easy and worry free, since you know that everything you’re seeing is able to be delivered to your door in under 4 weeks.

I used this filter when shopping for our new dining set, and it was so nice to only see options that I knew could arrive before the holidays. I also upgraded our table to the stunningly beautiful Faux Bois Dining Table. It’s truly a work of art. I love the unique look of this piece and all the texture it adds to the space! The faux twig base combined with the reconstituted stone top give it such a beautiful organic feel, while the crisp white color keeps it feeling fresh and bright.

Serena and Lily’s new availability filter is a game changer when it comes to shopping for the holidays this time of year. If you’re searching for new pieces for your home that you’d like to have in time for the holidays, be sure you make use of this very helpful new tool! Our new table and chairs are still in stock and ready to ship, so you can bring them home before Thanksgiving! I know we’re excited to make use of this space this holiday season. I’m going to link a few of my favorite pieces that I found via the new availability tool that deliver in under 4 weeks below!

*This post was sponsored by Serena and Lily, a brand I love. All opinions are my own.

Entryway Makeover


I’m so excited to share our entryway makeover today! This space has been in need of an update for a while now, and I’m so happy with how much more functional and beautiful it is! I really wanted our entryway to make a statement, and give our guests a great first impression. With the help of Serena & Lily, we have definitely accomplished that!

9EDD93AE-AE7C-4F5C-911F-C2F9DA850971.JPEG

You may not remember, but this space used to be my office! It’s originally meant to be a breakfast room, but the formal dining room is literally ten feet away, so we opted to use it as an entryway and second office for the past few years. Since our house is about 1500 square feet, we needed every space to be functional, and after turning our guest room upstairs into my new office, we no longer needed a desk in this space.

I’m always looking for ways to maximize the storage and functionality in our home, and since this wall is right next to our garage door I wanted to incorporate a piece with a ton of storage for our most used items.

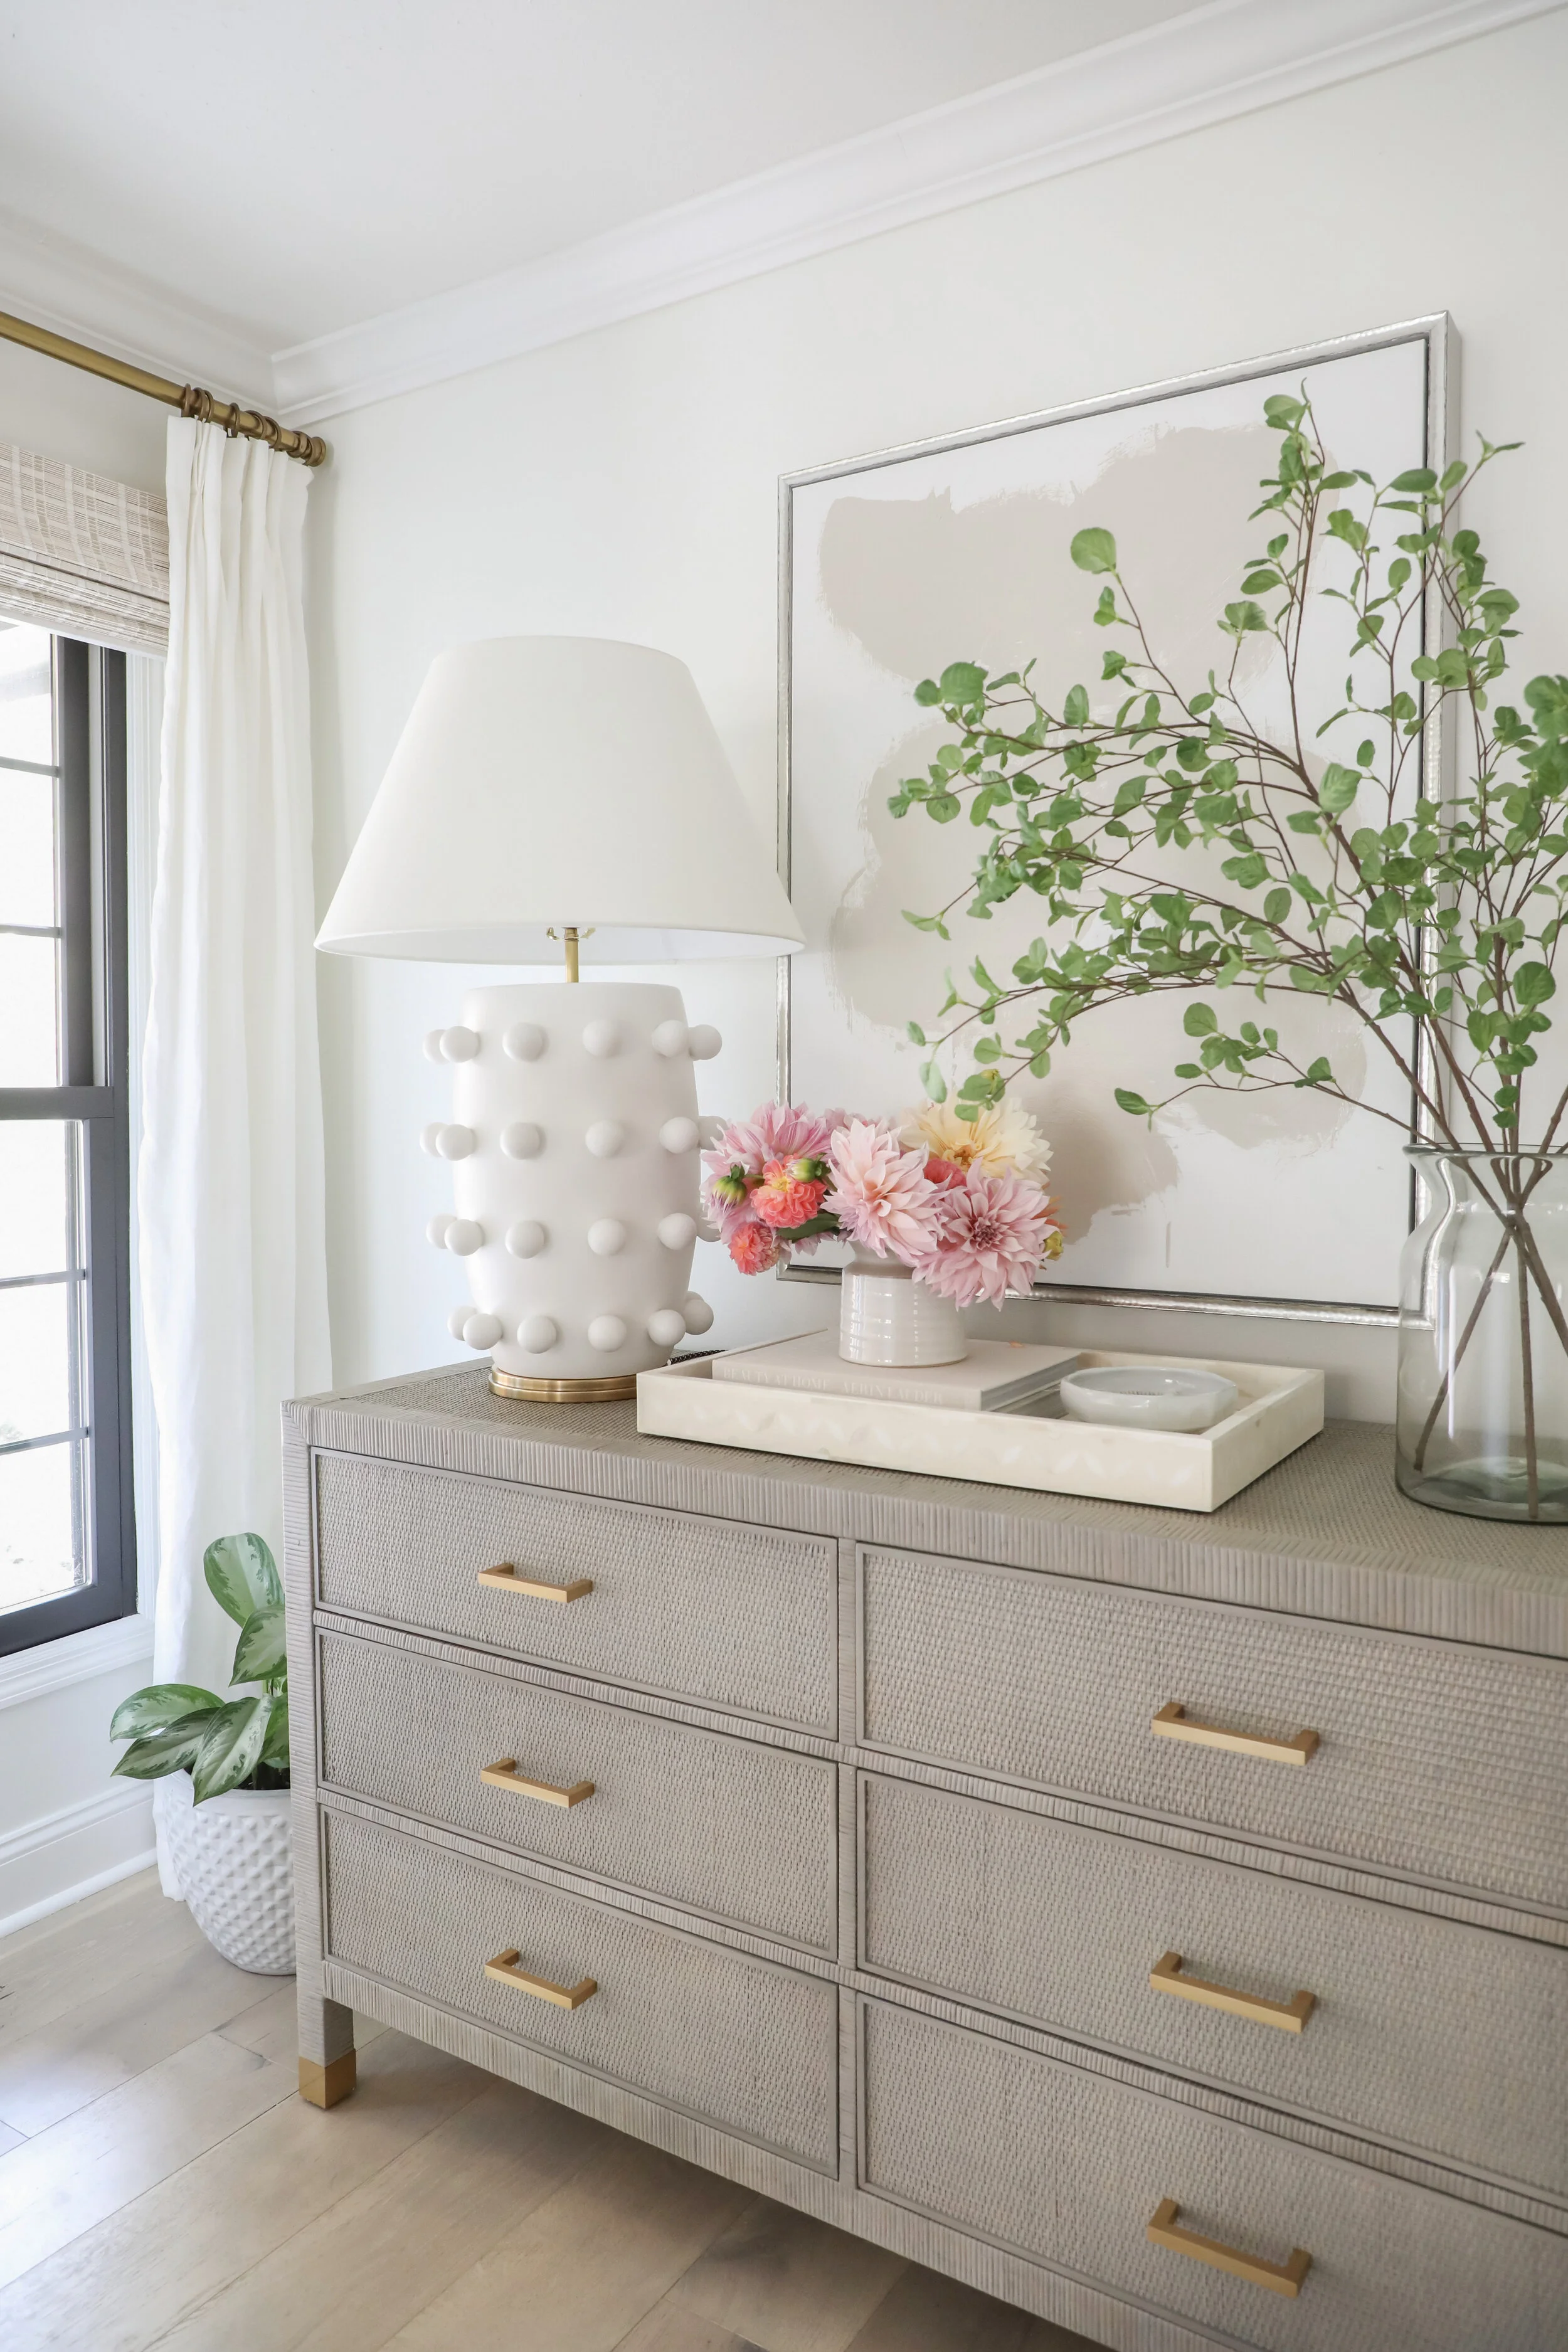
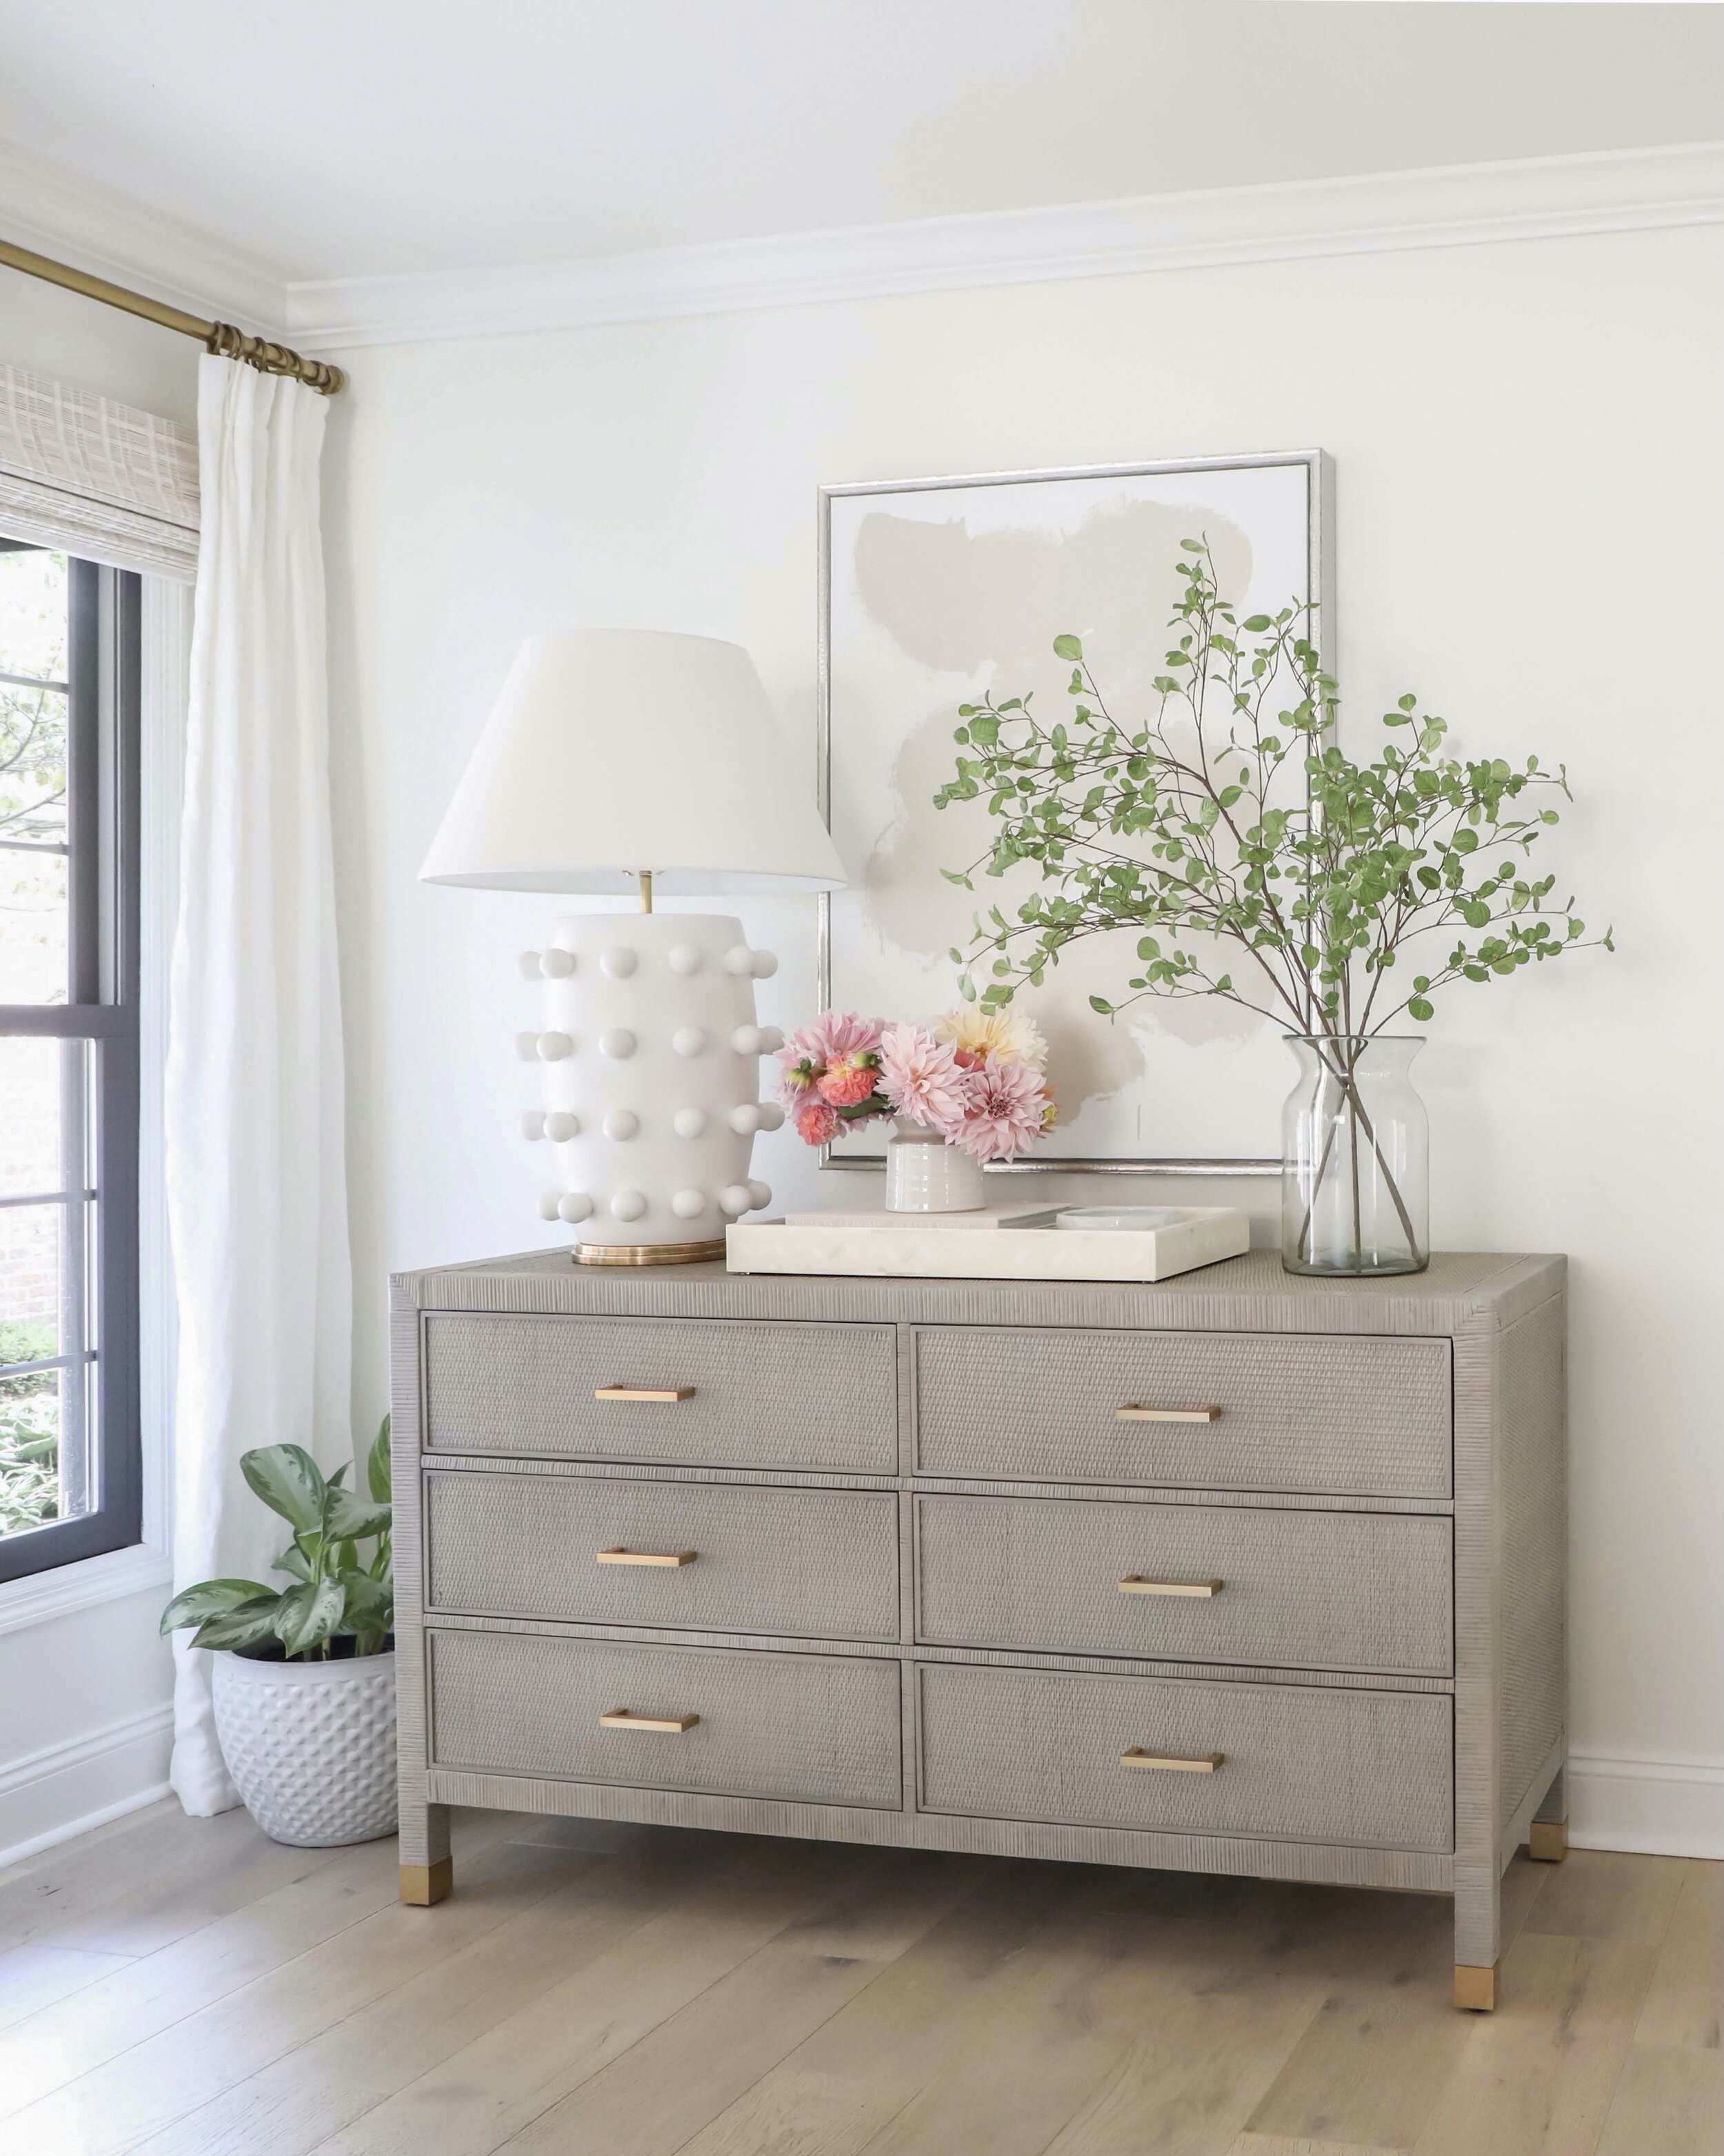
I’m a huge fan of using dressers in more than just bedrooms, and the Balboa Wide Dresser in Mist was the perfect fit for our entryway! It has six large drawers that we can now use to store all the necessities we need as we’re heading out the door. For now, I’ve stored outerwear and dog items in here, and it’s so nice to have everything we need right at our fingertips!

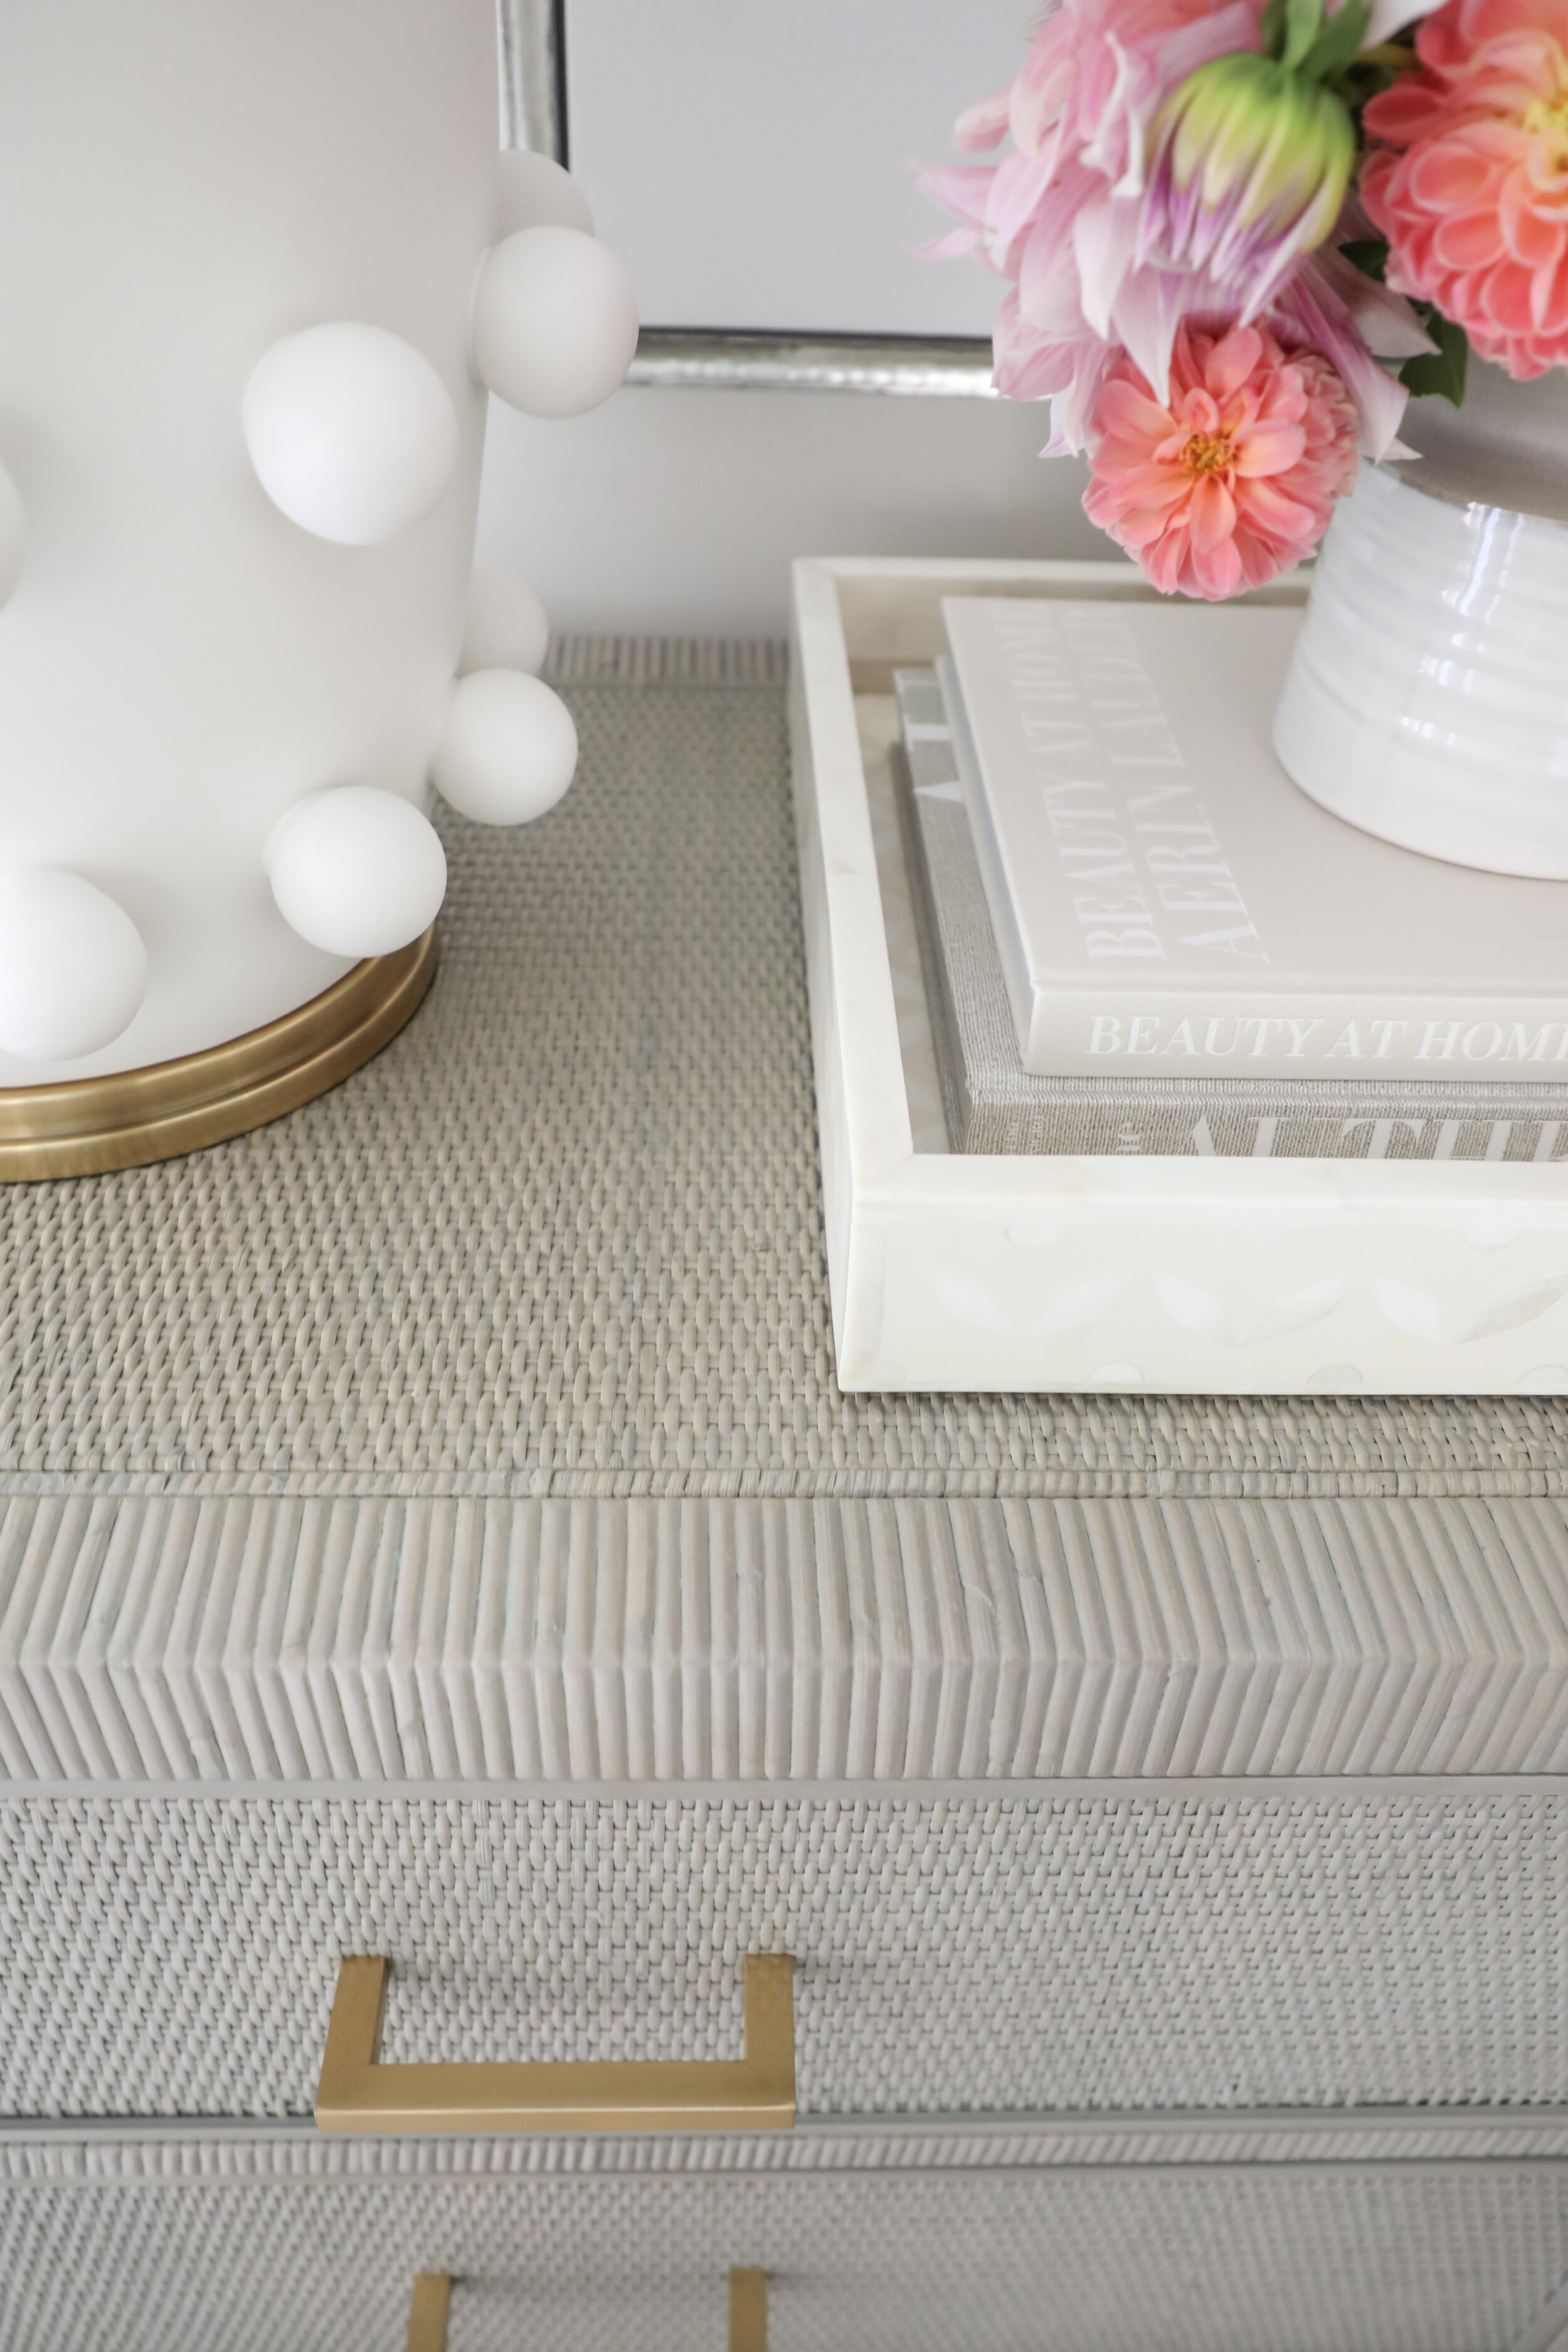
One of my favorite things about Serena & Lily dressers is the uniqueness of the styling, and how they can easily be incorporated into any room in the house. I love the longer length of the legs on the Balboa Dresser, and the brass end caps on the legs are such a nice polished detail. The mist rattan gives this piece an elevated, casual feel that’s very warm and inviting.

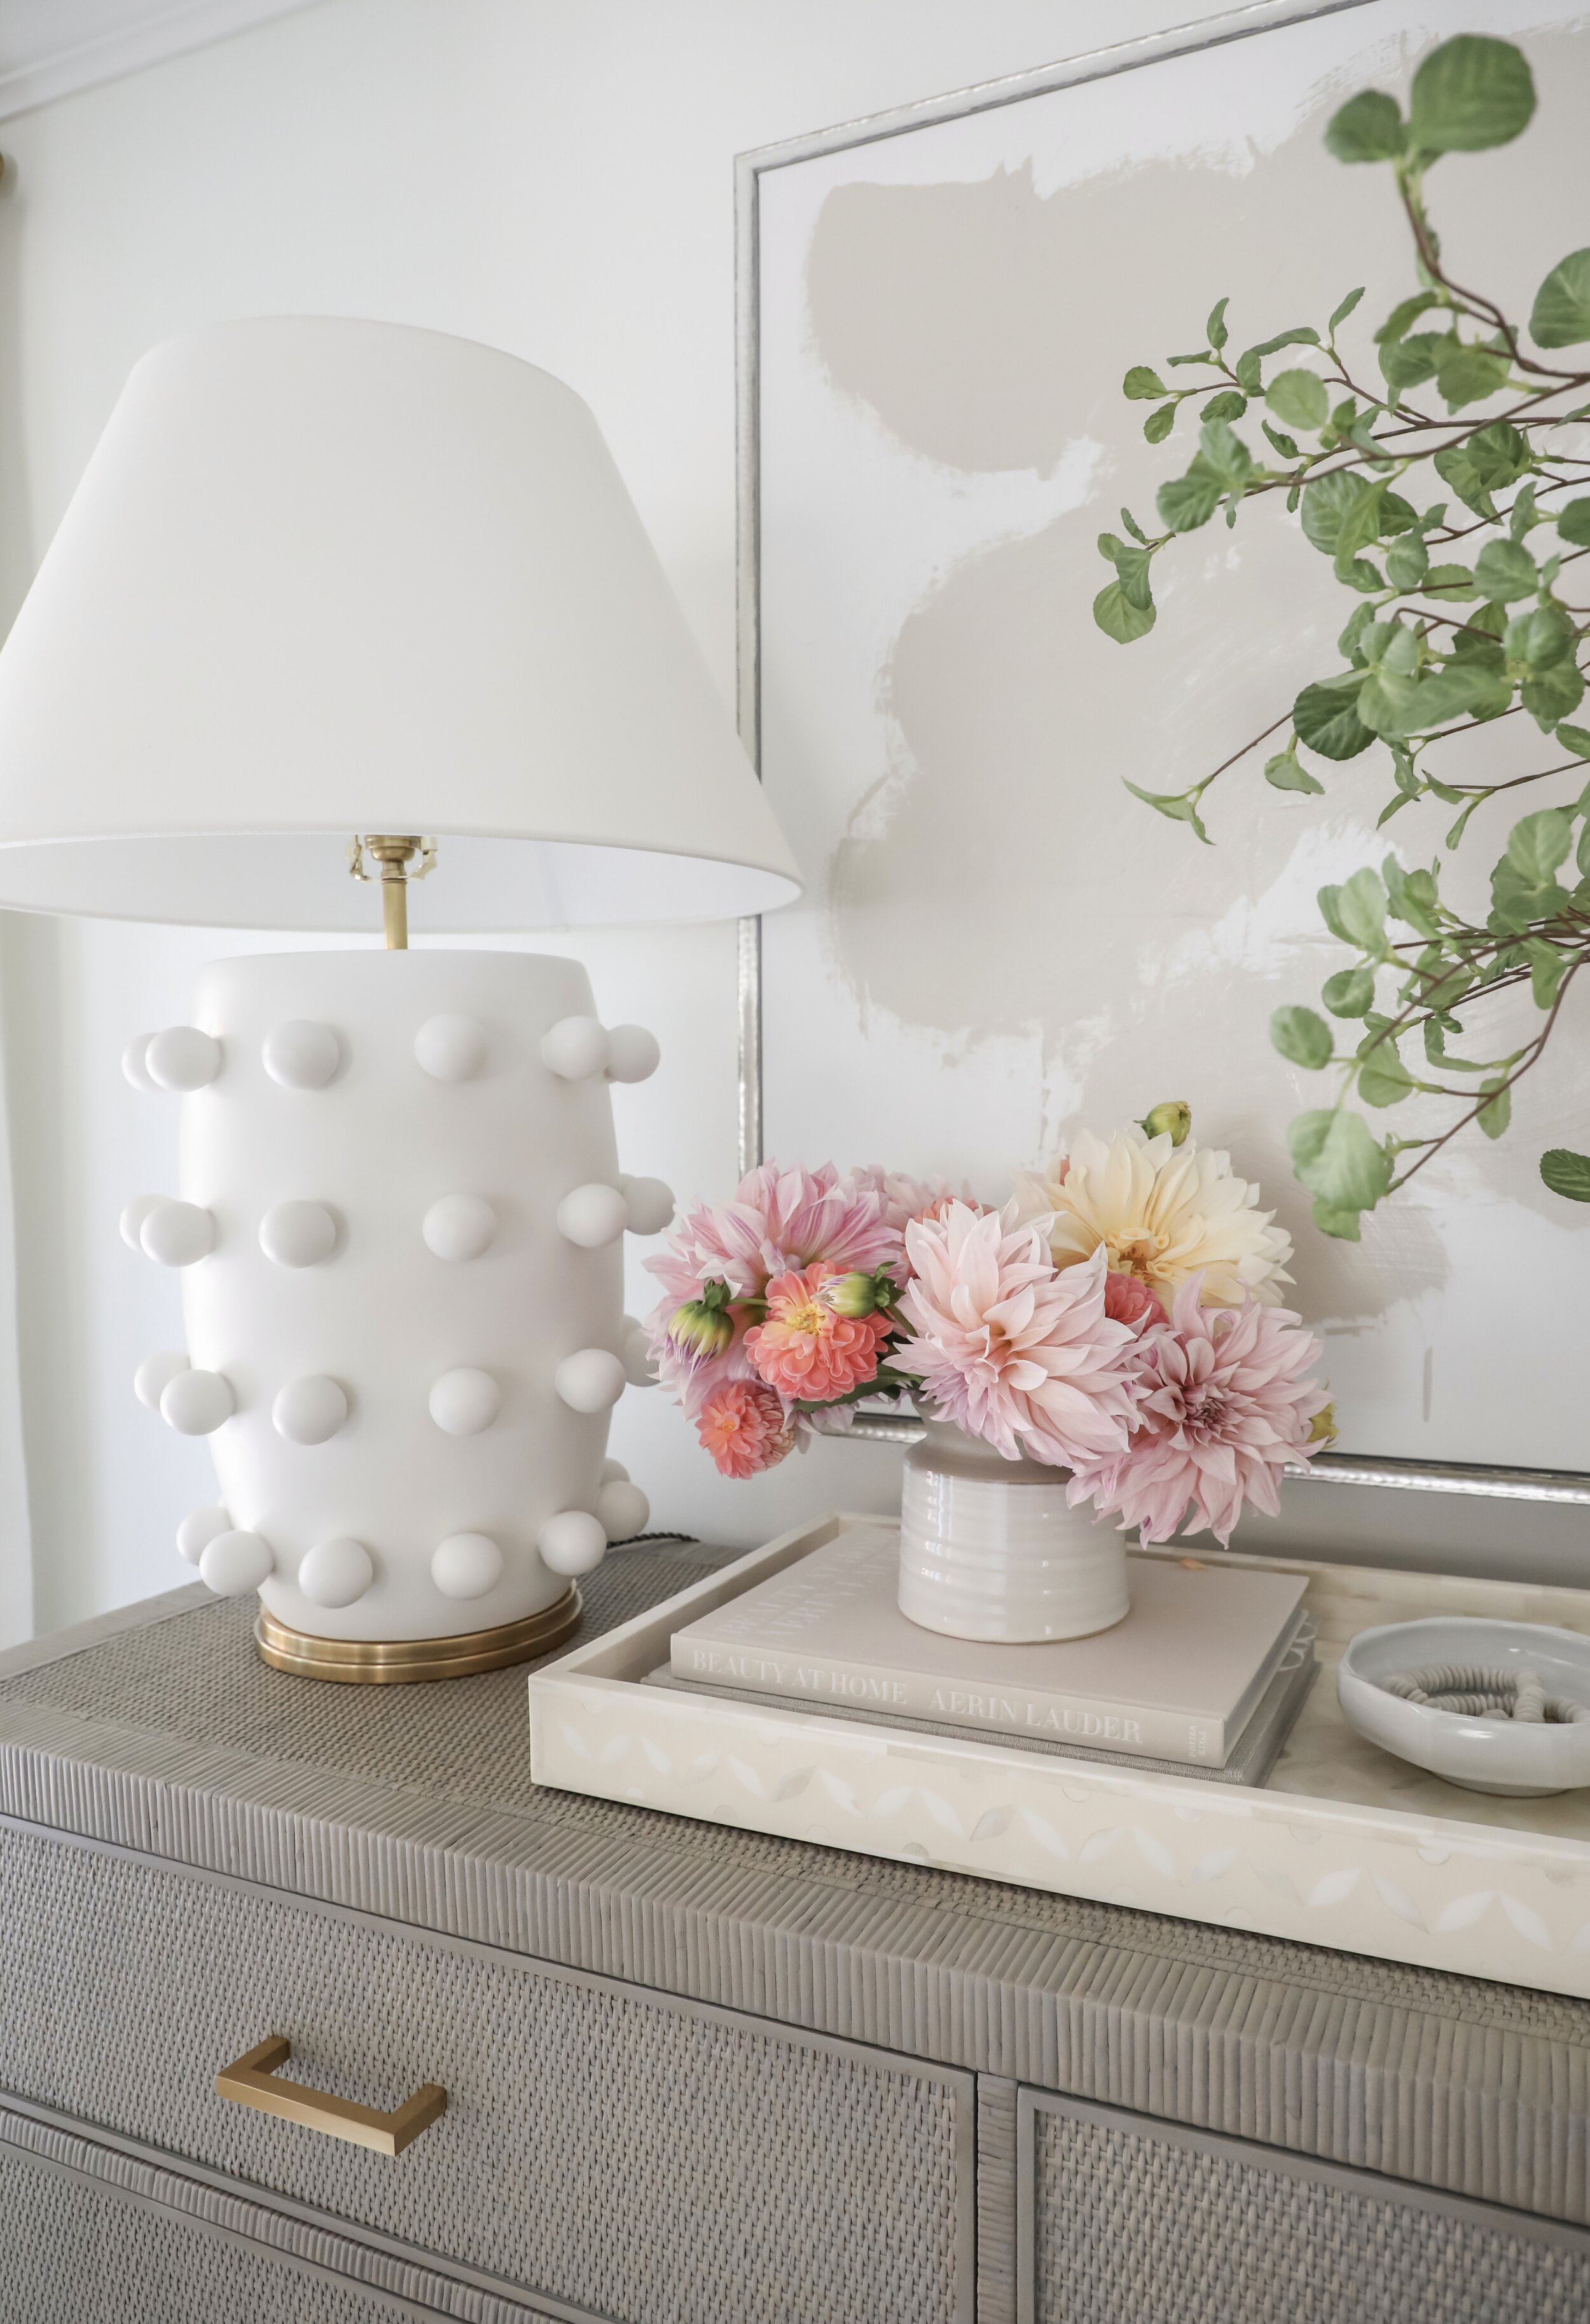
I’ve also incorporated the Portland Bone Inlay Tray to act as a catchall for smaller items we need to set down as we walk through the door. The details and intricacy on this piece are stunning, and really makes this feel unique and special. Serena & Lily has such a great selection of trays that work for any space in your home to keeps items corralled, while adding another layer to ensure your space feels styled with intention. I’m going to link a few of my favorites below.

I love the combination of textures at play in this space. Since I like to design with a lot of whites and neutrals, I find it’s very important to consider the materials that you’re including in the space to ensure it feels warm and welcoming. I’m going to share a few of my go-to pieces from Serena & Lily below that are sure to add plenty of texture to any space.

Overall, we’re so happy with how this entryway makeover turned out. It puts a smile on my face every time I pass by it throughout the day, and instantly makes me feel relaxed the second I come home. It feels not only like a reflection of us, but it serves as the perfect sneak peek of the look and feel of the rest of our home. It’s more than I’d ever dreamed this space could become! I’m going to share a before and after image of this space to show just how far we’ve come in the last four years!

*This post is sponsored by Serena & Lily, a brand I love. All opinions are my own.


Kitchen Reveal!

 
8D0E29D6-97C9-44A3-871A-1E07F843F072.JPEG

Our kitchen is finished! After four years of patiently waiting, we finally have a clean and updated space. We’re both so grateful to have this space complete, and have learned so much throughout the gradual renovation process the past six months! I’m going to share all the sources below!

Cabinet Paint: Benjamin Moore Baby Fawn

Flooring: Johnson Hardwood British Isles Series in Essex

2O5A4123.JPG
DB3A49F0-DD3D-41CE-A8D4-8C75942BDEF1.JPEG
2O5A4103.JPG
 

Our Serena and Lily Lighting


Today I’m sharing a roundup of all our Serena and Lily lighting in a blog post! I’ve been slowly incorporating their lighting in our home throughout the years and have come to realize it’s one of my favorite categories of products they sell. I think lighting makes a huge impact in a space—not only in the way it looks, but how it feels. I’ve chosen to include a lot of Serena and Lily lighting in our home because I think it’s a great combination of all the aspects I look for when selecting lighting, which is quality, functionality and aesthetics.

D799FF02-8BFA-4AF1-BEED-9A02222BD9C0.JPEG

I have always been drawn to the Serena and Lily lighting collection, and love the laid back but high end feel of their lighting. The pieces are high quality and well made, which are the most important features I look for when selecting a new light fixture, aside from aesthetics. Lighting is not something that I like to switch up often, and would prefer to invest more of my design budget in. Serena and Lily lighting has such a classic look, that I feel confident that the pieces I choose will look nice in my home for many years.

93C88DFD-FF93-49C5-B3A5-94038B6AD1E9.JPEG

It’s been said that lighting is the jewelry of the room, and I completely agree with that statement! All of the Serena and Lily lighting in our home feels like the perfect finishing touch that draws your attention and has a big visual impact. I always like to create spaces that include a good high/low mix of products, but I always utilize more of the budget to incorporate high end lighting, like Serena and Lily lighting. I think it’s a great use of the design budget, as lighting can really make or break a space. When it’s done well, it creates unforgettable design that leaves a lasting impact.

I’m going to share a few of our Serena and Lily lighting pieces along with my favorite features about them. First up, I’m going to share the first two pieces that I purchased, which I know are an audience favorite as well. The Flynn floor lamp and single wall sconce. I love the mix of metal and the woven wicker shade. These fixtures can give any space a warm and relaxed feel, and I love the way the light casts through the wicker shade at night. I also incorporated these in my Mom’s bedroom makeover a couple years ago and she has said they’re one of her favorite things about her room.

Next up on our Serena and Lily lighting tour are my table lamps. I have the Midbrook and Maybrook tables lamps which feel like sisters. They’re very similar in style and functionality. The thing I love most about these lamps in the built in dimmer switch. They don’t click on like most lamps, but allow you the ability to turn the switch to get the lighting just right. I’m extremely particular about the lighting in our spaces in the evening, so I like to have full control of how bright our lighting was. When I used to buy lower quality lighting I’d have to purchase a separate dimmer to attach to each lamp, and it was always a pain and didn’t give me anywhere near the control over the brightness as these two lamps do.

I hate to play favorites, but the Midbrook table lamp is one of my absolute favorite tables lamps from our Serena and Lily lighting collection. The oversized base and extra large empire shade really commands attention and gives any space a luxe feel. This lamp is so heavy and is excellent quality—much like it’s sister, the Maybrook lamp.

C9D2A0CC-AB53-425C-96A8-AD89F2CC6F5F.JPEG

Another audience favorite is the Edgehill table lamp. I love the modern twist on a classic look and it makes for a perfect desk or nightstand lamp. I’m very particular about brass finishes, and this is the perfect finish in my opinion. I also enjoy the warm brassy light that comes from it at night—it really makes the space feel warm and cozy. It also has a dimmer switch so you can adjust the lighting to the perfect setting.

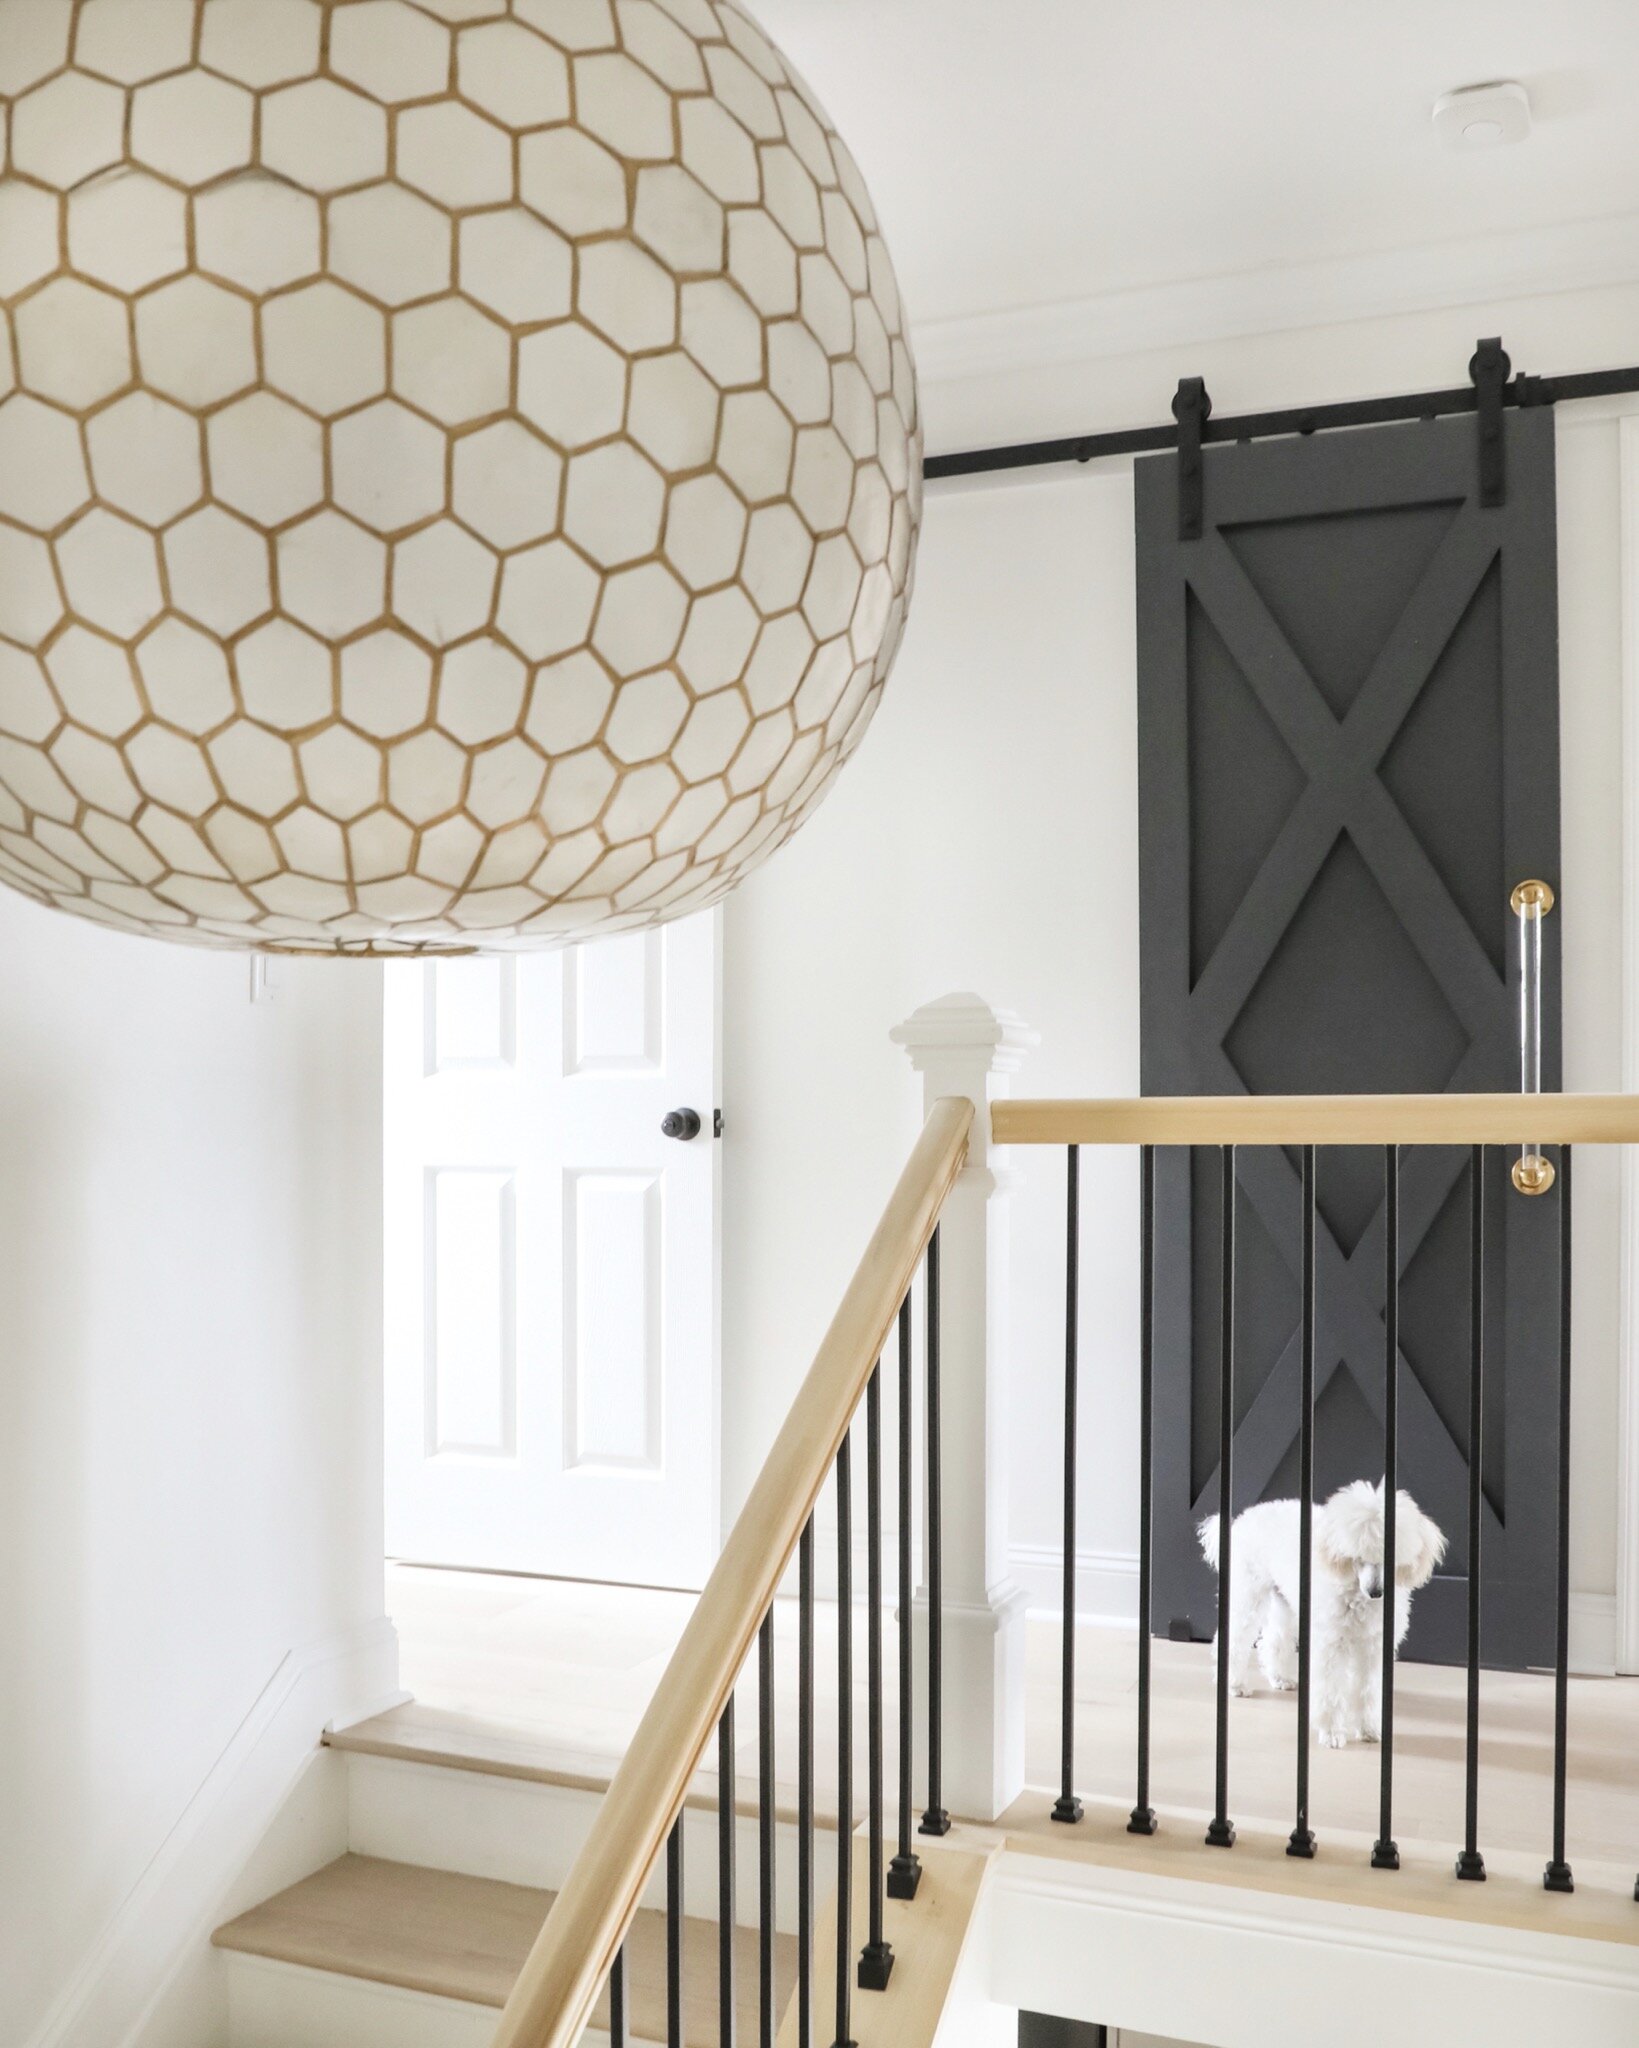
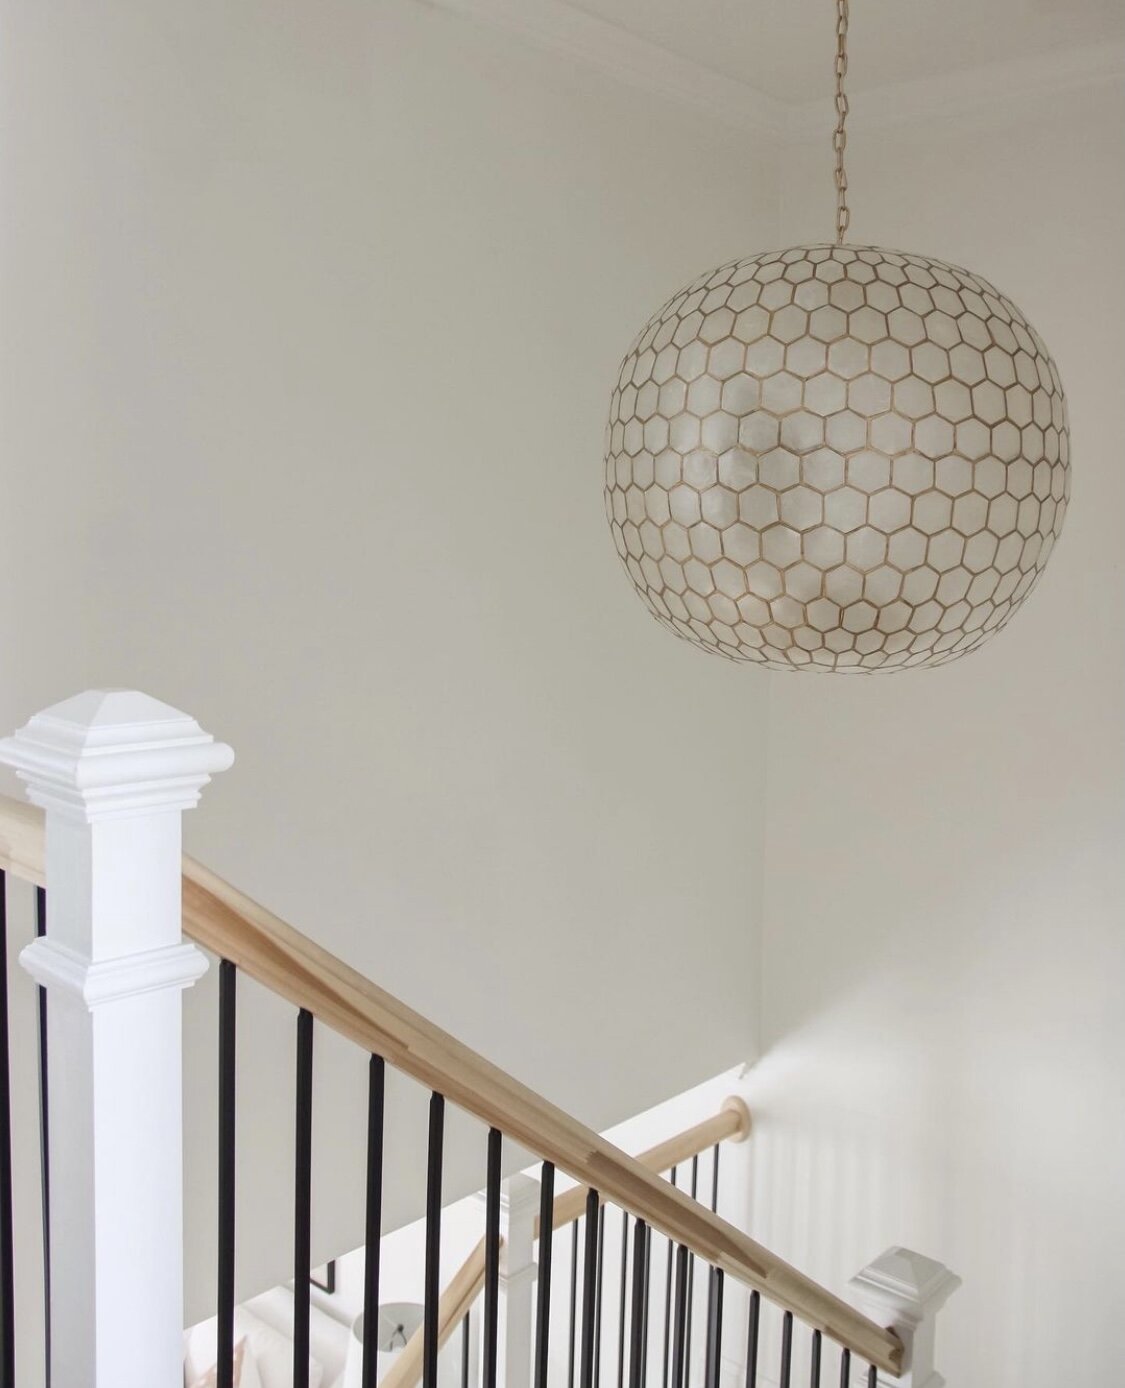
Moving on to the next Serena and Lily lighting category—chandeliers! We have a couple pieces from their collection, the Capiz Honeycomb Chandelier, and the Pescadero Tiered Chandelier. Both of these light fixtures were on my wish list for many years, and as I’ve incorporated each of them into our home over the past couple years they have definitely exceeded my expectations! I incorporated the Capiz Honeycomb Chandelier into our stairwell in early 2020 and it was the perfect finishing touch for that space. I love the iridescent look of the capiz shells and the touch of brass throughout. It has a polished look without feeling too formal. I love that I can stare at it all day from my desk in my new office!

IMG_4868.JPG
8DE4E158-53F2-4EFE-822A-D4F480C74FD0.JPEG

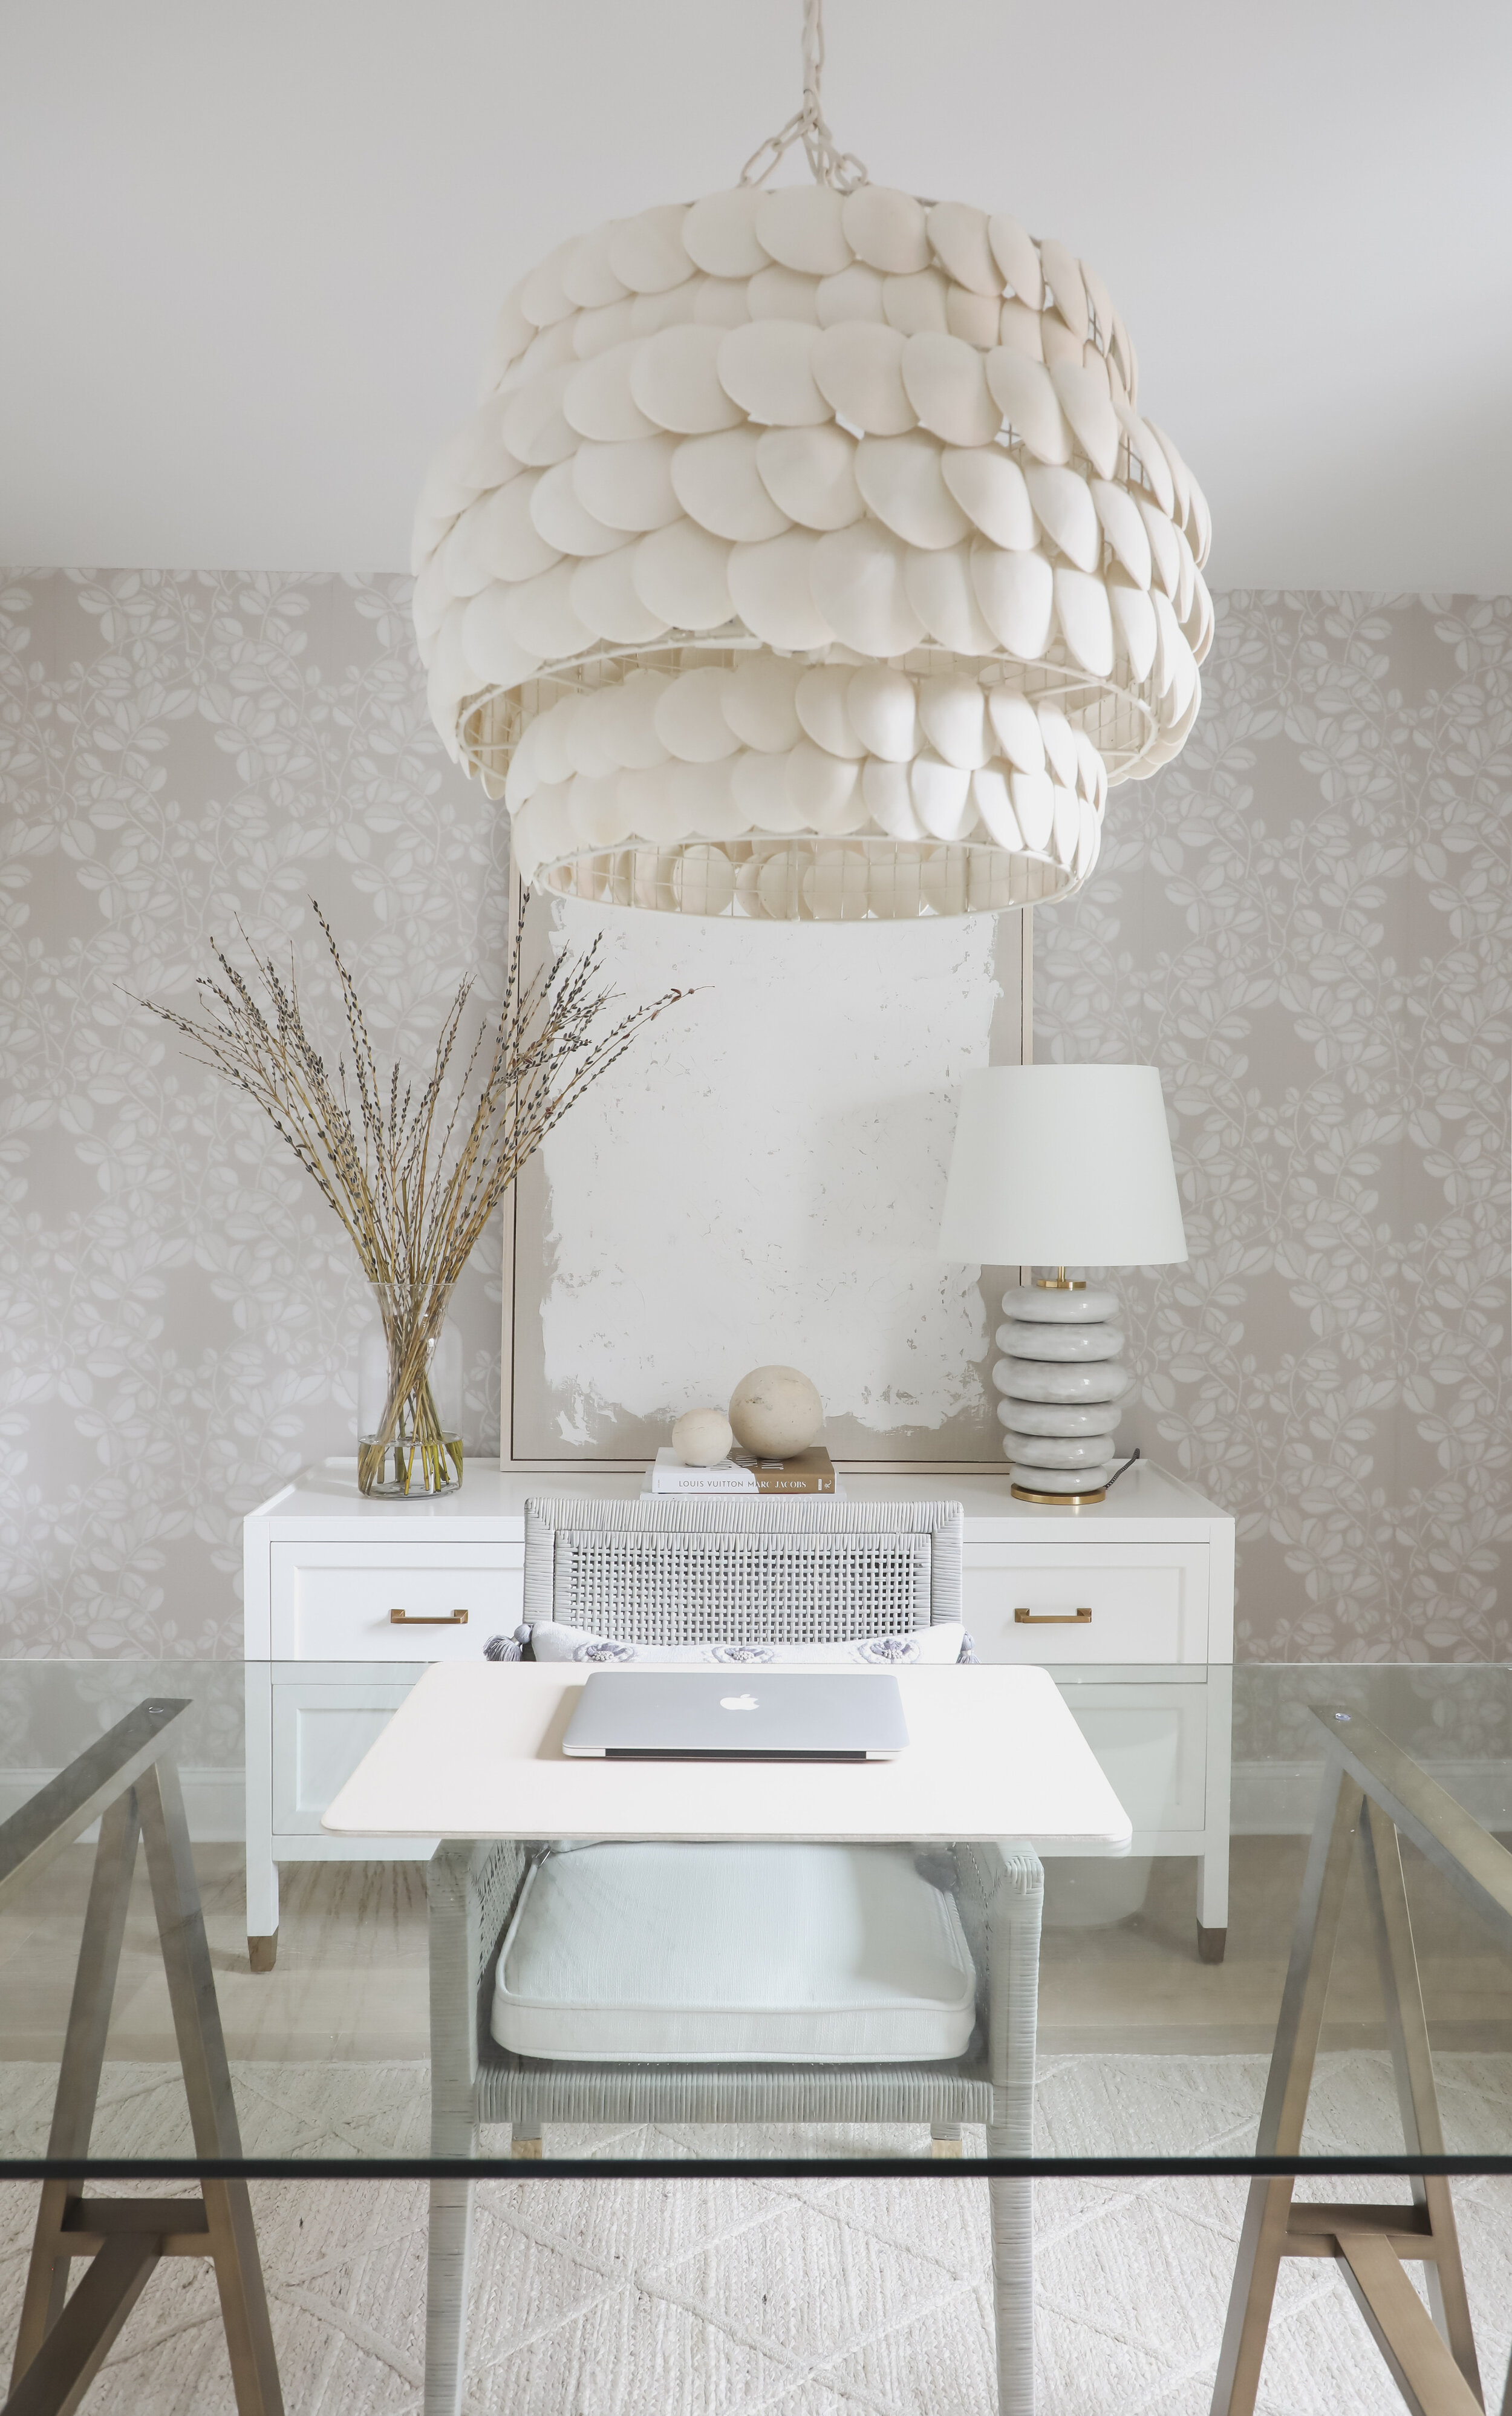
The newest addition to our Serena and Lily lighting collection is the Pescadero Tiered Chandelier. This light has been on my wishlist the longest of any of the fixtures I’ve shared in this post, and far exceeded my expectations! This is one of those pieces that just cannot be done justice in photos or even videos. It adds so much softness and dimension to my office, and I love the way it glows at night. The coconut shells are all illuminated from within, and it makes for such an inviting glow on the nights I work well into the evening hours.

A71E0BF2-6254-4529-86D4-1263D733C9AD.JPEG

I, of course, love all of our Serena and Lily lighting, but aside from what I already own I’m going to share a few pieces that I’ve had my eye on, or are my go-to’s for client designs.

51000A3A-5F2C-42AA-833F-7F40A848F86B.JPEG

My Serena and Lily lighting picks are below!

*This post is sponsored by Serena and Lily, a brand I love. All opinions are my own.


My Home Office Reveal with Serena and Lily!

 
image 6.JPG

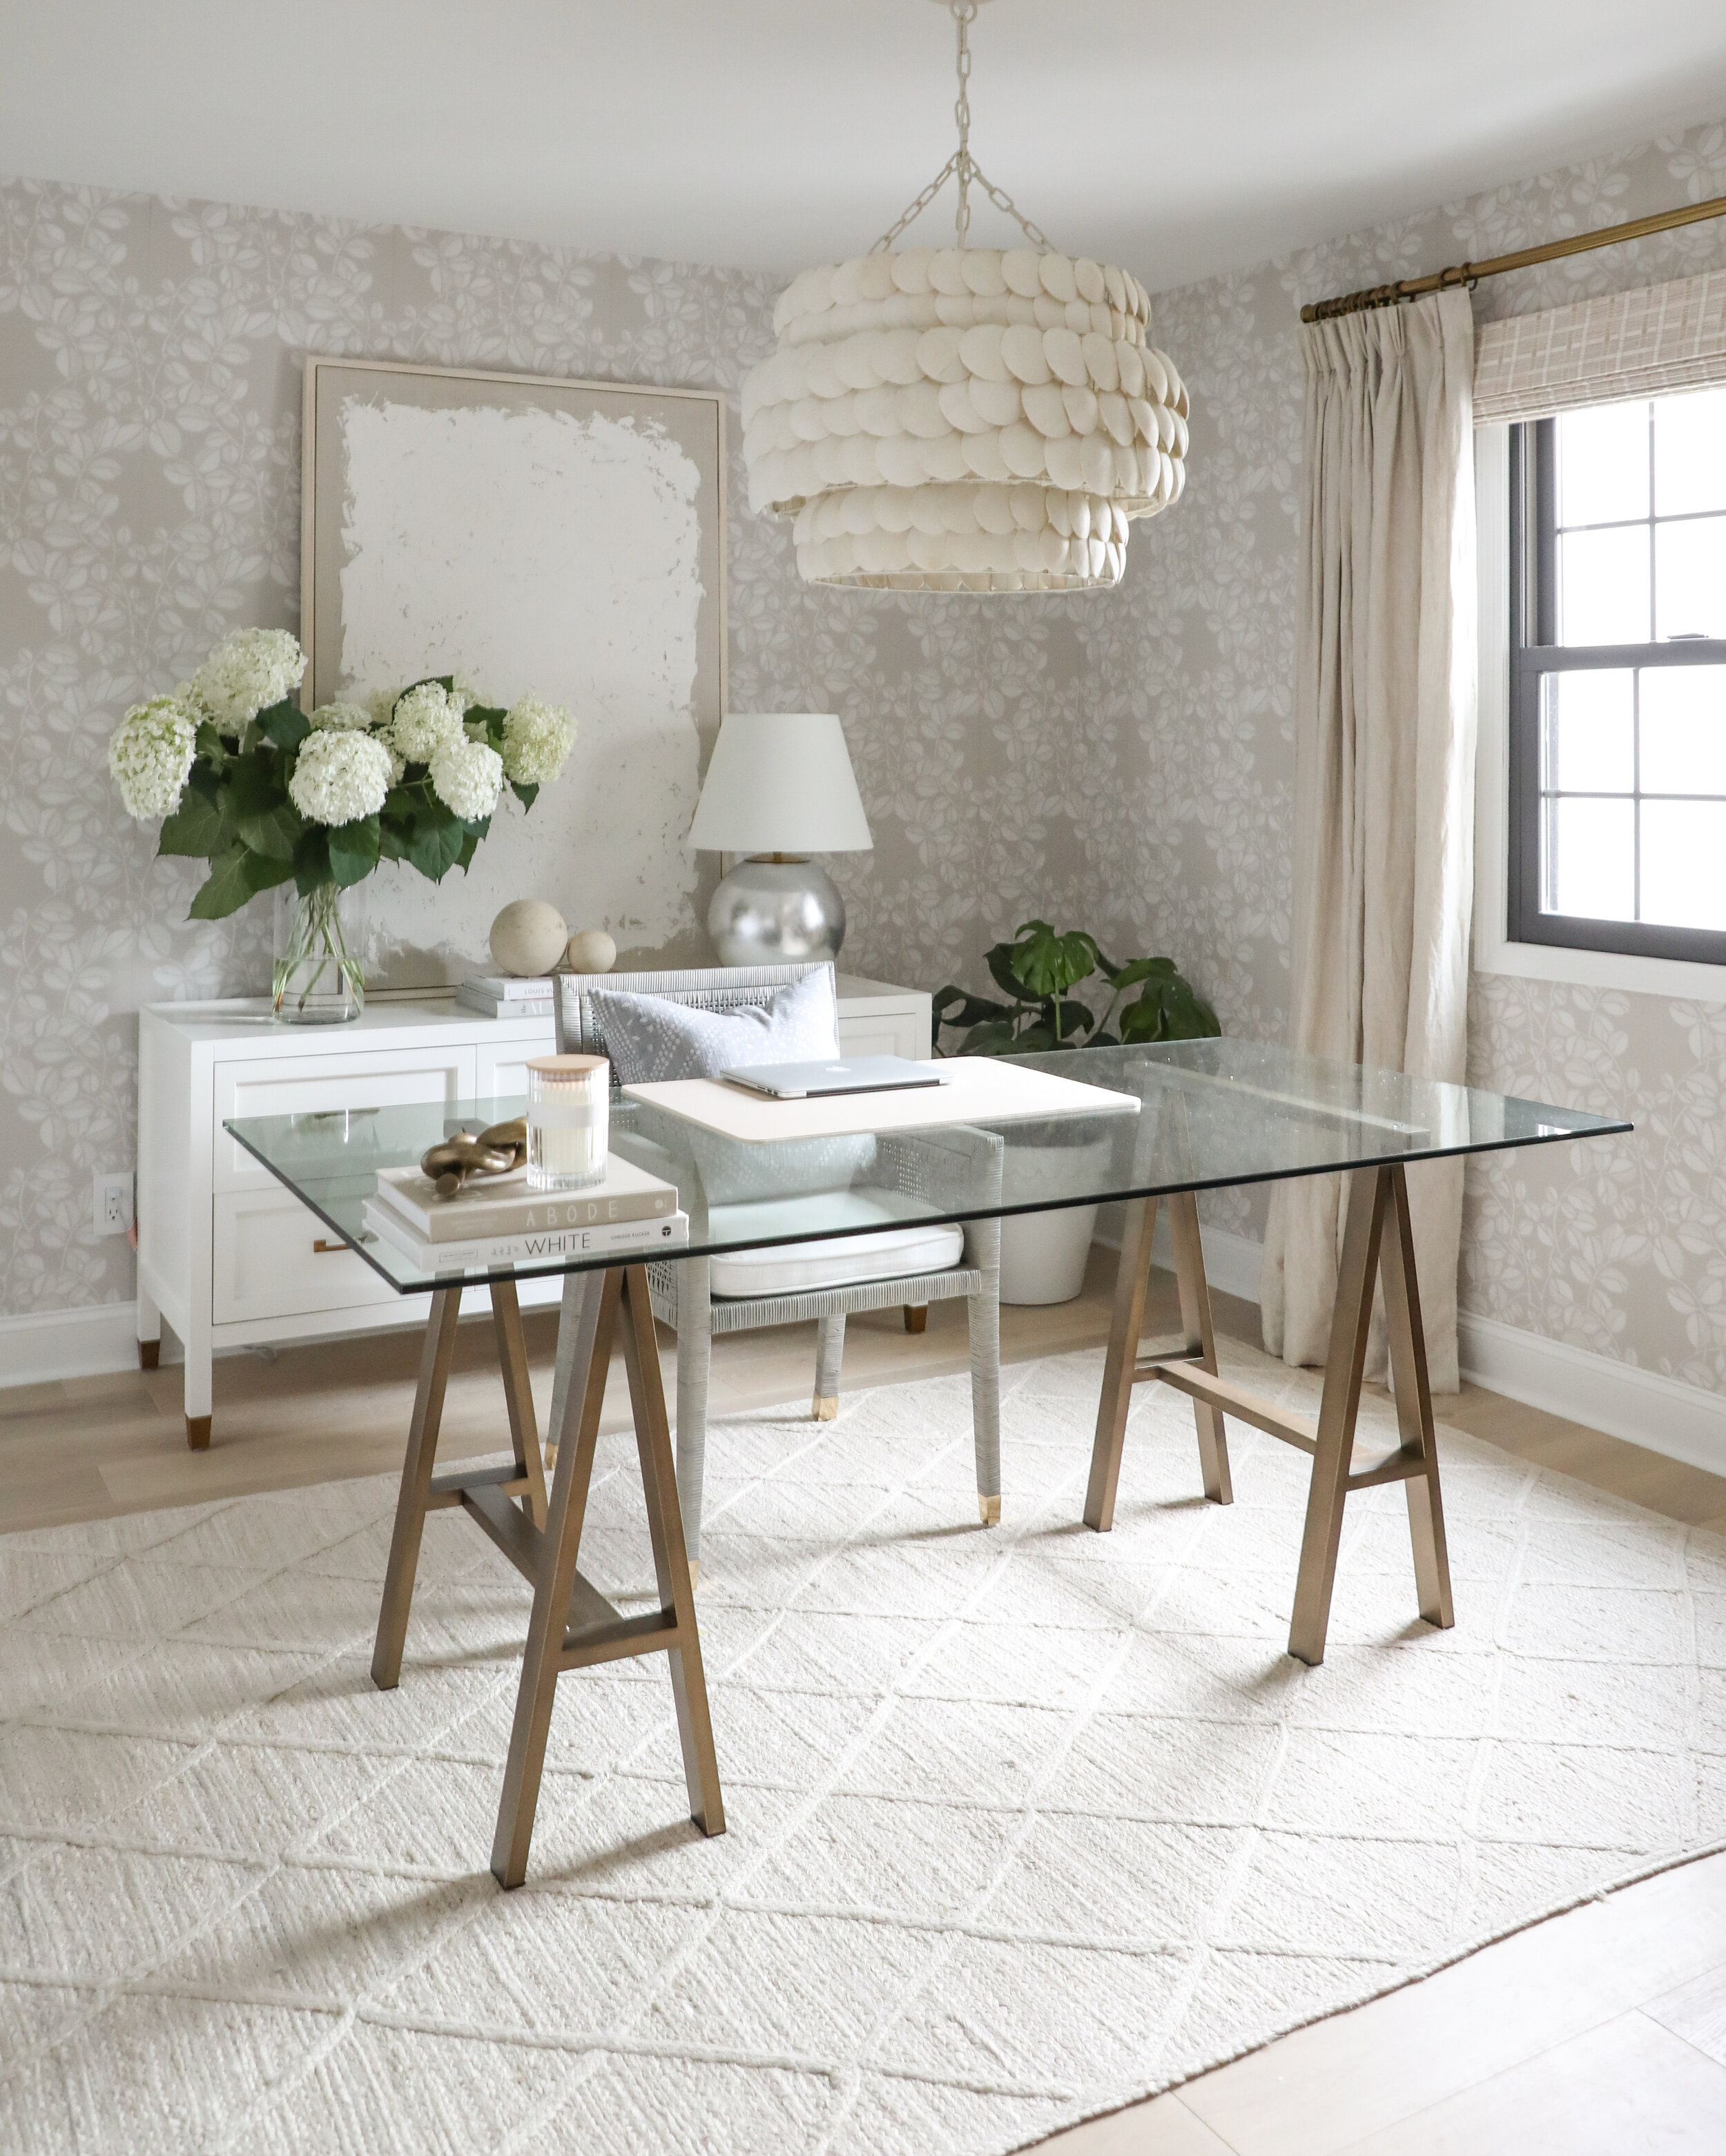
I’m so excited to finally reveal my new home office on the blog today! Earlier this year I decided it was finally time carve out a room in our home that was just dedicated to my office. Since we haven’t had any guests in our guest room for a long time we decided it would be put to better use as my office, which would be a space that I could enjoy every day!

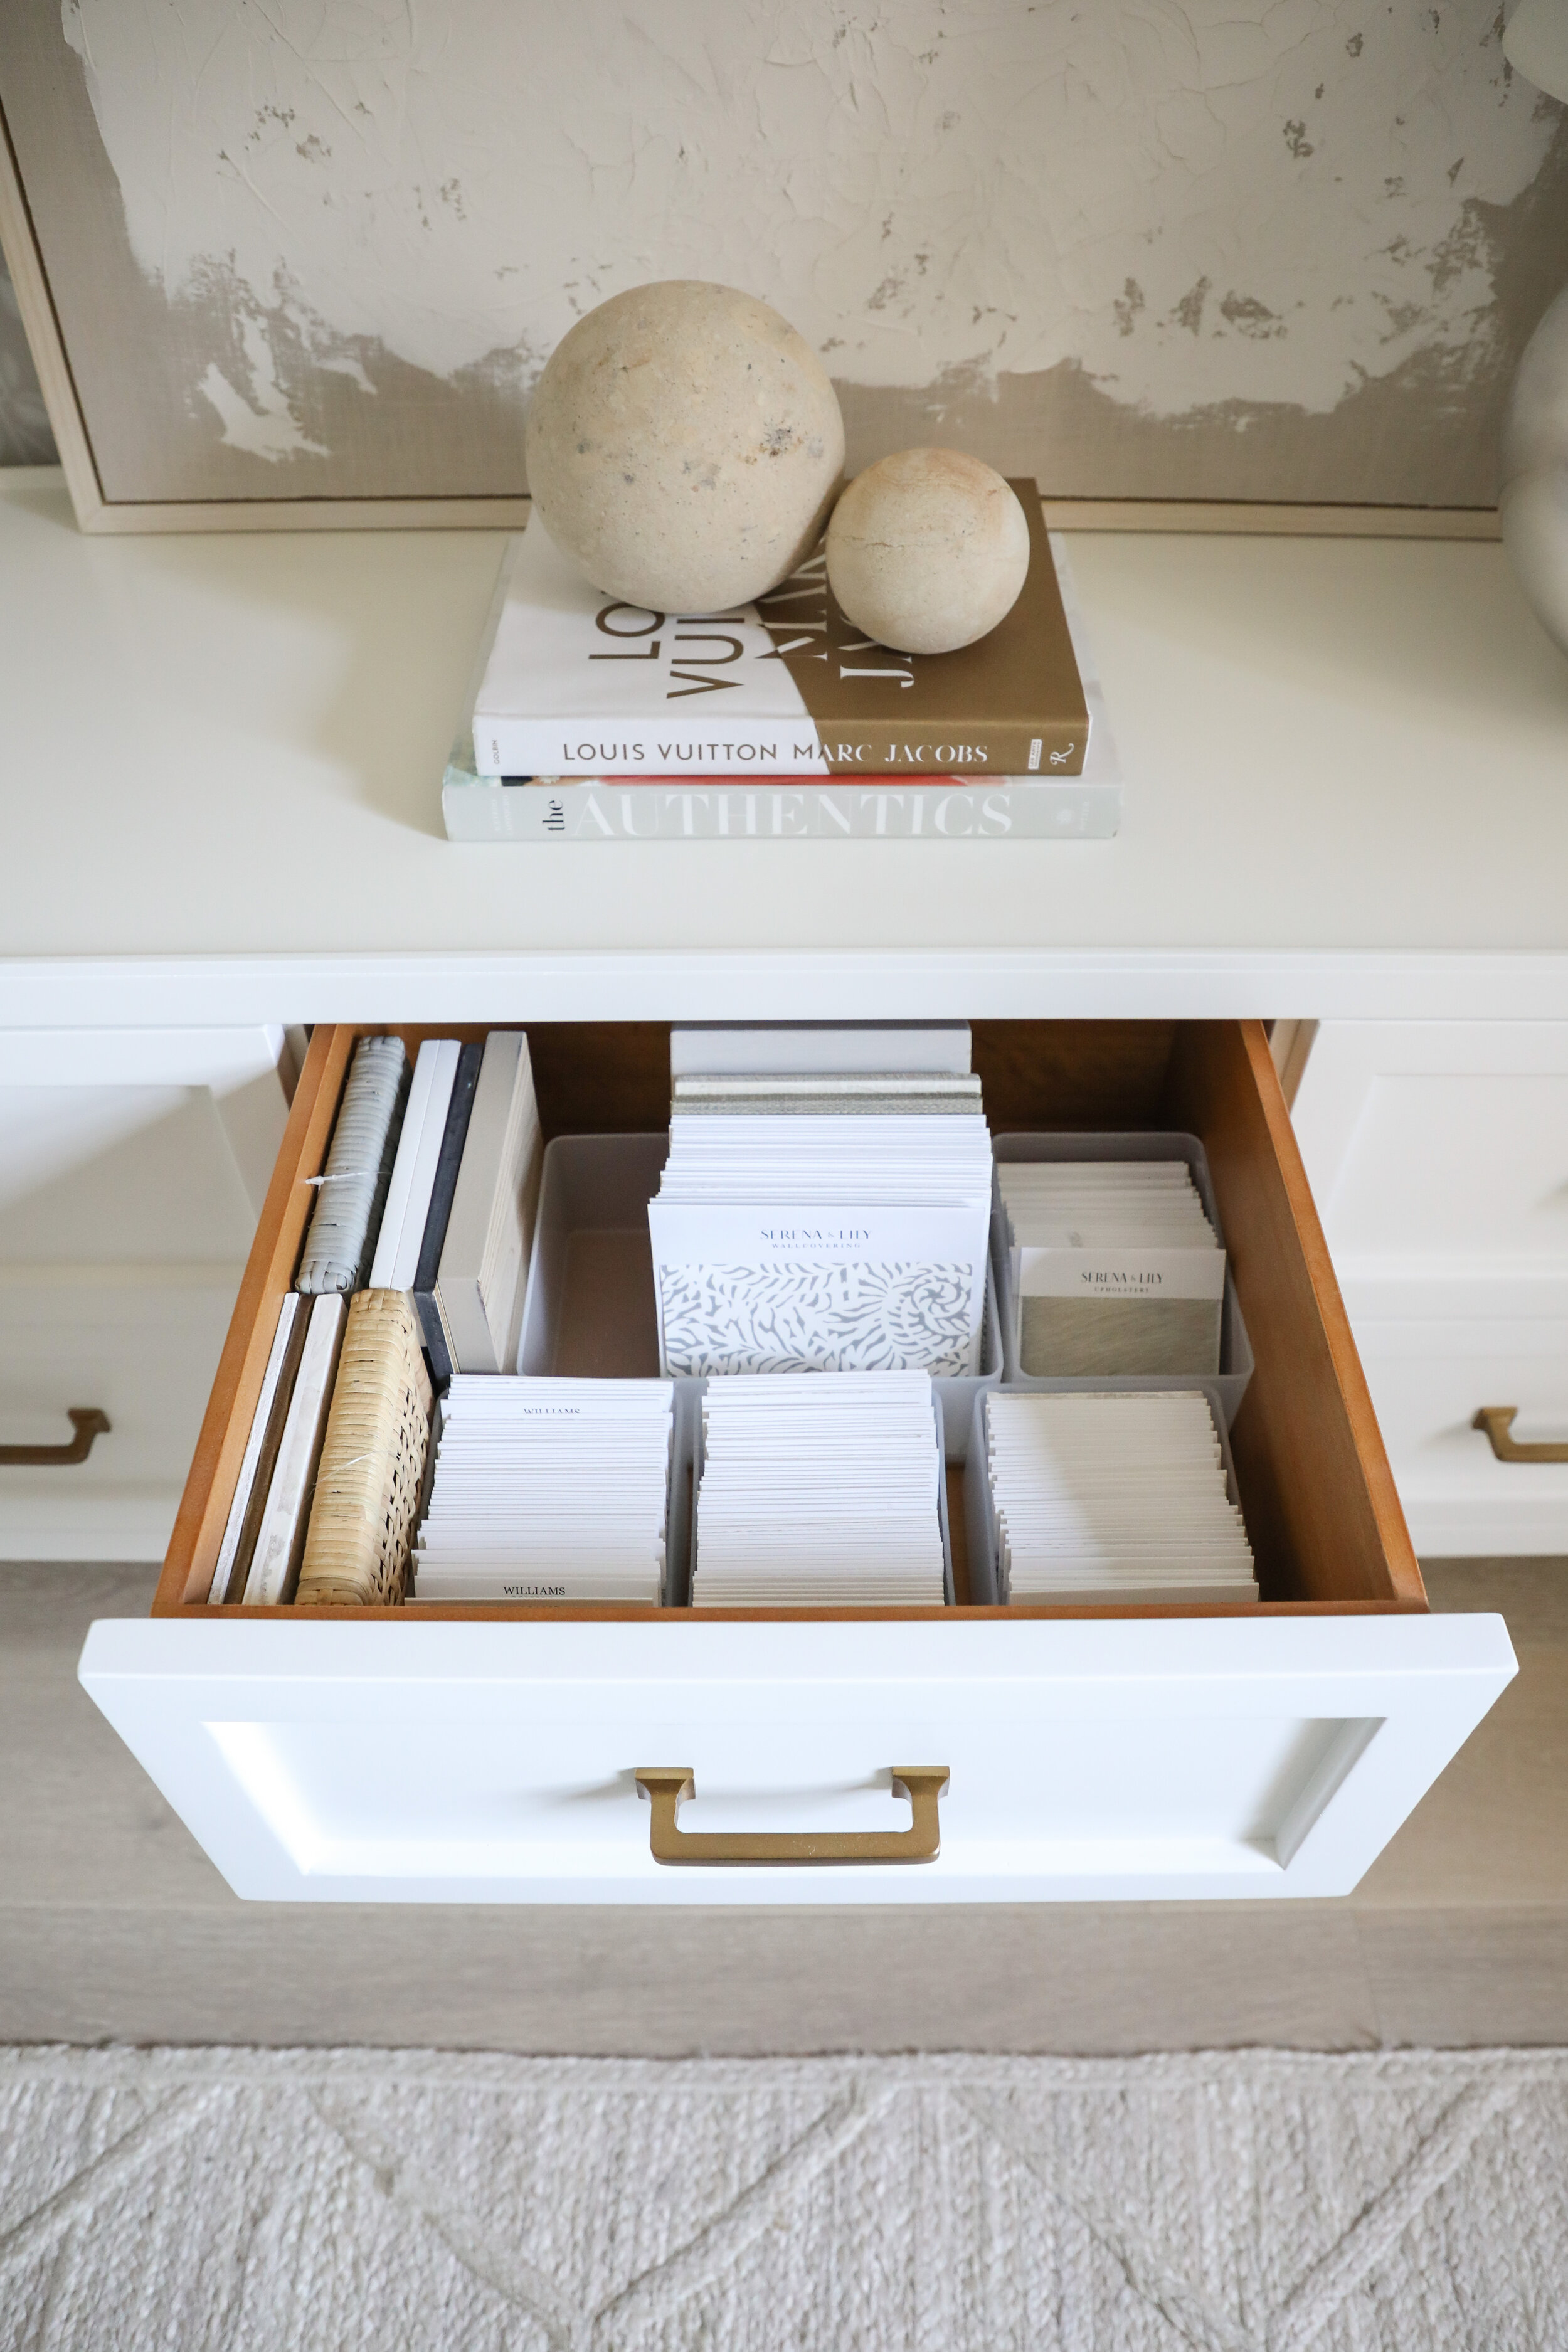
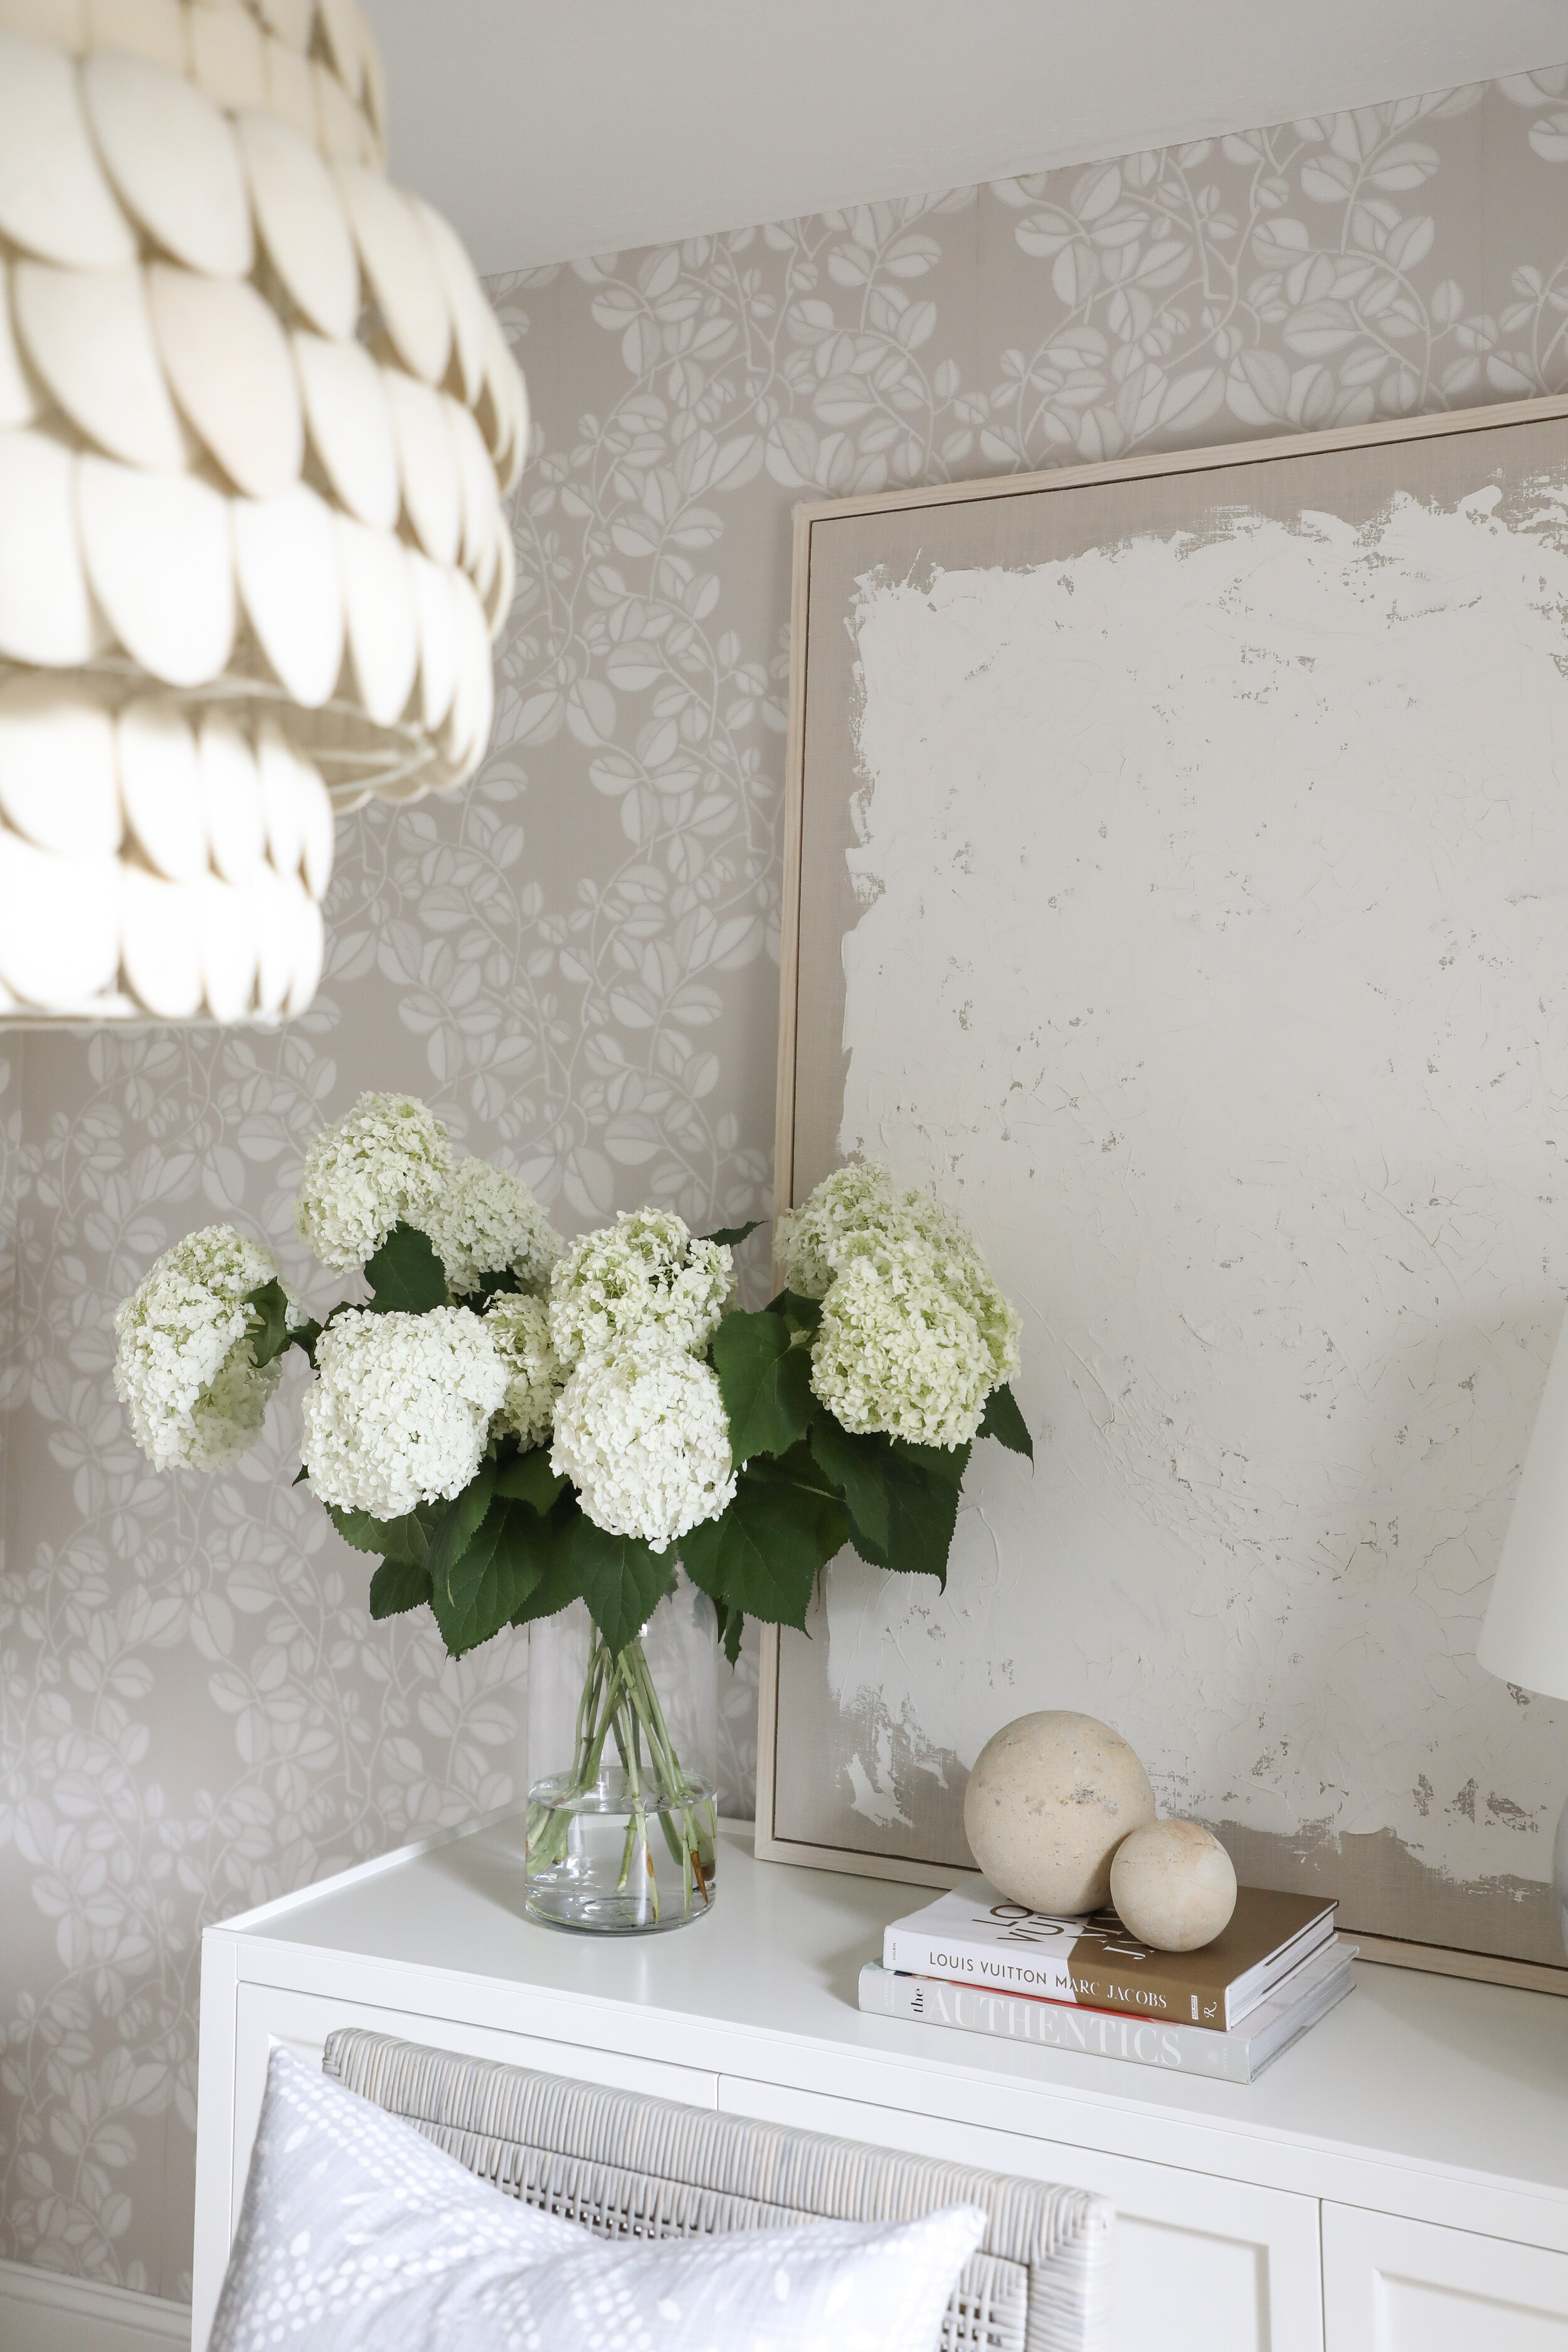
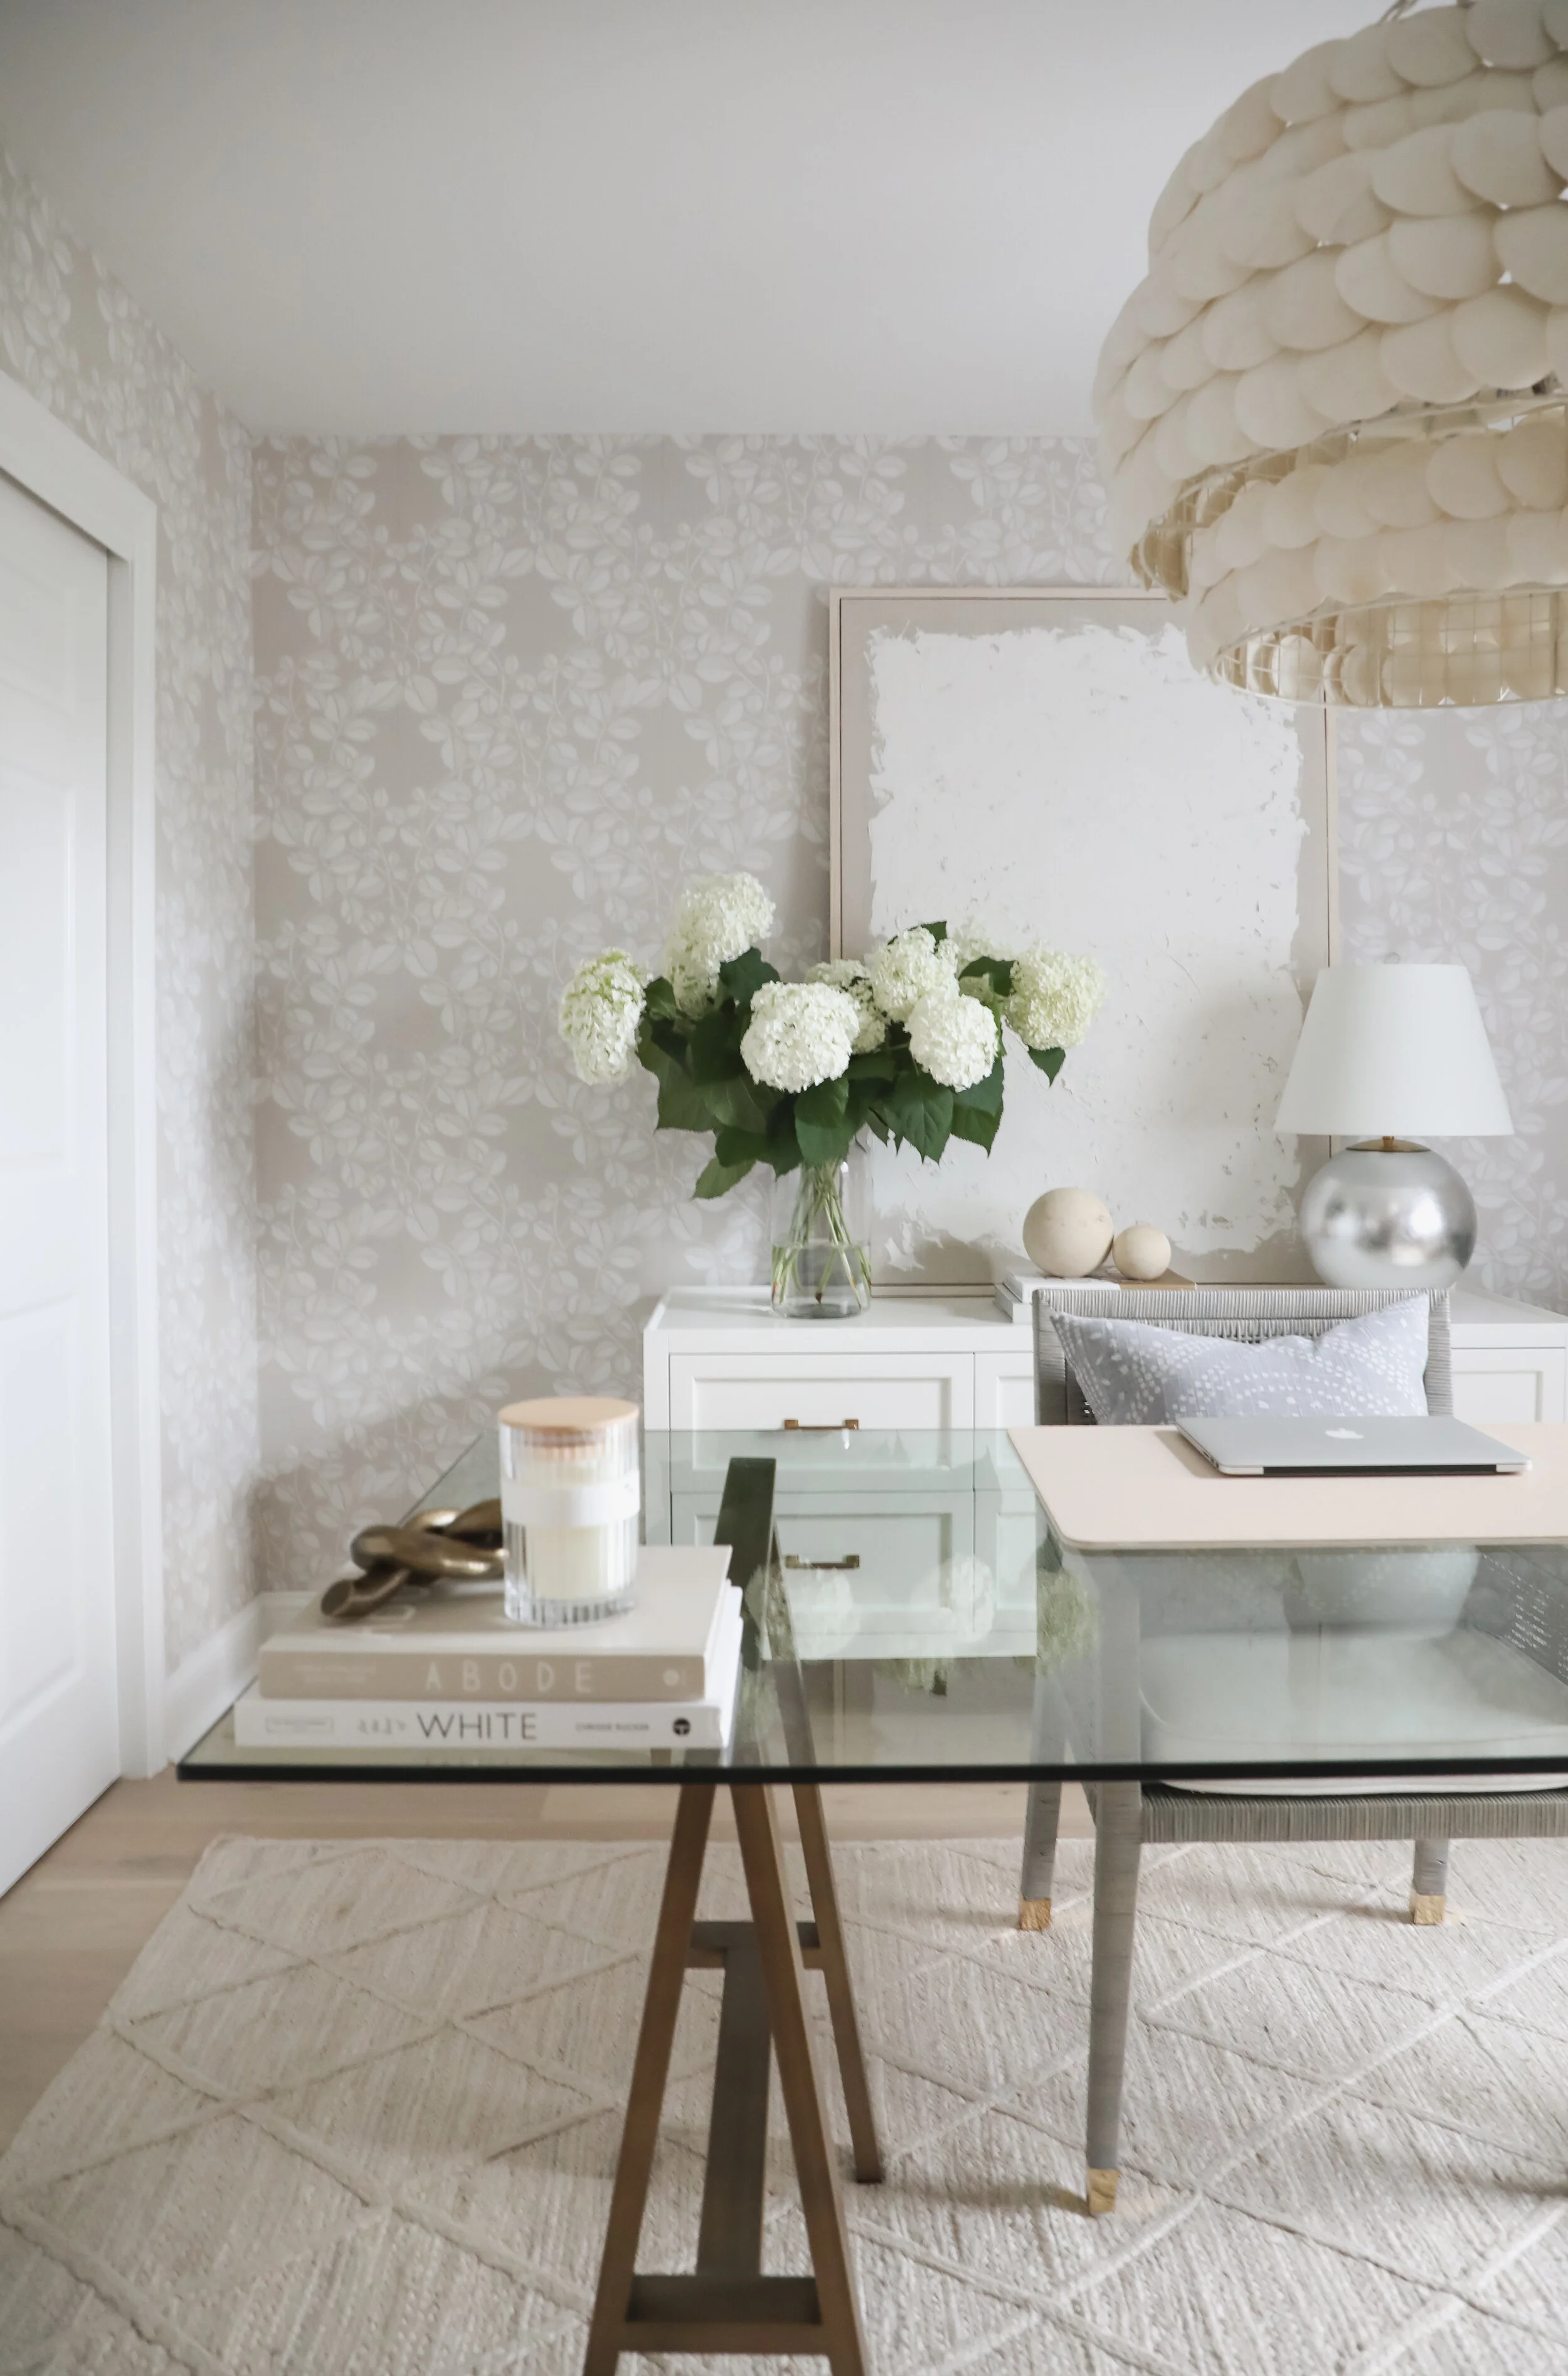
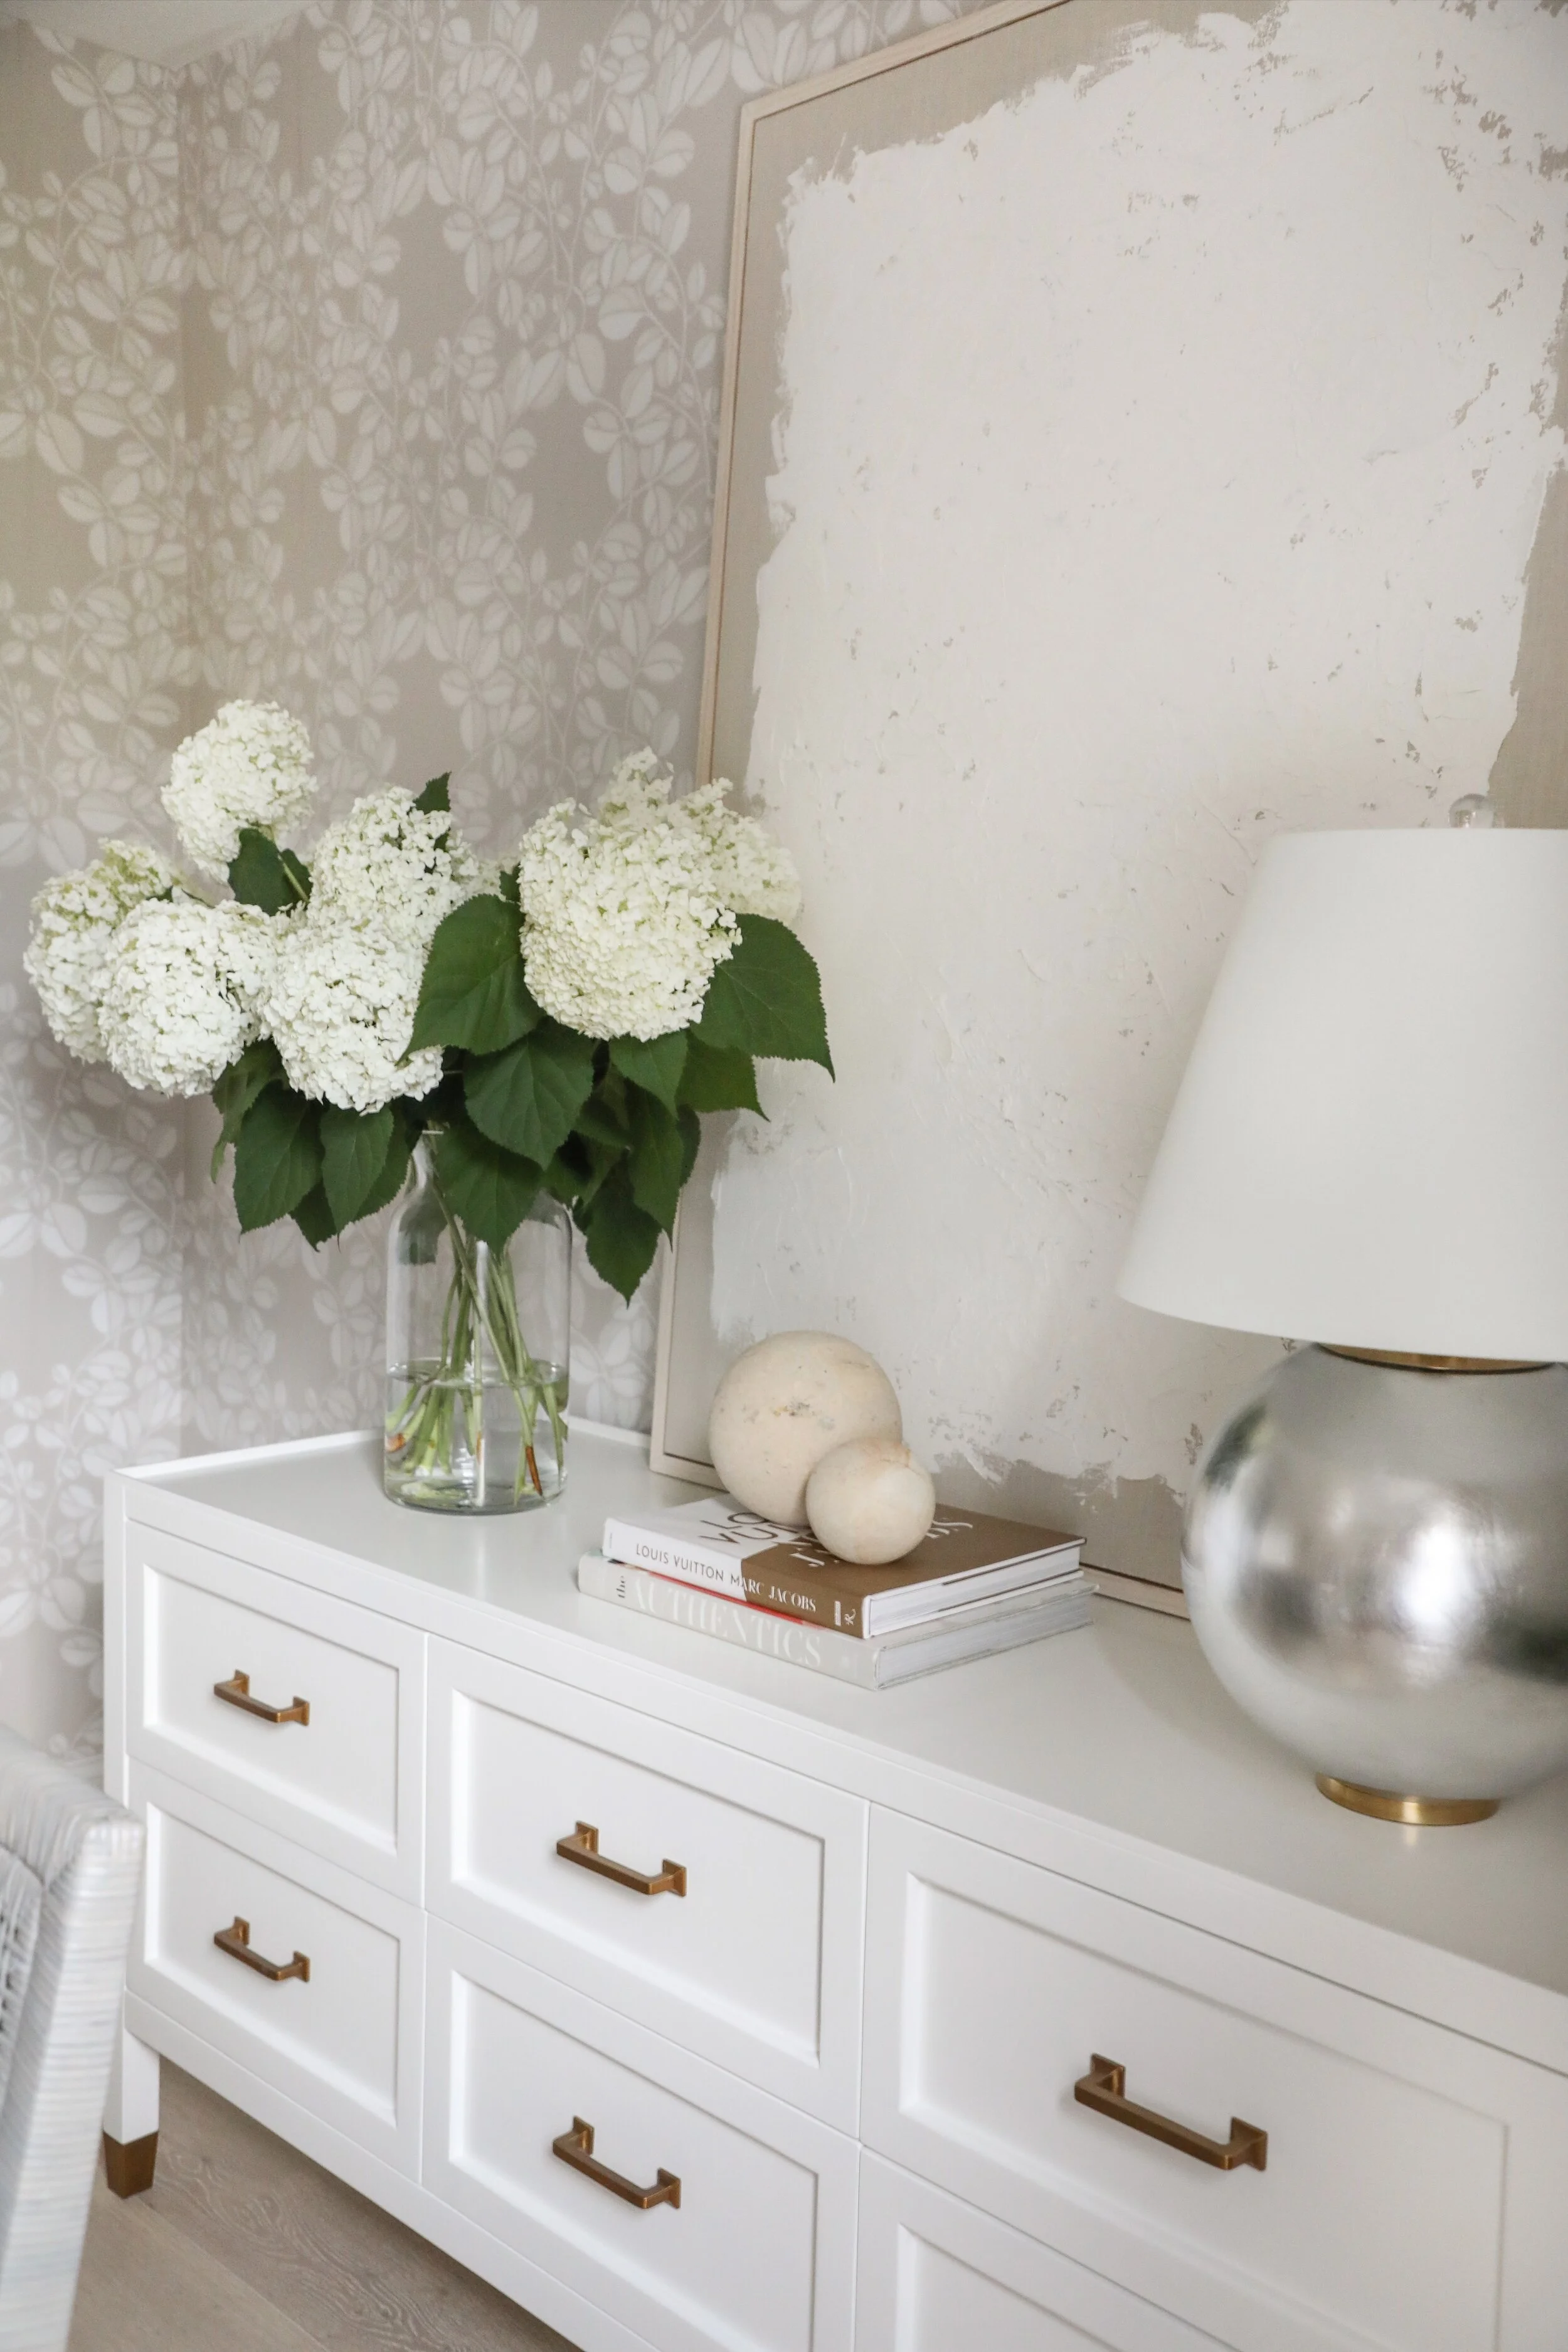
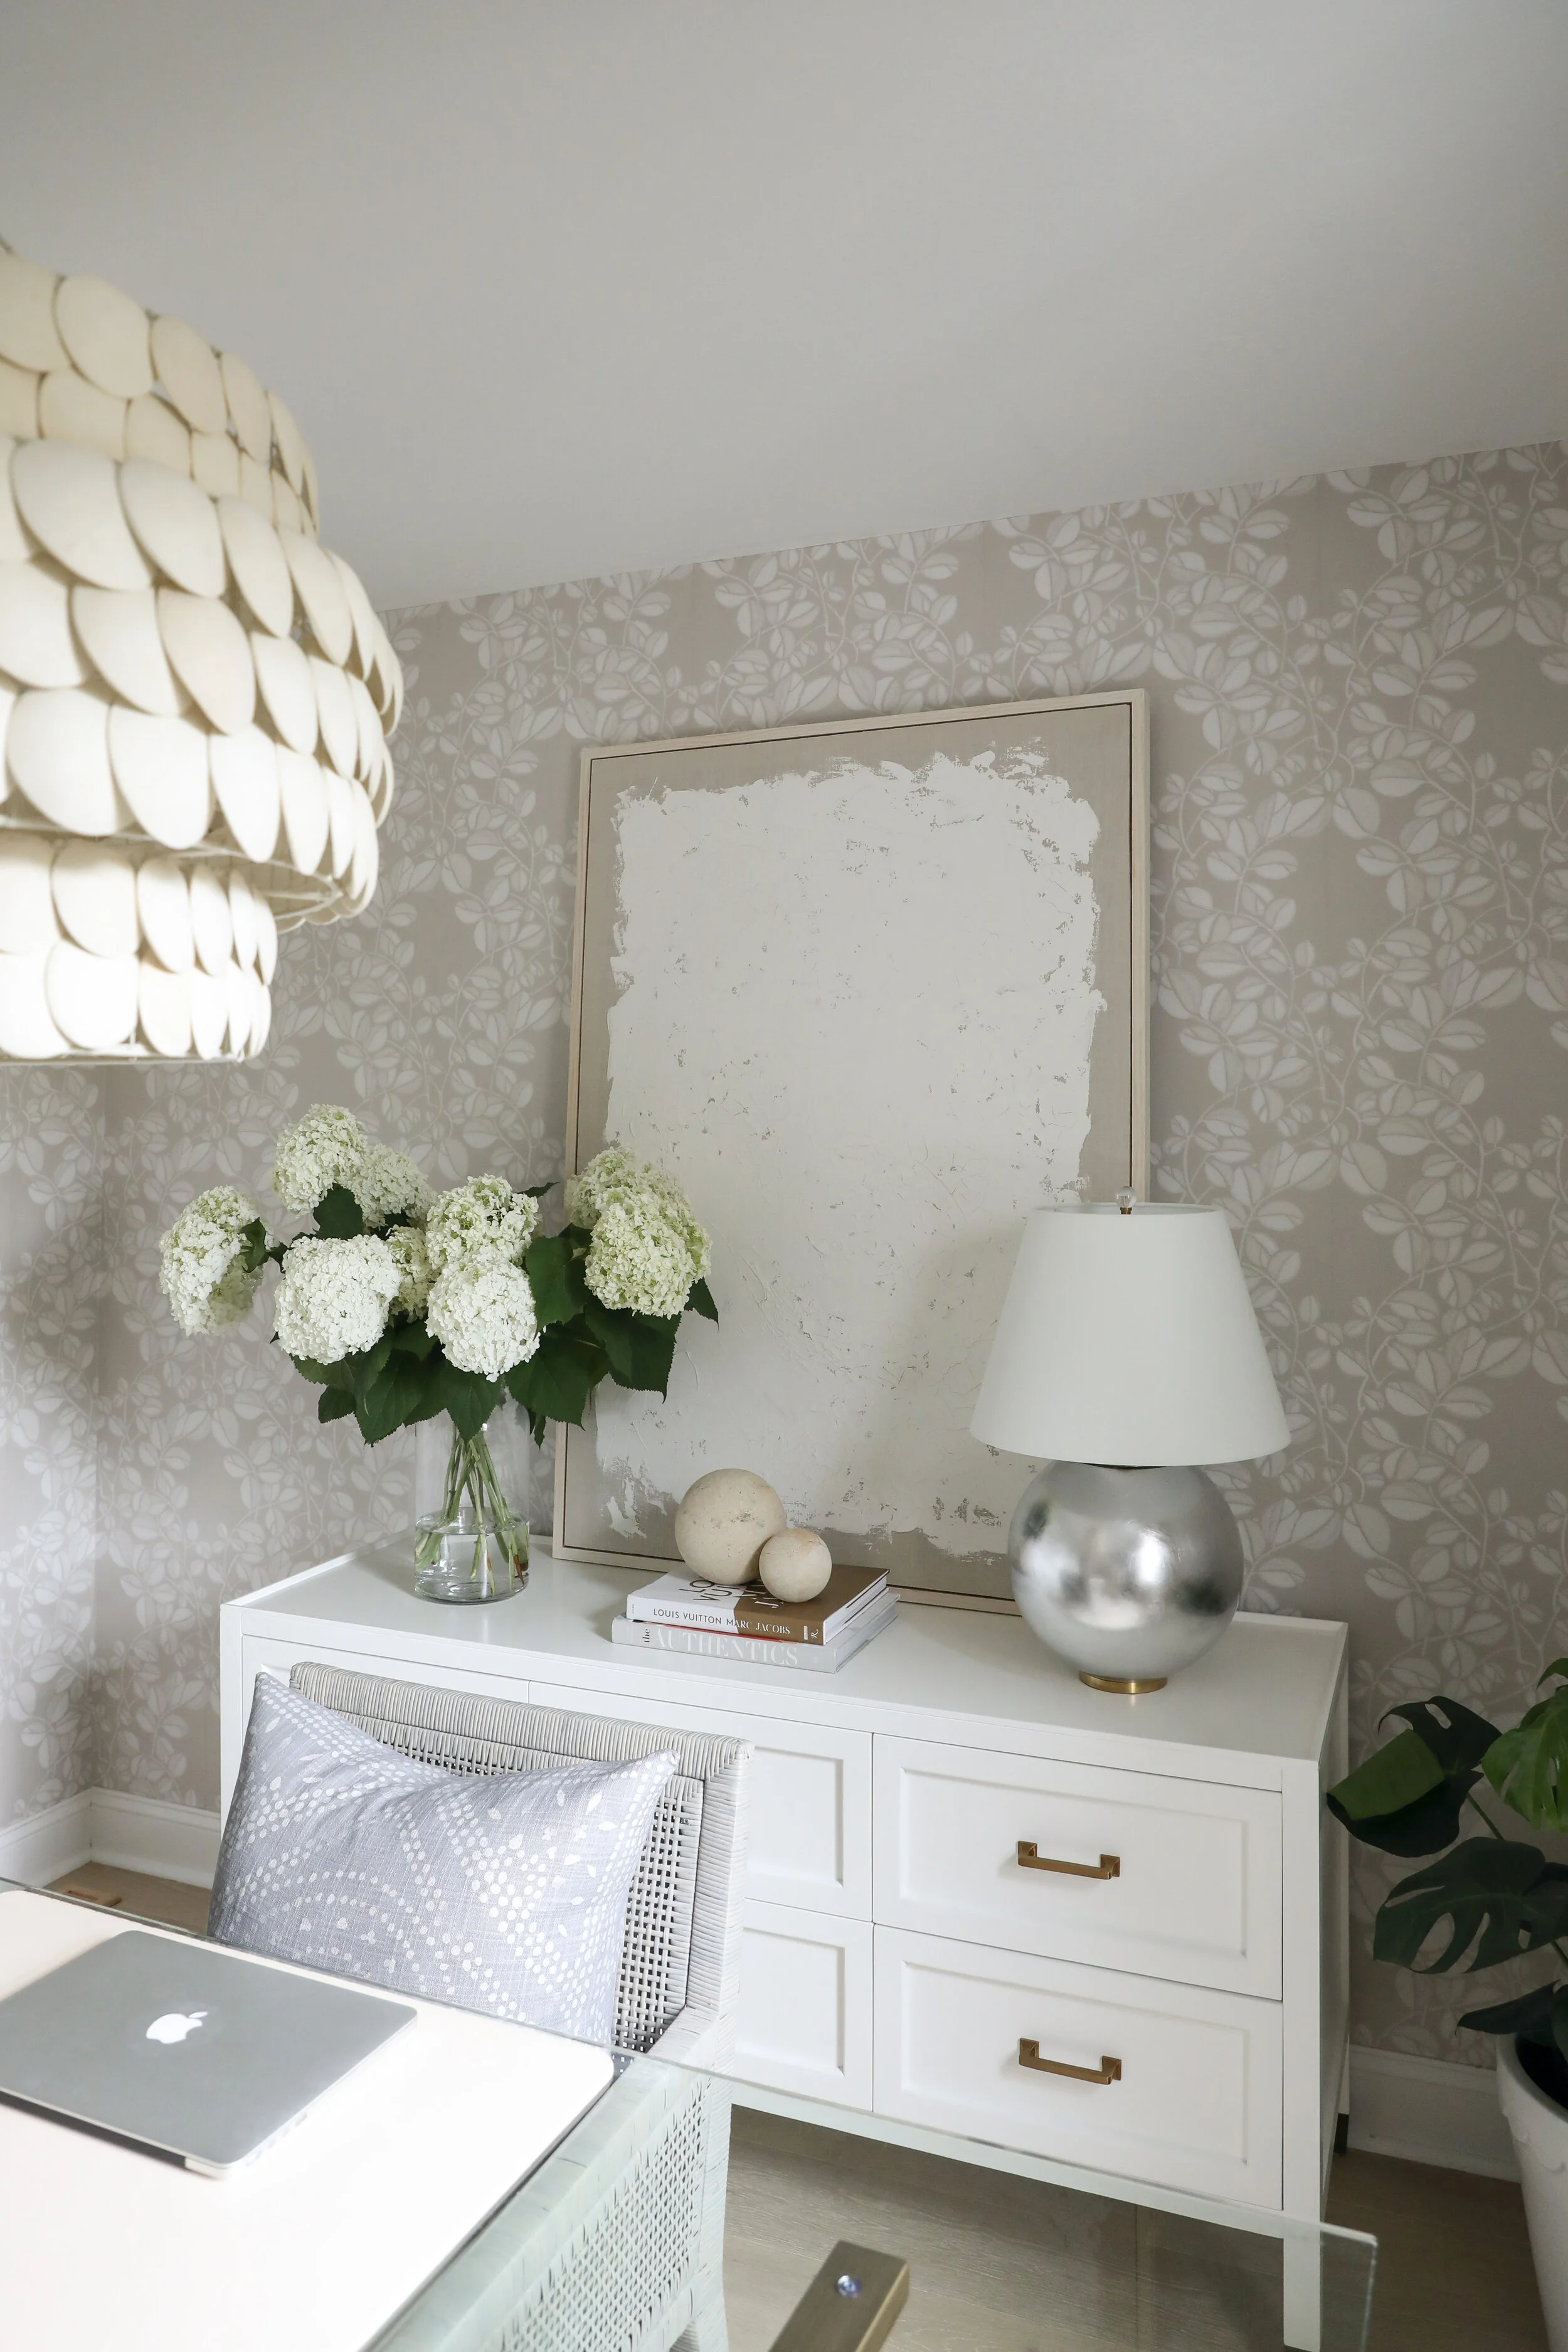
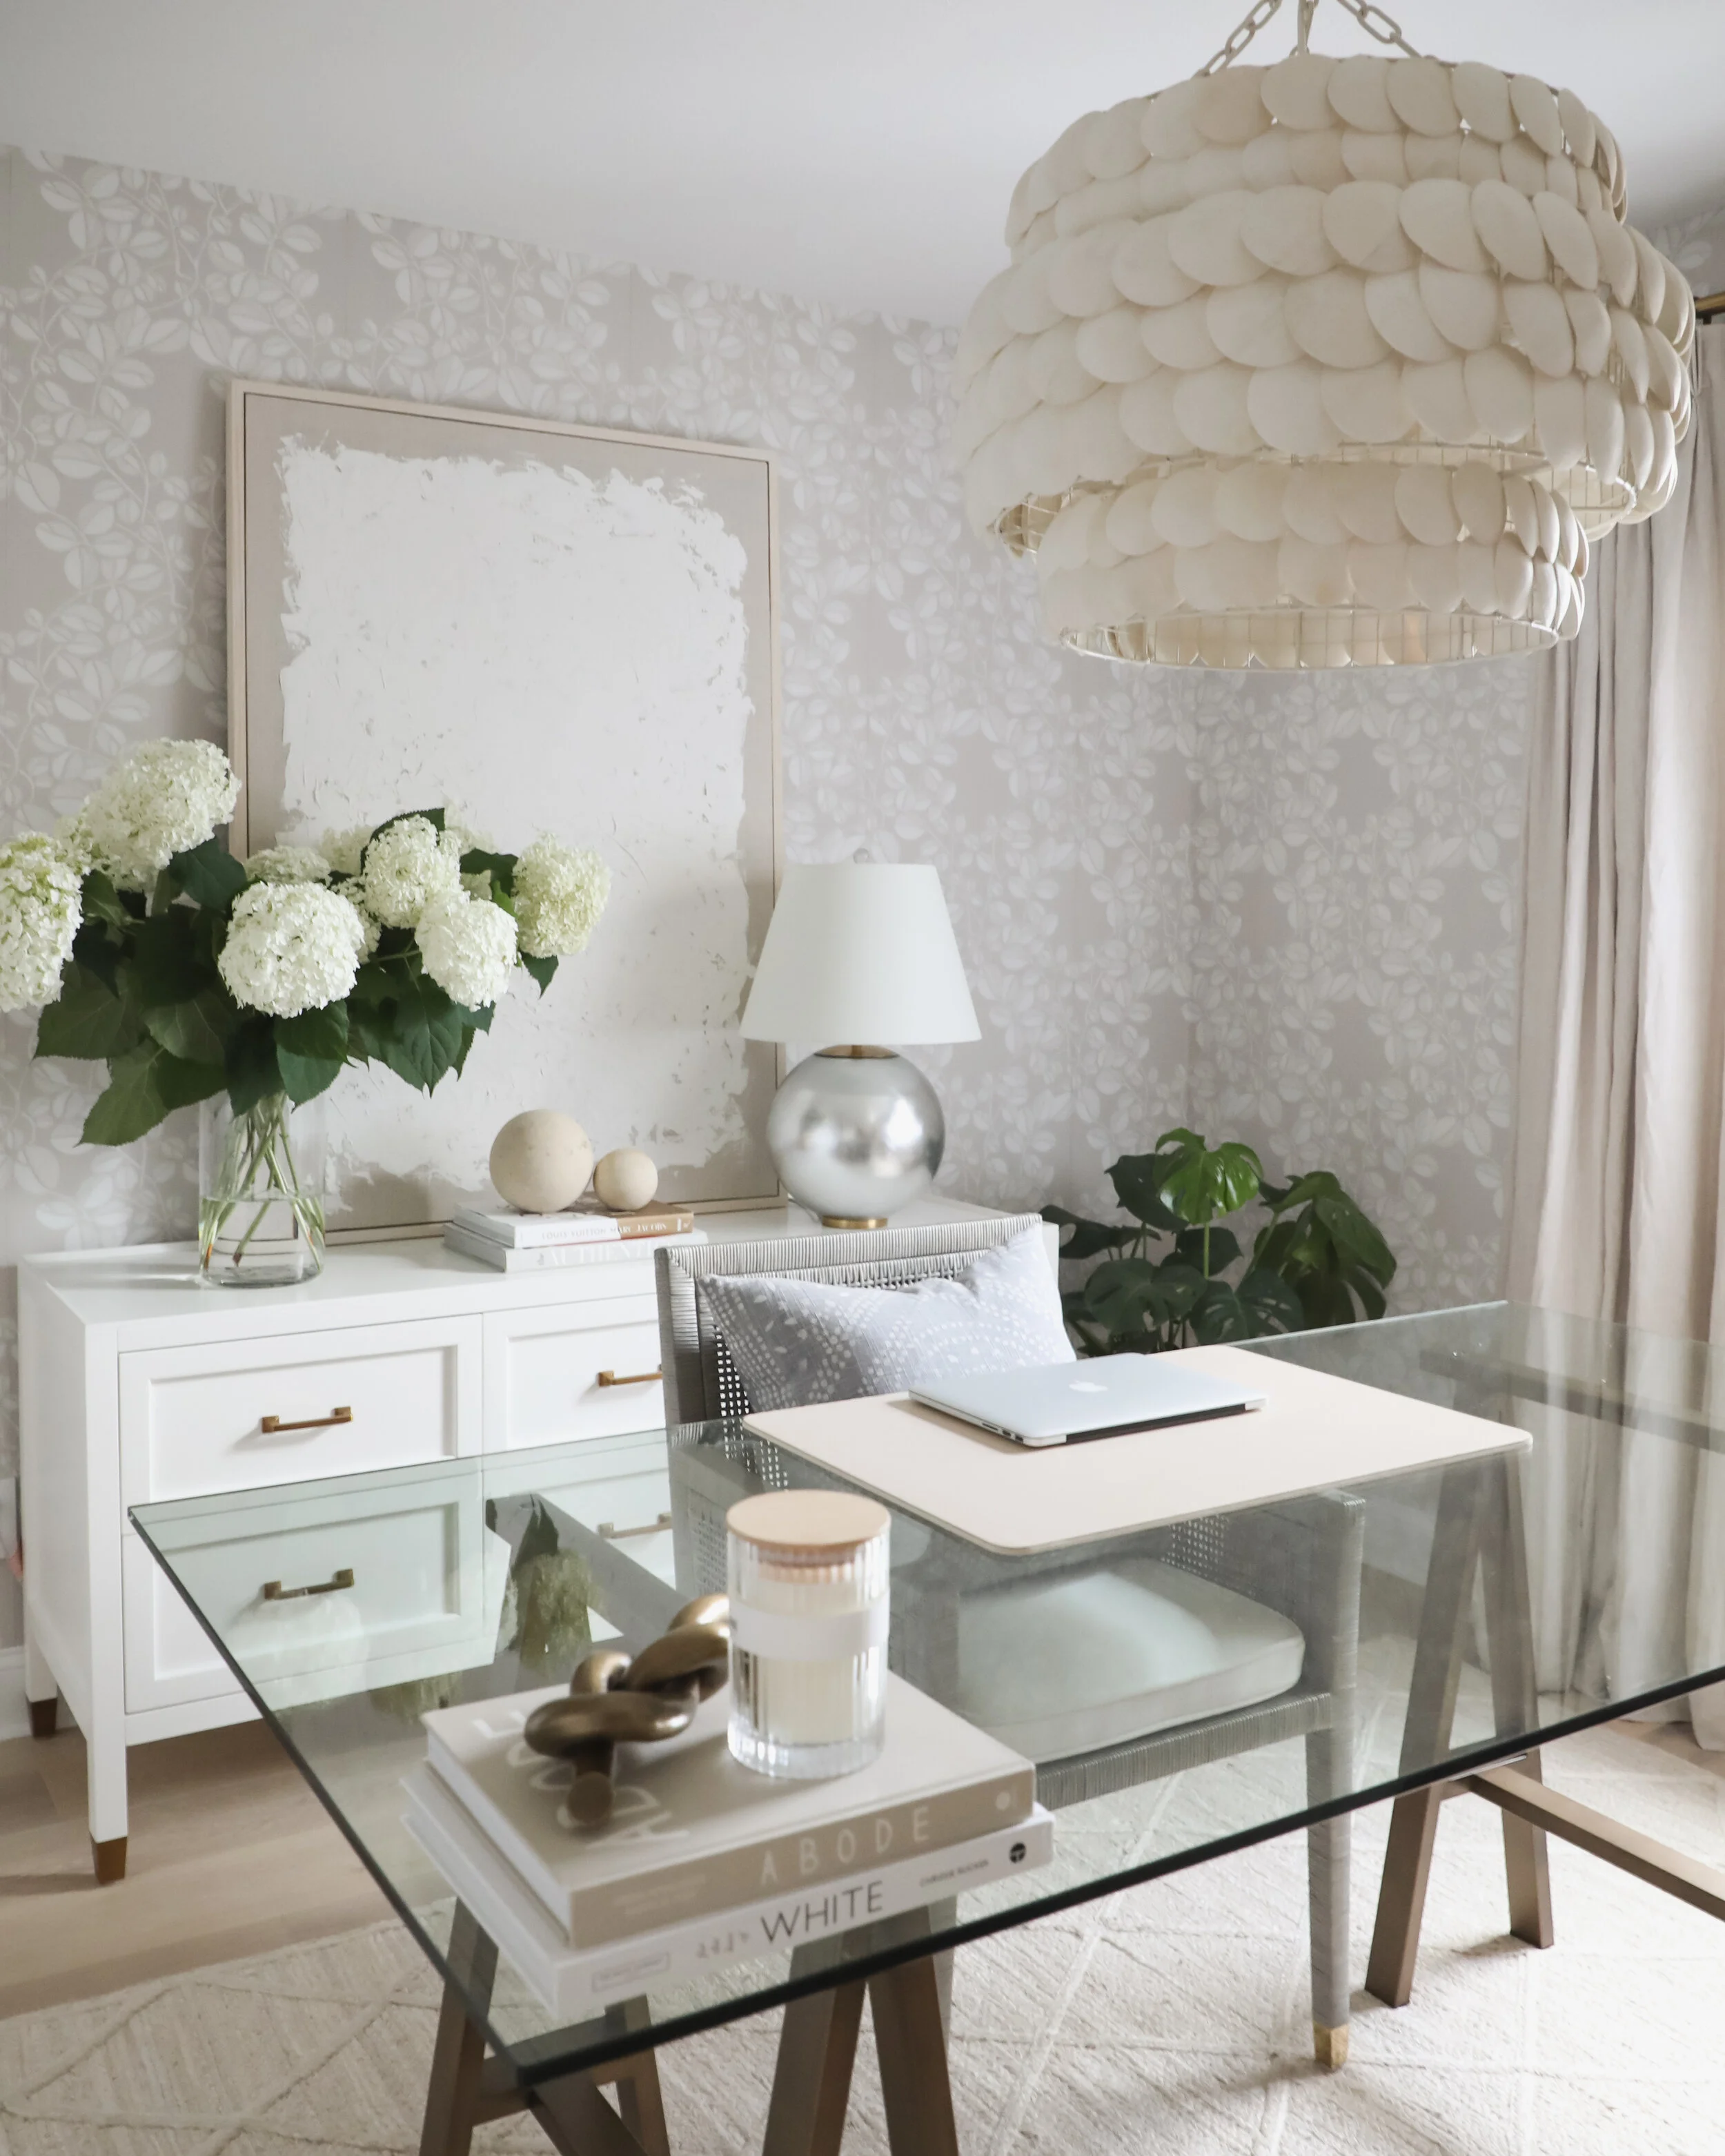
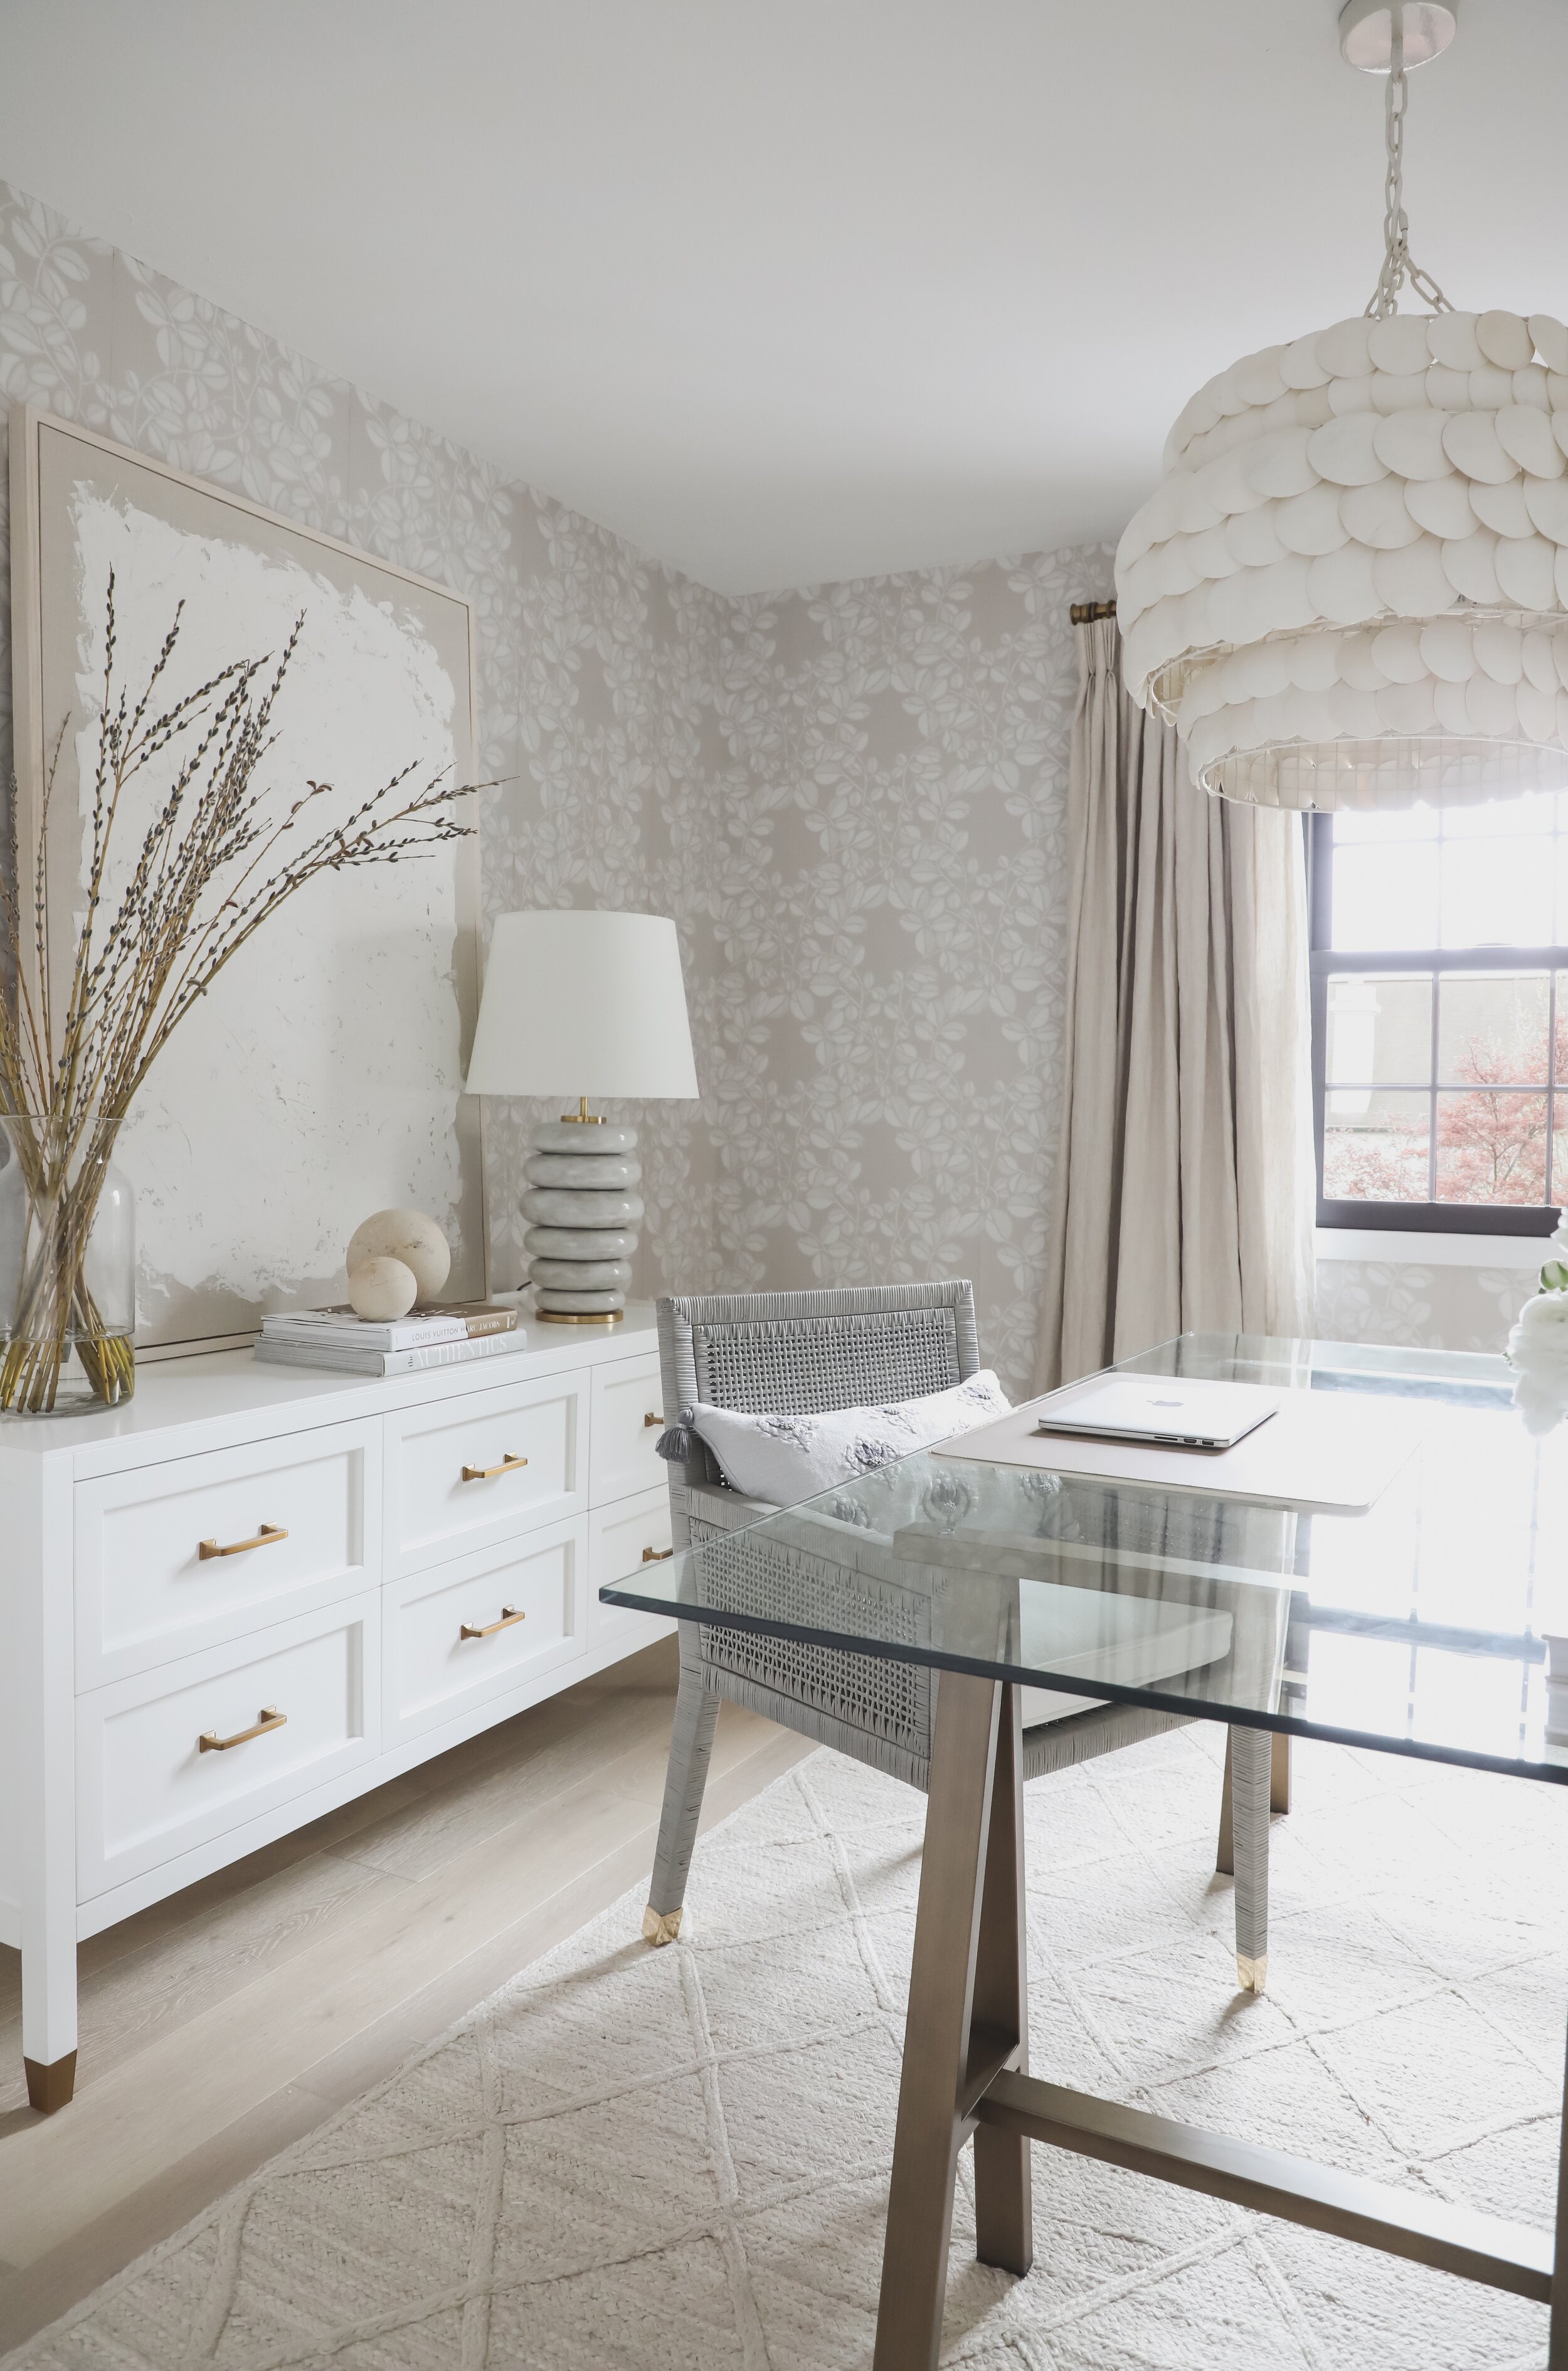
With my growing e-design business and overflowing sample library I was outgrowing the small office space that we have downstairs and was stashing samples in various drawers and cabinets all throughout the first floor. In my new office design I incorporated the Pierson Dresser to hold all of my samples! I’ve had my eye on this piece for quite some time, and it’s the perfect addition to this space.

image 9.JPG

I love the versatility of the Pierson Dresser—it’s a lower height, so it could work nicely in an entryway, dining room, and of course a bedroom! The brass feet and longer legs give it a more elevated feel, along with the tray detail on the top. I love that it’s right behind my desk so I can reach everything without having to get up from my chair!

IMG_4337 2.JPG

This view from my desk is my favorite. It’s the only room in our house where you can sit and admire the Capiz Honeycomb Chandelier in our hallway. I love seeing it in the same line of sight as the Pescadero Tiered Chandelier that hangs above my desk. The Pescadero chandelier is made of coconut shells, and gives the space such a soft and organic feel.

The Valley Wallpaper was really the game changer in this space. I originally had planned to just do an accent wall on the dresser wall with it, but Serena and Lily generously offered to provide enough to do the entire room. I thought about the view I’d have sitting at my desk looking at the wallpaper and my two all time favorite chandeliers, and I couldn’t say no to that! I’m so glad we did the entire room, and honestly can’t imagine the room without it now! It has the most beautiful hand stamped texture and gives the room a subtle pattern and tonal feel.

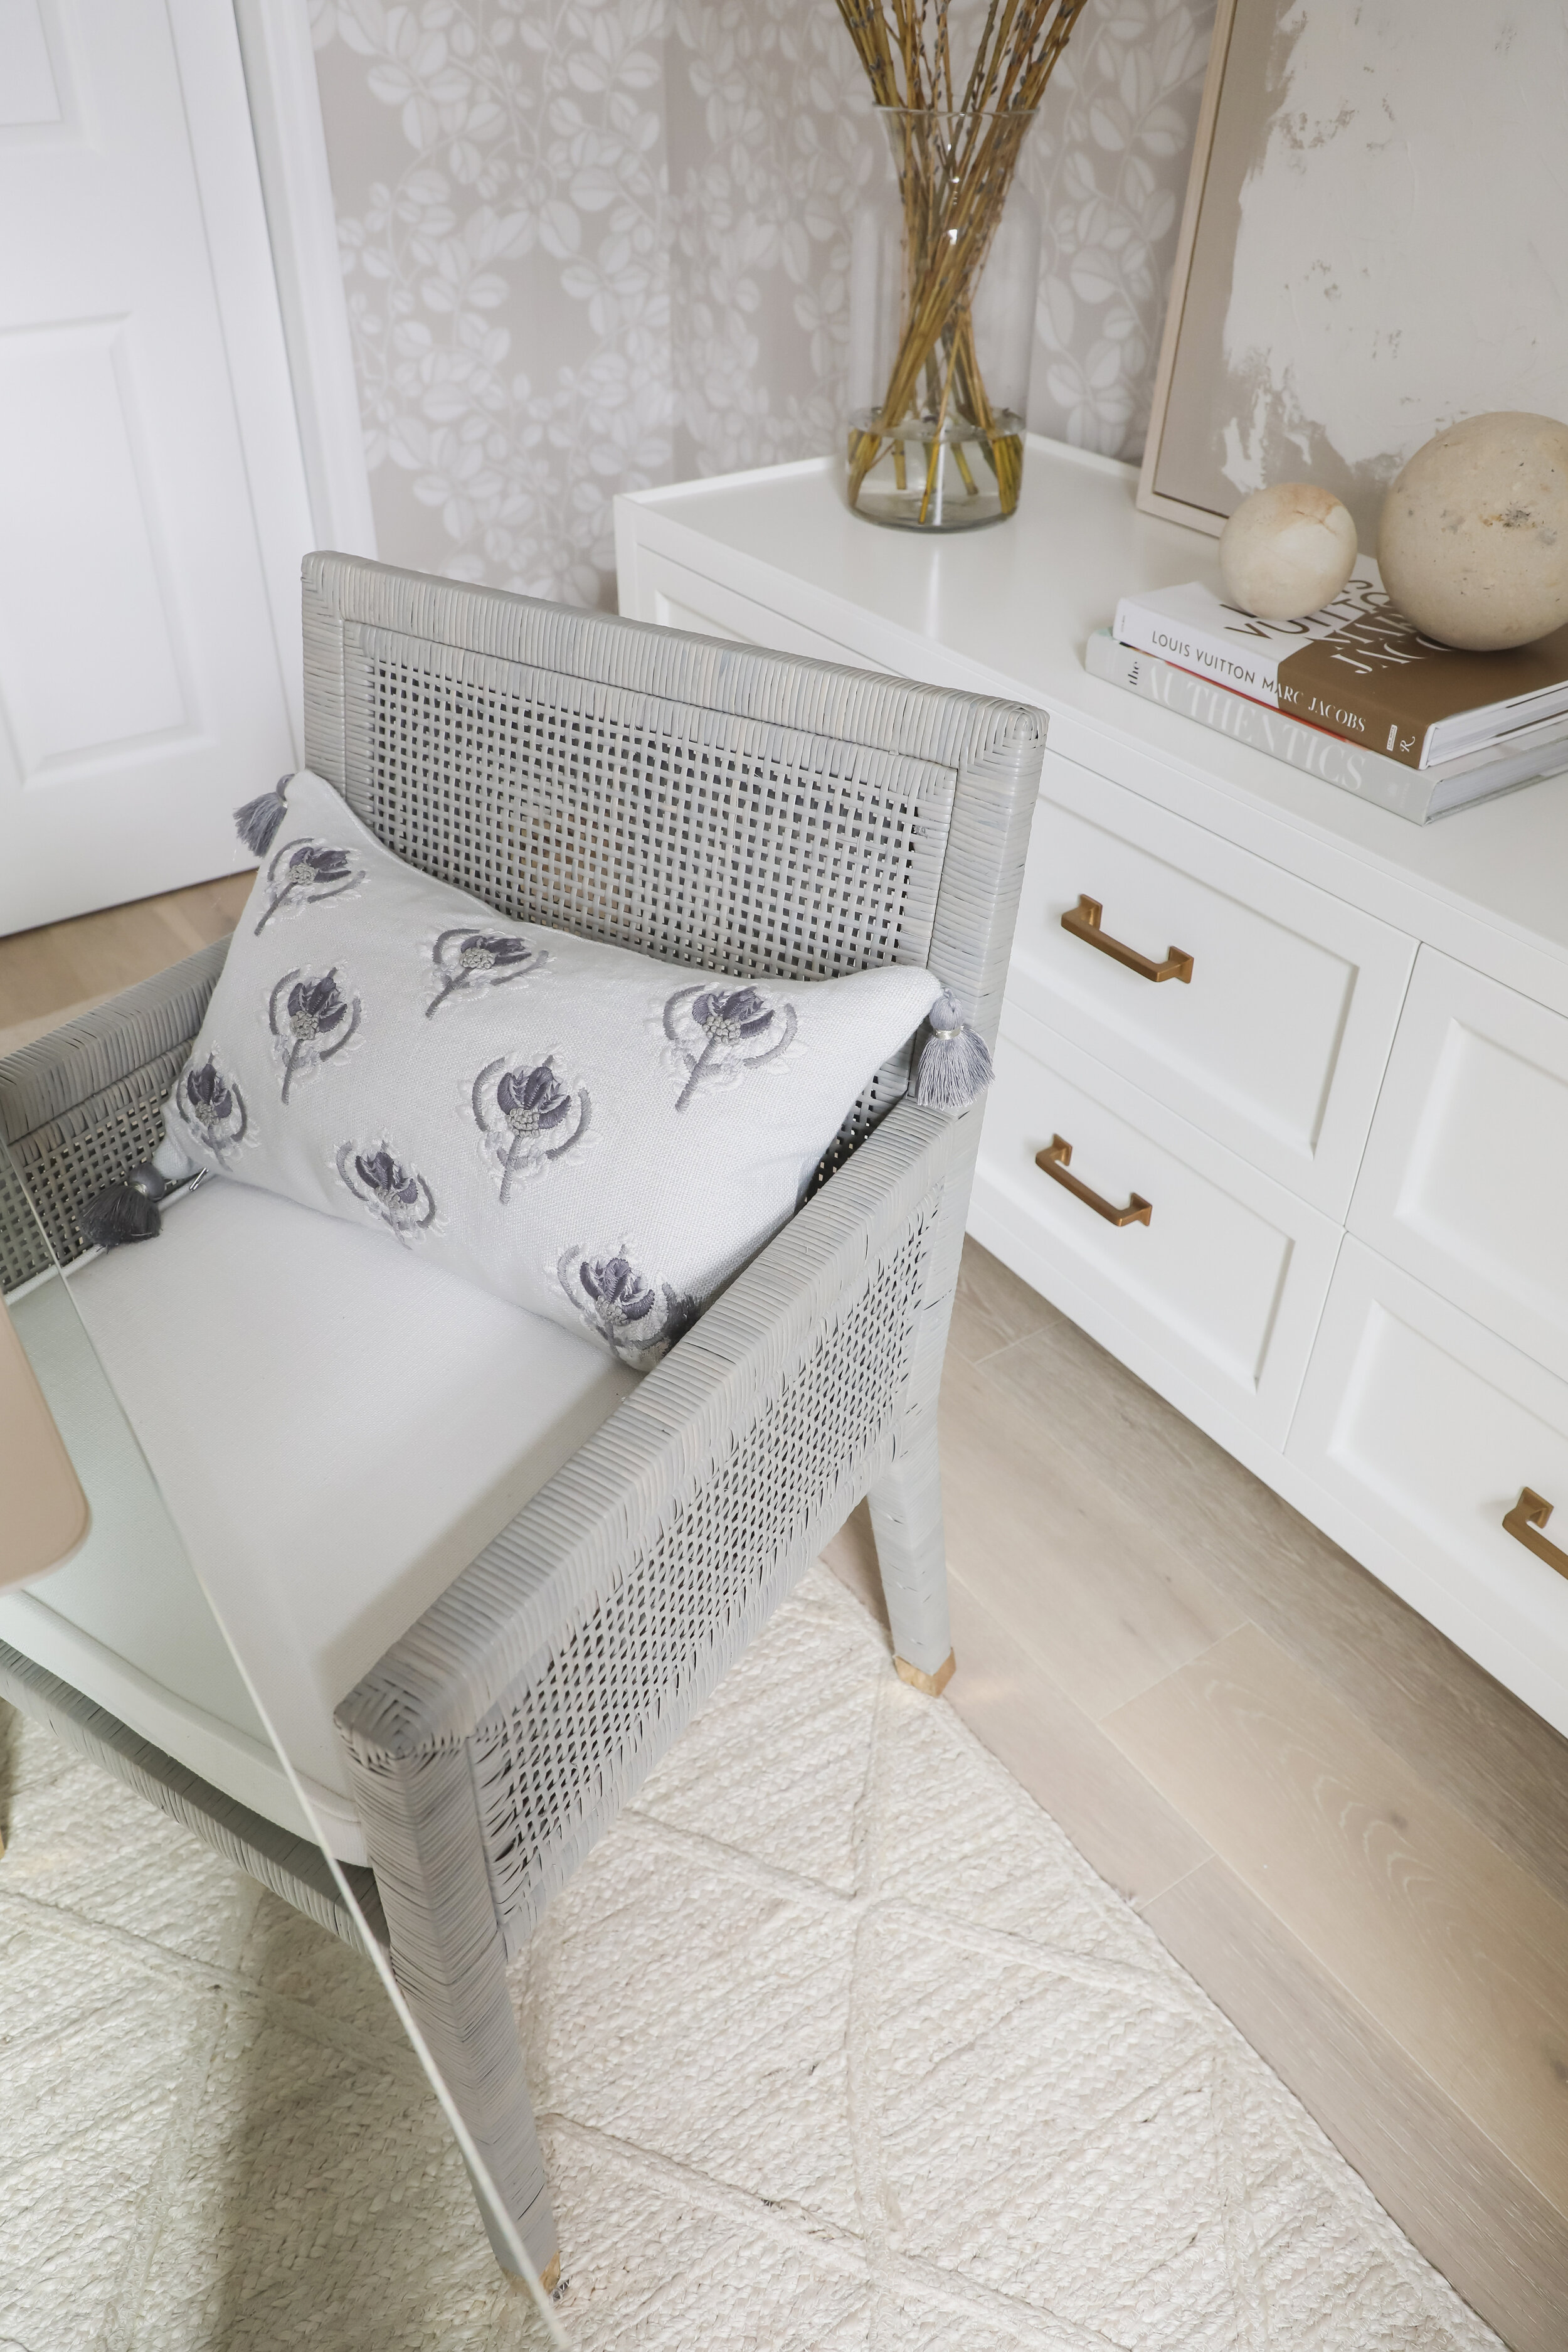
I chose the Balboa Armchair in Mist for my desk chair. I have the Perennials Basketweave seat cushion in white so I won’t have to worry about any stains or spills since it’s a performance fabric! I love the warm gray tones in the armchair, and think the woven style adds a nice amount of depth and warmth to my office! With the addition of a small lumbar pillow, the chair is very comfortable for me to sit in for 8+ hours a day!

To pull the space together I added the Diamond Jute Rug. I wanted to bring in some more warmth and texture, but not compete with the pattern in the wallpaper. I love the light bleached look of this rug, and the hand-braided detail.

477331FC-A57D-4E13-B05D-1721FCAE5C3F 2.JPEG

I added a small seating area in the corner of the room and styled it with my Flynn Floor Lamp, and added some tonal texture with the Bowden Pillow Cover and Milo Alpaca Throw.

I spend the majority of my time awake in my office, and I’m so grateful to have a space that’s my own and has everything I need to get my work done efficiently! It was very important to me that this space made me feel inspired, and was a place I woke up and was excited to spend time in. I can safely say this space is just that, and I’m very thankful to have been able to partner with Serena and Lily, as their pieces truly made this space more than I could have dreamed it could be! I hope that this inspires to you explore their collection to create a space in your home that you are excited to spend time in!

FA3E0581-8FAC-4C13-84F8-A2F6B509C85C 2.JPEG

*This blog post is sponsored by Serena and Lily, a brand I love. All opinions are my own.