H&M Home + Fashion Finds


Our staircase remodel is probably one of the most asked about renovations that we’ve completed in our home, so today I thought I’d share some details about this renovation along with all of the sources we used. Overall, this was one of the more expensive renovations we’ve done in our home, mainly due to the cost of the supplies that are required for this type of project. But another big factor is that we hired a contractor to do most of the renovation, since some of the materials used are custom made and expensive, and the cost of mistakes made would be high.
Here are a few before images of the space.
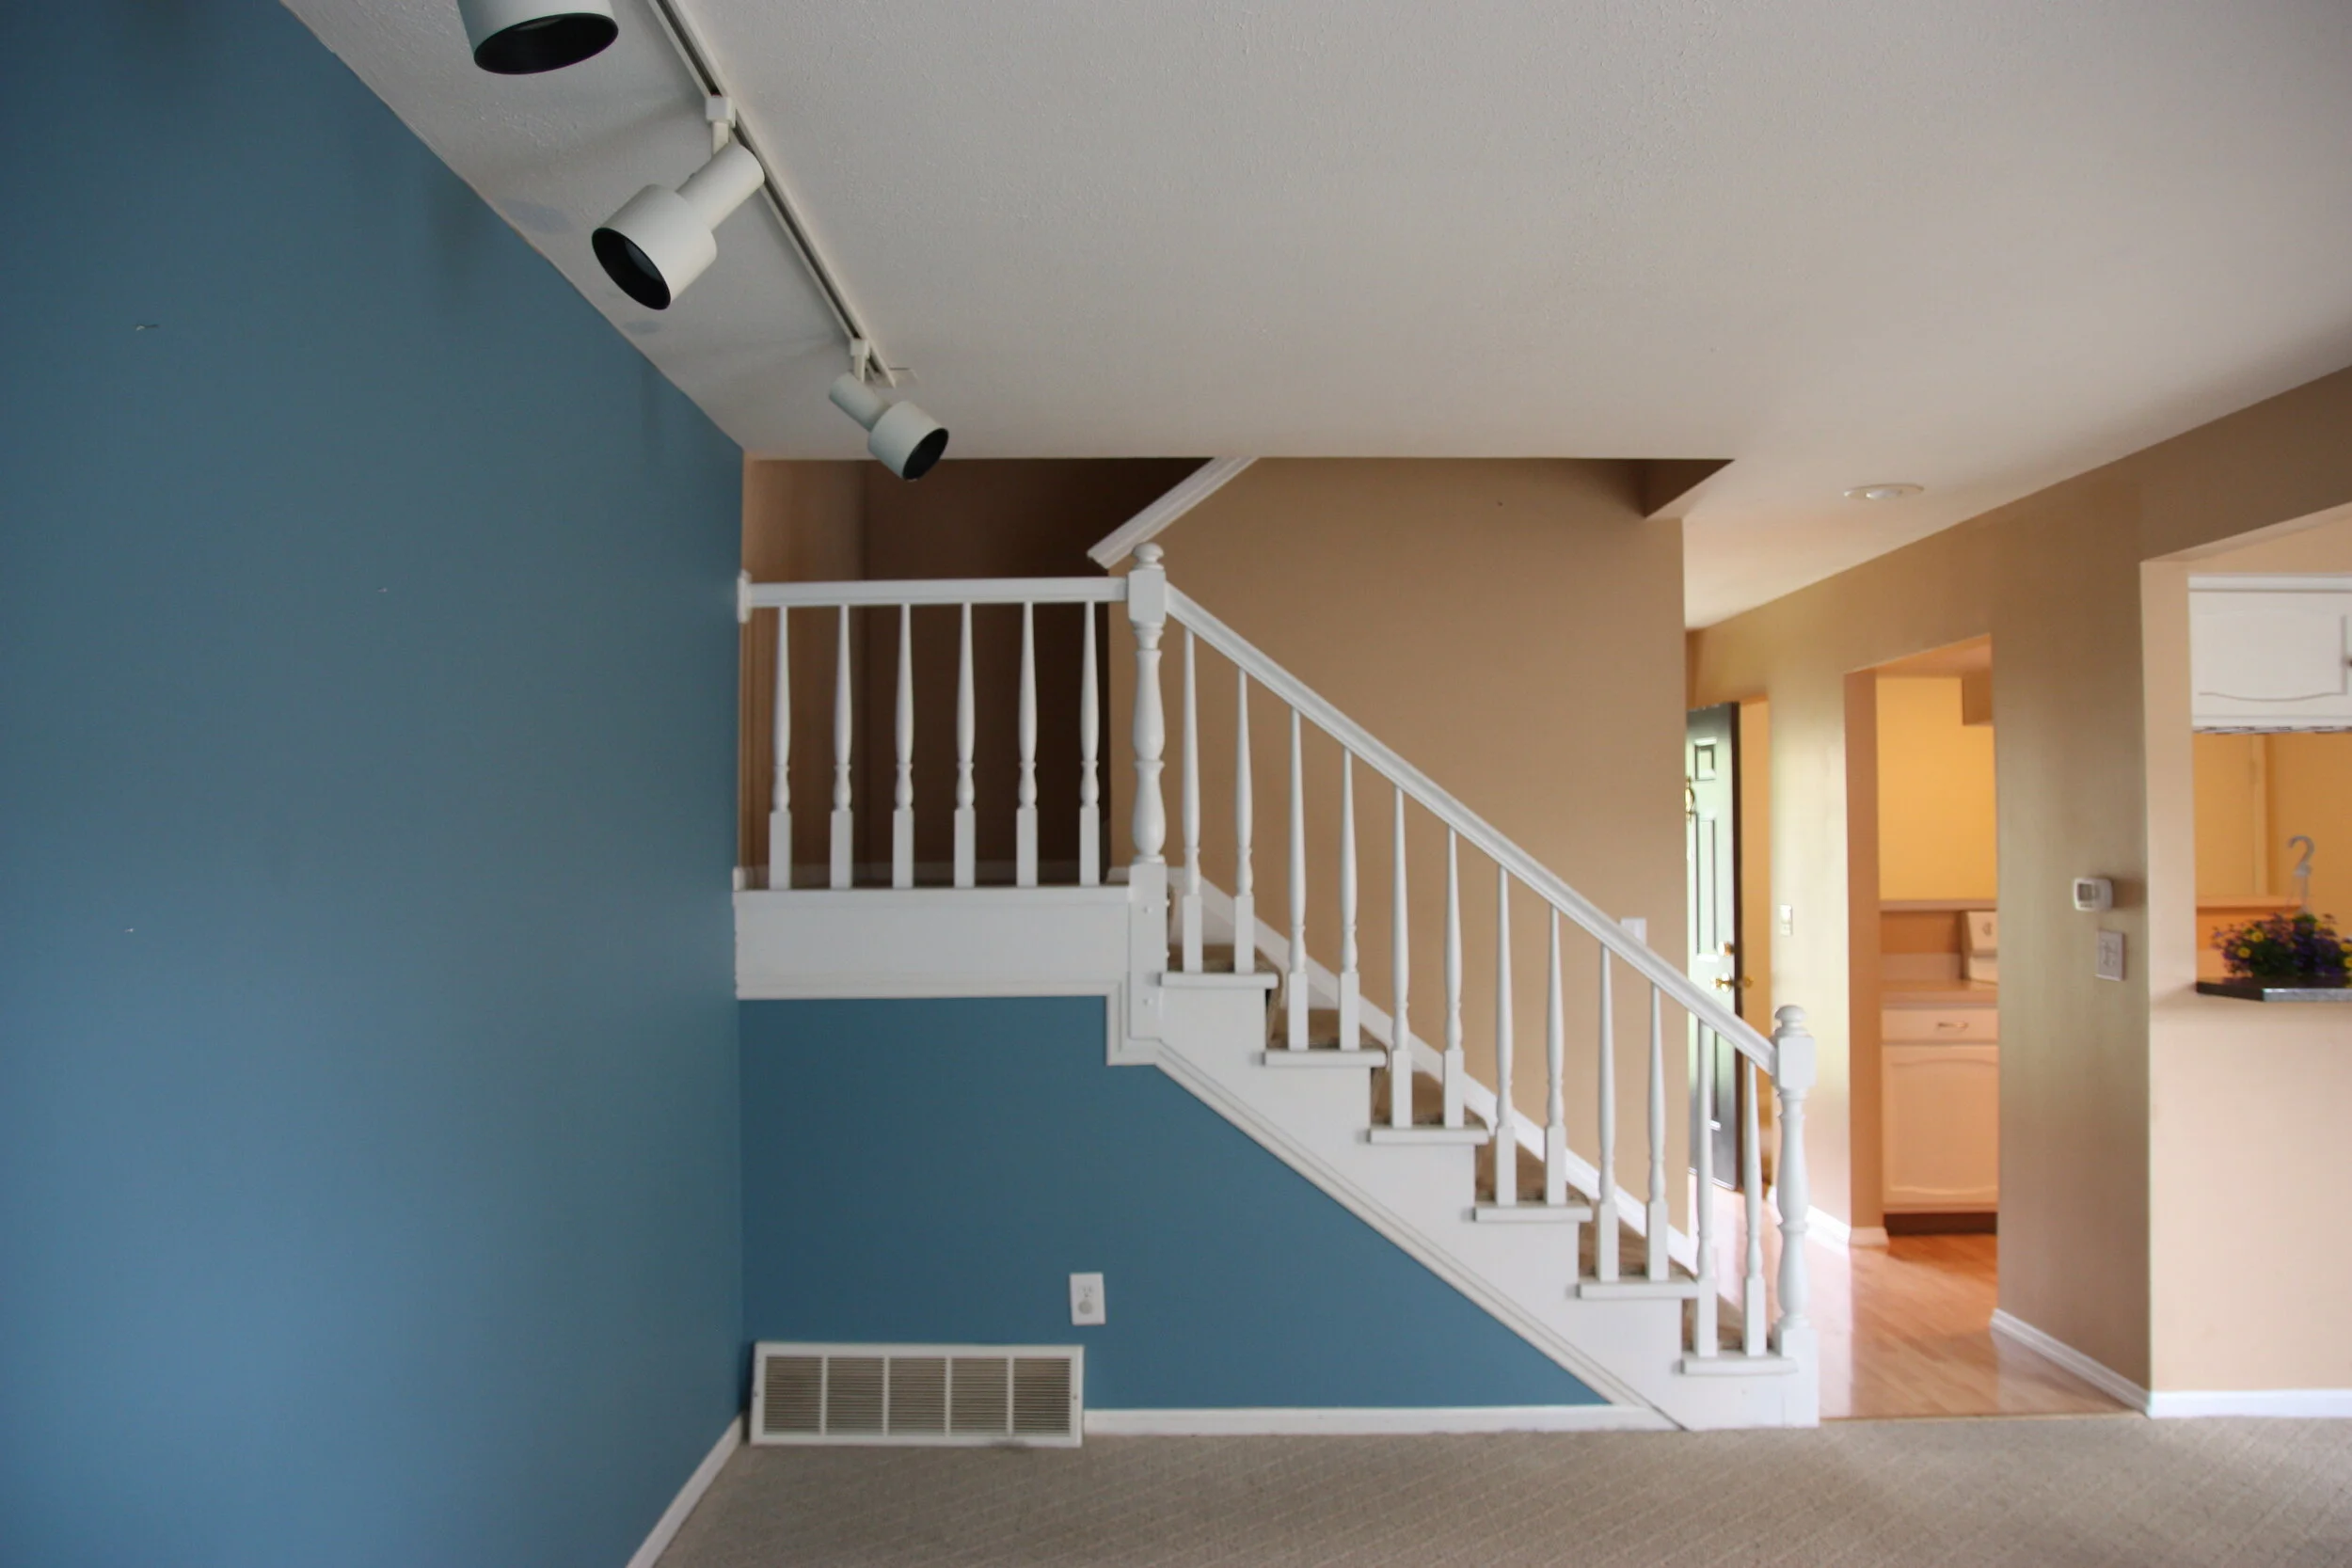


As you can see, we only had railings on the first half of the staircase, and the second half was just drywall. This made the space very dark and the half wall wasn’t doing justice to the layout of the stairs. I knew this could be a wonderful focal point since it’s in the center of our home, so I felt that the investment in the renovation would really make an impact and would be more in line with the rest of the renovations we had planned.
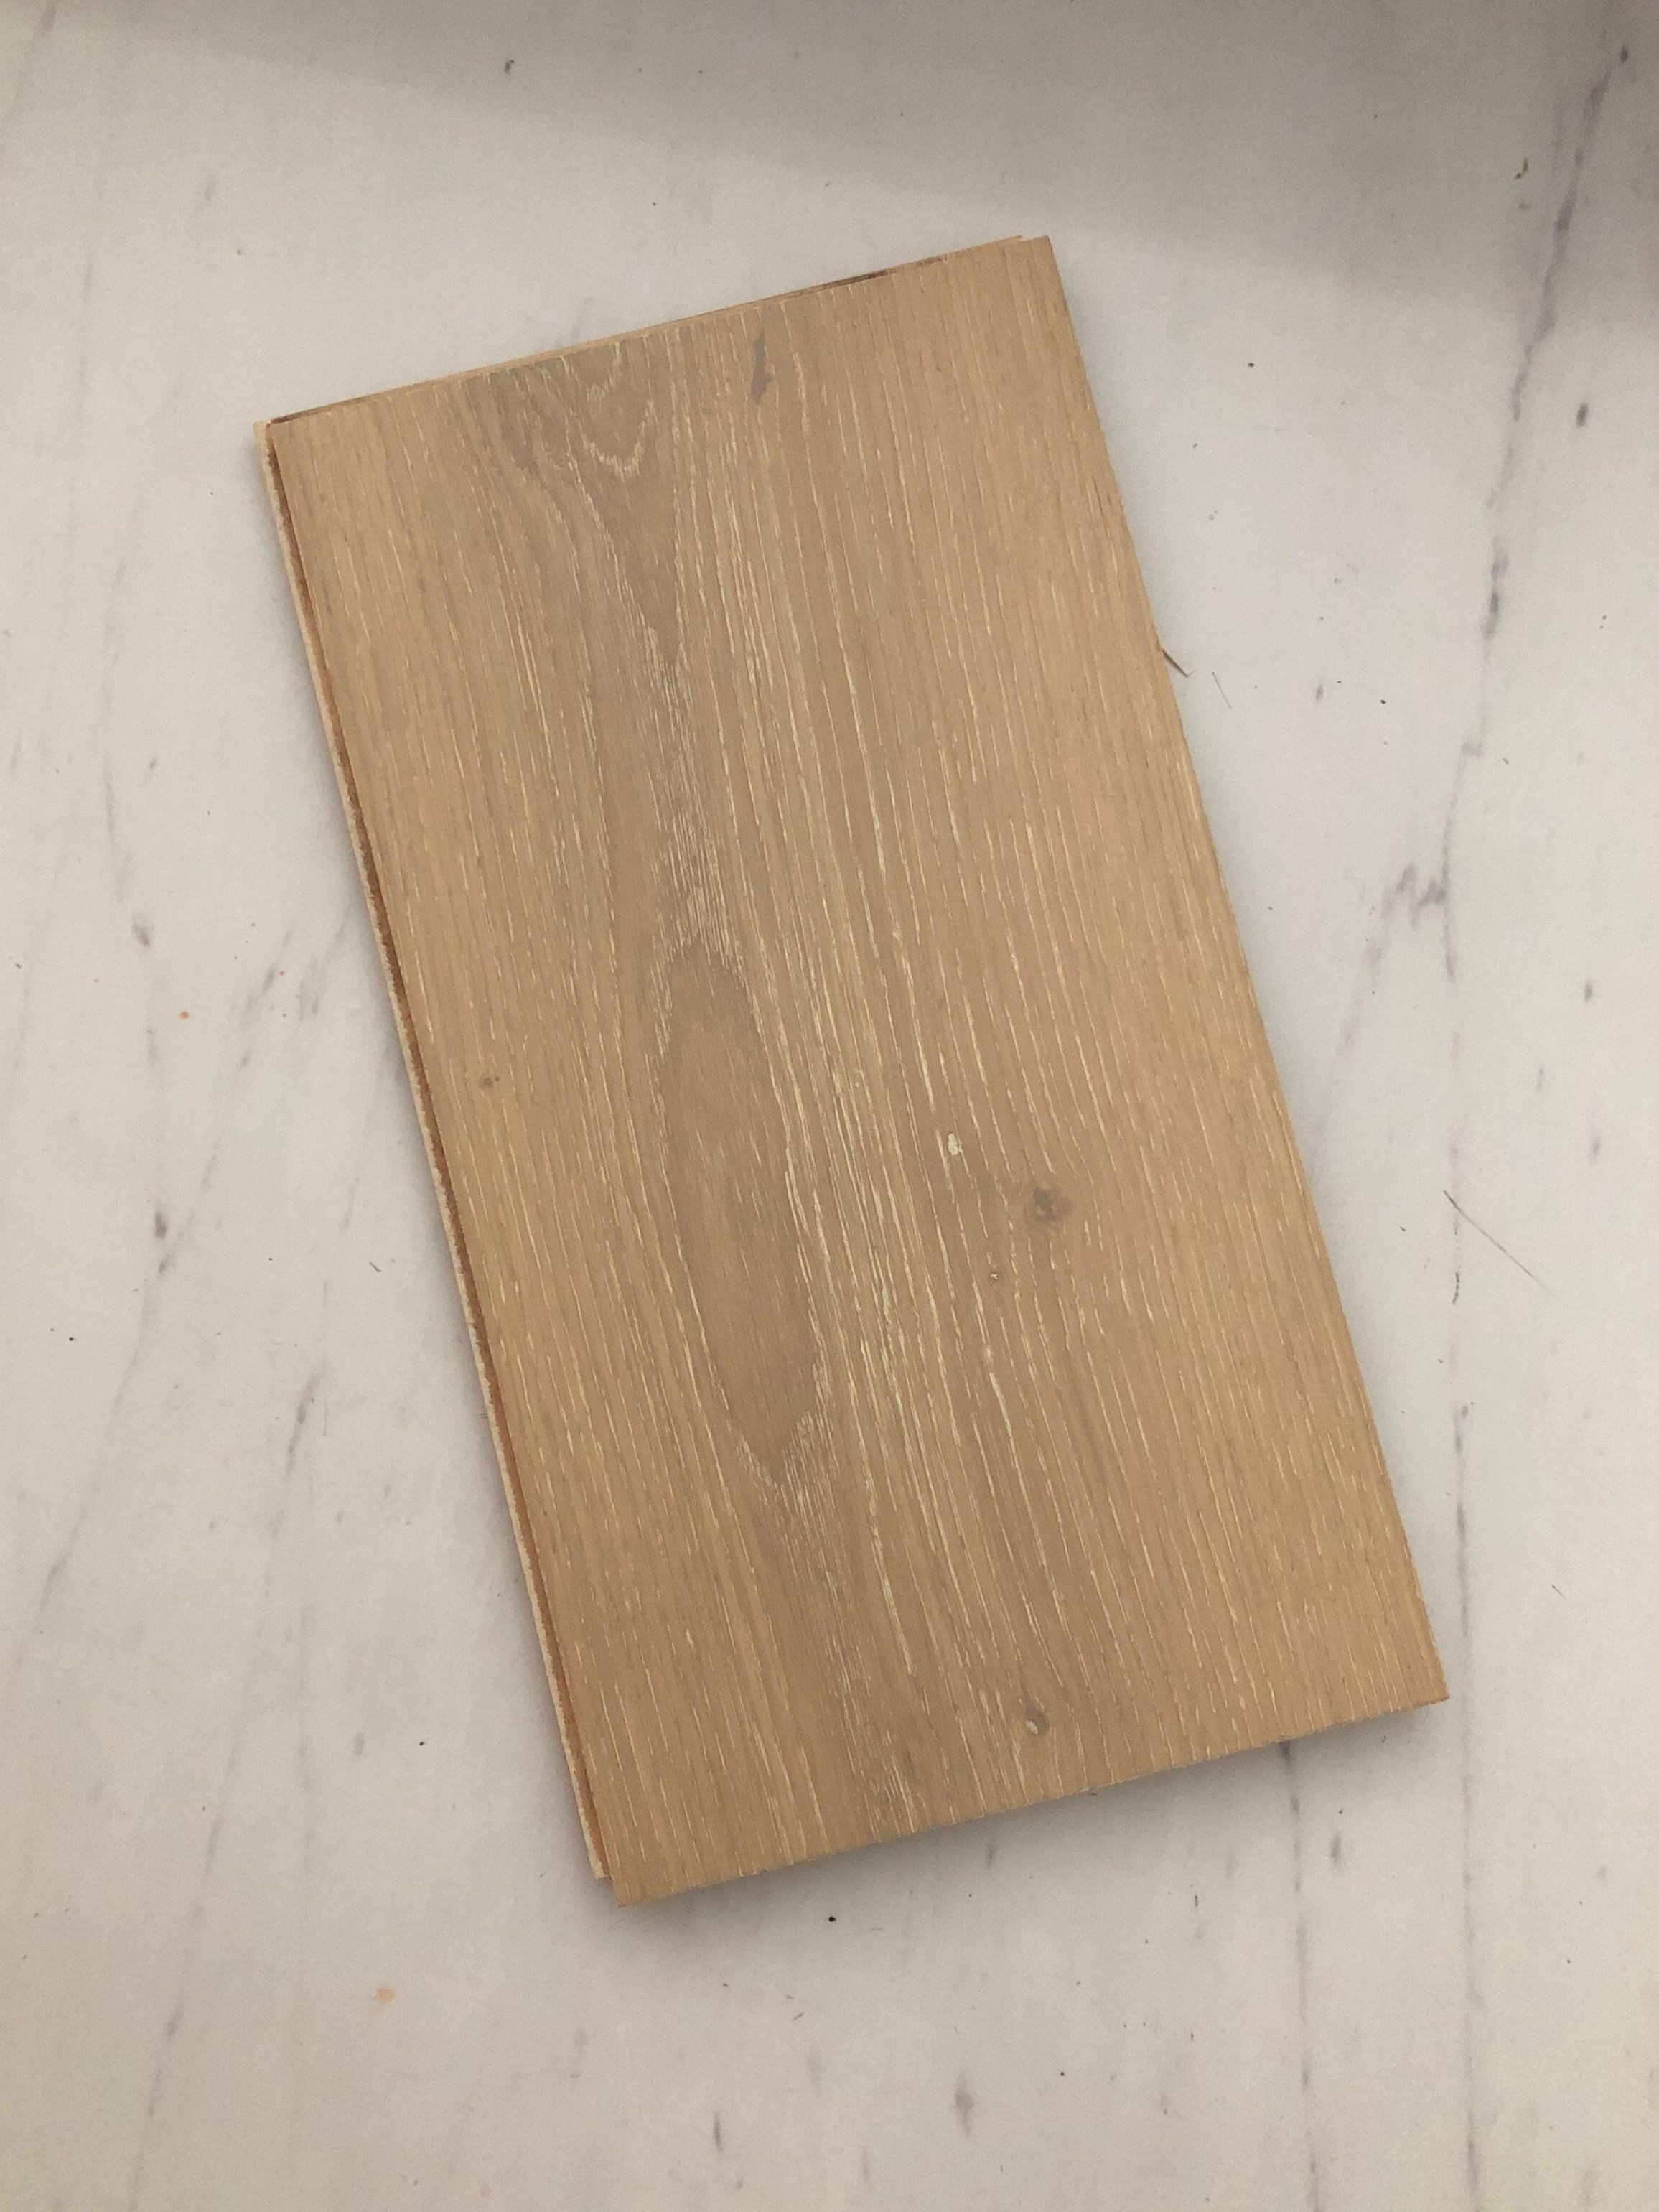
We had our contractor take out the half wall, and we carried our flooring, Johnson Hardwood British Isles Series in Essex, all the way up the treads. We purchased our flooring from our local Pro Source, and they were able to order custom coordinating stair noses from a third party they worked with. These were one of the materials that were very expensive, so we didn’t want to risk making any wrong cuts and having to waste material. Our carpenter took off all of the original stair treads and cut the old noses off, and then reinstalled with liquid nails and brads to keep them from squeaking. Then he added the new stair nose and our wood flooring on top. He used poplar to cover the areas where they took the half wall down.

Since I knew some of the materials would be costly for this project, I tried to source affordable balusters, hand rails, and newel posts. I will link what I chose below. Everything was very affordable, but again if we ended up making any wrong cut these could add up and be costly.


We opted to do the painting/staining ourselves to save a bit on the budget. I painted all the newel posts and risers white. For now I’ve left the poplar handrails unstained since they tie into our flooring pretty well in person, but I may be look into doing a slight gray wash now since the poplar has yellowed a bit over the last few years.
I hope this was helpful to anyone who is considering a staircase remodel! I think this could be a diy project for someone who has a lot of project experience, but if not it’s still definitely a project that is worth the investment! This staircase is one of my favorite renovation projects we’ve done to date, and makes a huge impact in our home.


Today on the blog I’m going to share the full tutorial for our new linen closet! I used an IKEA Pax unit for the base of the closet, and added some additional trim and hardware to the piece to make it completely built in and custom.

What you’ll need for the project:
IKEA pax unit and accessories in the appropriate size for your space
Basic Tools — tape measure, level, cordless drill
Skill Level: Intermediate
I started the project by clearing out the closet to make space for the pax unit. We have a small closet (about 24”w x 26” d x 8ft h) so I was hoping to be able to build the pax outside of the closet and slide it in. Unfortunately that didn’t work, but I was able to build the unit inside the closet—so if you have a small closet like mine, know that is it is difficult, but possible!
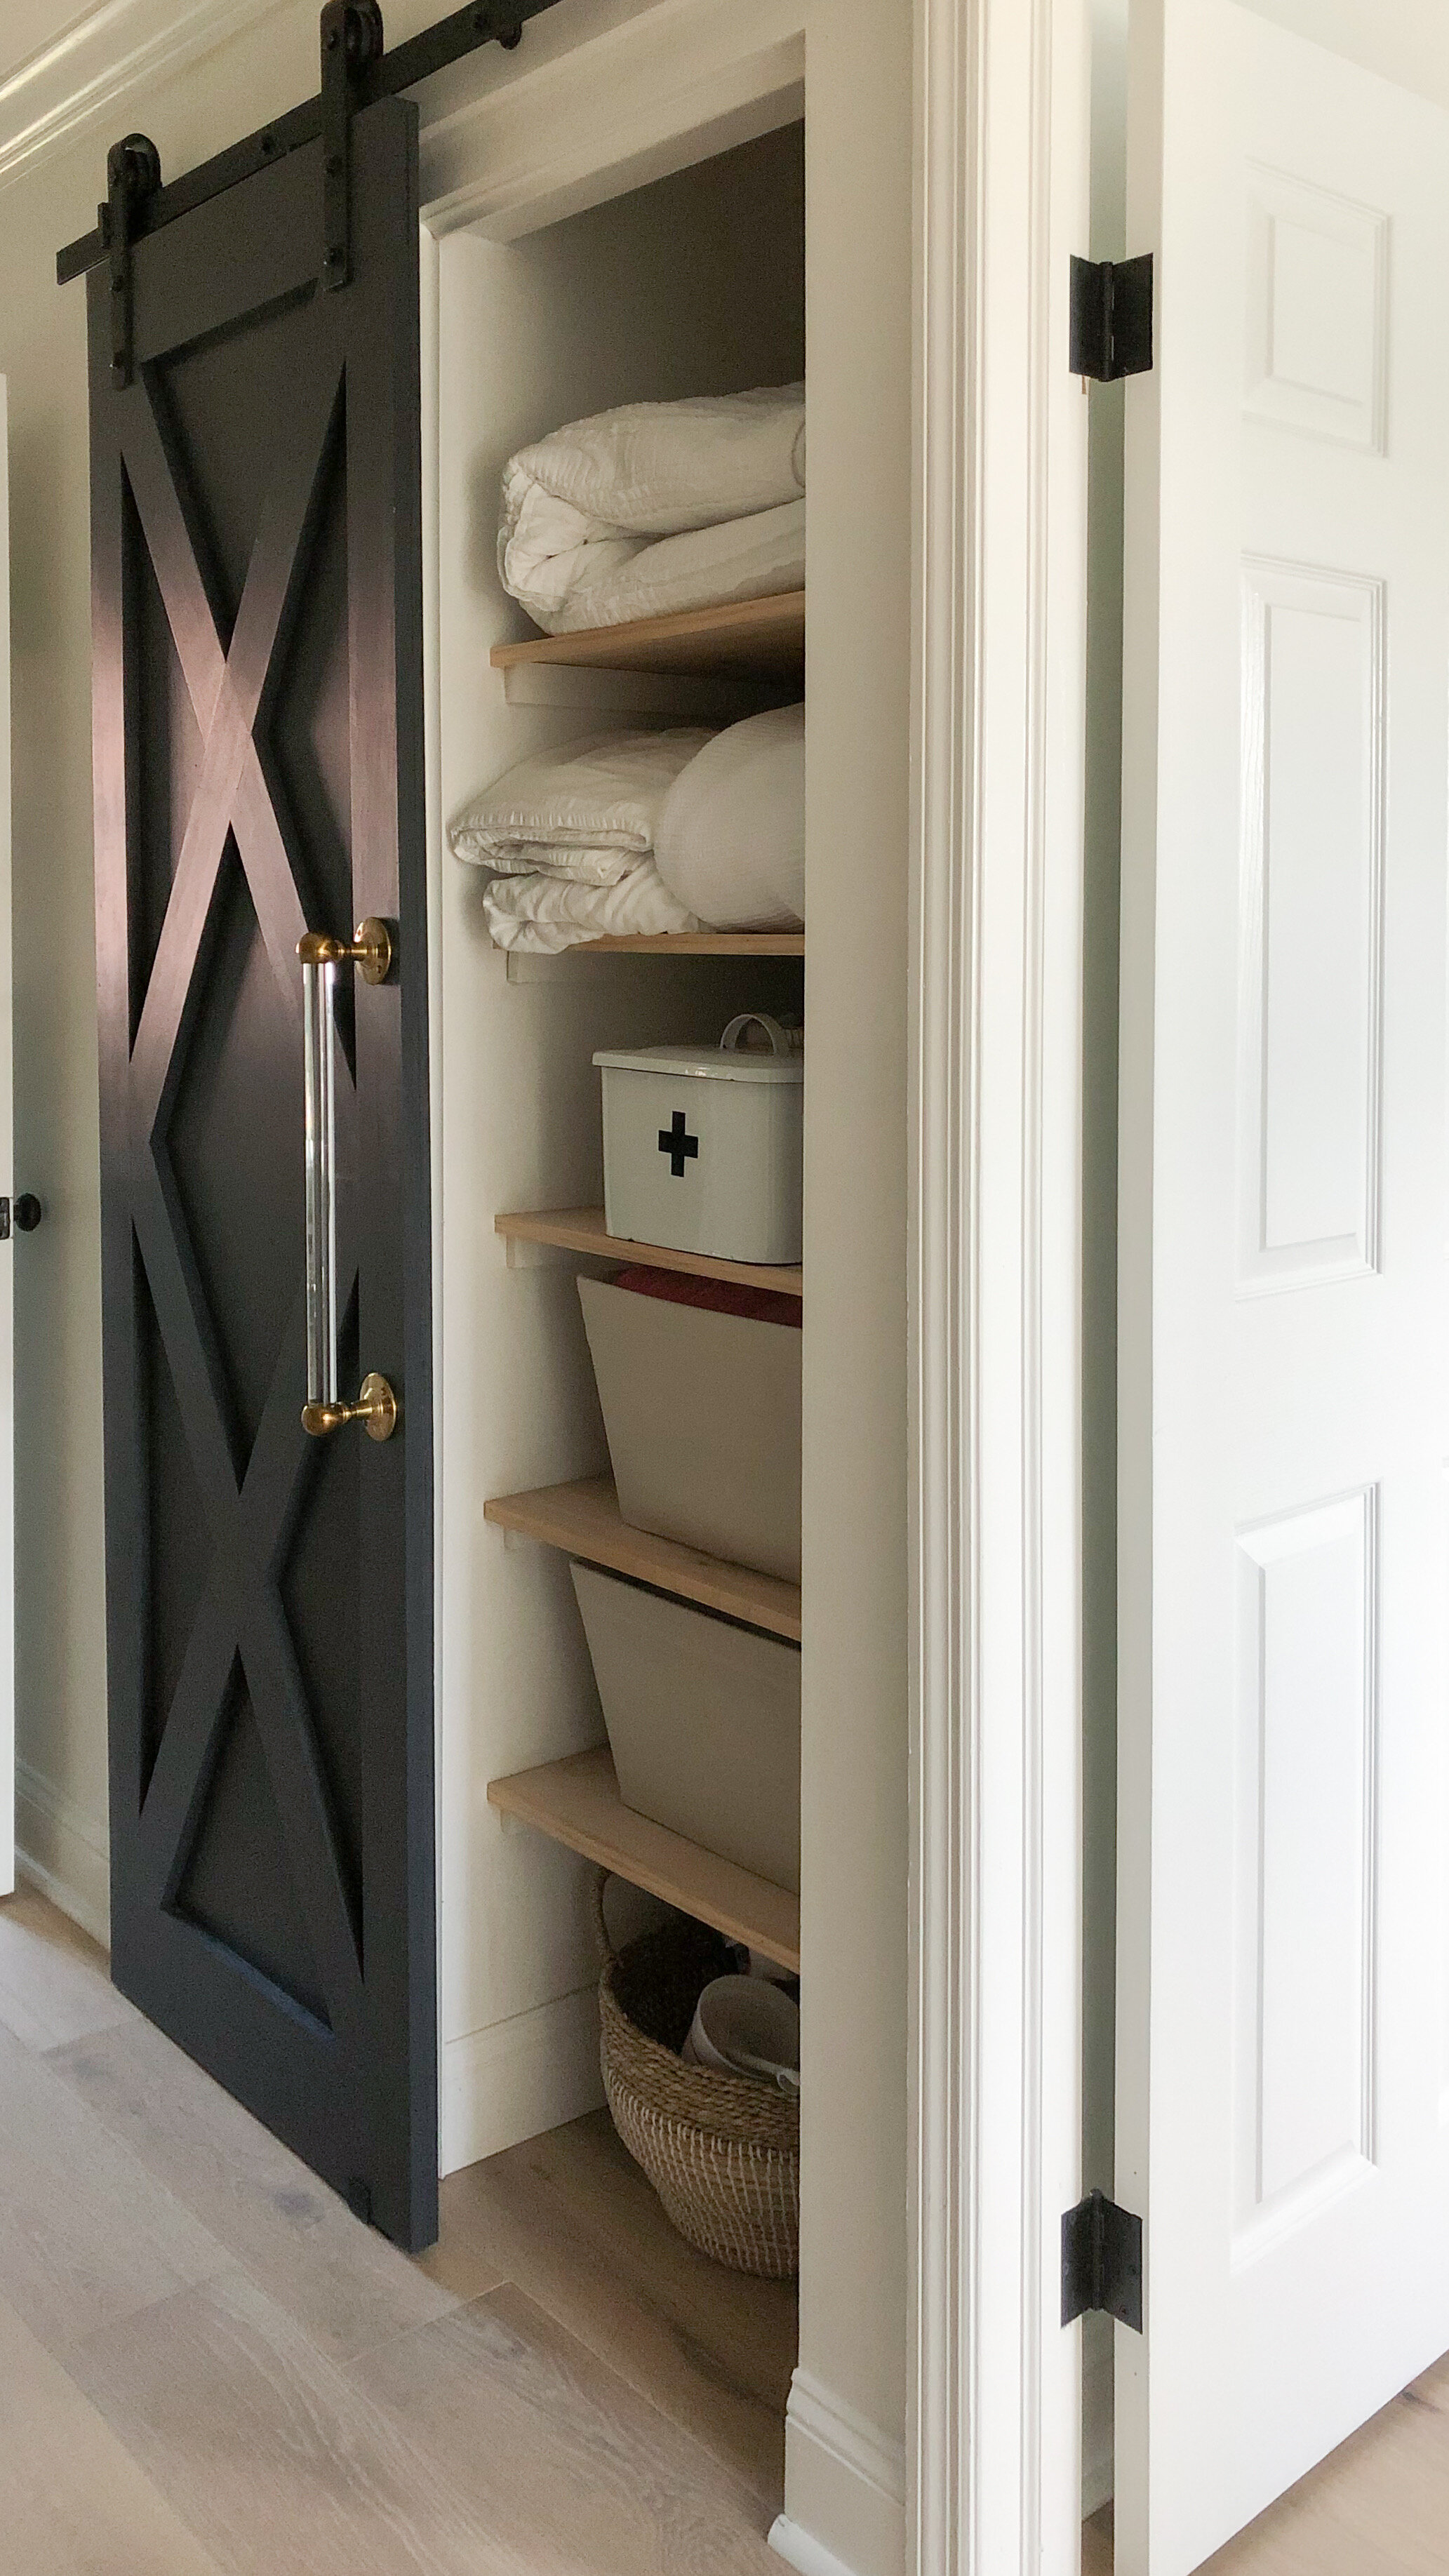
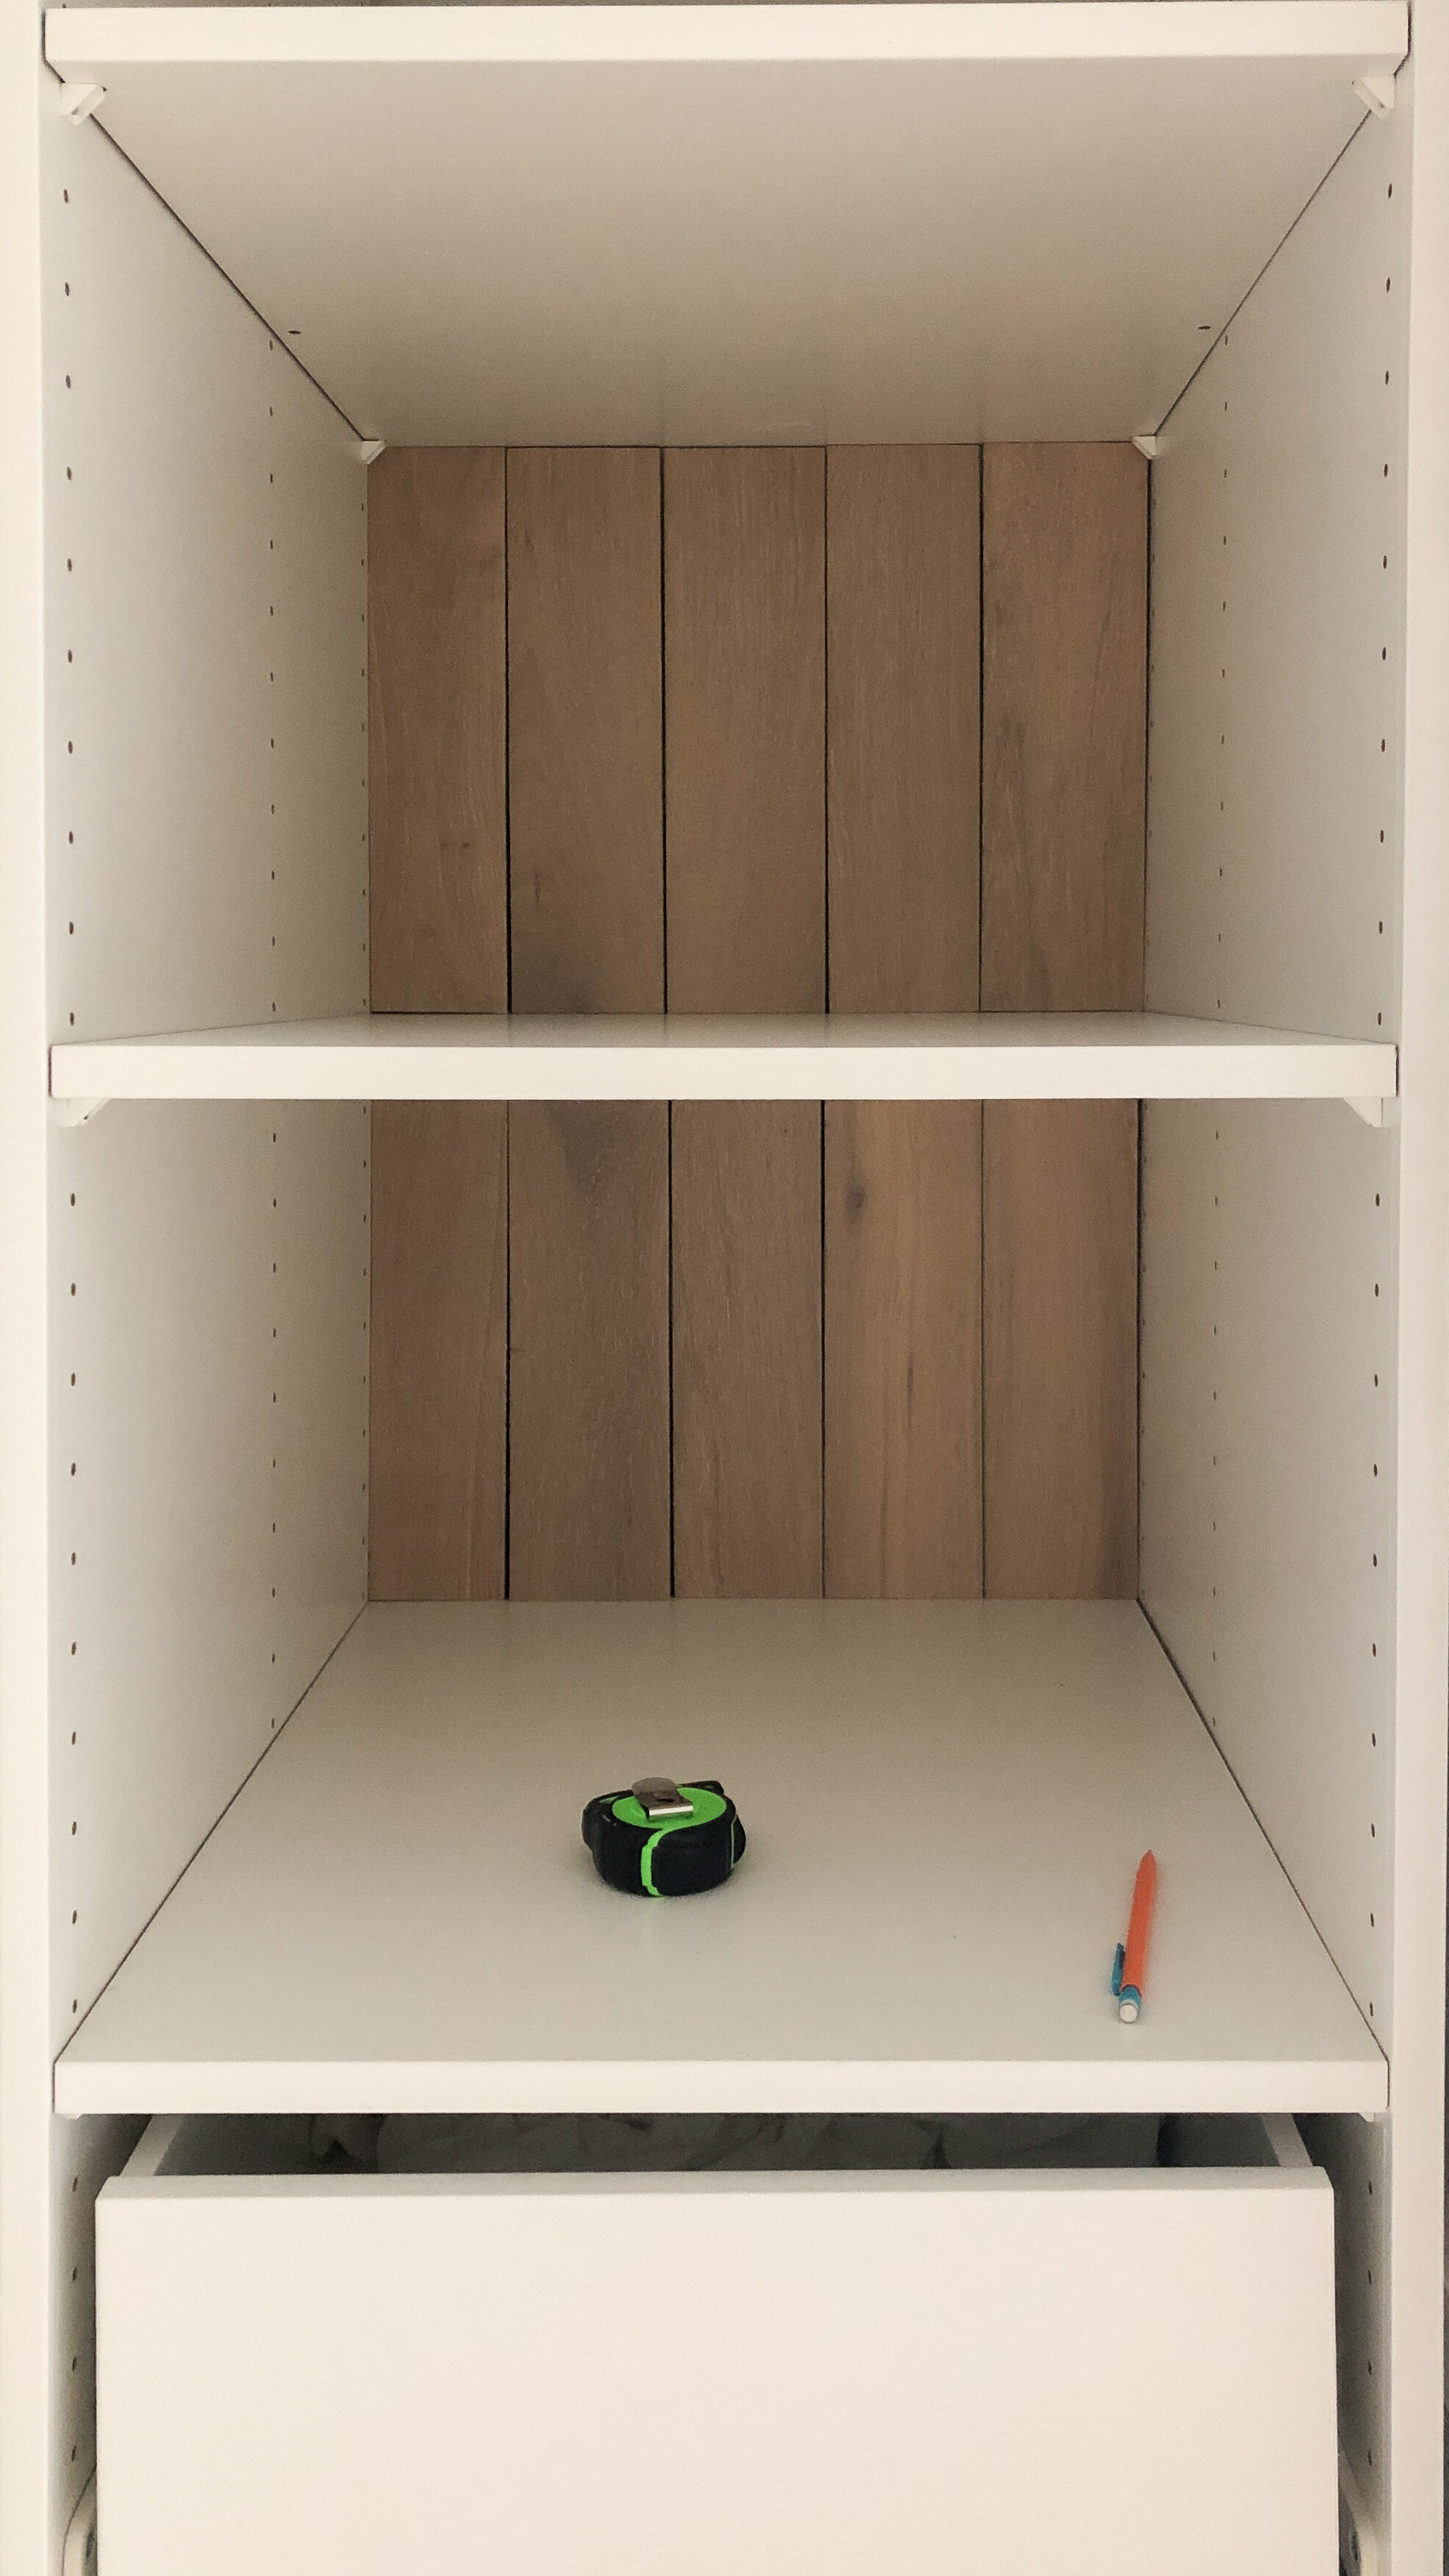
Once I had the unit and the accessories installed, I started to work on the trim for the front of the unit and selected the material to cover the back of the unit. The unit comes with a white plywood backing, which would have worked fine, but I wanted to do something a bit more interesting and textural. I decided to repurpose some extra wood flooring we had on hand, to create a white oak shiplap look. I ripped the 7.5” flooring boards in half and used a nickel to create even gaps between boards. I love that it coordinates with our flooring perfectly, but doesn’t look like I just used our same flooring material in the unit.
Then I used poplar to add a face frame to the front of the unit. I used a 1x2” for the shelves, and ripped down a 1x6” to cover the sides of the unit.

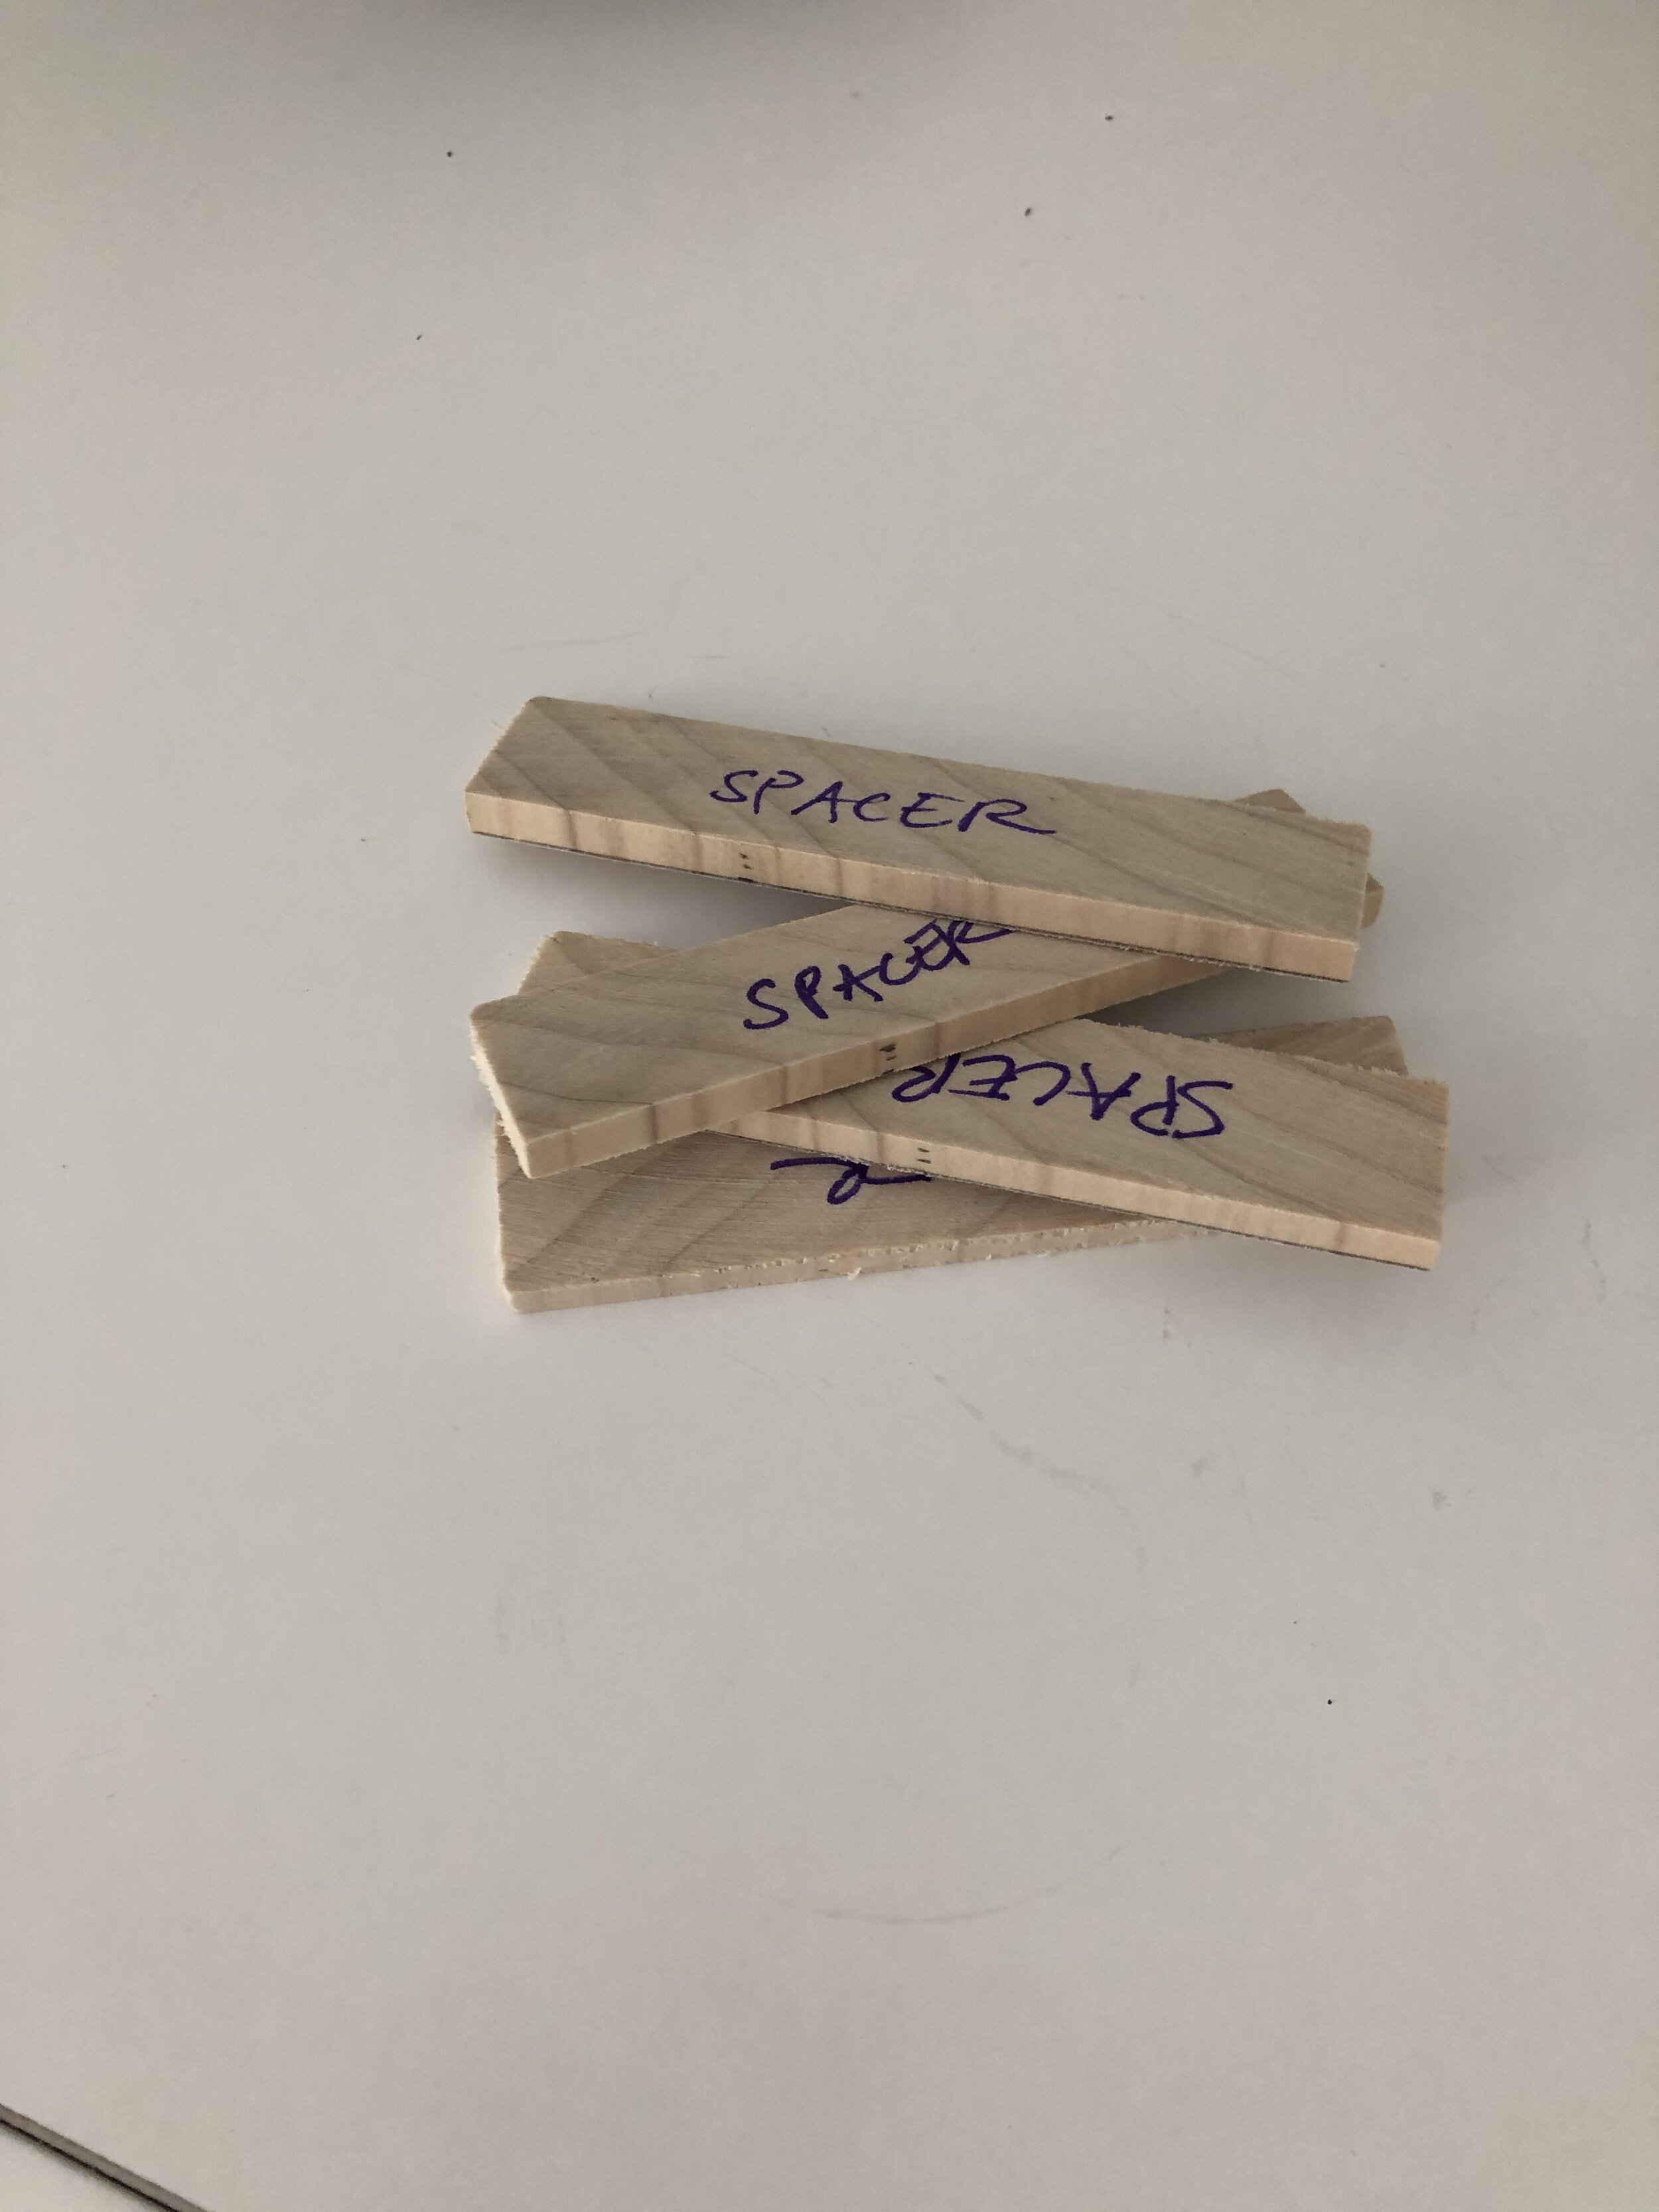
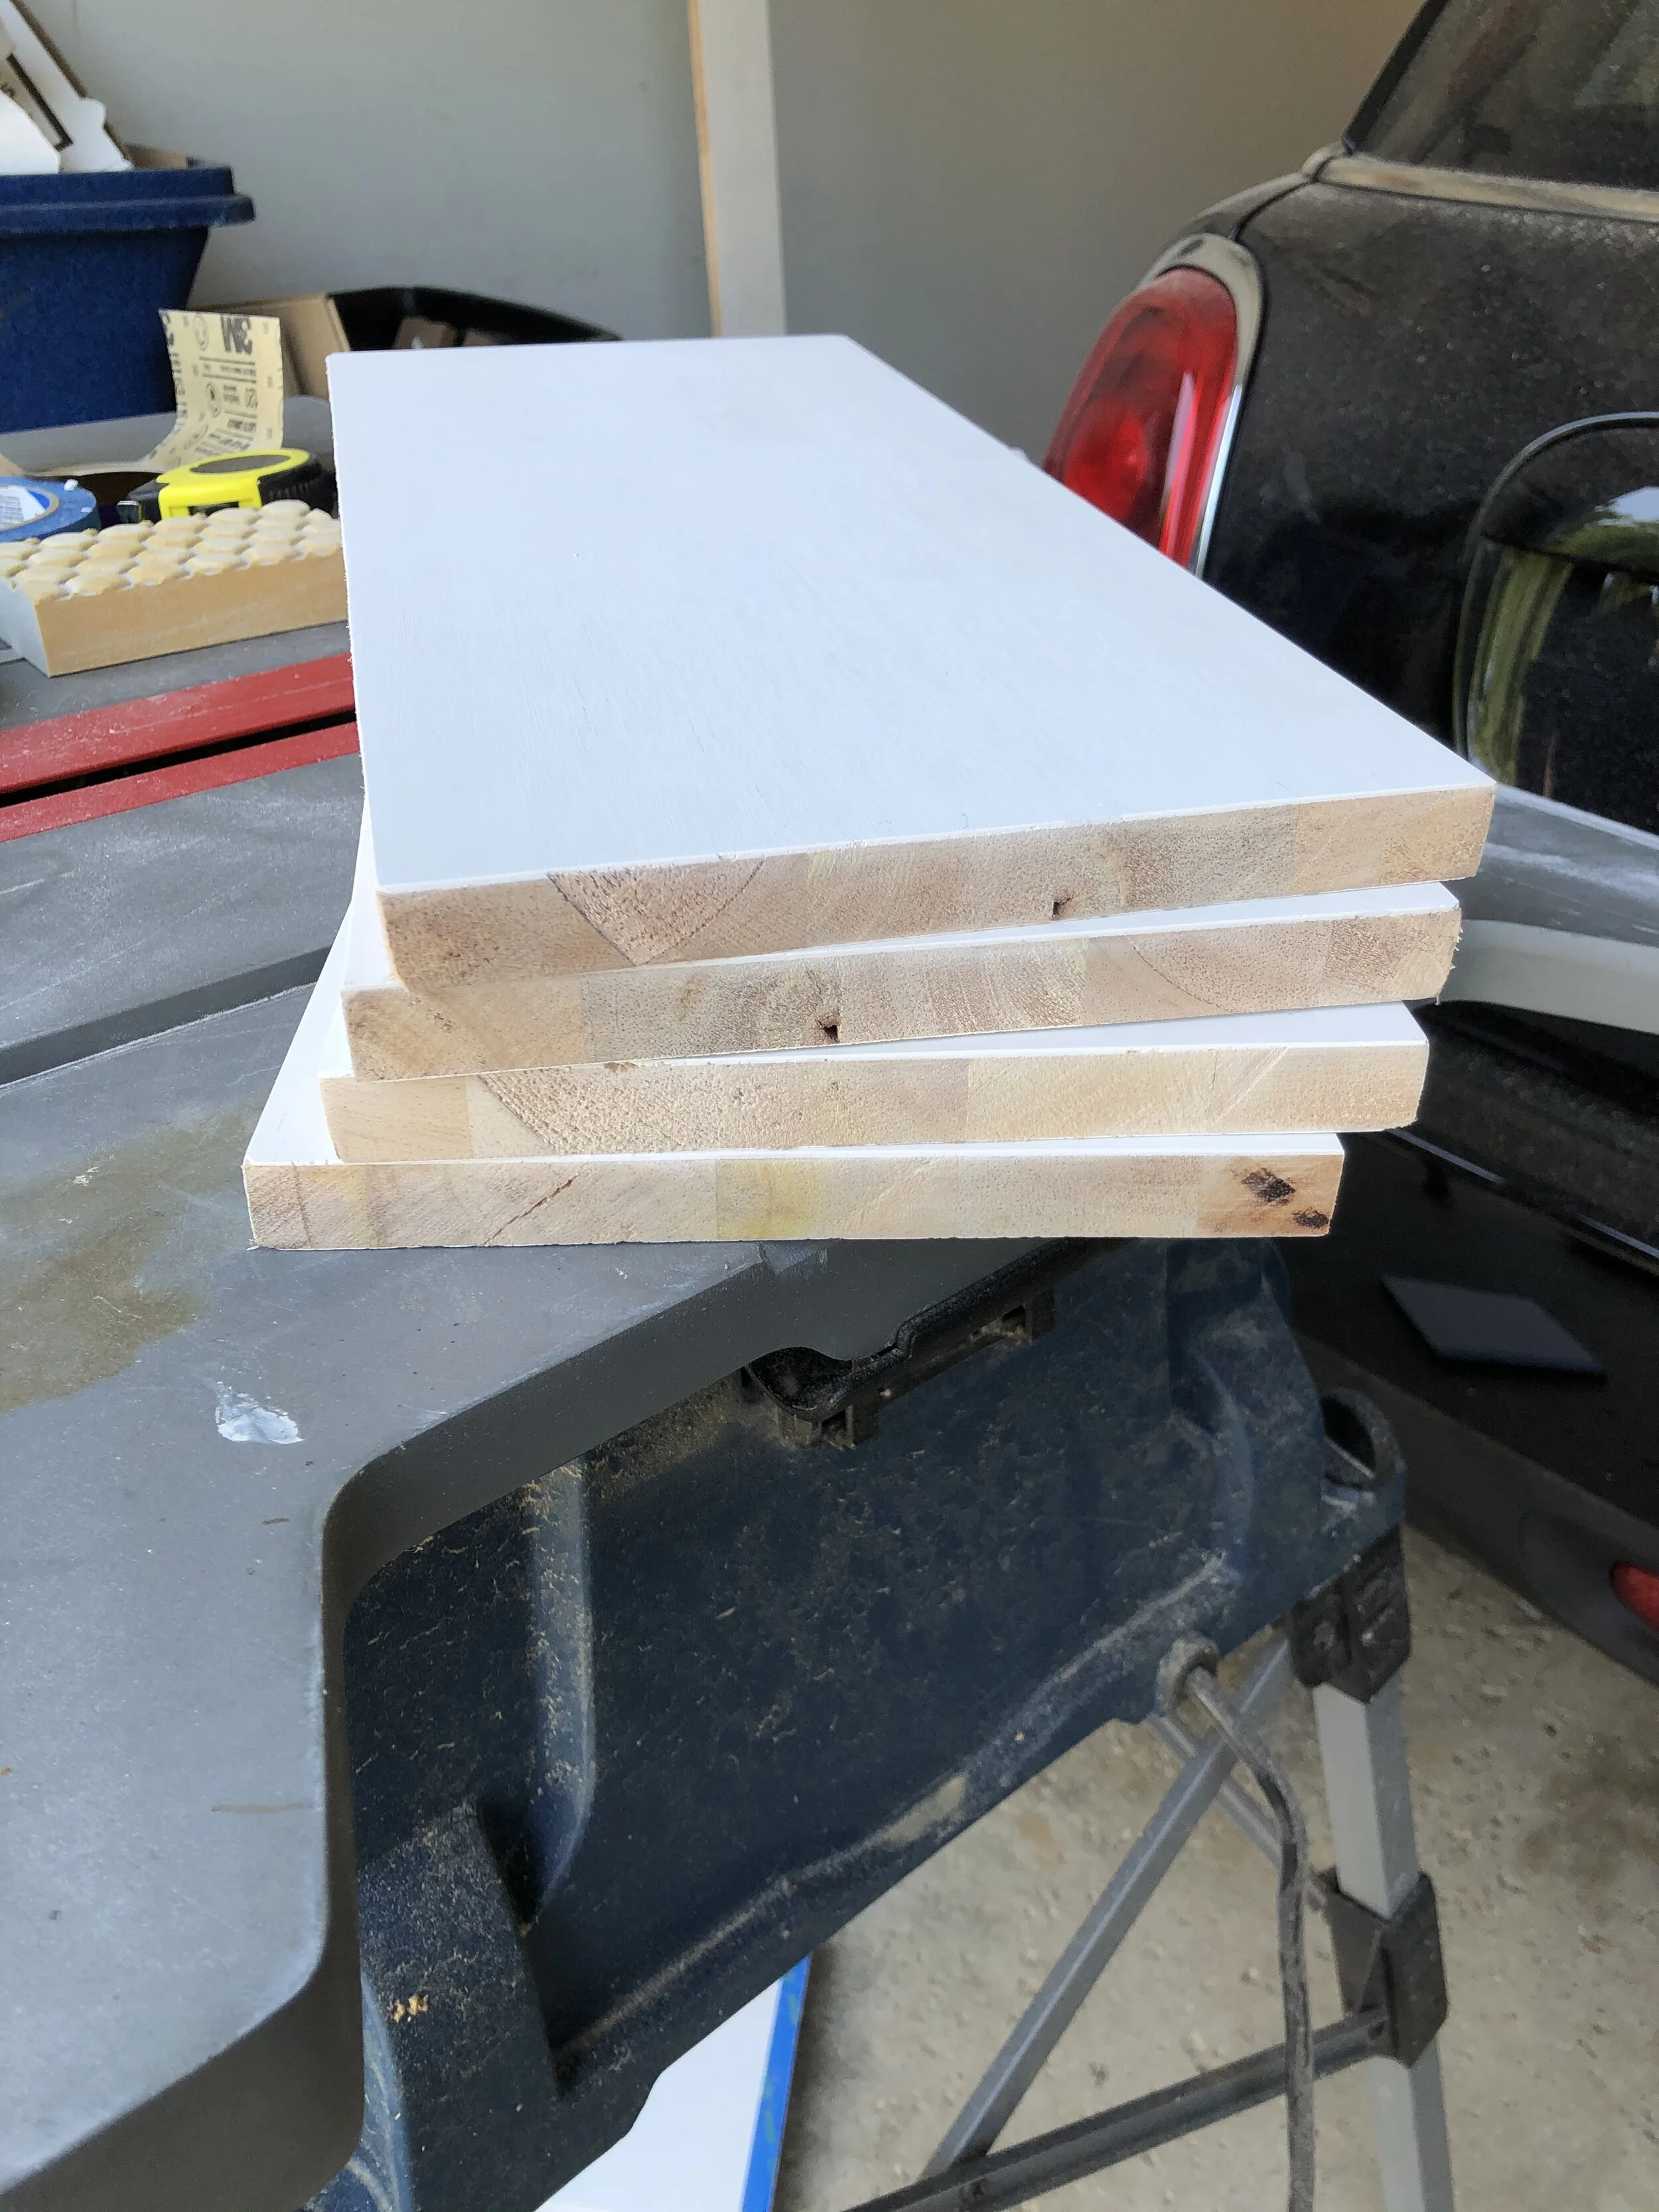
After that I started on the drawer fronts. I decided to do an inset solid slab drawer front with a 3/16” gap all around. I started by making a few spacers to help me position the drawer fronts before installing. Then I cut my primed pine drawer fronts to size with my table saw and circular saw. I decided to make the top four drawers the same size, and the bottom drawer just a 1/4” taller just so that my measurements were easier to work with. In the end you can’t tell there’s a size difference at all! I sanded the fronts with 220 grit sandpaper and rounded the front edges just slightly to give them a more finished look, but was careful not to sand the corners much so that the 3/16” gap remained even all the way around.
I used command strips on the drawer fronts so that I could get the placement right before attaching them, and then I didn’t have to worry about the drawer slipping as much when I screwed them in place. I used four 1 1/4” screws to attach all the drawers. Be careful with your screw placement at this step, as you don’t want them to conflict with the placement of you drawer pulls. I made sure I kept the pull tab exposed so that once the drawer fronts were attached I could easily pull the command strip out.
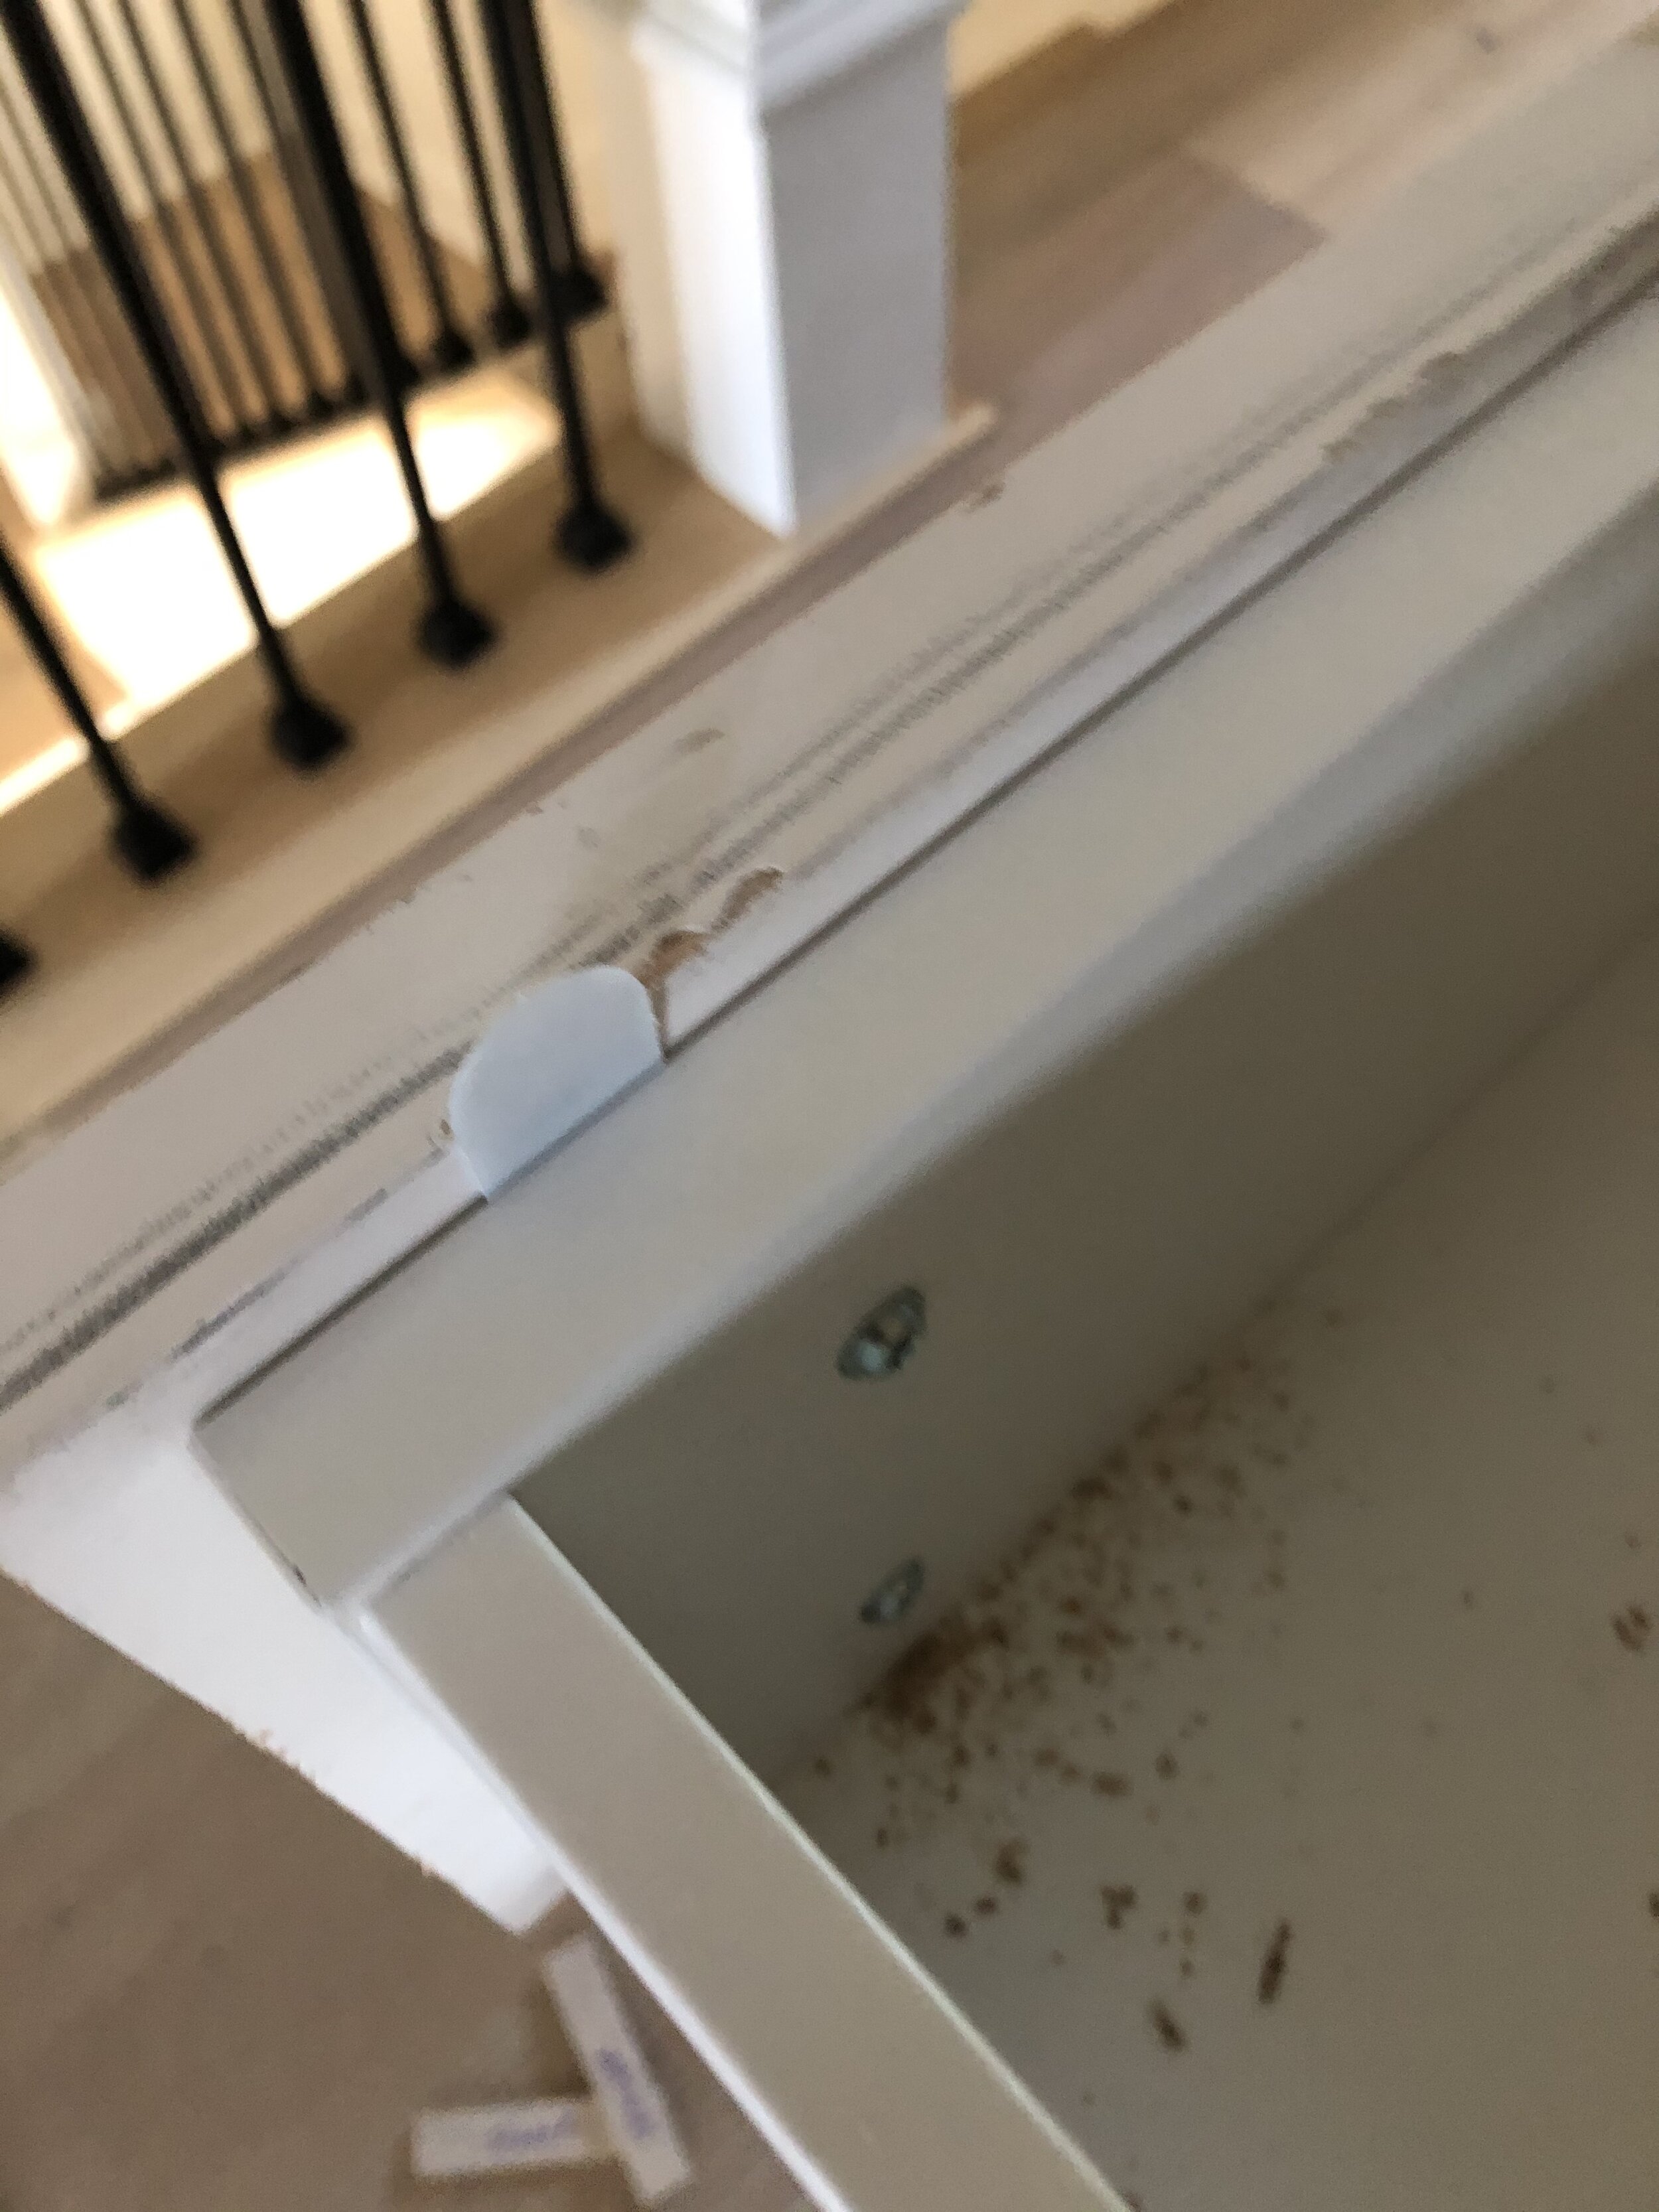

I used painters tape to create a pull on each drawer so that I could still open then before I attached the drawer pulls.
Once the drawer fronts were done, I caulked and wood filled all the extra holes and gaps, and painted the entire piece in extra white by Sherwin Williams. Then I installed these knobs on the drawers, and called the project complete!


There are a ton of great sales happening this weekend, and today I’m rounding up all of my favorites along with a few picks from each!
McGee and Co — 15% off everything
Serena & Lily — Special pricing on living room furniture

Abercrombie — 40-60% off throughout the store
Target — Save 20% on one indoor or outdoor furniture item
Target — 20% off women’s fashion brands with Target circle
World Market — Save up to 40% off furniture
Urban Outfitters — Take an extra 30% off sale styles
Rejuvenation — 20% off everything, 25% off $1500 or more
Lulu & Georgia — Up to 25% off everything
Pottery Barn — Up to 25% off everything
American Eagle — 25-50% off everything

The Serena and Lily living room event is happening now, and today I’m sharing some of my favorite pieces from the sale along with a few pieces we own and love!


More finds:

Lately I’ve been very into dried florals and have been on the hunt for some great options to include in my home as we transition to fall. With the pandemic, I haven’t been going on my normal flower runs to Trader Joes, so I’ve been relying on what I’ve grown in my garden and deliveries from local florists. Personally, I’m not a huge fan of faux since I just love the feeling that real live plants and flowers bring into our home. The dried options have been a nice compromise during this time, and some types look just about the same dried as they do live! I’ve shared a few of my favorites below!


Today I’m talking about how I maintain a cohesive look throughout our entire home, and what benefits there are to designing your home in this way.

I think creating a cohesive look for your entire home is very important because the more consistent your home is in style and color palette, the more intentional your space is going to feel. Whenever possible, I ensure the wall color and flooring is consistent throughout the whole home. If you want to pull in some color with paint, select something from the same color family that’s within the palette you’ve chosen for furniture and accessories, so that the rooms don’t start to feel too disconnected or chaotic.

The main benefits to designing your home with a cohesive style and color palette, are that it’s going to feel larger and more relaxing. If the rooms transition seamlessly, you’re not going to be as aware of the individual spaces and will take in the home as whole. I believe this also contributes to the overall feeling of the home, and creates a more relaxing vibe no matter what your style or color palette, since everything you’re taking in visually is working together, rather than competing with one another.

Another great benefit to maintaining a cohesive style and color palette is that you can easily move small furniture and accessories to other rooms for a quick and easy refresh for free! It’s natural to get bored with your surroundings after a while, and if you have the ability to shop your own home, it prevents unnecessary impulse purchases, and fulfills your need to something fresh and new in your home.

My personal approach to this is to keep most of the larger or more expensive pieces I bring in to our home very neutral. I know that I like a light and bright space, and that won’t be changing with any trend for the foreseeable future. All of the higher price point items in our home are classic pieces that can withstand trends and are neutral in tone, so that I can easily add in various colors, patterns, and textures to create new looks without spending too much. I like to pull in color through textiles, affordable or diy artwork, and florals.

I’ve designed our dining room so that the color palette and feel is dependent upon the fresh florals or greenery I bring in. I love florals, so I really like this approach because it allows me to feel as though I have a fresh new look with only the cost of a floral arrangement. If I really want to change things up I can swap out the vase and pillows, and even then the investment isn’t too big.

Overall, this approach to design is how I make sure I have a home that feels cohesive, but is still versatile. I can easily rearrange what I currently own for a free refresh, or spend a bit of money on some new textiles, florals, and accessories and create a whole new look without breaking the bank.

Today I’m sharing a roundup of affordable bathroom lighting options to fit any budget. Lighting is such an important part of a bathroom’s functionality to ensure the space is lit well enough, but that doesn’t mean it can’t be pretty and affordable. Below I’ve rounded up a few of my go to sconces from single light two three light depending on the needs of the space.


Today I’m sharing a roundup of affordable options for neutral window treatments. I like to keep window treatments simple and minimal with either a roman shade or curtains, but in some spaces where versatility and functionality are key, I like to layer both. Below I’ve rounded up a few of my favorite roman shades and curtains to finish out your windows while staying on budget.


Starting today, everything at Serena and Lily ships free! To celebrate, I’ve done a roundup of a few finds under $100. Check them out below, and use code “DISCOVER” to get free shipping on your order!

Today I’m sharing a few pillow combos and artwork that would make a great starting point for figuring out the color palette in your space. If you’re not sure where to begin when it comes to the color palette, I like to start with one item in the space that’s going to be a focal point, and pull from that. In this case, I’m using artwork, but you could easily use a rug, statement furniture piece (like an accent chair or ottoman), wallpaper, etc.

The key is to pull from the same tones and color family, but not make the space feel too matchy matchy, or else the design will feel predictable and uninteresting. Don’t be afraid to mix patterns and textures to ensure the space has it’s own unique personality. The best way to keep your pillow combination from feeling too one-note is to make sure you’re mixing pillows from at least 2-3 different places (or designers) so that the overall look feels like a thoughtful collection.


Today I’m sharing part two of our before and after home tour—this time, we’re heading upstairs! Our second floor has some of my favorite renovations, and honestly it’s probably the floor we’ve done the most work to so far!
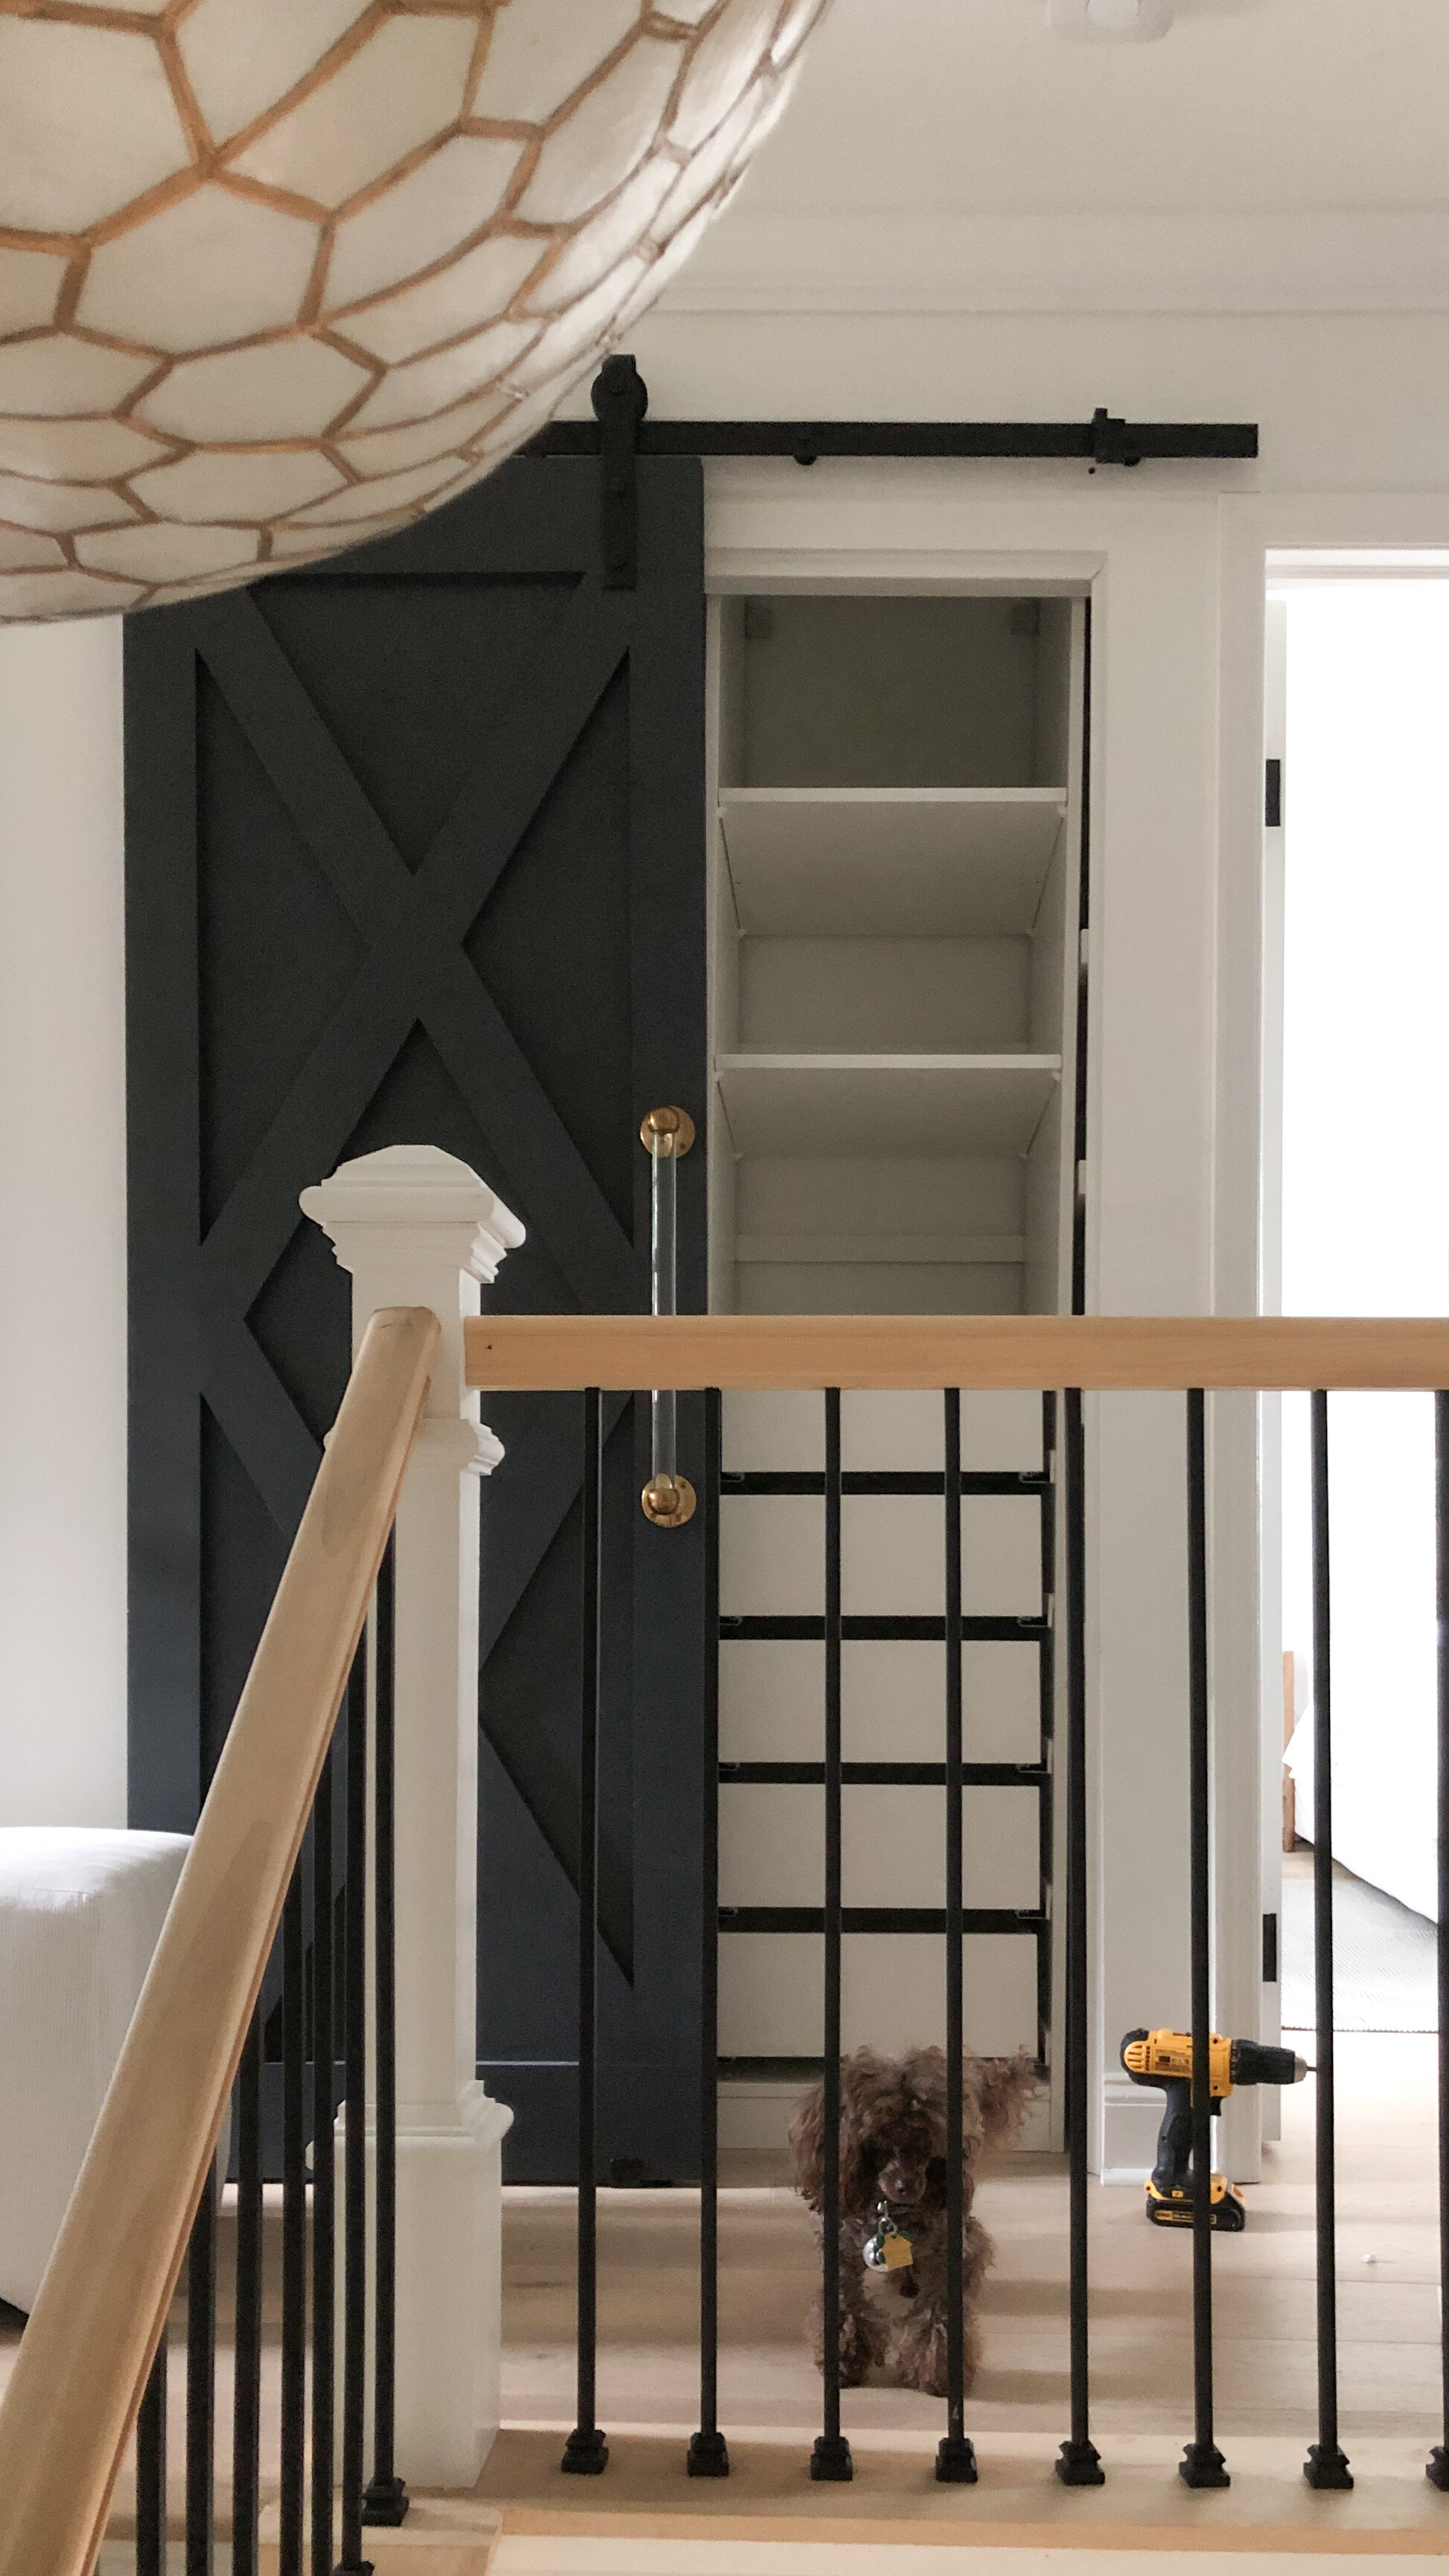
We’ll begin with the rest of the stairwell and hallway, along with my most recent renovation—the linen closet!


In the stairwell we took out the half wall and continued the railings all the way up to the second floor. It made the stairwell so much brighter and gave it a more open and spacious feeling. We removed the accordion door to the linen closet, and I made a bar door and just last week, I made a custom built in inside the closet.


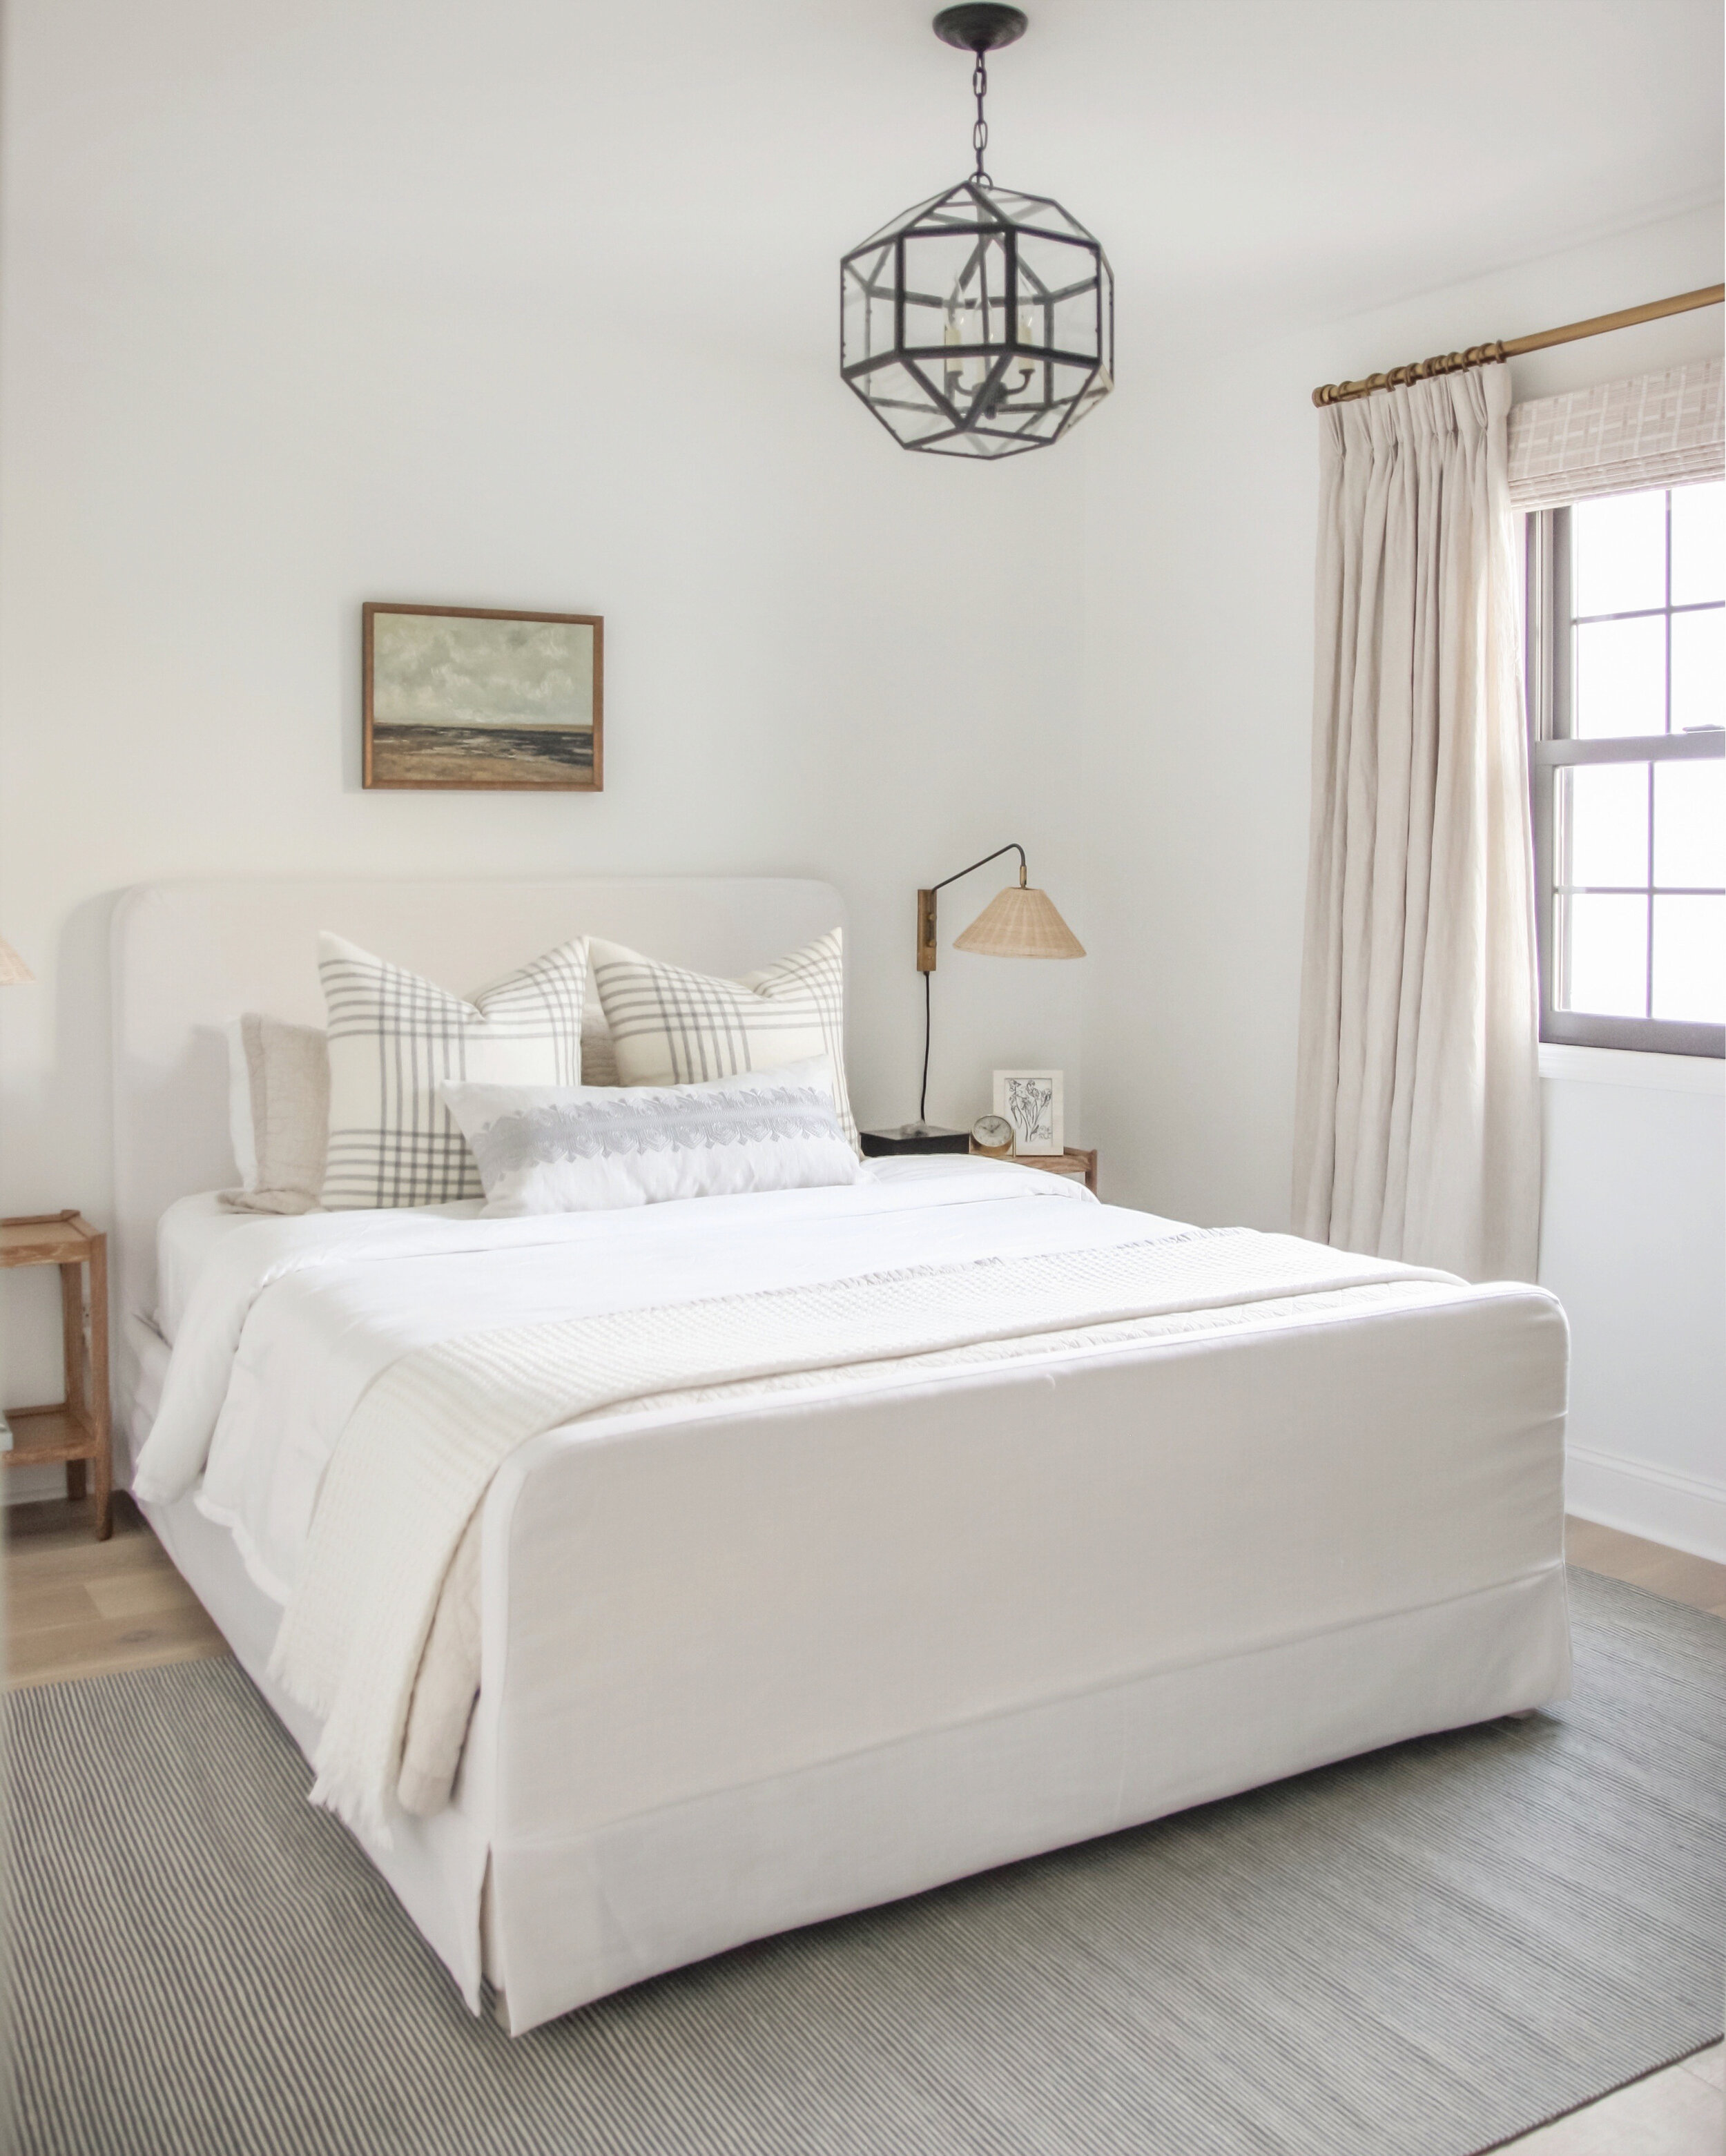
To the left of the staircase is our bedroom, and one of my most favorite spaces in our home. The transformation in this room is definitely at the top of my list. We continued the same wood flooring throughout the entire second floor, along with the SW Extra White paint color. The transformation in this room with paint alone was incredible, but the shiplap wall and window seat also helped this space to feel more architecturally interesting.


Our bathroom was the only space in the home that the previous homeowners had renovated. Though it wasn’t done terribly, it wasn’t my style, and had functionality issues. They did a neutral gray tile throughout the entire space, which we decided to keep for the time being since it was brand new and would still work with my design plan. The double sinks I did not care for, so instead of getting rid of them altogether, I simply gave each a makeover and used them in our other two bathrooms. I replaced them with a double vanity and two arched mirrors, along with a shiplap accent wall to give the space more dimension. I also swapped the single light fixture for three sconces on dimmers to give the space more versatility.


Walking back into the hallway, you see our home office at the end of the hall, along with our guest bedroom and bathroom.


Our guest bedroom hasn’t gotten much more than new flooring, paint, and an overhead light fixture, but they’ve made a big change in the space. The previous homeowners had a king sized bed in the room, but I chose a queen size to accommodate more proportional nightstands and better room to navigate the space. It’s the perfect size for our guests, and we love having this additional room!


Across the hall is our guest bathroom. This was another space that just needed some cosmetic updates to make it more my style, and cohesive with the rest of the home. We took out the old vanity and tile, and added in a new herringbone subway tile floor and a shiplap wainscoting, plus floral wallpaper to bring in more personality. You can see one of the old master bathroom vanities in the space that I painted SW Attitude Gray and brought in new knobs and a bronze faucet to give it a new look. We kept the tub and I added in an extra tall shower curtain to conceal it and create the illusion of taller ceilings.


Finally, at the end of the hallway is our office. Again, we didn’t do much to this space other than paint, flooring, and a light fixture. A couple years ago I added in the board and batten accent wall and think it helps give this all white space a bit more dimension, along with the oversized woven light fixture.


I hope you enjoyed our before and after home tour! I will continue to share more progress as we keep renovating and updating this home, but I wanted to share how far we’ve come in the last three years. Renovations take a lot of planning, hard work, and patience, but are worth it when the final result is a space that is not only a reflection of your personality, but makes you feel safe and relaxed. I hope this tour inspires those of you who are going through, or planning to go through a renovation!


